

You're standing in a 1.5 m wide bathroom where the door swings into the vanity, the toilet crowds the basin, and small tiles break every wall into a busy grid. You can't move the walls, the waste pipe is where it is, and every fixture you add takes circulation space from somewhere else. That's the normal starting point for bathroom renovation ideas in a small space, not a showroom with room to waste.
The national housing mix explains why this matters so often. The Australian Bureau of Statistics 2021 Census QuickStats recorded 1,319,095 occupied flats or apartments, representing 14.2% of occupied private dwellings. One and two bedroom homes together made up a large share of that stock, so compact ensuites and shared family bathrooms have to work hard without feeling cramped.
The eight fixes below free floor area, cut visual clutter, and reduce cleaning time. Each one is sequenced around the trades that decide whether it lasts, because framing, waterproofing, falls, and electrical positions are cheap to change on paper and expensive to change after lining. If you want more layout inspiration to make a small bathroom feel bigger, use it for looks, then check every idea against the build sequence here.
Table of Contents
- 1. Frameless Walk-In Shower with Linear Drain
- 2. Wall-Hung Vanity with Recessed Storage
- 3. Large-Format Porcelain Tiling to Reduce Grout Lines
- 4. Recessed Niches and Built-In Shelving
- 5. Wall-Hung Toilet with Concealed Cistern
- 6. Outward-Opening or Cavity Sliding Door
- 7. Full-Height Mirror with Integrated Lighting
- 8. Level-Entry Floor with Underfloor Heating
- How the 8 small bathroom renovation ideas compare
- Turning These Ideas Into a Bathroom That Works
1. Frameless Walk-In Shower with Linear Drain
A frameless walk-in shower works in a small bathroom when the drain, falls and glass line are settled before the walls are lined. One fixed panel keeps the floor plane continuous, so the room reads as a single surface instead of a tray boxed into the corner.
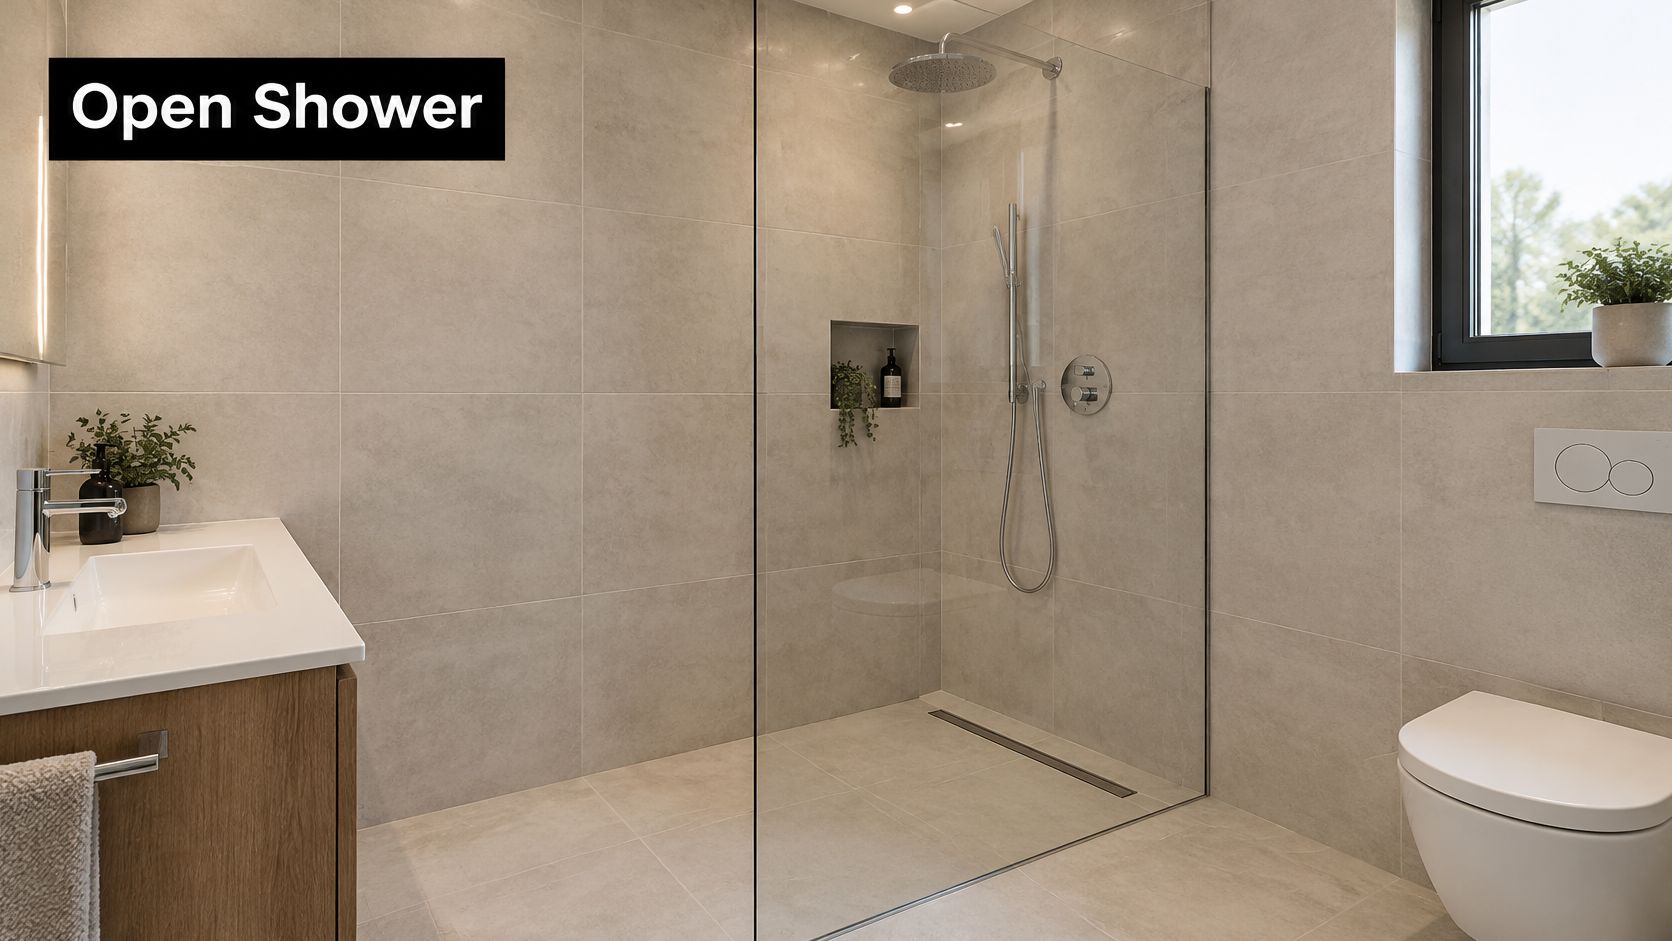
Take a 2 m² ensuite where a corner tray steals the only useful corner. A wall-to-wall frameless screen with a linear drain along the back wall gives a longer shower zone, no door swing, and one fall direction for larger tiles. The same move suits a rental apartment if the waterproofing is certified and documented for the owner.
The Sequence That Prevents Leaks
The plumber sets the drain position and fall first, the waterproofer membranes to AS 3740, then the tiler screeds and lays toward that drain. Reverse that order and you get ponding at the glass line, cut tiles that fight the fall, and a screen installed over a problem. Open showers also widen the wet zone. Guidance from the Building and Plumbing Commission on waterproofing wet areas notes an unenclosed shower requires waterproofing within a 1,500 mm horizontal radius of the shower rose, plus a floor waste and waterstop.
That makes a fully open shower less economical than it looks in a tiny room. I recommend a fixed frameless panel long enough to control splash, because it protects the vanity and toilet roll while leaving the entry open. For upkeep, choose a grate you can lift without tools; if local water leaves mineral film on glass, you can reduce shower scale with softened water and avoid harsh scrubbing at the grate.
Watch how the screen, drain, and tile set-out need to align before glass is ordered.
- Confirm the certificate: Ask your registered builder for the waterproofing certificate and membrane extent before tiling starts.
- Lock the drain early: Its position drives screed falls, tile cuts, and grate access.
- Itemise the quote: Waterproofing, screeding, and frameless screen installation should be separate lines.
- Template the glass: The supplier should measure after tiling, not from the framing plan.
2. Wall-Hung Vanity with Recessed Storage
A floor standing vanity in a narrow room does two unhelpful things. It hides the floor, which makes the room read smaller, and it creates two dusty corners you can't mop properly. A wall-hung vanity fixes both, but only if the wall behind it is built to carry it.
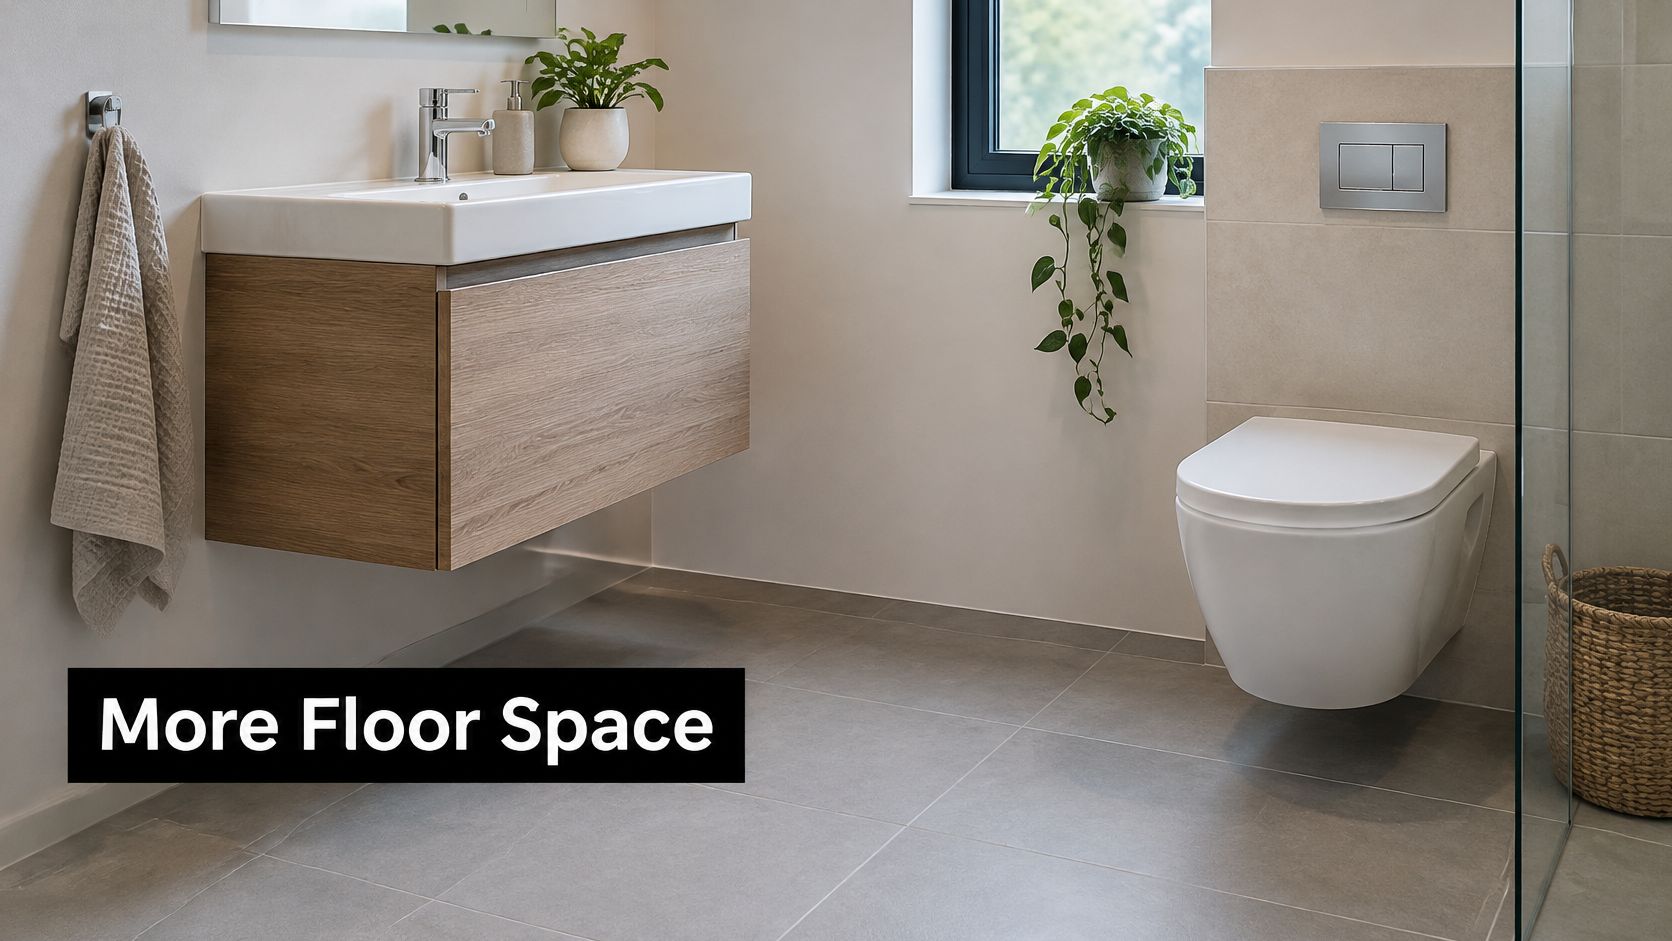
In a 1.5 m wide family bathroom, swapping a bulky floor unit for a floating two drawer vanity and a recessed shelf niche frees toe space and gives daily items a home off the benchtop. In a powder room, go slimmer again with a wall-hung basin and a tall recessed cabinet beside it, so storage goes vertical instead of into the walkway.
What Has to Happen Inside the Wall
The carpenter installs noggins or a reinforced mounting frame at the correct height before sheeting. The plumber roughs supply and waste into the wall so drawers clear the trap, usually with a space saver trap and cut-out top drawer. If you order the vanity before checking stud positions and pipe centres, you'll either patch tiles or accept drawers that don't close.
Practical rule: Choose the vanity, tapware, and waste as one set, then frame and rough-in to those exact dimensions.
Measure drawer projection against the door swing and the space beside the toilet. A deep vanity looks generous in a catalogue and then blocks knees or the shower screen in real life. Specify whether the unit mounts over finished tile or tiles in around it, because that changes set-out, silicone joints, and how easily the unit can be removed later for leak repairs.
3. Large-Format Porcelain Tiling to Reduce Grout Lines
Small tiles mean hundreds of grout joints, and grout is what dates, stains, and makes a compact room look busy. Large-format porcelain, including Kerlite style slabs, reduces those joints and lets one surface run from floor into the shower without constant visual breaks.
Take a 3 m² ensuite finished in 1200 x 600 mm tiles across the floor and main walls. With rectified edges and narrow joints, the room reads calmer and cleaning drops to wiping flat porcelain instead of scrubbing a grid. The same logic applies outside, where large pavers after leak rectification need the membrane and substrate fixed before anyone talks about finish.
Flatness Decides the Result
Large tiles don't hide a bad substrate, they highlight it. The screeder or tiler needs to screed or self-level first, check with a straightedge, and confirm movement joints and adhesive coverage for that specific product. Back-buttering, levelling clips, and correct trowel size aren't optional extras at this format, they're how you avoid lippage and hollow spots that crack under point loads.
Plan the set-out dry on site before adhesive is mixed. Centre cuts so you don't end up with a sliver at the shower drain or vanity edge, and align wall and floor joints where the format allows it. For product selection, handling, and substrate tolerances, our large-format tile installation service covers Kerlite and large porcelain for interior and exterior work.
There's a trade-off on the shower floor. Very large tiles need a single-direction fall to a linear drain, because they can't fold to a centre waste. If you're keeping a centre waste, use a smaller format or envelope cuts in the shower zone and keep the large format for the main floor and walls.
4. Recessed Niches and Built-In Shelving
Bottles on the shower floor and caddies hanging off the rose are signs the room was tiled before anyone thought about storage. A recessed niche uses wall thickness you already have, so shampoo sits flush instead of projecting into elbow space.
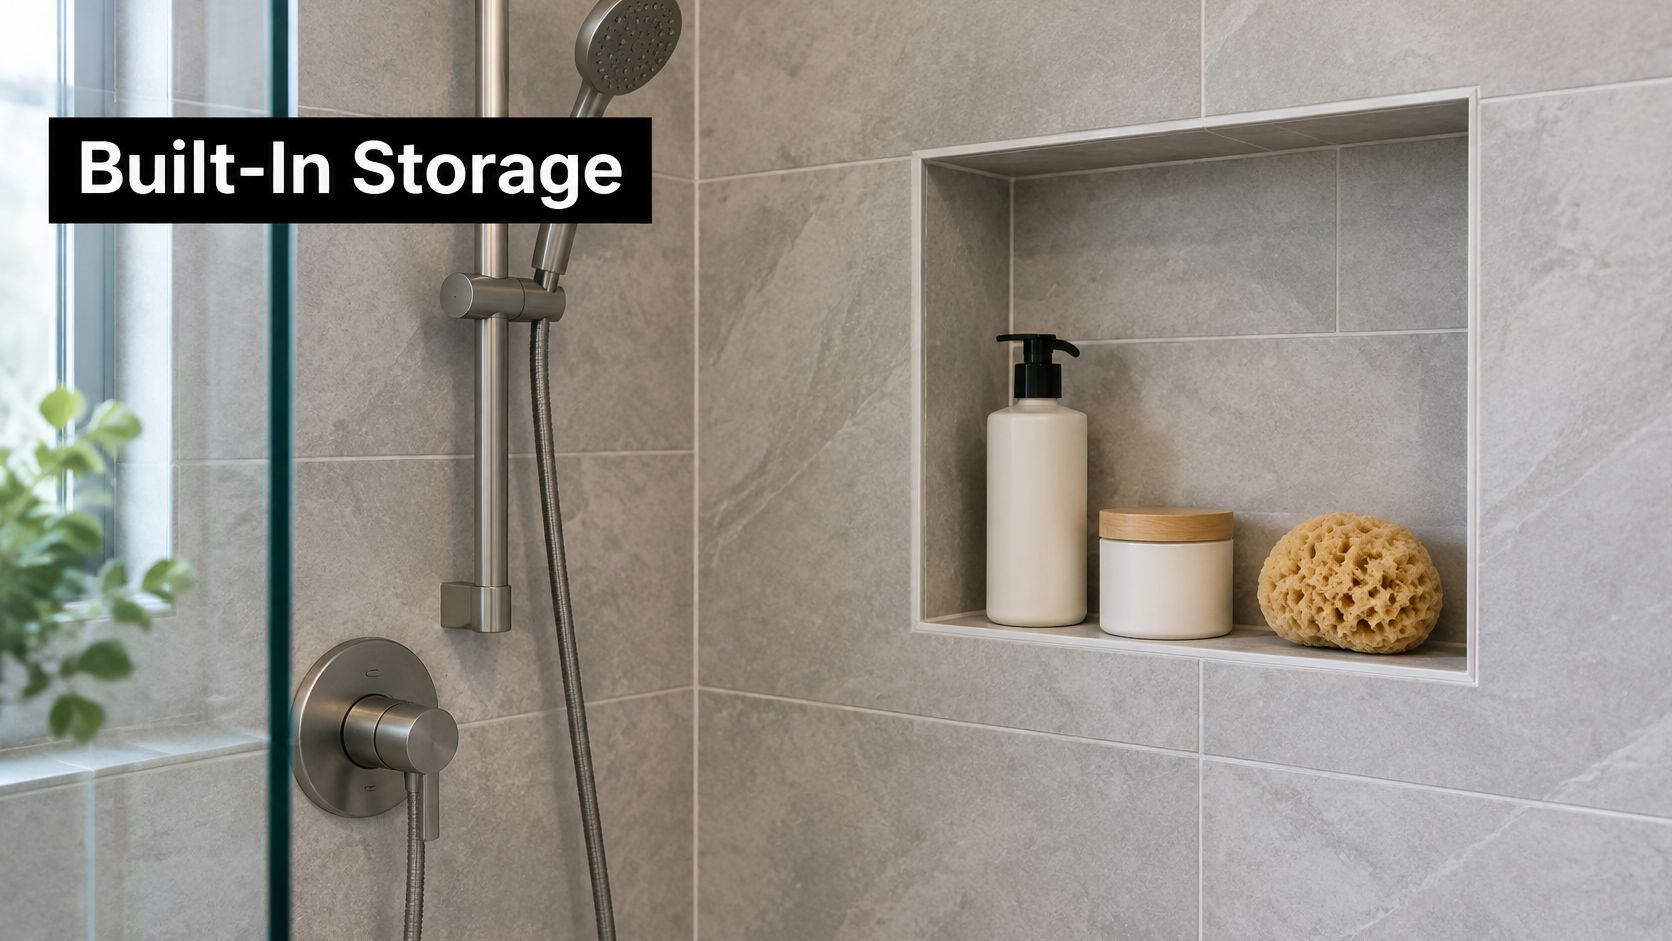
A full-width niche in the shower wall, finished in the same large-format tile, holds everything for two people without a shelf to bump. Outside the shower, a 600 mm recessed shelf above the toilet takes towels and spare rolls where a cabinet would feel too deep. Both work because they're planned at framing stage, not cut in as an afterthought.
Checks Before Anyone Cuts
- Scan the wall first: The plumber and electrician confirm no pipes, cables, or studs sit where the niche is marked.
- Slope the base: A flat niche base holds water and grows mould at the silicone line, so specify a slight fall to the face.
- Set height to the tile: Align niche edges with grout joints so you don't get thin, weak tile slivers around the opening.
- Membrane the whole box: Waterproofing wraps inside the niche and beyond its edges as AS 3740 requires, with corner reinforcement.
Height matters more than size. Put the niche where a raised arm reaches naturally, clear of the shower rose spray hitting bottles, and confirm it on the 3D drawing with your tallest shampoo bottle in mind. Our shower niche installation work is framed, waterproofed, and tiled as one sequence, which is exactly how it should be quoted.
5. Wall-Hung Toilet with Concealed Cistern
A close-coupled toilet projects a long way from the wall and leaves a dust trap behind the pan that nobody cleans well. A wall-hung pan with in-wall cistern shortens that projection, lifts the bowl off the floor, and lets you mop straight underneath.
In a 1.2 m wide bathroom, that reclaimed floor strip is the difference between knees touching the vanity and sitting comfortably. For an investment property, the gain is maintenance. Tenants and cleaners can clean around the pan quickly, and there are no external cistern seals perishing in view.
Framing Depth Is the Decision
The steel frame and cistern need wall depth, so the registered builder confirms the frame model and depth before framing, not after sheeting. If the existing wall is too shallow, you either build a boxed nib wall, which can double as a shelf, or you choose a back-to-wall suite instead. Pretending it will fit is how walls get reopened.
Access is not optional. If the flush plate doesn't give full access to the inlet valve and flush mechanism, the first repair means cutting tiles.
Position the flush plate where it doesn't clash with a towel rail or niche, and check pan height with the finished floor level, including screed and tile build-up. Water efficiency is worth checking at the same time. The federal YourHome guide to reducing water use states a WELS 5-star efficient showerhead can use as little as 4.5 litres per minute compared with an inefficient shower at 15 to 25 litres per minute, which is why pairing a dual-flush suite with efficient tapware cuts running costs without using any extra space.
6. Outward-Opening or Cavity Sliding Door
Door swing is wasted floor area you pay for every day. In a small ensuite, an inward door often dictates where the vanity can't go, which then forces the toilet and shower into worse positions.
Changing a 2 m² ensuite from an inward swing to a cavity slider can free enough wall for a proper wall-hung vanity instead of a pedestal basin. Where the wall can't take a cavity, an outward-opening door achieves most of the gain, and you can still use the back of it for hooks. For hardware types and fitting sequence, Neasden Hardware's sliding door guide is a useful reference before you order a system.
Clearances to Verify on the Plan
The Australian Building Codes Board Livable Housing Design Standard specifies an 820 mm minimum clear opening for internal doorways and a 1,200 mm by 900 mm clear circulation zone in front of the pan. Dimension those from finished walls, because tile and waterproofing build-up shrink the room you get.
A cavity slider needs a wall deep enough for the pocket, plus no pipes or wiring in that pocket. That rules it out on many plumbing walls, so the carpenter and plumber need to agree the wall build-up early. Specify soft-close, quality rollers and guides for a high-use bathroom, because cheap cavity hardware rattles, jumps the track, and can't be replaced without opening the wall. Also check the hallway side for an outward door, so you don't solve a bathroom clash by creating a corridor one.
7. Full-Height Mirror with Integrated Lighting
A small mirror over a small basin makes a windowless bathroom feel like a cupboard. A wall to wall or full-height mirror reflects the longest view in the room and doubles the effect of whatever light you install, without taking a millimetre of floor space.
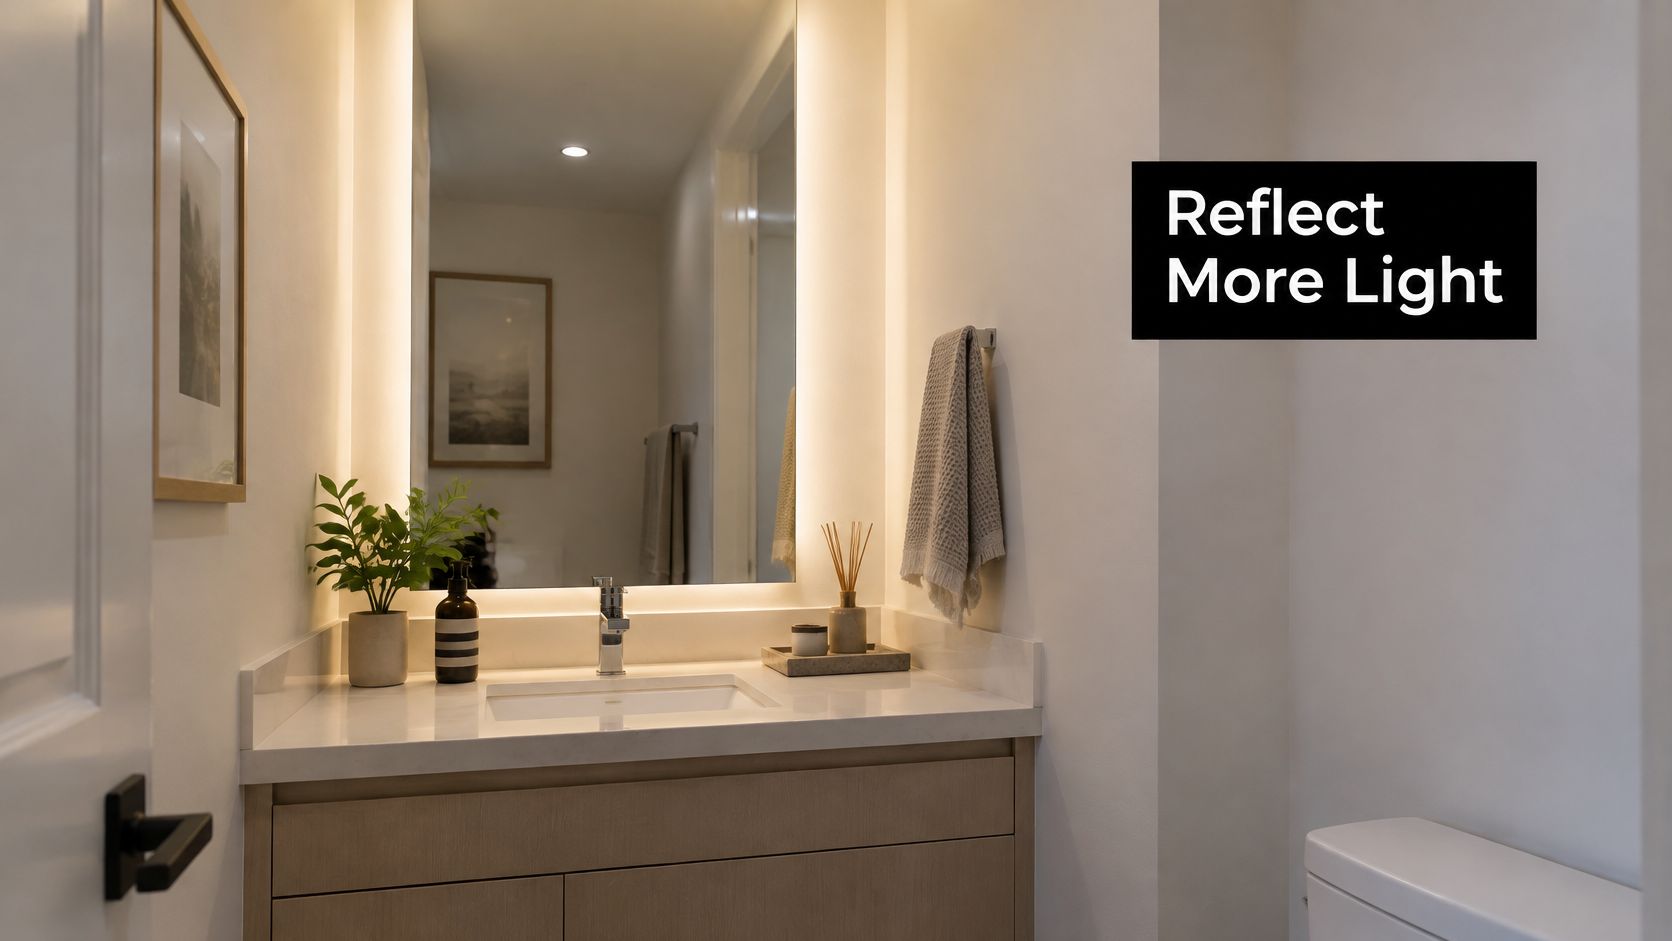
Say a compact ensuite has no window and one downlight over the shower. A 1.8 m high mirror across the vanity wall with LED strips at face height gives even light for shaving and makeup, instead of shadows from a single ceiling point. Recessing a mirrored cabinet into the same wall adds storage for medicines and electric toothbrushes while keeping the face flush.
Electrical Work Comes Before Lining
The electrician runs circuits, drivers, and switching before walls are sheeted, and confirms IP ratings for fittings in wet area zones. That includes power for a heated demister pad and a shaver point inside the cabinet if you want one. Retrofitting those after tiling means surface conduit or pulling tiles off, neither of which you'll accept.
Plan mirror width against tap height so the spout doesn't foul the cabinet doors, and leave a tiled splashback zone below the mirror edge where water lands. Pair it with an exhaust fan sized for the room and ducted outside. A beautiful mirror that fogs for twenty minutes after every shower is a ventilation problem, not a mirror problem, so I recommend a demister pad plus proper extraction rather than either one alone.
8. Level-Entry Floor with Underfloor Heating
A hallway tile that runs through the doorway and straight into the shower, with no hob and no step, makes a small room read as one continuous surface. It also removes the trip point for a pram, a walker, or a wheelchair down the track.
Electric underfloor heating earns its place the same way, by freeing space: under large-format tiles it replaces a wall heater that would steal towel space, and it dries the floor faster after showers so grout stays cleaner. The catch is sequencing. On timber floors the carpenter may need to drop the shower base substrate so the screed can fall to the waste without a step, and that call is made at framing stage, before the heating cable is ordered.
Heights, Falls, and Heating Order
Level entry comes from falls built into the screed while the finished surface still reads flat, so existing floor heights, door clearances and waste depths are measured before screeding starts. Get them wrong and the door stops clearing the floor, or the tile finishes above the hallway and the step returns. The NCC Housing Provisions on wet area waterproofing require shower walls to be waterproof to at least 1,800 mm above the floor substrate, with the shower floor and junctions waterproof as well. In a compact room those splash zones overlap the doorway and vanity wall, so the membrane and falls plan get drawn together at planning stage.
Once the screed is cured, the heating goes down to a marked plan, and a self-levelling compound for underfloor heating laid over the cables gives the tiler a flat, stable bed that protects the heating element and the adhesive bond.
- Screed and level first: Request a levelling inspection before heating mats or tiles go down.
- Lay heating to a plan: Cables avoid toilet fixings, vanity waste zones and door stops, and the licensed electrician tests resistance before and after tiling.
- Protect the sensor: The thermostat probe sits in a conduit so it can be replaced without lifting tiles.
- Program the thermostat: Timed morning heating gives comfort without running all day.
How the 8 small bathroom renovation ideas compare
| Item | Space Gained | Installation Complexity | Best For | Main Trade-off |
|---|---|---|---|---|
| Frameless Walk-In Shower with Linear Drain | Makes the room feel more open | High; requires precise waterproofing, floor falls, and glass measurements | Compact bathrooms needing a spacious, easy-to-clean shower | Higher upfront cost and costly installation errors |
| Wall-Hung Vanity with Recessed Storage | Opens up visible floor area | Moderate to high; needs structural backing and possibly relocated plumbing | Small bathrooms needing a lighter look and easier floor cleaning | Less storage depth and possible plumbing costs |
| Large-Format Porcelain Tiling to Reduce Grout Lines | Creates a more continuous, spacious appearance | High; requires a flat substrate and experienced handling | Small bathrooms seeking fewer grout lines and a clean finish | Precise preparation and specialist installation add cost |
| Recessed Niches and Built-In Shelving | Adds storage without using floor space | Moderate; must be planned around wall services and waterproofing | Showers or bathrooms needing tidy, built-in storage | Limited depth and must be planned before wall lining |
| Wall-Hung Toilet with Concealed Cistern | Frees floor area beneath the toilet | High; requires in-wall framing and plumbing planned in advance | Compact bathrooms prioritising open floors and easier cleaning | Higher installation cost and concealed cistern access for repairs |
| Outward-Opening or Cavity Sliding Door | Reclaims floor space otherwise used by the door swing | Moderate to high; cavity sliders need suitable wall depth and framing | Bathrooms where door clearance limits movement or fixture placement | Cavity sliders need structural work; outward doors may obstruct hallways |
| Full-Height Mirror with Integrated Lighting | Makes the room feel brighter and larger | Moderate; requires secure mounting and suitable electrical work | Small or windowless bathrooms needing more light and optional storage | Added cost, careful handling, and potential water spots |
| Level-Entry Floor with Underfloor Heating | Creates a seamless entry and frees wall space from heaters | High; requires coordinated floor preparation, waterproofing, and heating installation | Bathrooms needing step-free access and comfortable warmth | Added floor height, installation coordination, and possible running costs |
Turning These Ideas Into a Bathroom That Works
Start with what you can't change cheaply later. Drain position, framing depth, waterproofing extent, and electrical points lock in almost every idea on this list. A wall-hung toilet, recessed niche, cavity slider, and heated level-entry floor are all framing and rough-in decisions, so they belong on the first plan, not on a shopping list after demolition of appliances, fittings, shower screens, wall tiles, floor tiles, and substrate sheeting.
Budget for that hidden work. Recent Australian renovation reporting in the Buildmat summary of Australian renovation costs puts the median bathroom renovation cost at approximately $30,000, with a previously cited average around $21,000. That's not a Melbourne quote, but it proves the point that small doesn't mean cheap, because demolition, waterproofing, substrate correction, and service relocation cost money regardless of floor area. Retaining plumbing positions and standard tile sizes are relatively safe savings. Cutting membrane detailing, falls to waste, or leak testing is not.
Check who is responsible for coordinating your bathroom renovations and registered builders before you sign anything. Consumer Affairs Victoria guidance on builders and tradespeople states a domestic builder must be registered for a domestic building contract worth more than $10,000, while single trade exemptions don't cover someone coordinating the whole job. Separate Consumer Affairs Victoria guidance on implied warranties and domestic building insurance states domestic building insurance is required for work over $16,000, and implied warranties apply regardless of cost. Verify registration, insurance, scope, and completion terms in writing, and confirm current Victorian requirements with your building surveyor before construction, since code adoption dates change.
We've specialised in bathroom renovations since 2003 and deliver work with in-house carpenters, plumbers, waterproofers, and tilers, so framing for niches and cisterns, outlet changes, rewiring, and stud walls are sequenced by one team. Design starts with sketches, plans, and discussion, and modifications are agreed before work commences. You can request free quotes and 3D drawings, and use our bathroom renovation calculator to test scope and budget, noting the full renovation scope listed is offered for a median price of $10,000. Choose two or three ideas that solve your worst daily friction first, usually the door, the shower, and storage, then let finishes follow the structure. That's how a compact bathroom ends up feeling bigger because it works better.
If you're planning a compact bathroom or ensuite in Melbourne, Melbourne Tiling Services P/L can coordinate the registered builder, waterproofing, screeding, tiling, and frameless shower screen as one sequenced project. Request a free quote with 3D drawings and use the renovation calculator to confirm your layout, falls, and framing decisions before demolition starts.
Recent Comments