

You've picked a tile from a showroom board, photographed it next to a vanity sample, and pictured it running floor to ceiling in your ensuite. Then your builder asks three questions you weren't expecting. Are the walls flat enough for that format, where's the waste moving to, and how will the falls work under a hobless screen?
That's the point where a look becomes a build. Good ensuite tile designs aren't chosen from colour alone, because substrate condition, waterproofing detail, drainage falls and slip resistance decide whether the finished room performs. A registered builder, tiler and waterproofer need to agree on those details before tiles are ordered, not after demolition.
Demand is high, which makes sequencing matter even more. Australia was estimated to have renovation demand for approximately 244,000 bathrooms across 2024-2025, according to realestate.com.au reporting on national renovation demand. In Reece's 2024 Australian Bathroom Report, the importance of bathroom customisation increased by 6% year on year, with tiles, colours, finishes and furniture named as key elements homeowners customise.
The eight designs below are judged the way they're built. For each one, you'll get the trade sequence, the failure point to watch, and the coordination steps that protect your budget. That approach applies whether you're planning full bathroom renovations or a single ensuite update with registered builders coordinating the trades.
Table of Contents
- 1. Large-Format Porcelain Wall Tiles with Minimal Grout Lines
- 2. Fully Tiled Shower Recess with Recessed Niches and Frameless Screen
- 3. Book-Matched Marble-Look Porcelain Feature Wall
- 4. Zoned Tiling with Contrasting Wet and Dry Surfaces
- 5. Hexagon and Mosaic Floor Tiles with Slip-Resistant Finish
- 6. Level-Entry Wet Room with Screeded Floor and Linear Drain
- 7. Herringbone and Chevron Floor Patterns
- 8. Balcony-Adjacent Ensuite with External-Grade Tiles and Tanking
- Ensuite tile designs compared by format, best use, build complexity and maintenance
- Turning Ensuite Tile Designs into a Renovation Plan You Can Build
1. Large-Format Porcelain Wall Tiles with Minimal Grout Lines
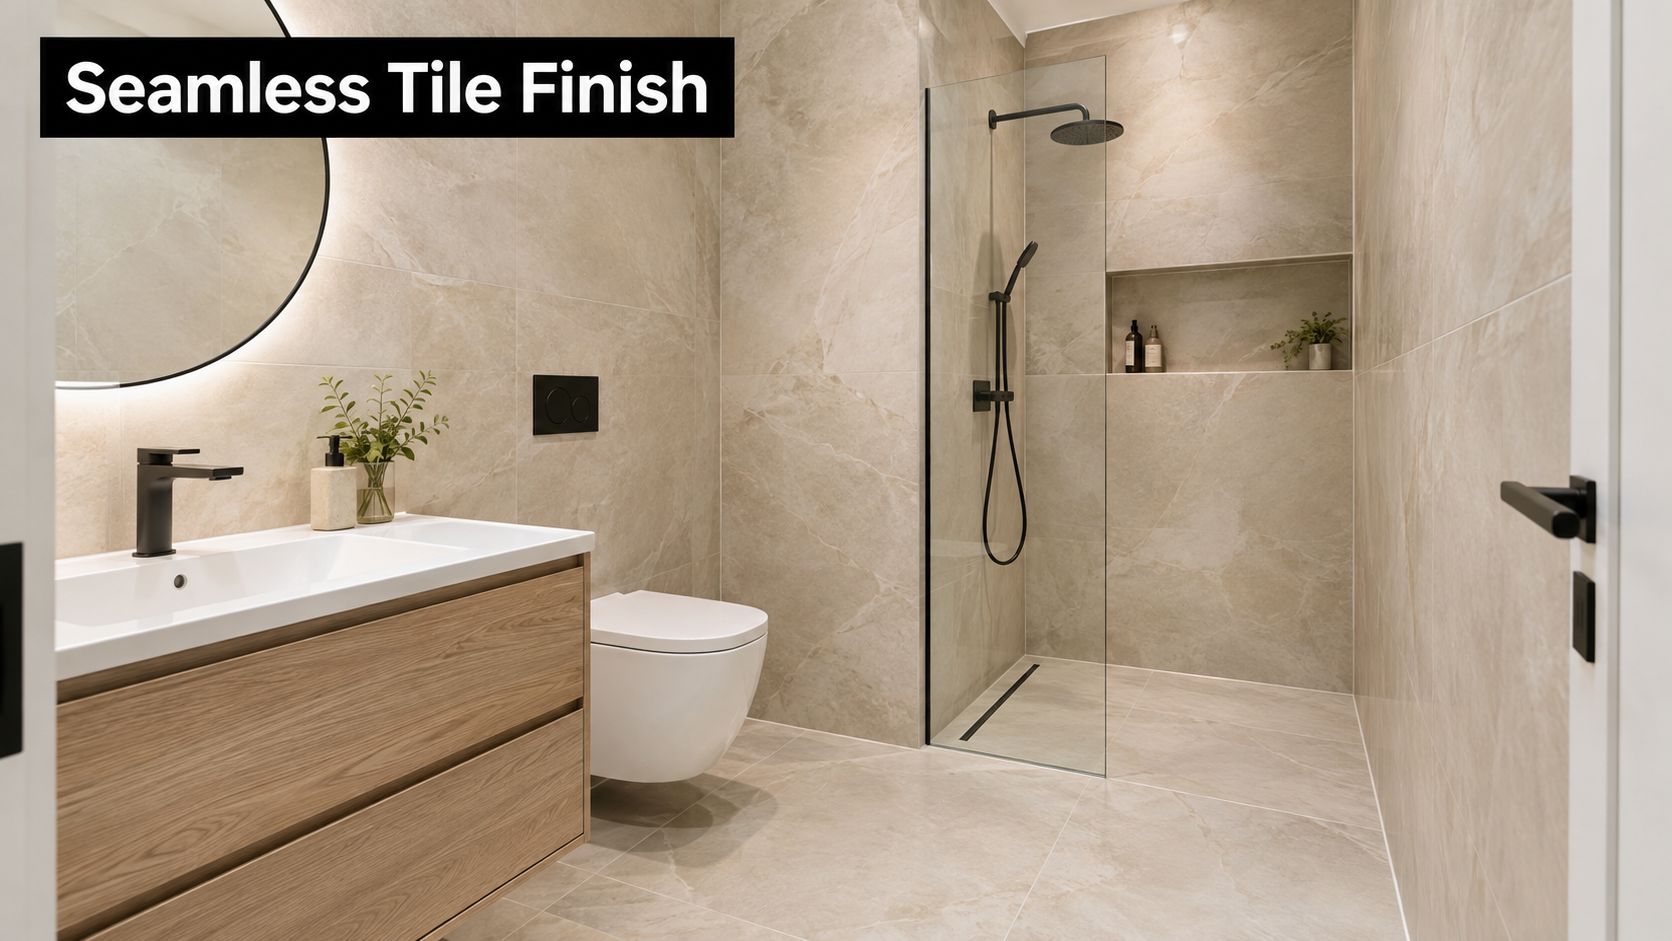
Large-format porcelain in 600x1200mm or larger gives a compact ensuite a calm, gallery-like wall with far fewer joints than a standard grid. Fewer joints mean less grout to clean and fewer lines breaking up the surface. Porcelain is also a mainstream specification choice in Australia, where Spherical Insights reporting on Australia's ceramic tile market valued the market at USD 2,128.6 million in 2024 and reported porcelain tiles held the dominant segment share.
The trade-off is substrate tolerance. A large sheet won't hide a bowed stud wall or uneven render, and lippage shows under downlights. I recommend pricing wall straightening or sheeting replacement before you commit, because rectifying after waterproofing costs far more.
A floor-to-ceiling large-format wall works well behind a freestanding bath or across a compact ensuite shower wall. Set it out from the centre of the main sightline so cuts balance at corners, rather than starting full from one side and ending with a sliver.
The example below shows how restrained grout lines let the vanity and glass do the visual work.
What to Confirm Before Ordering
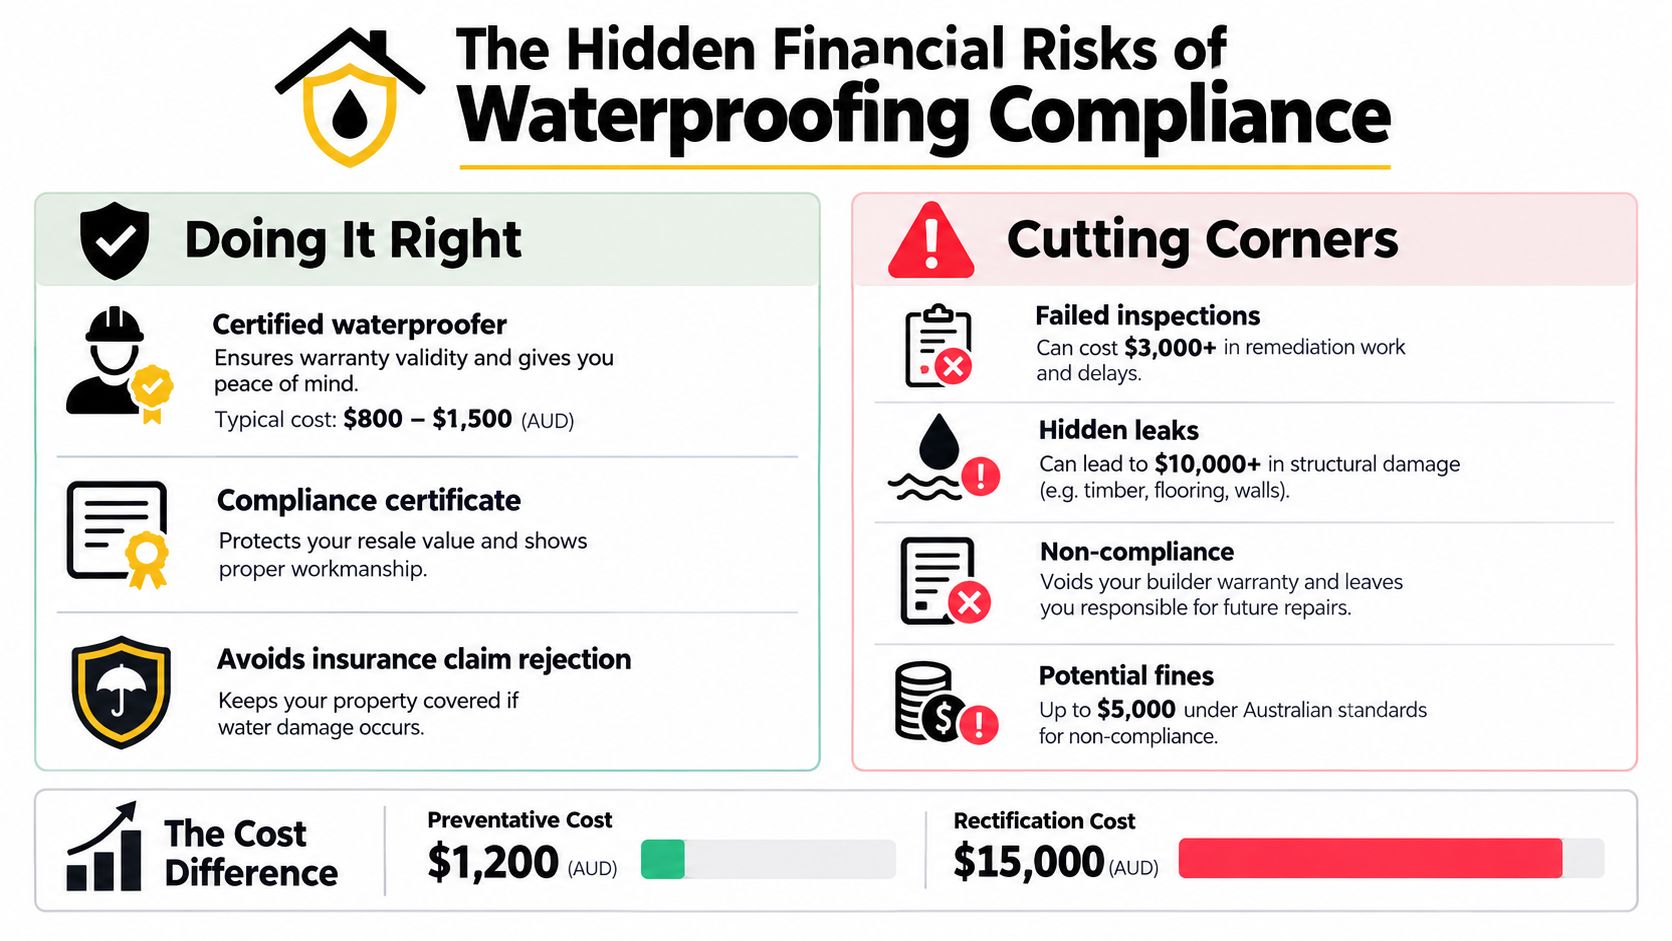
Large slabs aren't automatically the most reliable option where floors are uneven or falls are constrained. The National Construction Code waterproofing requirements for wet areas require shower floors, wall junctions, wall-to-floor junctions and penetrations to be waterproof, regardless of how flush and unbroken the tile face looks.
- Wall flatness: Ask your registered builder to check plumb and flatness and allow for levelling.
- Rectified edges: Specify narrow joints with matching grout for a continuous read.
- Adhesive rating: Confirm a large-format adhesive and back-buttering method with your tiler.
2. Fully Tiled Shower Recess with Recessed Niches and Frameless Screen
Say you're fitting a 1200mm wide shower with two niches and a 10mm clear frameless screen, tiled floor to ceiling. It looks simple in a rendering. On site, it's a framing, plumbing, waterproofing and glazing sequence that has to be locked in during rough-in.
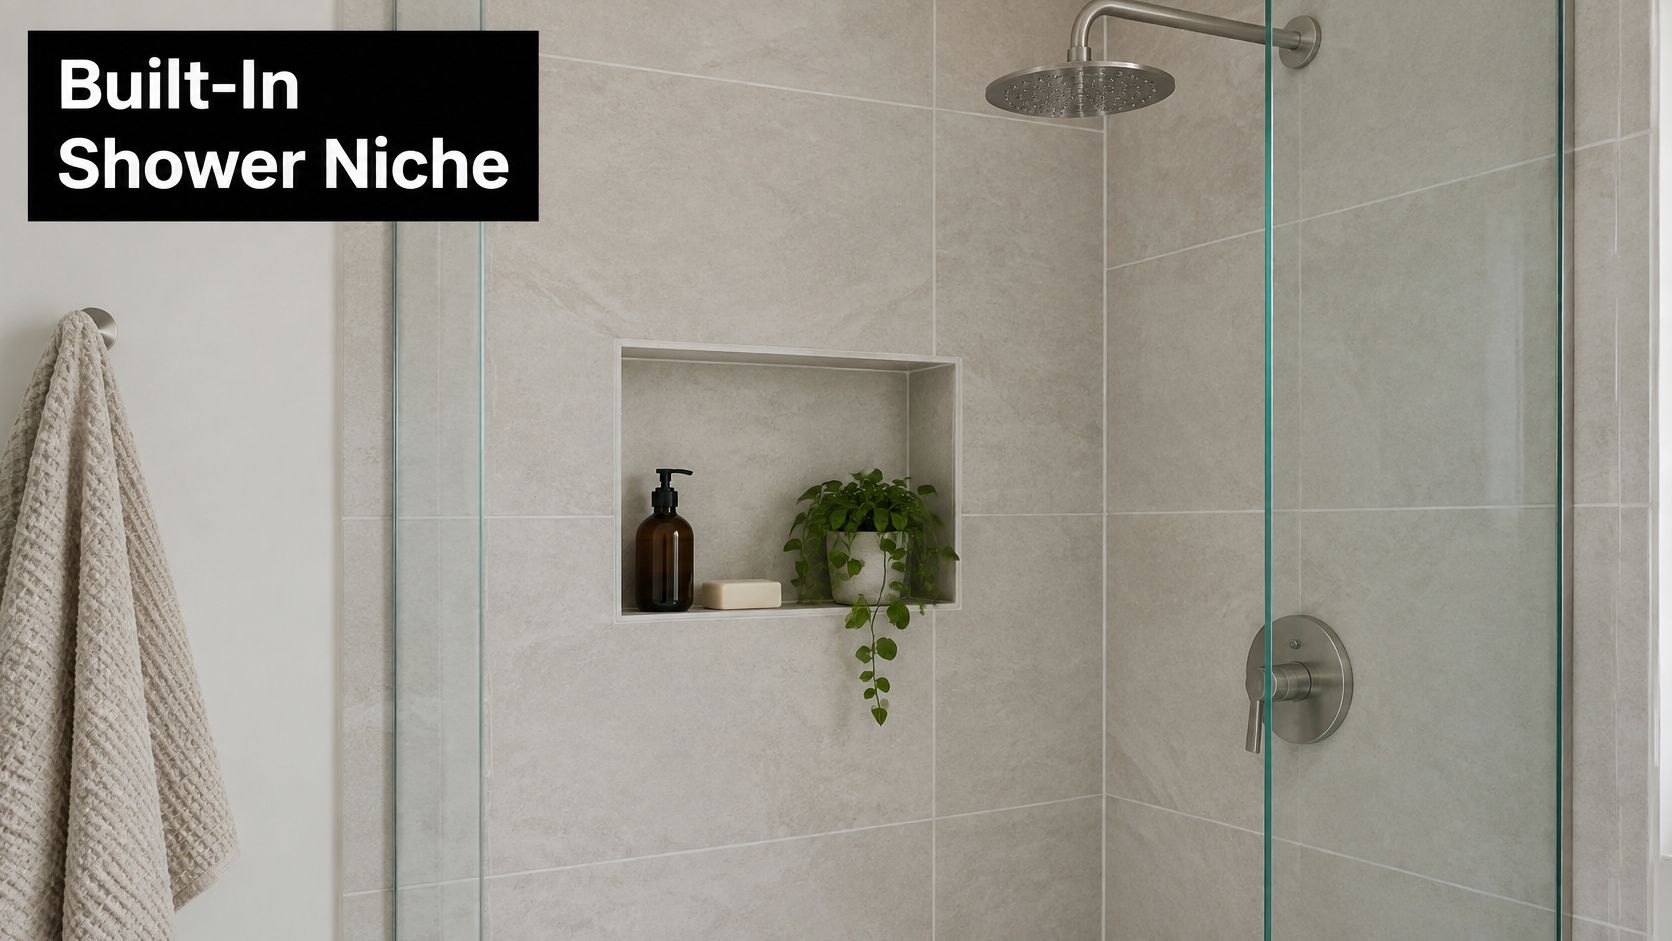
Niches remove wire caddies and keep bottles off the floor, but they create extra internal corners and a horizontal base where water sits. The membrane must run continuously through the base and reveals, and the shelf needs a slight fall so water doesn't pool behind shampoo bottles. If the niche is cut in after sheeting, you risk compromising both structure and membrane.
The National Construction Code Housing Provisions for wet area waterproofing require the floor of an enclosed or unenclosed shower area to be waterproof and shower walls to be waterproof to at least 1,800 millimetres above the floor substrate. That requirement sits behind the tile, so documentation matters before tiling conceals the work.
This image shows the finished niche detail homeowners usually notice first.
Coordination Steps That Prevent Rework
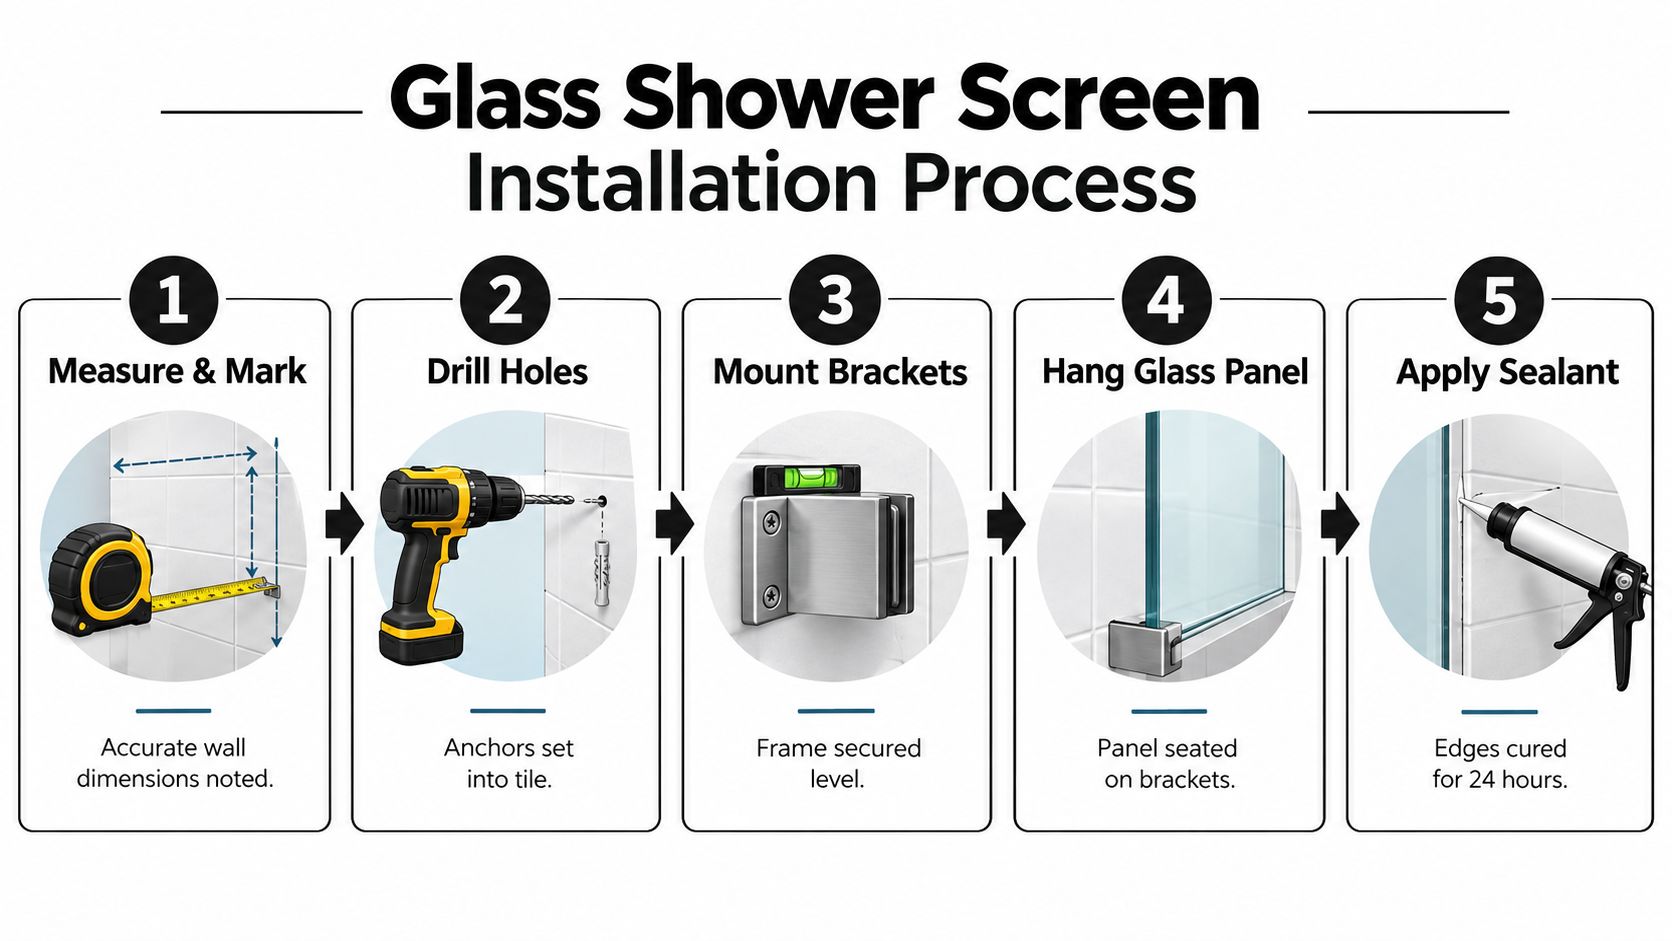
Confirm niche size and height on drawings before framing, ideally at shoulder height and clear of studs and plumbing. Use sealed or epoxy grout in the shower recess to reduce staining. Book a glazier experienced with frameless screens over tiled surfaces, because fixing points and clearances aren't an afterthought.
For layout, shelf heights and waterproofing returns, review shower niche installation detailing and placement with your builder before rough-in starts. Get the waterproofing certificate filed before tiles go on.
3. Book-Matched Marble-Look Porcelain Feature Wall
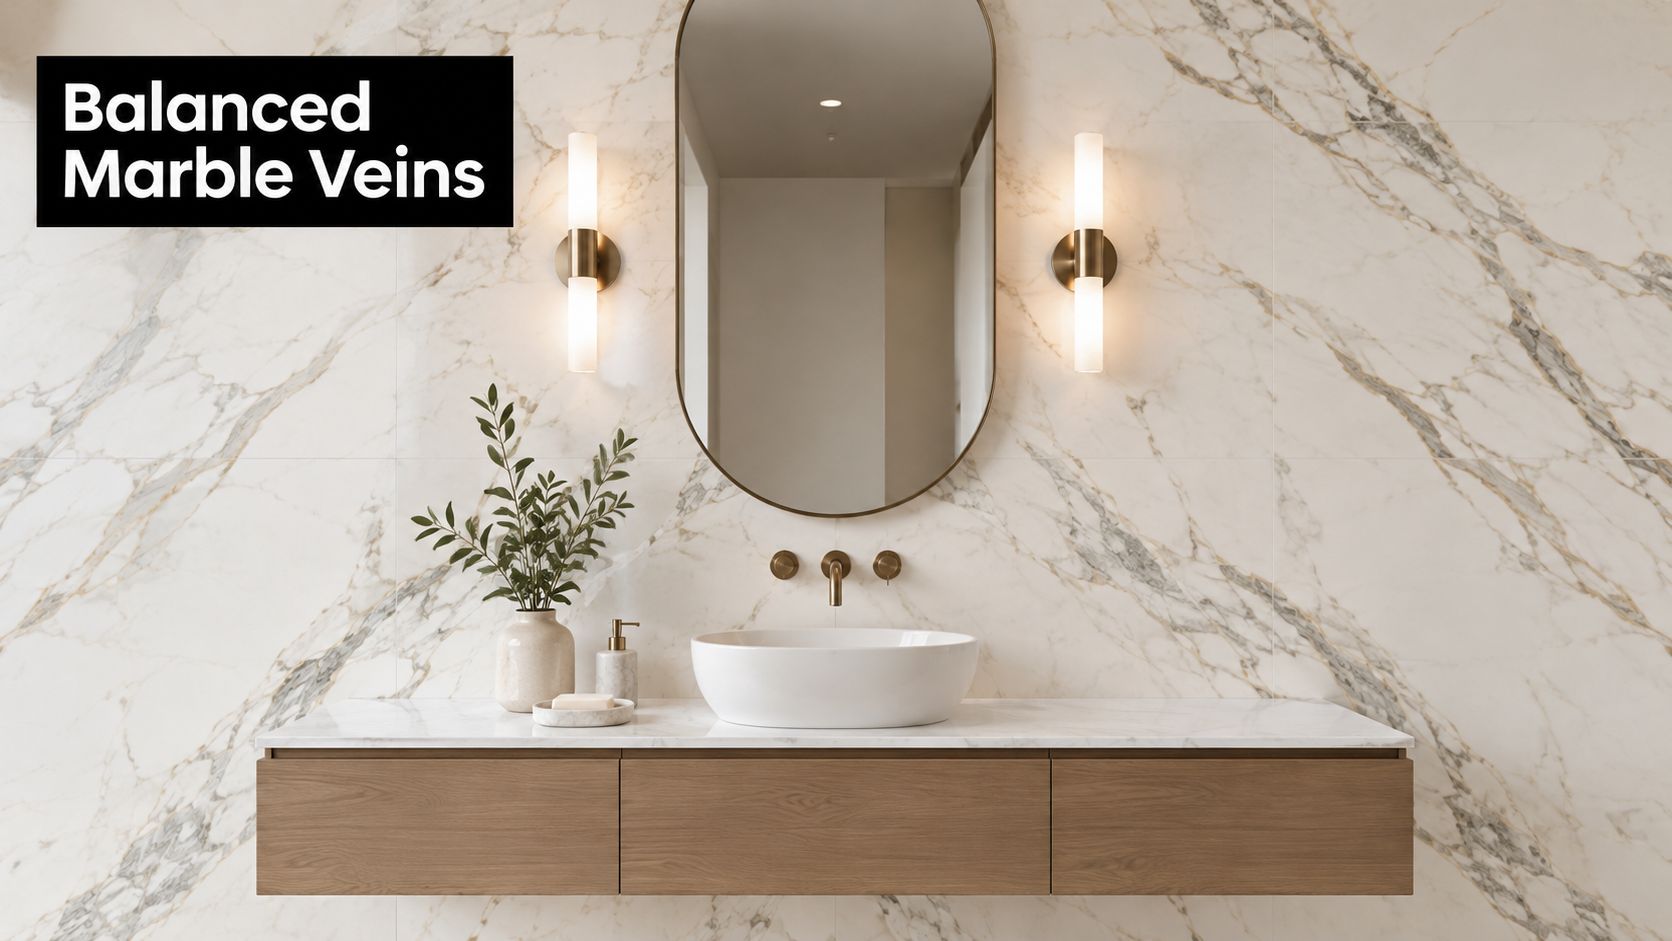
Book-matching places adjacent slabs in mirrored order so veining flows across the joint like an open book. Porcelain versions give you consistent colour and better stain resistance than natural marble, without the sealing regime real stone demands in a steamy ensuite. Used behind a floating vanity or bath, one wall carries the design while plainer tiles keep cost under control elsewhere.
Availability helps, but batch control still decides the result. Australian tile imports grew by 15.58% from 2023 to 2024, according to 6Wresearch reporting on the Australia tiles market, which expands format and finish choice. That doesn't guarantee your replacement slab in six months will match today's veining or tone.
Order the full feature wall in one batch, plus spares. Ask your tiler to dry-lay or draw the sequence, number each piece on the back, and place the strongest veins at eye level around the vanity mirror or bath back wall. A honed or satin finish reduces glare under mirror lighting compared with a high polish.
This vanity wall shows how veining, timber and mirror lighting need to be set out together.
Do not let anyone cut book-matched slabs before you've approved the numbered layout on the wall, not just on paper.
Don't extend a polished marble-look tile onto a wet floor for continuity. Keep the statement on the wall and specify a matte floor tile with documented slip performance. That contrast in finish is safer and usually looks more deliberate.
4. Zoned Tiling with Contrasting Wet and Dry Surfaces
Zoning assigns each surface a job. A textured, slip-resistant tile handles the shower and main wet floor, a feature tile defines the shower wall, and a smoother tile or timber-look porcelain suits the dry vanity zone. It's one of the most practical ensuite tile designs because safety, cleaning and cost aren't forced into a single product.
The specification needs evidence, not a showroom label that says matte. Australian guidance in BuildPilot's guide to tile selection and wet-area compliance states tiles are not waterproof so a continuous membrane must sit beneath them, general wet-area floors should typically use at least an R10 slip-resistance classification, and barefoot shower surfaces are better assessed at generally P4 or P5. It also notes highly polished floors commonly provide only about R9 and can be unsuitable for wet floors.
Making the Zones Line Up
A workable example is a matte, textured porcelain across the shower and main floor, patterned tile only inside the recess, and plain large-format walls elsewhere. Keep the boundary at a door line, screen line or vanity edge so it reads as intentional.
- Slip ratings: Get datasheets for every floor tile, not just the shower mosaic.
- Thickness changes: Plan packers or screed levels so transitions don't create a lip.
- Batch ordering: Order all zones together so tones and calibres match at junctions.
Discuss grout colour per zone early. A single grout can unify different tiles, while tonal contrast at the shower entry can make the boundary easier to see. Both work, but they produce different maintenance and safety outcomes.
5. Hexagon and Mosaic Floor Tiles with Slip-Resistant Finish
Hexagons, penny rounds and small mosaics suit ensuite floors where the base needs to fall to a central waste. Their smaller pieces follow compound falls more readily than large-format tiles, reducing the risk of tenting and lippage on a dished shower base. They also fit around curved wastes and irregular edges.
The trade-off is more grout to maintain. Joints can collect soap residue, especially where falls are too flat to drain properly. In wet areas, grout lines need regular cleaning. I recommend epoxy or high-performance grout in the shower, and a colour for dry areas that won't show every water mark.
Installation Checks for Sheet Mosaics
A white hexagon porcelain floor can continue into the shower, provided the base is prepared and the sheets are laid carefully. Before tiling, the tiler should screed the floor and check the falls. During installation, control adhesive squeeze-up between pieces and keep the spacing between sheets consistent with the spacing within them. Otherwise, sheet edges or uneven joints can remain visible in the finished floor.
Coordinate the substrate, waterproofing and tiling sequence before work starts. The screed and falls need to be ready before the membrane and tile installation proceed, with waterproofing completed and signed off at the required stage. Confirm the tile and grout specifications with the product guidance, then check the finished falls and drainage before handover.
Seal natural stone or unglazed ceramic only as the manufacturer directs. Glazed porcelain mosaics generally need grout care rather than surface sealing, so sealing them unnecessarily adds work without addressing the joints.
6. Level-Entry Wet Room with Screeded Floor and Linear Drain
This comparison helps frame the choice before you commit to a full wet-room build.
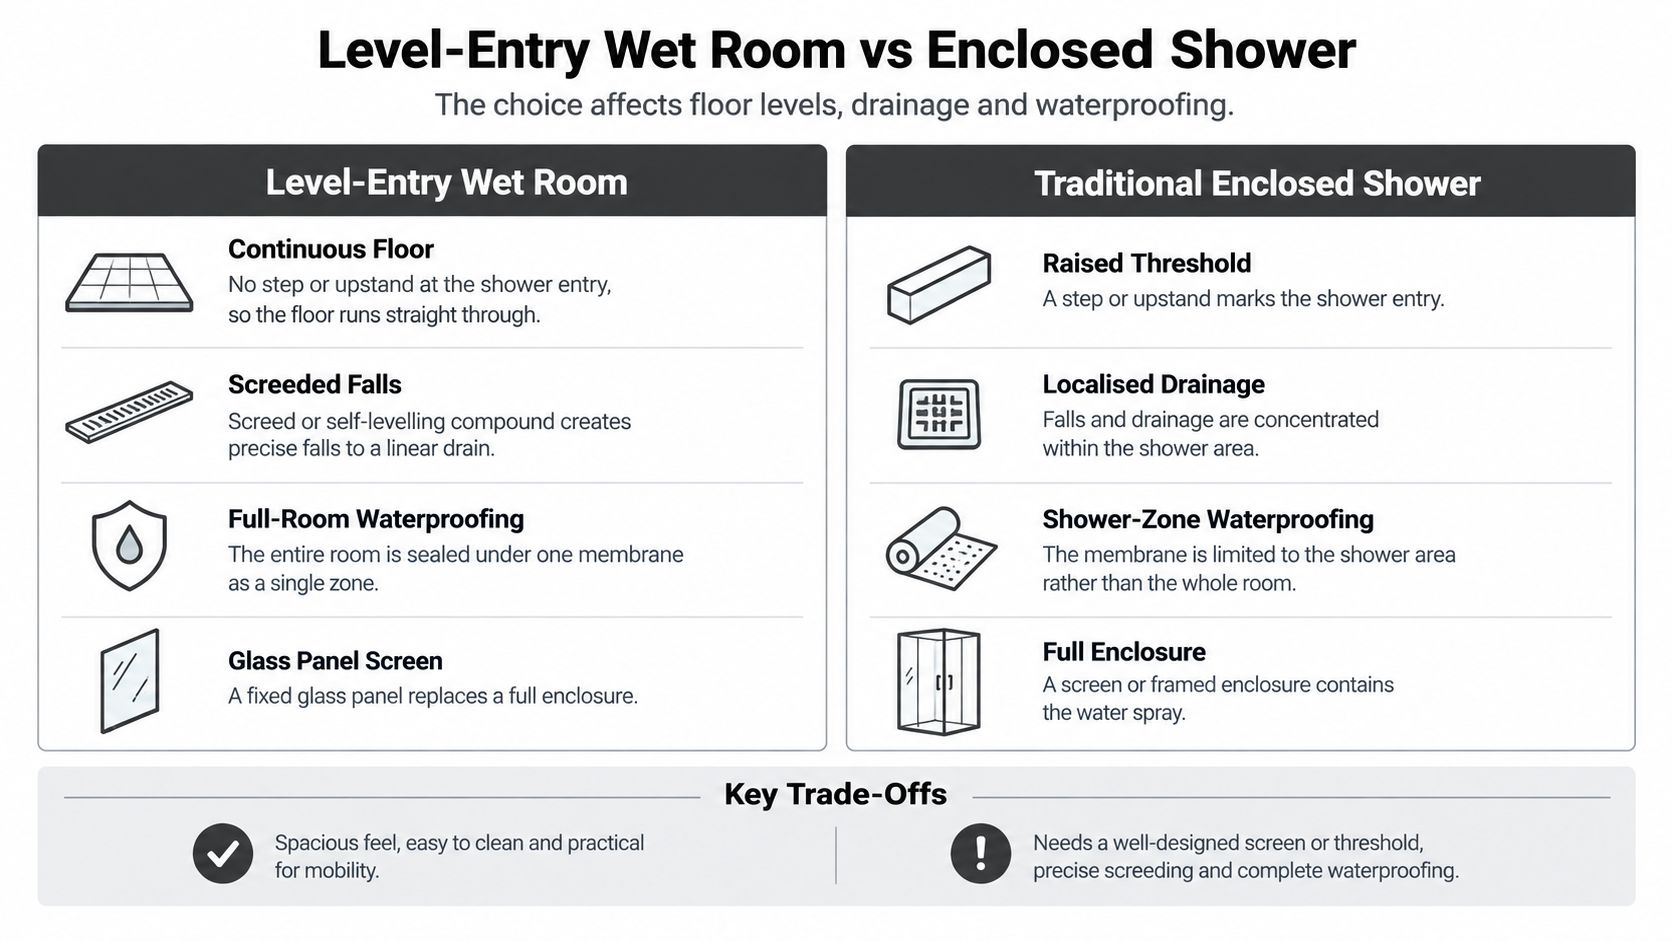
A level-entry wet room runs one tiled floor through the room, falls it to a linear drain, and waterproofs the whole zone as a single system. It suits compact ensuites, ageing in place and anyone who wants a fixed glass panel instead of a framed cubicle. It's also the least forgiving design here, because one flat spot will pond outside the shower area every day.
Accessibility is now a design baseline, not a niche add-on. Australian livable housing provisions for showers require at least one shower to have a hobless, step-free entry, allowing only a lip no higher than 5 mm for water retention. A tonal contrast between shower floor and main floor can make that entry easier to perceive without creating a clinical look.
Sequence and Sign-Off
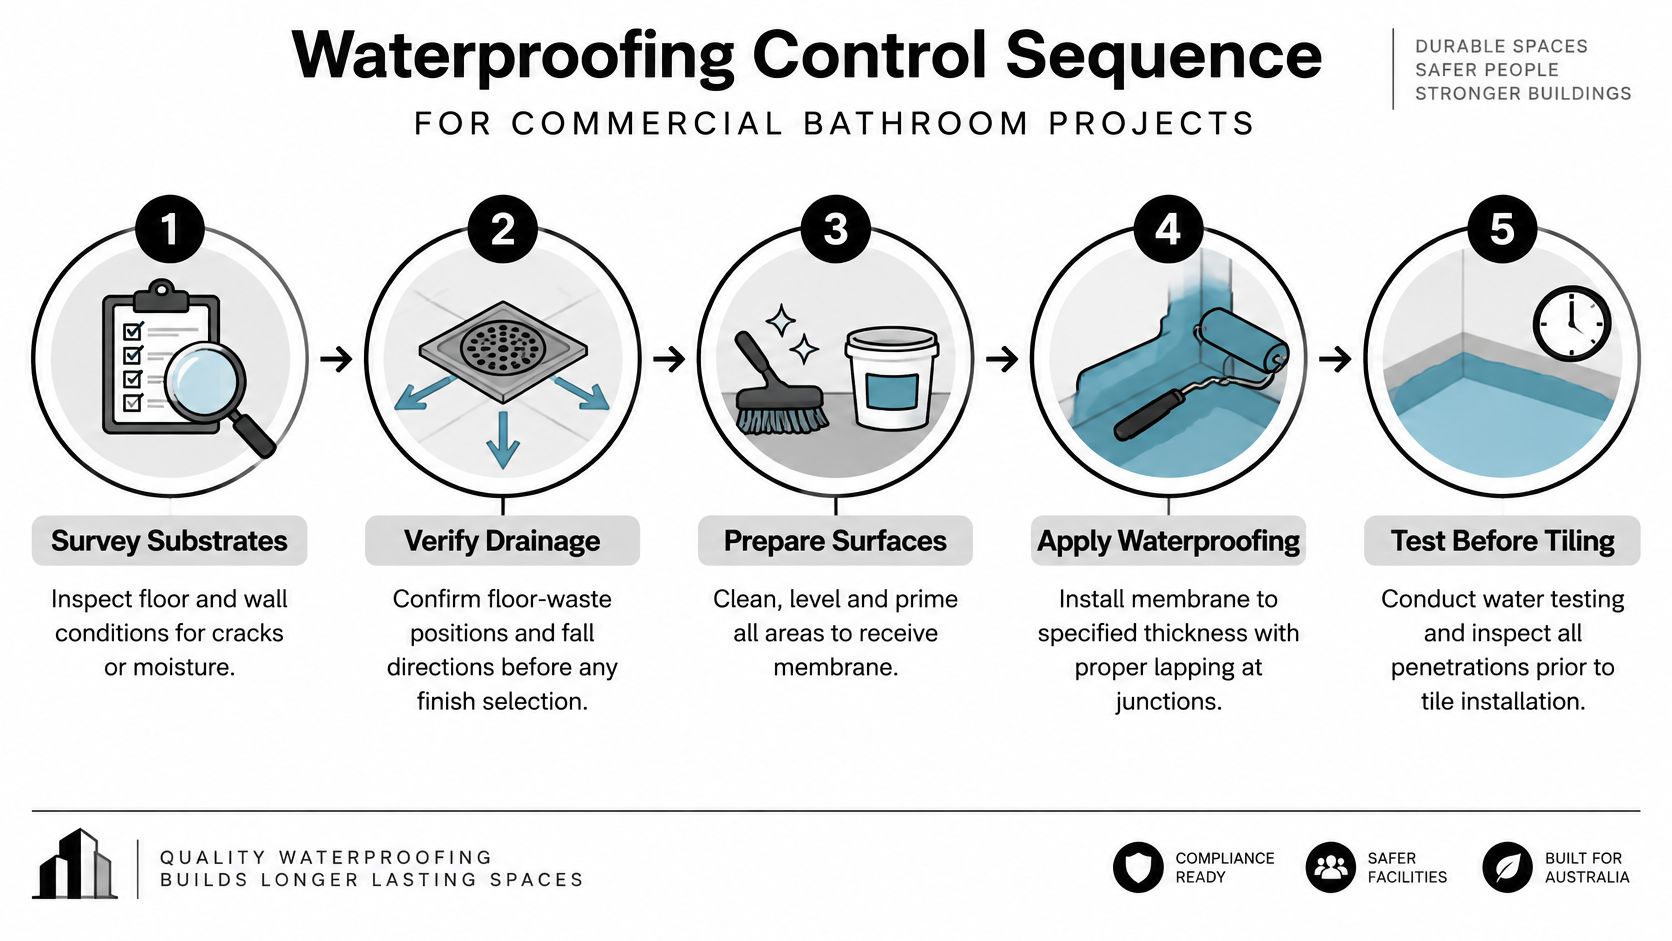
Set the drain position first, because it drives screed depth, door clearance and threshold height with the adjoining bedroom or hallway. Engage a qualified waterproofer to membrane and certify the full room, then screed to precise falls and flood-check before tiling.
The video below is useful for visualising how drain placement changes the tiling set-out.
Review the substrate and fall method in screeded shower base construction for tiled showers before your plumber sets the waste. If the existing slab can't achieve falls without raising the whole floor, decide that before cabinetry heights are finalised. Reinforce walls now for future grab rails, even if rails aren't installed yet.
7. Herringbone and Chevron Floor Patterns
Herringbone lays rectangles at right angles. Chevron uses angled cuts to form continuous V shapes. Both add movement to a long, narrow ensuite and can echo timber flooring elsewhere in the home, but they consume labour in setting out, cutting, sorting shade variation and keeping movement joints where they belong.
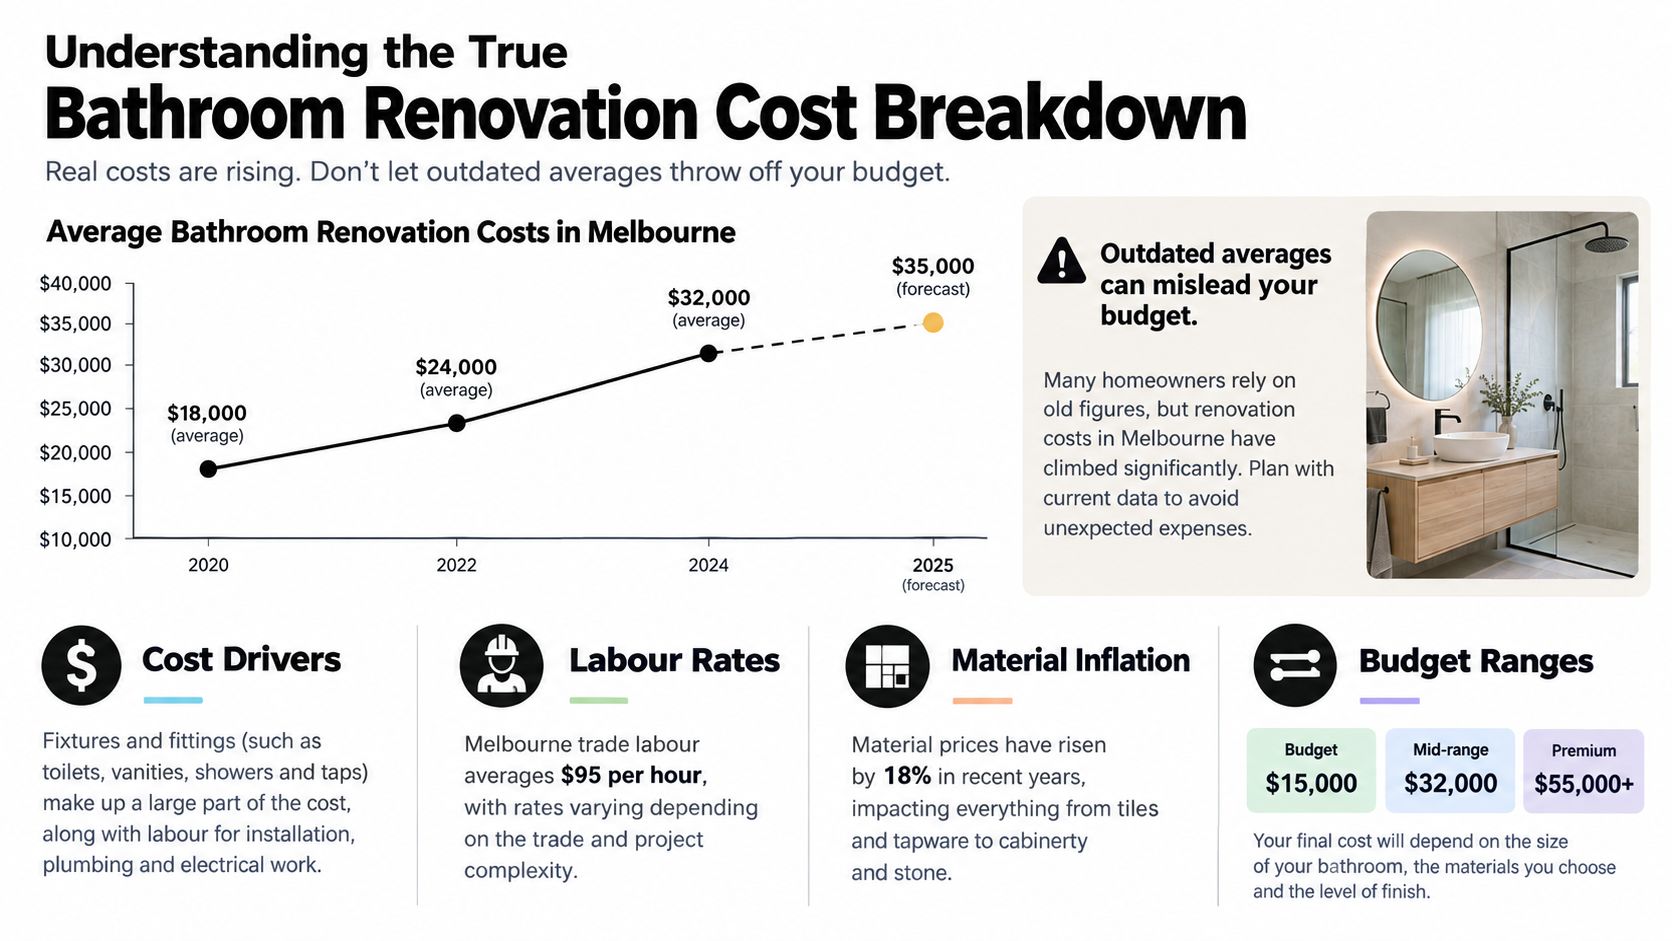
Price the pattern separately from the tile. A Refresh Renovations Melbourne bathroom case study used a continuous floor-to-ceiling herringbone pattern in pale blue tiles, and the labour-intensive installation wasn't included in the original allowance, contributing to a total renovation period of 4.5 weeks and a completed cost of approximately A$30,000. That project also paired the pattern with wall-hung cabinetry and a wall-hung toilet to expose more floor in a narrow room.
Practical rule: If your quote prices herringbone at the same laying rate as stacked bond, the allowance is wrong.
Controlling Waste and Alignment
Start from the central axis or the main sightline from the door, not from a back corner. Dry-lay enough of the pattern to check where cuts land at the waste, vanity kick and shower screen. A light grey herringbone porcelain with a defined border can contain the pattern and reduce awkward perimeter cuts.
Order extra for cutting waste and future repairs. Confirm slip resistance, because small patterned pieces still need a suitable wet-floor finish. Work through sightlines, grout colour and fixture alignment using herringbone tile pattern layout guidance with your tiler before adhesive is opened.
8. Balcony-Adjacent Ensuite with External-Grade Tiles and Tanking
An ensuite opening to a first-floor balcony, or sitting over external living space, has two exposures at once. Internal shower water pushes one way, wind-driven rain pushes the other, and the threshold becomes the detail that decides whether moisture tracks into framing and ceilings below. Standard internal tile and a bead of silicone won't manage that risk.
Specify external-grade porcelain with suitable wet slip performance, a continuous membrane detailed to the drain, and falls that move balcony water away from the door. Check that internal and external floor levels still give you compliant door operation and water retention once screed, membrane and tile thicknesses are stacked up.
Approval pathways need checking on renovation work, not assumed from new-build examples. The Australian Building Codes Board guidance on waterproofing houses states the NCC primarily applies to new building work, while alterations and upgrades to existing buildings must also be assessed against the legislation and regulations applying in the relevant state or territory. For a Melbourne project, that means checking Victorian requirements with your builder or building surveyor.
Inspection Routine for Owners and Managers
Have membrane upturns, door-jamb sealing and balcony falls inspected before tiling conceals them. Photograph drains, waterstops and threshold details for the property file. Those records matter for landlords and property managers when a leak appears two tenancies later.
After handover, clear grated drains, check sealant at the threshold, and inspect grout after heavy rain. A small cracked joint outside can undo an otherwise sound ensuite, so maintenance is part of this design, not optional housekeeping.
Ensuite tile designs compared by format, best use, build complexity and maintenance
| Item | Typical Format | Best Use | Build Complexity | Maintenance Level |
|---|---|---|---|---|
| Large-Format Porcelain Wall Tiles with Minimal Grout Lines | Rectified slabs, typically 600 × 1200 mm or larger, with 1.5–3 mm joints | Seamless wet-area walls and compact ensuites | High; needs flat substrates, skilled handling and specialised installation | Low; fewer grout lines and durable, stain-resistant porcelain |
| Fully Tiled Shower Recess with Recessed Niches and Frameless Screen | Floor-to-ceiling tiles, built-in niches and 8–10 mm frameless glass | An uncluttered, spacious-feeling shower | High; niche framing, waterproofing and glass fitting require coordination | Moderate; niches are easy to clean, but glass needs regular cleaning |
| Book-Matched Marble-Look Porcelain Feature Wall | Large-format porcelain slabs arranged in mirrored veining | Feature wall behind a vanity or bath | High; requires sequence planning, careful cutting and matching | Low to moderate; porcelain resists stains, while polished finishes show water spots |
| Zoned Tiling with Contrasting Wet and Dry Surfaces | Multiple tile types selected for different zones | Balancing wet-area safety, function and visual contrast | Moderate to high; transitions and tile coordination need careful planning | Moderate; depends on tile types, grout and zone transitions |
| Hexagon and Mosaic Floor Tiles with Slip-Resistant Finish | Mesh-backed hexagon, penny-round or square mosaics | Shower floors, slopes and curved surfaces | Moderate to high; precise alignment and floor falls are essential | Moderate to high; many grout lines need regular cleaning and may require sealing |
| Level-Entry Wet Room with Screeded Floor and Linear Drain | Continuous floor, full-room membrane and linear or point drain | Accessible living, ageing in place and compact bathrooms | Very high; requires precise falls, drainage and full-room waterproofing | Moderate; easy to clean, but drains and waterproofing need attention |
| Herringbone and Chevron Floor Patterns | Rectangular tiles in right-angle or V-shaped layouts | Adding pattern and visual movement to ensuite floors | High; accurate layout and cutting increase labour and waste | Moderate; visible grout lines need regular cleaning |
| Balcony-Adjacent Ensuite with External-Grade Tiles and Tanking | External-grade porcelain, membrane, falls and drainage | Ensuites opening onto balconies or above external spaces | Very high; specialist waterproofing and threshold detailing are required | Moderate; drainage outlets, sealants and grout need regular checks |
Turning Ensuite Tile Designs into a Renovation Plan You Can Build
Choose the design after you've confirmed the substrate, waterproofing approach and fall to the waste, not before. That one decision rule prevents most expensive reversals. A large-format wall fails on an uneven stud wall, a mosaic fails on flat falls, and a wet room fails if the drain position is treated as a plumbing detail to solve later.
Start with a measured set-out. Your builder and tiler should mark waste positions, screen lines, niche locations, movement joints and zone transitions on the floor and walls before ordering. Confirm slip ratings from product datasheets, grout type per zone, tile batch quantities and spare stock in writing. If a pattern is involved, separate material cost from laying labour and include a wastage allowance and edge-detail schedule in the quote.
Lock the trade sequence next. Demolition and substrate repairs come first, then plumbing and electrical rough-in, framing for niches and future rails, sheeting, waterproofing and certification, screeding and fall checks, tiling, grouting, glazing and fit-off. No tile should conceal membrane work that hasn't been inspected and documented. Photographs, certificates and datasheets belong in your handover file.
A Replicable Pre-Order Checklist
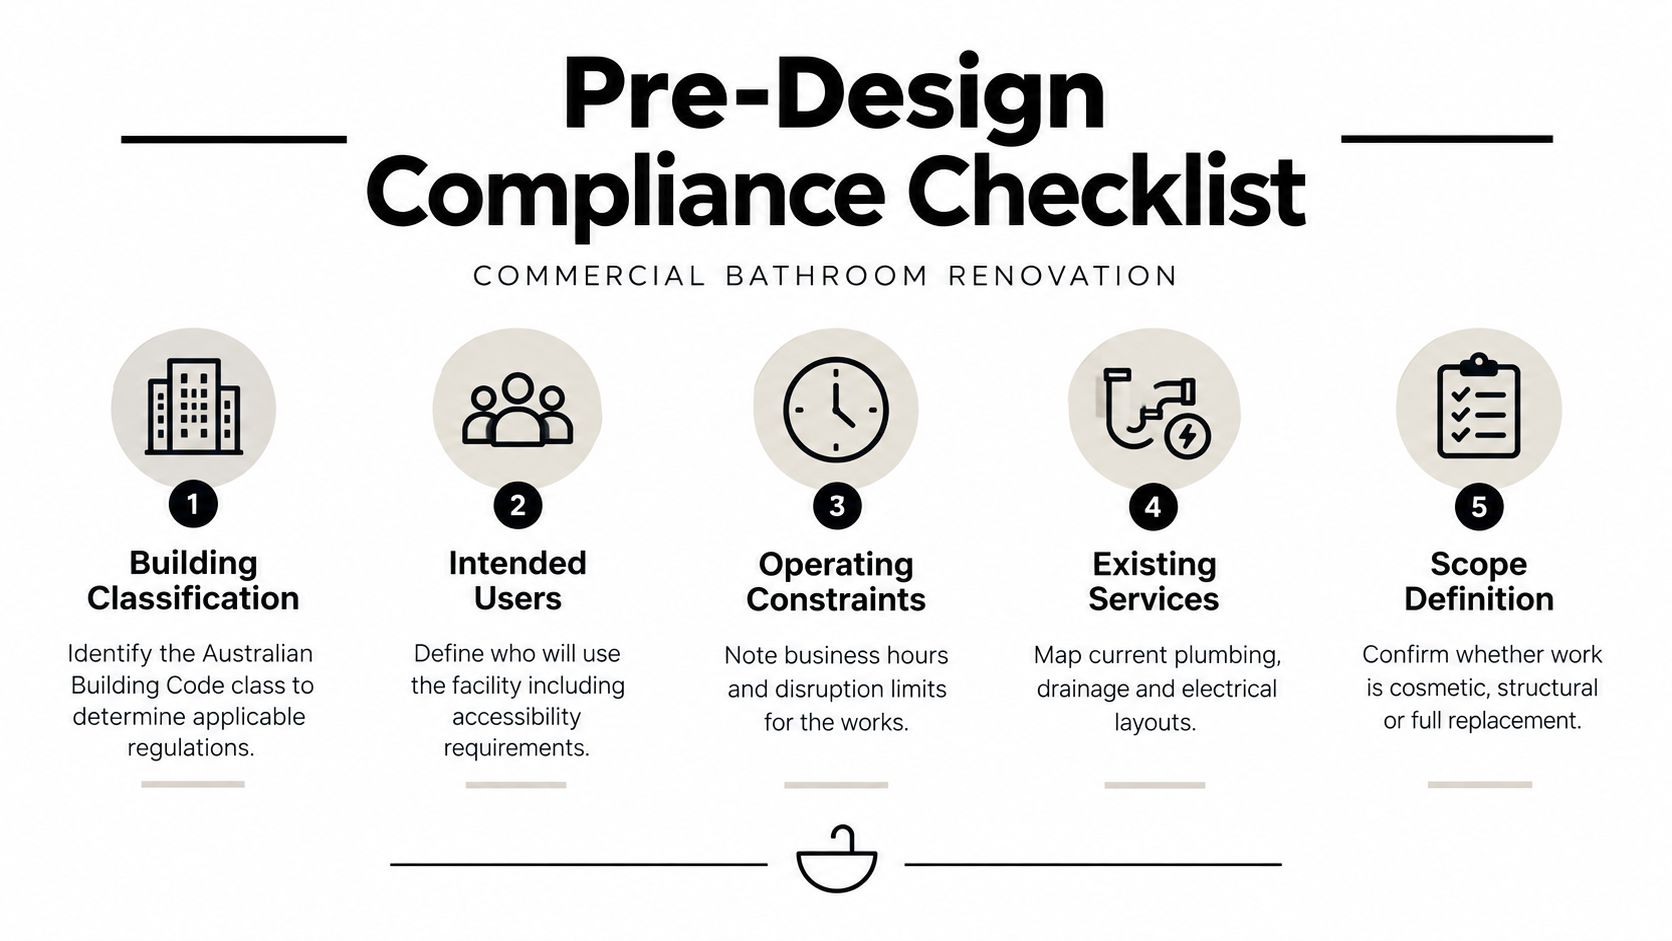
- Substrate: Walls checked for flatness and floors checked for level and movement.
- Waterproofing: Membrane system, upturns, niches, penetrations and waterstops detailed on drawings.
- Drainage: Waste type and position fixed, falls achievable within available floor depth.
- Tile performance: Format, finish, slip rating, adhesive and grout matched to wet or dry zone.
- Layout: Centred set-out, cut locations, movement joints and transitions approved before fixing.
Budget realistically for complexity. Straight stacked layouts are faster to set out and maintain. Book-matching, chevron, mixed zoning and level-entry wet rooms can all work beautifully, but each adds coordination between builder, waterproofer, plumber, tiler and glazier. You're paying for that coordination as much as for the tile itself.
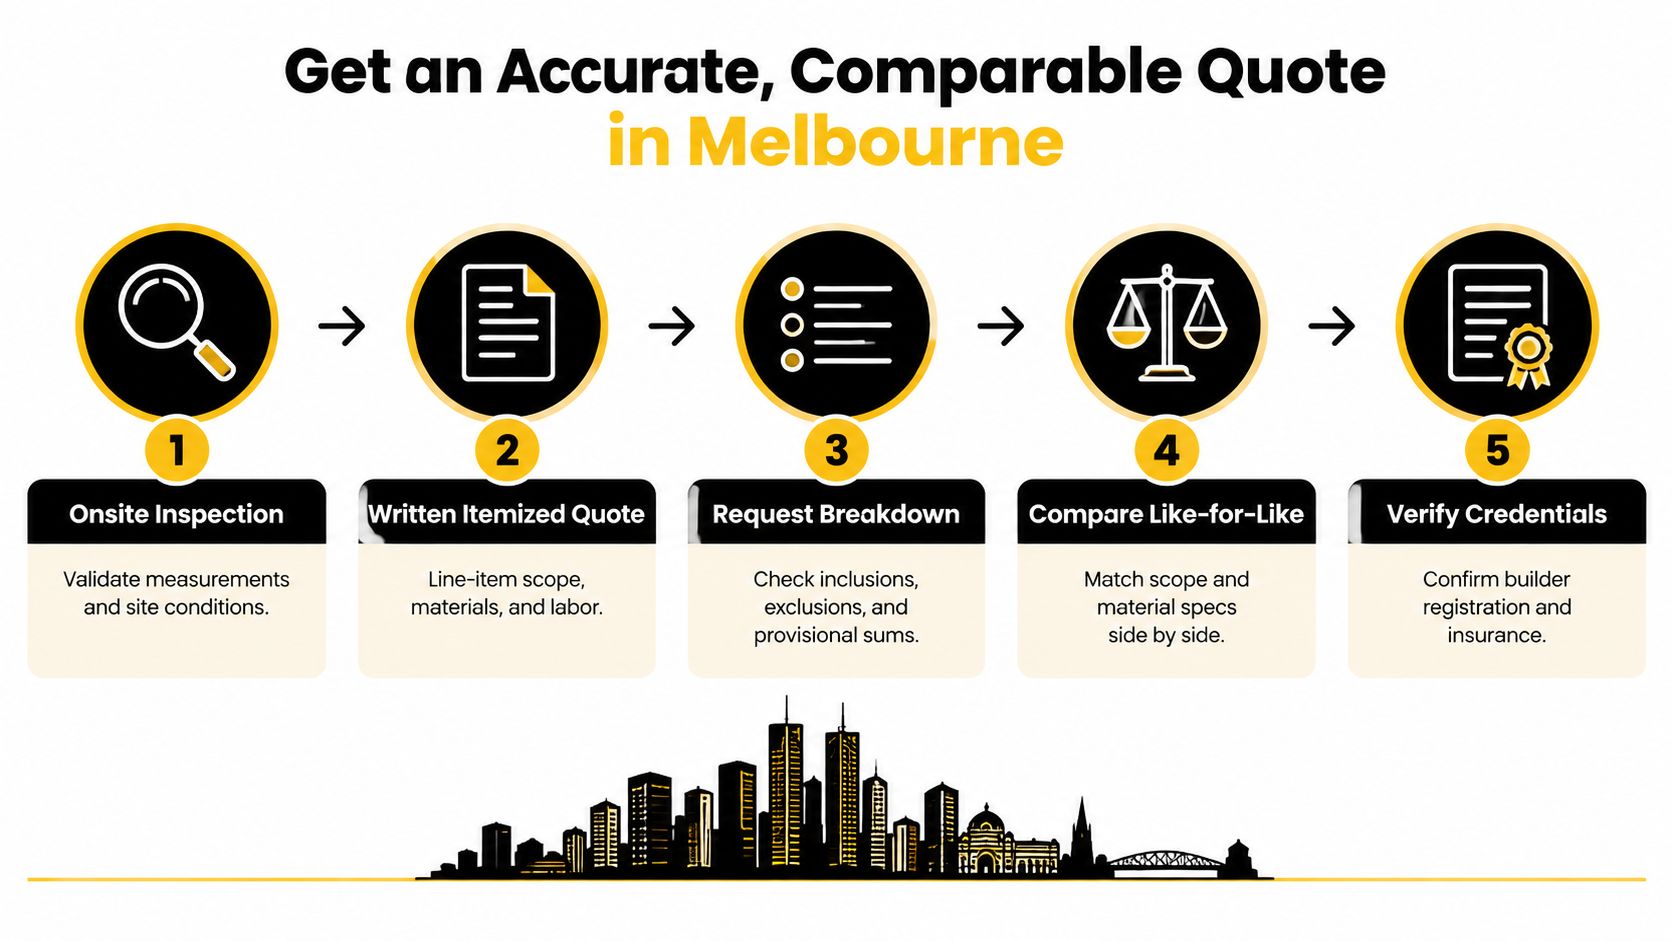
Your next step is practical, not another hour of scrolling for inspiration. Request a free quote, 3D drawings and a renovation calculator estimate from a registered builder with bathroom and tiling experience, then confirm the trade sequence in writing before any tiles are ordered. Melbourne Tiling Services P/L is one relevant option for Melbourne homeowners who want that design, waterproofing and tiling coordination handled as one scope.
If you're comparing quotes, compare what's underneath the tile as closely as the tile name. Ask who's responsible for substrate levelling, membrane certification, screed falls and screen measurement. The cheapest ensuite tile designs on paper often become the most expensive once those items surface as variations. A buildable plan protects the look you chose and the structure behind it.
If you're planning an ensuite renovation in Melbourne, Melbourne Tiling Services P/L can coordinate the design, waterproofing, screeding and tiling sequence with registered builders and licensed trades, supported by free quotes and 3D drawings. Visit Melbourne Tiling Services P/L to discuss your tile layout, falls and fixtures before you order materials, so the design you choose is one your site can build in practice.









Recent Comments