
Most rapid self-levelling compounds are walkable in about 2 to 4 hours and ready for ceramic or porcelain tile in about 4 to 6 hours, while carpet takes 16 to 24 hours, direct-stick vinyl 24 to 48 hours and timber up to 72 hours, with full strength assessed at 28 days. Name your floor finish first, because that finish sets the waiting period.
The popular advice to leave it overnight is too blunt for bathroom renovations. A floor can feel hard enough to cross while still being unsuitable for a membrane or moisture-sensitive adhesive. In Melbourne bathrooms and balconies, the existing slab can dictate the handover date more than the fresh compound does.
Table of Contents
- Walkable, Tile-Ready and Fully Cured Times at a Glance
- How Thickness, Substrate and Climate Shift the Clock
- Why a Floor Can Feel Hard While the Slab Stays Wet
- How to Check Moisture Before Tiles, Vinyl or Membranes
- Bathroom and Ensuite Timing for Melbourne Conditions
- Balcony and Terrace Drying in Melbourne Weather
- Registered Builders and Drying Gates in the Contract
- Confirm the Handover Timeline Before You Book Tiling
Walkable, Tile-Ready and Fully Cured Times at a Glance
Self levelling compound has no single drying time. Initial set, safe access, covering readiness and strength development are separate milestones, and a tiler needs to know which milestone the next trade requires.
Self levelling compound drying and curing stages
| Stage | Typical time | What it means | Applies to |
|---|---|---|---|
| Initial set | About 1 to 3 hours | Surface begins to firm; not safe to walk on | Process check only |
| Light foot traffic | About 2 to 4 hours | Walkable in socks or soft shoes when permitted; not proof of dryness | Access for other trades |
| Ceramic, porcelain or stone tile | About 4 to 6 hours for many rapid products; 5 to 6 hours for some | Tile can be bonded once the product window is met | Bathroom and balcony tiling, with an approved system |
| Carpet or floating floor | About 16 to 24 hours | Product has reached its stated covering window; adhered carpet also needs adhesive approval | Bedrooms and living areas |
| Direct-stick vinyl | About 24 to 48 hours | Surface and slab must meet the covering manufacturer's moisture limit | Laundries and some bathrooms |
| Direct-stick timber or parquetry | About 48 to 72 hours | Moisture-sensitive; requires confirmed substrate moisture | Timber floors |
| Waterproofing membrane | About 24 hours, with residual moisture below 2 per cent for the referenced rapid screed | Substrate must be stable and within the membrane system's limit | Wet areas and balconies |
| Full strength | At least 35 MPa at 28 days for the referenced strength-development example | Specified strength benchmark, not a universal drying certificate | Heavy loads and long-term performance |
The setting, access and strength benchmarks come from Australian rapid-leveller technical guidance, which includes approximately 2 to 4 hours before foot traffic and strength development of 15 to 20 MPa at one day, 20 to 25 MPa at seven days and at least 35 MPa at 28 days. Those strength figures describe a particular formulation, not every bag labelled self-levelling.
The Davco Lanko 184 technical sheet supports finish-specific windows including 4 to 6 hours for tiles, 16 to 24 hours for carpet and 24 to 36 hours for vinyl, with other Australian formulations extending direct-stick vinyl and timber allowances. The broader table is a scheduling guide across products, not a specification for one product.
Read the covering window, not just the headline
A rapid-screed technical data sheet specifies 48 hours before timber or parquetry and recommends 24 hours before waterproofing, ideally with residual moisture below 2 per cent. Residual moisture by percentage and slab relative humidity are different measurements. Don't substitute one for the other.
Fast specialist systems can shorten the timetable considerably: Sika Australia lists Sikafloor Level Ultra as ready for tiles or stone after approximately 5 to 6 hours at 23°C, and moisture-sensitive flooring after approximately 7 to 8 hours. That's permission for that system under its stated conditions, not permission to accelerate another compound.
Practical rule: Find the row for your finish. The foot-traffic row only tells you when you may regain access.
Reference conditions are controlled, not typical of every renovation. The ARDEX K 10 Reactiv8 specification uses approximately 23°C and 50 per cent relative humidity, while expressly identifying thickness, substrate and ambient conditions as influences on drying.
How Thickness, Substrate and Climate Shift the Clock
Think of the compound as a wet layer that must release moisture while its cementitious binder develops strength. A thick layer on a cold slab in a closed room won't behave like a thin application in controlled conditions.
Factors that change drying time and what to do about each
| Factor | Effect on drying | What to do |
|---|---|---|
| Layer thickness | Deeper pours contain more water and take longer to reach covering readiness | Check maximum layer depth; don't fill deep voids in one unsupported pass |
| Temperature | Cold substrates and cool rooms extend drying | Measure slab temperature as well as room temperature; warm gently within product limits |
| Relative humidity | Humid air slows moisture loss | Ventilate or dehumidify and allow a contingency day |
| Airflow and heat | Controlled airflow helps; hot wind and direct sun can damage curing material | Protect early curing, then introduce controlled ventilation |
| Substrate absorbency | Porous slabs draw water from the mix; sealed surfaces restrict absorption | Use the specified primer and assess existing coatings |
| Slab age and water-cement ratio | The slab can retain moisture long after the leveller becomes firm | Test rather than judging by the slab's appearance |
| Compound type | Rapid and standard formulations have different covering windows | Read the exact product's Australian technical sheet |
Inspect the deepest areas, not just the thin edge at the doorway.
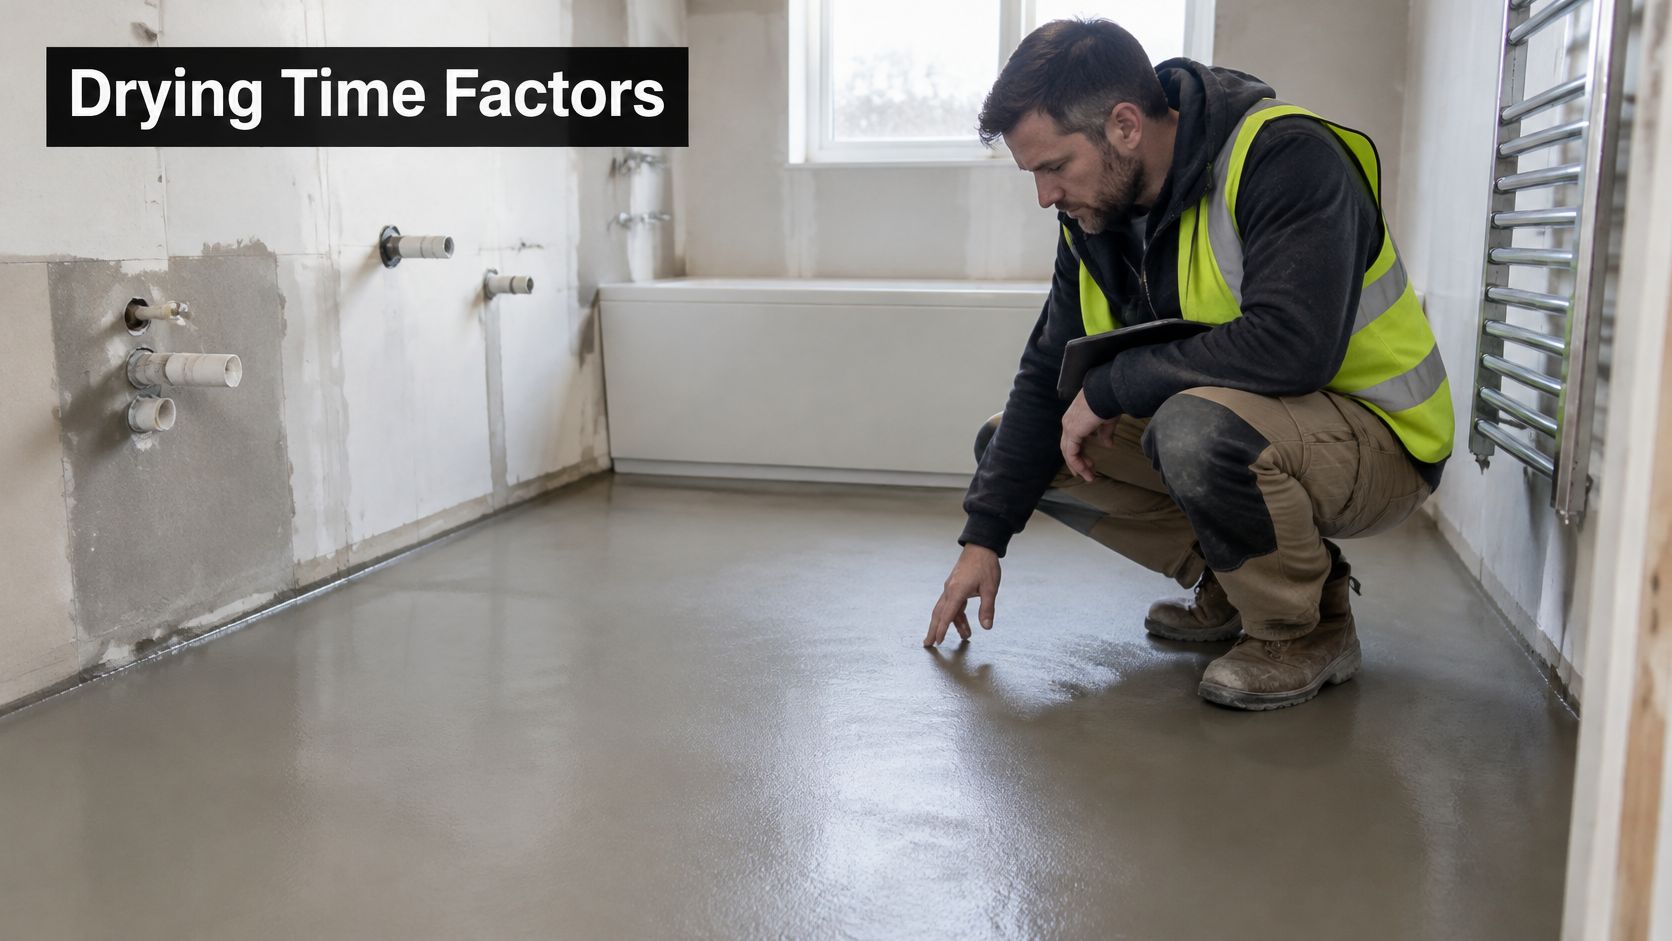
A cold room changes the booking
For a concrete example, Glues Australia's Dunlop Multipurpose Floor Leveller listing specifies 4 hours before walking, 4 to 6 hours before tiling and 24 hours before other coverings. Those are different permissions, even though they appear on the same product listing.
Say that product is poured into a cool, humid ensuite with the door closed. I wouldn't book the next trade against the earliest advertised window. I'd arrange controlled ventilation, assess the deepest pour and reserve a later attendance, with release conditional on the product requirements being met.
Don't point a fan heater directly at the floor to recover lost time. A dry-looking skin isn't the objective, and uneven heating can create a new problem rather than resolve the original delay.
For substrate preparation, our guide to self-levelling compound for concrete explains the considerations before pouring. Preparation and drying belong in the same plan.
As a booking allowance, add a contingency day where the room is cold, damp or poorly ventilated. That's a scheduling recommendation, not a promise that another day will make an unsuitable substrate ready.
Why a Floor Can Feel Hard While the Slab Stays Wet
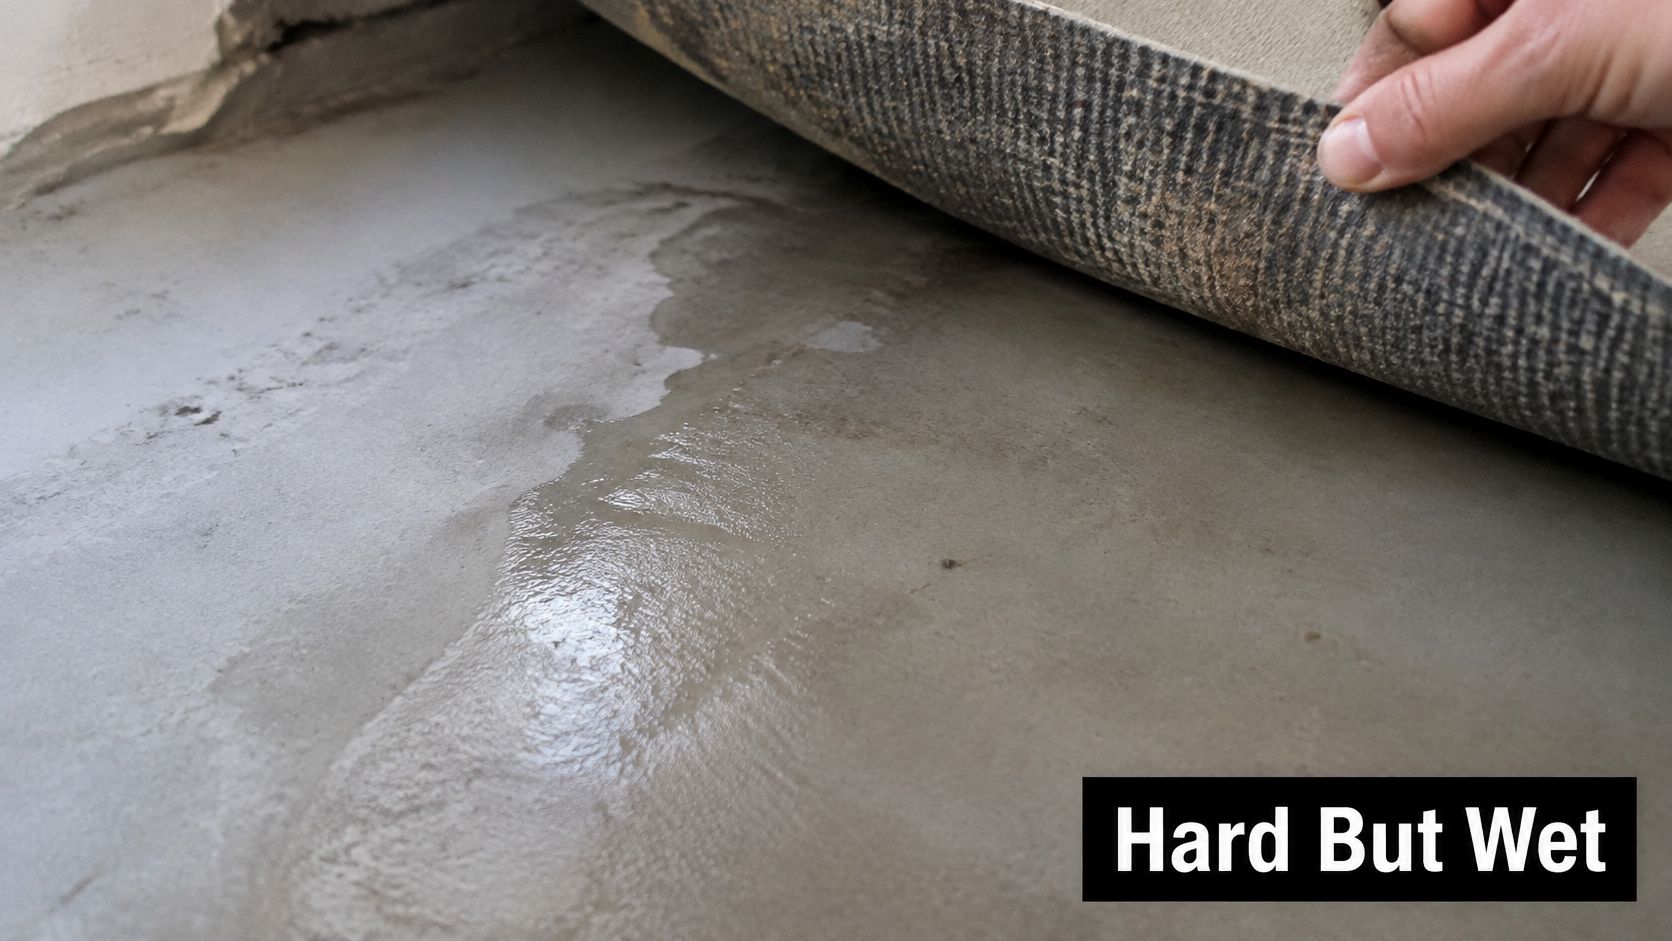
A hard surface isn't evidence of a dry slab. Think of a damp sponge under a firm lid: touching the lid tells you little about the water underneath.
A damp patch deserves investigation before another layer conceals it.
The leveller and supporting concrete have different moisture histories. According to LATICRETE's concrete-drying guidance, concrete with a water-to-cement ratio of 0.50 to 0.70 can take roughly 3 to 9 months to reach 90 per cent relative humidity under suitable drying conditions, while ratios of 0.38 to 0.50 may still require about 2 to 3 months. Reaching that humidity isn't automatically approval for the finished flooring.
Australian Flooring Technology moisture-checking guidance identifies acceptance limits of 70 per cent relative humidity for an insulated-hood test and 75 per cent for an in-situ probe test, while warning about adhesive application before the leveller has fully cured. The lowest applicable system limit controls, normally including the floor-covering manufacturer's requirement.
Two slabs, two different problems
A new bathroom slab poured in winter may retain substantial construction moisture. A rapid leveller can provide a smooth working surface without making the underlying concrete suitable for an impervious finish.
An older ensuite with rising damp presents a different issue. Waiting longer won't reliably solve continuing moisture entry. The builder needs to investigate the source, which could involve plumbing leakage, external drainage or ground moisture, before choosing the repair system.
The distinction matters when watching a pour or judging its appearance. Use visual demonstrations to understand the material, not to certify its moisture condition.
A levelling layer corrects the floor profile. It isn't automatically a moisture barrier.
A product may accept application over a relatively damp slab while the final vinyl, timber or membrane has stricter limits. Those permissions aren't interchangeable. Establish whether you're dealing with residual construction moisture or an active moisture source before programming the finish.
How to Check Moisture Before Tiles, Vinyl or Membranes
Moisture sign-off should produce a record someone else can verify. A surface meter can help locate suspect areas, but its reading doesn't automatically replace the specified concrete humidity test.
Establish the release criteria
Confirm the finish and its limits. Obtain the relative humidity and pH requirements from the floor-covering, adhesive or membrane manufacturer. Check the complete build-up, because approval for the leveller alone doesn't approve the layers above it.
Identify the slab and its history before selecting test positions. Record whether the substrate is concrete, screed or sheet flooring, and note leaks, damp patches, repairs and drainage concerns. A concrete testing method shouldn't be applied indiscriminately to another substrate.
Select the required test method. Use an in-situ probe or insulated-hood test where the installation specification calls for it. Name the method and applicable standard in the test plan, using the manufacturer's technical sheet and the relevant Australian installation requirements rather than choosing whichever instrument is available.
The practical sequence is straightforward.
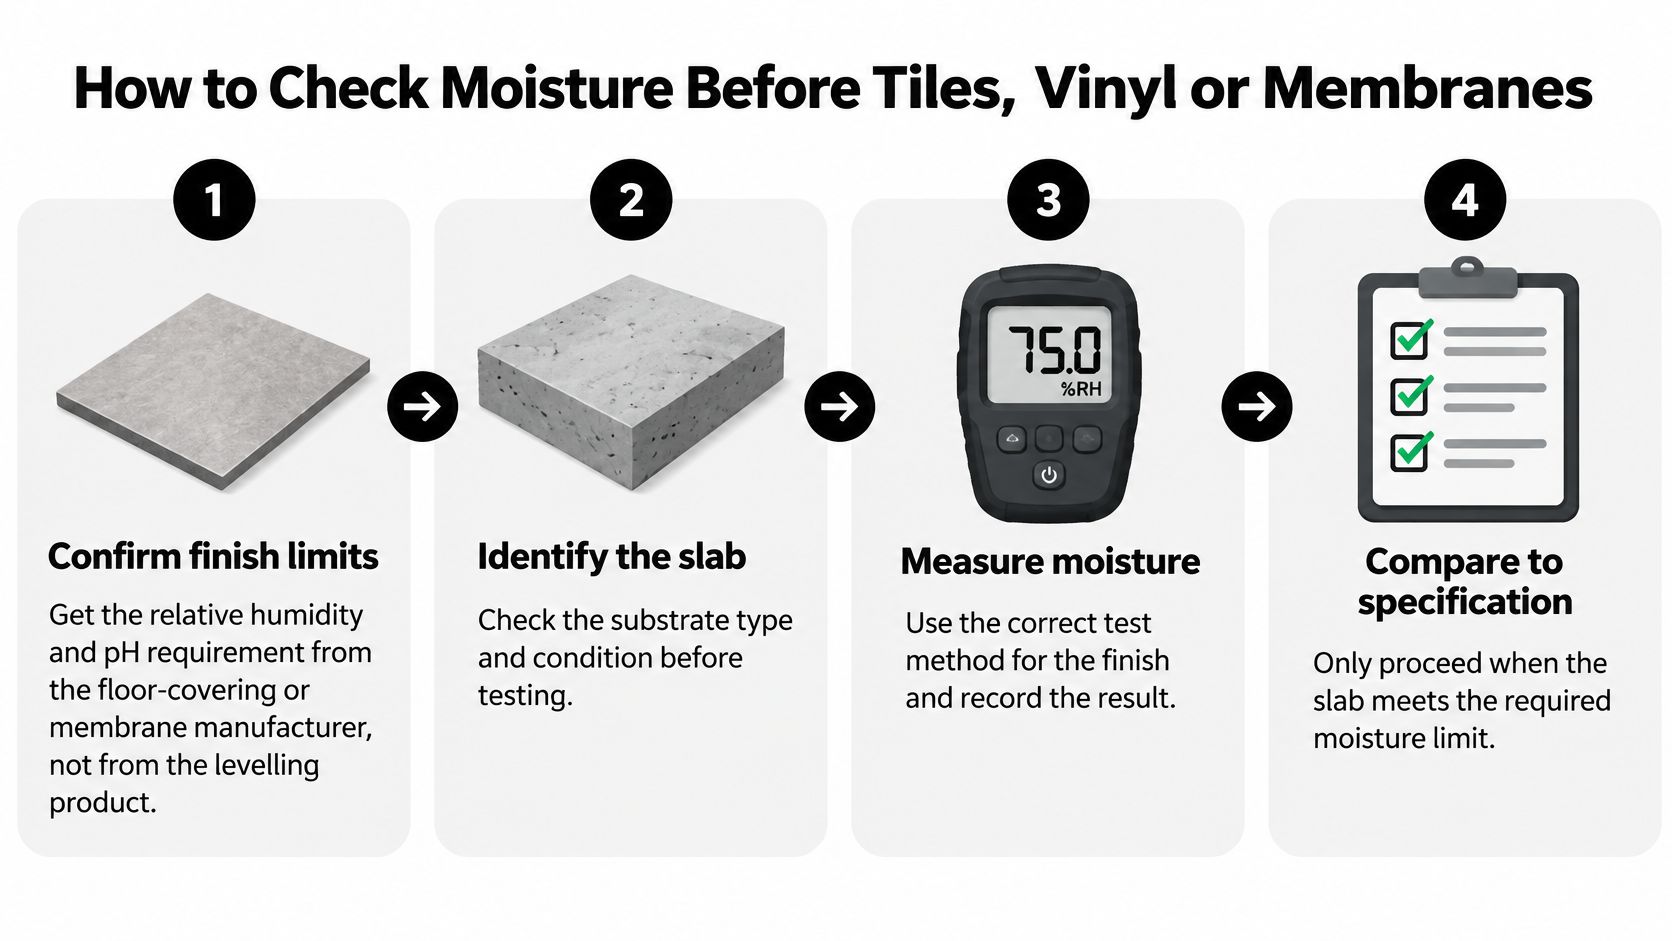
Measure, compare and record
Test close to installation. Don't rely solely on a reading taken before pouring or while the room was operating under different conditions. Allow the specified instrument conditioning and equilibration procedure; an immediate reading may not be the required result.
Compare the reading with the strictest applicable limit. If it fails, hold the installation, improve drying conditions where appropriate and retest. Where moisture continues to enter the slab, investigate or specify an approved moisture-management system instead of repeatedly extending the booking.
Keep a usable test log. Record the date, room, test locations, method, result and instrument details, together with probe depth or hood conditions. Include the product requirements used for acceptance and identify who authorised the next trade to proceed.
For resilient and textile flooring, identify the applicable installation standard, including AS 1884:2021, AS 2455.1:2019 or AS 2455.2:2019, as relevant to the selected finish. These are installation requirements, not a reason to guess a test procedure or transfer a result between incompatible methods.
The usual slips are testing only the top surface, choosing a convenient corner and assuming it represents the whole room, or treating walkability as a passed test. Include suspect areas and changes in substrate construction when planning locations.
For wet-area sequencing, consult our guide to bathroom waterproofing standards. Moisture acceptance, substrate preparation and membrane compatibility all need to be resolved before application.
Bathroom and Ensuite Timing for Melbourne Conditions
A bathroom floor must support a compliant wet-area system, not merely look flat. The NCC wet-area provisions require the shower floor to be waterproof and, for the specified shower arrangements, shower walls to be waterproof to at least 1,800 mm above the floor substrate, including the relevant junctions and joints.
That makes drying a sequencing issue. The compound must be suitable for the next specified layer, whether the approved build-up puts it beneath waterproofing or elsewhere in the assembly. Don't change that sequence because another trade has arrived.
Preserve drainage before chasing flatness
The ABCB's waterproofing guidance identifies a waterstop at least 1,500 mm horizontally from the shower rose for an unenclosed shower, and requires floor arrangements that avoid hazardous or unhealthy water accumulation. A levelling pour mustn't bury waterstops, obstruct flanges or remove required falls.
Check the floor with a straightedge and level before mixing. Mark the waste, doorway transition and intended finished heights, then decide whether the area needs flattening, graded screeding or a different repair. Flat and level aren't interchangeable with correctly drained.
A Melbourne ensuite booking
Say a rapid compound is poured at nine in the morning into a cold, windowless ensuite. It might allow access by mid-afternoon, yet the installer may reasonably defer the covering assessment until the following morning. That's a hypothetical booking decision, not a guaranteed product timetable.
A closed ensuite with an extractor linked only to the light switch needs an actual ventilation plan. Cool, damp conditions won't improve just because nobody enters the room overnight, and an early tile window doesn't override a membrane's separate requirements.
Before releasing the room:
- Confirm conditions. Check room and substrate temperature against the product's limits.
- Maintain controlled ventilation. Arrange continuous extraction where appropriate without blasting the fresh surface.
- Approve the substrate. Complete required testing and inspect stability before waterproofing.
- Keep booking flexibility. Reserve a contingency day rather than stacking trades against the earliest possible release.
For existing bathroom renovations, the applicable alteration requirements depend on Victorian legislation and the project's circumstances. The builder should establish the compliance pathway before the floor build-up is finalised.
Balcony and Terrace Drying in Melbourne Weather
Balconies exchange the closed-room problem for exposure. Before pouring, assess the weather against the chosen product's exterior-use approval and curing instructions.
- Direct sun and drying wind can remove surface moisture too quickly, increasing the risk of cracking or crazing.
- Cold nights can slow hardening after a mild afternoon and leave the next morning's surface less advanced than expected.
- Rain can disturb an insufficiently hardened surface, wash away fines and leave an unsuitable bonding face.
- Wind-driven dust can contaminate a tacky surface that later needs cleaning or preparation.
Protection must suit the forecast
Say a small balcony is screeded late on an autumn afternoon. The installer needs to consider the overnight temperature and rain forecast, not just the pleasant conditions during mixing.
Shade cloth can reduce sun and wind exposure, but it isn't rain protection. A suitable temporary cover needs clearance above the material, secure fixing and drainage that won't discharge onto the fresh work. Don't lay plastic directly onto a soft surface unless the product manufacturer specifically permits that curing method.
The surface also needs checking after exposure. Dust, rain damage or a weak skin may require preparation before waterproofing, even where the compound underneath has hardened.
Booking advice: Reserve a weather contingency for every balcony pour. Don't make membrane application depend on an uninterrupted forecast.
Release the balcony as a system
Choose a compound approved for the exterior location and compatible with the membrane. An interior leveller does not become suitable for a balcony because it will eventually be covered.
The membrane appointment should remain conditional on the substrate meeting its specified moisture and stability requirements. Preserve the fall to the outlet, check door thresholds and inspect the drainage details before accepting the surface.
Use a short pre-handover checklist:
- Protection ready. Provide shade and weather protection through the specified early-curing period.
- Falls confirmed. Check that the outlet remains the drainage low point.
- Forecast suitable. Allow enough protected working time for the selected system.
- Moisture accepted. Record the required result before membrane application.
If the weather changes, move the booking. Trying to recover a programme by waterproofing a questionable surface puts the most difficult layer to repair at risk.
Registered Builders and Drying Gates in the Contract
A tiler's registration exemption doesn't automatically cover an entire bathroom renovation. Consumer Affairs Victoria's registration guidance requires registration with the Building and Plumbing Commission for domestic building work costing more than $10,000, including labour and materials, and for permit-required work regardless of value; combined-skills renovations above the threshold also require registration.
Tiling alone is listed as exempt, but coordinating carpentry, plumbing, electrical work, waterproofing and tiling is broader building work. Registration must be approved before commencement, not merely applied for.
Name the responsible practitioner
Check the practitioner named in the agreement and their authorised scope. Melbourne Tiling Services P/L operates as Registered Unlimited Builders; all our workers are qualified and certified waterproofers or tilers, and our team includes licensed carpenters, electricians, plumbers, tilers and waterproofers.
Victorian consumer guidance on building practitioners says bathroom renovation contracts above $10,000 should use a major domestic building contract, with domestic building insurance required above $16,000 before 1 July 2026 and a $20,000 Home Warranty insurance threshold from 1 July 2026. Confirm the applicable commencement-date requirements and obtain the required certificate before paying a deposit or starting work.
Put release conditions beside dates
A programme says when a trade is expected. A drying gate says what must be true before that trade can start.
The written schedule should include:
- Trade responsibility. Name who prepares, tests, waterproofs and tiles.
- Product identification. Record the compound, intended finish and relevant covering requirements.
- Test evidence. Include date, room, method, result and acceptance criteria.
- Sign-off authority. Identify who releases the substrate and who revises bookings after a failed check.
A useful entry reads: Laundry vinyl after documented moisture acceptance; bathroom membrane after the specified waiting period and substrate-moisture pass. That's clearer than a fixed start date with no conditions attached.
Confirm the Handover Timeline Before You Book Tiling
Make the booking from the finish backwards, not from the day the compound is poured. Use these decisions to turn an optimistic programme into a workable handover:
- List each area and finish. Separate the bathroom, ensuite, balcony and laundry, then identify the appropriate covering milestone.
- Get the release conditions in writing, including the exact product, expected attendance and evidence needed to proceed.
- Arrange moisture checks close to installation. Vinyl, timber and membranes need the specified acceptance process, not a walkability judgement.
- Leave space between the earliest product window and the booked installation. I would allow the following day where practical, extend that allowance for cold or damp rooms, and keep a weather contingency for balconies.
Our self-levelling work covers concrete slab and cement sheet floors in bathrooms, laundries, terraces and balconies. We commit to completing bathroom remodelling and repair work within the agreed timeframe, so the agreed programme needs realistic drying allowances rather than assumed overnight releases.
Use the bathroom renovation timeline to organise trade dependencies. Rescheduling before installation is preferable to paying for removal of a failed finish or disputing whether installation conditions were met.
Call Melbourne Tiling Services on 1300 661 658 to discuss the handover sequence for your bathroom, ensuite or balcony. Have the product data sheet available, with the required moisture result determining the final release.
Melbourne Tiling Services P/L offers bathroom and ensuite renovations, self-levelling, screeding, waterproofing and tiling, with the floor preparation coordinated around the finished system. Visit Melbourne Tiling Services P/L to discuss your substrate, intended finish and the checks needed before the next trade starts.
Write a Comment