
You've pulled up the old bathroom floor coverings, and now the slab is staring back at you. It's dusty, patchy, and nowhere near as flat as the tile sample you've got sitting on the vanity. One corner dips, another has a ridge where a previous repair was done, and suddenly the idea of laying clean, straight tiles feels a lot less simple than it did at the showroom.
That's where self levelling compound for concrete comes in. On a Melbourne bathroom renovation, it's often the step that decides whether the finished floor looks crisp and professional or slightly off forever. Large-format tiles, linear drains, tight shower falls, and neat transitions all depend on the substrate being right before a single tile goes down.
This isn't a niche product anymore. The Asia-Pacific region, including Australia, commanded 38% of the global self-leveling concrete market in 2023, with a projected market size of USD 9.10 billion by 2032, according to SNS Insider's self-leveling concrete market report. That matters because it shows how standard these systems have become in modern renovation and construction work.
In bathroom renovations, good levelling isn't about making a floor “good enough”. It's about creating the base that waterproofing, screeding, tile adhesive, and the finished tile surface all rely on. Registered builders and experienced tilers use these compounds because they solve a very specific problem fast, accurately, and with repeatable results when the prep is done properly.
Table of Contents
- Introduction The Foundation of a Flawless Finish
- What Is Self Levelling Compound
- Choosing the Right Compound for Concrete Substrates
- Surface Preparation and Priming The Most Critical Steps
- Mixing and Application Fundamentals
- Drying Times Troubleshooting and Tiling
- DIY or Call a Registered Builder for Your Renovation
Introduction The Foundation of a Flawless Finish
Most bathroom floors don't fail at the tile. They fail underneath it. A slab can look solid and still be unsuitable for tiling because it has hollows, height changes, weak surface dust, or previous patch repairs that telegraph straight through the finished job.
That's why a levelling layer matters so much on concrete. It gives you a flat, predictable substrate instead of asking tile adhesive to do work it was never meant to do. Adhesive is for bonding tile. It isn't there to correct a badly out-of-plane floor across the whole room.
In Melbourne bathroom renovations, this problem shows up constantly. Old homes often have movement, previous plumbing changes, mixed substrates at doorways, and patchwork concrete where fittings have been relocated. Newer builds can still have enough variation to create issues once you start laying larger tiles or trying to achieve clean lines through a shower area.
What a proper base changes
A well-levelled concrete floor improves more than appearance. It helps with:
- Tile adhesion because the bed thickness stays more consistent
- Drainage control where falls need to be formed correctly in wet areas
- Finish quality so lippage is easier to avoid
- Workflow because the tiler spends less time fighting the substrate
Practical rule: If the floor is uneven before waterproofing and tiling start, the finished bathroom will usually show that problem somewhere. It might be at the doorway, around the waste, or across the tile edges.
A lot of homeowners see self levelling compound for concrete as a DIY shortcut. Sometimes it can be. But on a bathroom renovation, it's more accurate to think of it as a precision material. It rewards careful preparation and punishes shortcuts. That's exactly why registered builders and experienced tilers rely on it. Used properly, it creates the kind of base needed for premium finishes. Used carelessly, it can lock defects in place very quickly.
Why it's become standard practice
The growth in use across Australia isn't hard to understand. Renovations now demand flatter floors, cleaner transitions, and surfaces that can carry premium finishes without movement or visual distortion. Self-levelling underlayments answer that need better than rough patching or trying to build everything up with adhesive.
In practice, the best results come when the whole floor system is treated as one sequence. Concrete first. Surface prep next. Primer after that. Then the levelling pour. Then the rest of the bathroom build. Once you approach it that way, the finish becomes much more predictable.
What Is Self Levelling Compound
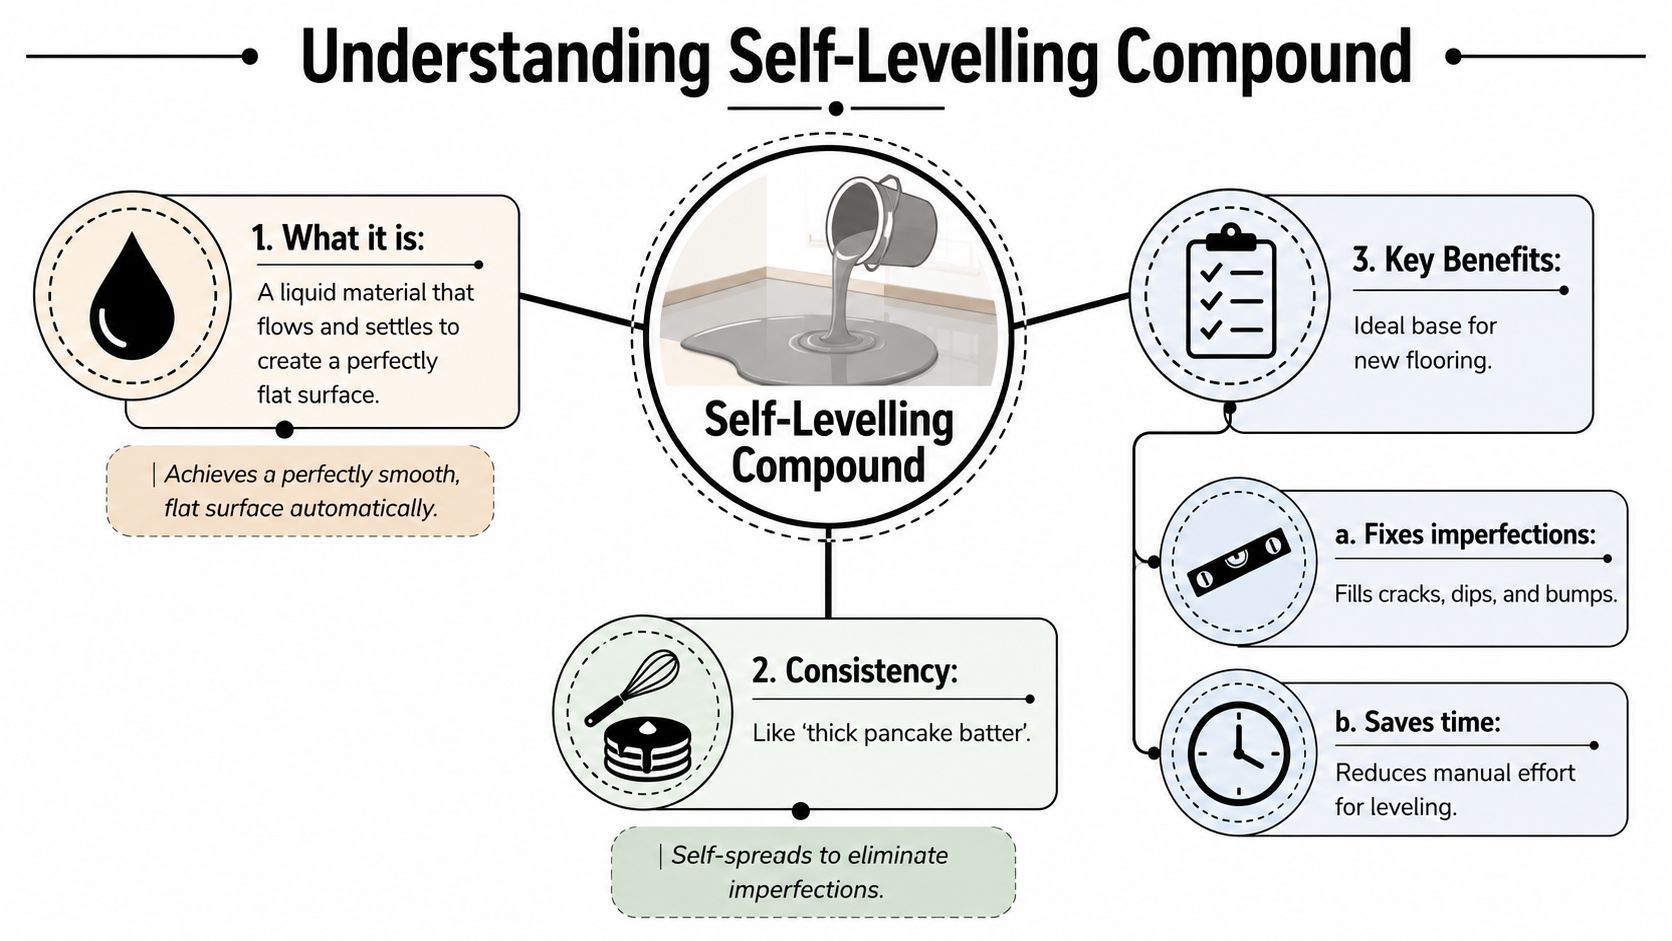
Self levelling compound is a cement-based underlayment designed to flow across a prepared surface and settle into low areas, leaving a flatter plane behind. On site, the simplest way to explain it is this: it behaves more like thick pancake batter than standard concrete.
Regular concrete is coarse and stiff. You push it, rake it, and work it into place. Self levelling compound for concrete is different. Once mixed correctly, it spreads under its own flow and helps remove minor undulations that would make tiling difficult.
What it does and what it doesn't do
Homeowners often confuse three different materials:
- Structural concrete, which forms the slab itself
- Traditional screed, which is used to shape or level areas manually
- Self-levelling underlayment, which smooths and flattens the substrate
That distinction matters. A levelling compound isn't there to replace a structural slab, and it isn't the right answer for every major defect. If the concrete is loose, contaminated, cracked badly, or moving, the leveller won't fix the underlying cause.
What it does do very well is create a smooth, flat surface for tile, timber, vinyl, or other floor finishes. In bathroom renovations, that flatter plane makes every next step easier. Waterproofing sits better, tile layout is more controlled, and the final floor doesn't show the unevenness of the old slab.
Self-levelling products are best thought of as finish preparation materials, not miracle repairs.
Why flow matters so much
The advantage of the material is in the flow. When mixed to the manufacturer's ratio, it moves into dips and helps blend transitions without endless hand-trowelling. That's why professionals use gauge rakes, smoothing tools, and spiked rollers to guide the product, not to force it into behaving like sand and cement.
A good self levelling compound for concrete should leave the floor flatter and cleaner than manual patching alone. A bad pour, though, can create ridges, trapped air, weak dusty surfaces, or edge build-up that has to be ground back later.
That's the trade-off. The product saves time and improves finish quality, but only if the slab is prepared properly and the installer respects the working time, mixing ratio, and substrate requirements.
Choosing the Right Compound for Concrete Substrates
A bathroom slab can look close enough until the first tile goes down and the lippage starts showing under the light. Product choice often decides whether the floor finishes cleanly or turns into extra grinding, patching, and delay.
For concrete substrates, the right self levelling compound is chosen by function, not marketing. In Melbourne bathroom renovations, I look at four things first. How much correction the floor needs, whether the area is internal or exposed, what finish is going over the top, and whether the job needs flattening only or shaped falls as well. Registered Builders work this way because the leveller has to suit the whole floor system, not just the pour itself.
Most bathroom jobs suit a polymer-modified cement leveller over sound concrete. It gives good flow, bonds well when matched with the correct primer, and leaves a surface suitable for tile installation. That said, one product will not cover every condition on site.
What actually matters when selecting a product
Thickness range comes first. Some compounds are designed for a skim correction, while others can handle deeper fill in a single application. If the slab has isolated hollows, doorway transitions, or an uneven set-down near the shower, the allowable build matters straight away. Use a product outside its stated range and the risks go up fast. Cracking, weak spots, delayed drying, and surface dusting are all common outcomes.
Compressive strength matters too, especially under large-format porcelain and stone. A soft underlayment under a heavy tile finish can become the failure point even when the tile adhesive is sound. For a bathroom floor, the levelling layer needs enough strength to support foot traffic, fixtures, and the tile assembly above it without breaking down.
Then check location and exposure. Internal bathroom floors are one category. Balconies, thresholds, laundries opening to external doors, and other exposed areas are another. Some products are made only for indoor use. Others are rated for broader exposure, but the rest of the system still has to match. Leveller selection does not override waterproofing requirements, movement joints, or moisture management in the slab.
There is also a point many DIY renovators miss. If the floor needs proper falls to a shower waste, a standard self leveller is often the wrong material to rely on by itself. In that case, a screeding system for tiled wet areas is usually the better approach, with leveller used only where it suits the floor outside the formed wet area.
The product data sheet should match the site condition, the tile finish, and the build sequence. If it does not, choose a different compound.
Self-Levelling Compound Selector
| Compound Type | Best For | Typical Thickness | Strength Notes |
|---|---|---|---|
| Polymer-modified cement underlayment | Internal concrete floors before tiling, vinyl, or timber | Thin to moderate correction, subject to product limits | Check the manufacturer data sheet for compressive strength and substrate suitability |
| High-performance floor leveller | Bathroom renovations, large-format tile support, concrete substrates needing a stronger underlayment | Moderate build applications where the product is rated for that depth | Suitable where higher compressive strength is specified by the manufacturer |
| Indoor and outdoor self-levelling compound | Residential and commercial areas where exposure conditions affect product choice | Depends on the exact product and environment | Confirm suitability for exposure, bond, and strength before use |
Professional selection is usually more conservative than DIY selection, and for good reason. Registered Builders and experienced tilers choose the compound that fits the substrate, the waterproofing method, the tile format, and the program. Homeowners can absolutely handle small, straightforward floor corrections, but if the slab is cracked, moisture-affected, out of level across multiple areas, or part of a full Melbourne bathroom renovation with tight tolerances, it is worth getting a builder or tile contractor involved before any product is mixed.
Surface Preparation and Priming The Most Critical Steps
A bathroom floor can look solid and still fail under tile if the slab is dusty, weak on the surface, or sealed in patches from old products. I see this regularly in Melbourne renovations. The leveller gets blamed, but the underlying issue started before the bag was opened.
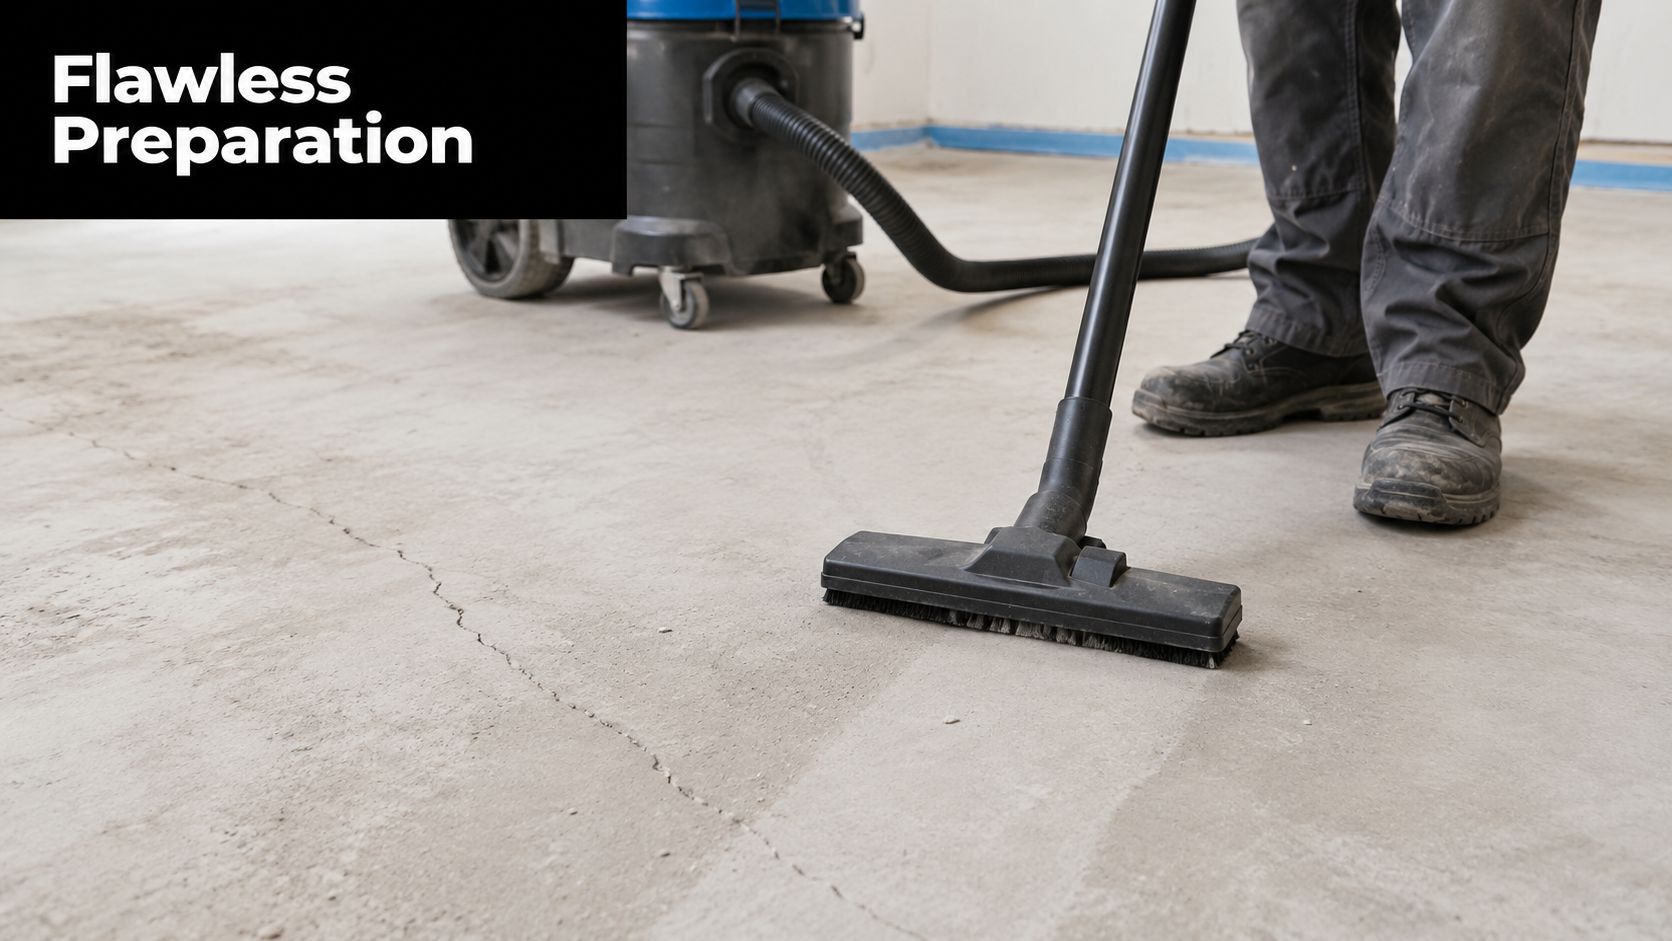
Before any self levelling compound for concrete goes down, the concrete needs to be clean, sound, dry enough for the product system, and free of anything that will interfere with bond. That includes laitance, curing residues, paint, silicone, old adhesive, soap contamination near wet areas, and loose repair material. If any of that stays on the slab, the compound may flow nicely on the day and still release later.
What has to happen before the primer goes down
Inspection comes first. In a bathroom, that means checking for drummy areas, shrinkage cracks, old patch repairs, moisture-related damage, and height changes between the main floor, doorway, and shower zone. It also means deciding whether the floor needs flattening or whether it needs controlled falls. Those are different jobs. If the room needs shaped wet area falls, a proper screeding solution for tiled surfaces is often the right method, because self leveller is designed to find level, not create drainage.
Measure the slab with a straightedge. Mark the highs and lows. Check around penetrations and wall junctions where product can escape. On renovation work, I also look for the hidden problems that catch DIYers out, such as feathered adhesive residue, hairline cracking through old toppings, and surface hardeners that stop primer from soaking in properly.
Good preparation usually includes:
- Vacuuming thoroughly until the slab is dust-free
- Grinding or mechanically abrading weak or contaminated areas
- Removing old adhesive, paint, and surface films
- Sealing gaps, waste penetrations, and perimeter leakage points
- Checking levels and setting target heights before any mixing starts
If your hand comes away dusty after rubbing the slab, it still needs work.
Priming is not the step to rush
Primer controls suction and helps the levelling compound bond to the concrete. On porous slabs, it stops the substrate from pulling water out of the mix too fast. On dense or treated surfaces, it improves adhesion and helps the leveller cure more evenly.
The trade-off is time. Primer adds another stage, but skipping it or pouring over primer that has not dried correctly can lead to pinholes, soft edges, inconsistent flow, and debonding. In a Melbourne bathroom renovation, that risk matters because the floor build-up has to work with waterproofing, set-downs, tile thickness, and finished heights at the doorway.
The drying window depends on the substrate and the primer system. As noted in this application guidance video on priming before self-levelling, non-porous surfaces generally need longer than porous ones. The safe approach is simple. Follow the product data sheet, allow full drying time, and do not assume touch-dry means ready to pour.
Registered Builders are usually stricter here than DIY renovators because this stage affects every layer above it. If the slab is cracked, moisture-affected, badly contaminated, or part of a bathroom where falls and waterproofing need to comply, get a builder or experienced tiler involved before priming starts. It is far cheaper to correct the substrate now than to pull up tilework later.
Mixing and Application Fundamentals
Good prep can still be undone in the bucket. In bathroom renovations, I see more failed levelling jobs caused by bad mixing and poor pour sequencing than by the product itself. The compound only gives you a short working window, so the job has to be set up before the first bag is opened.
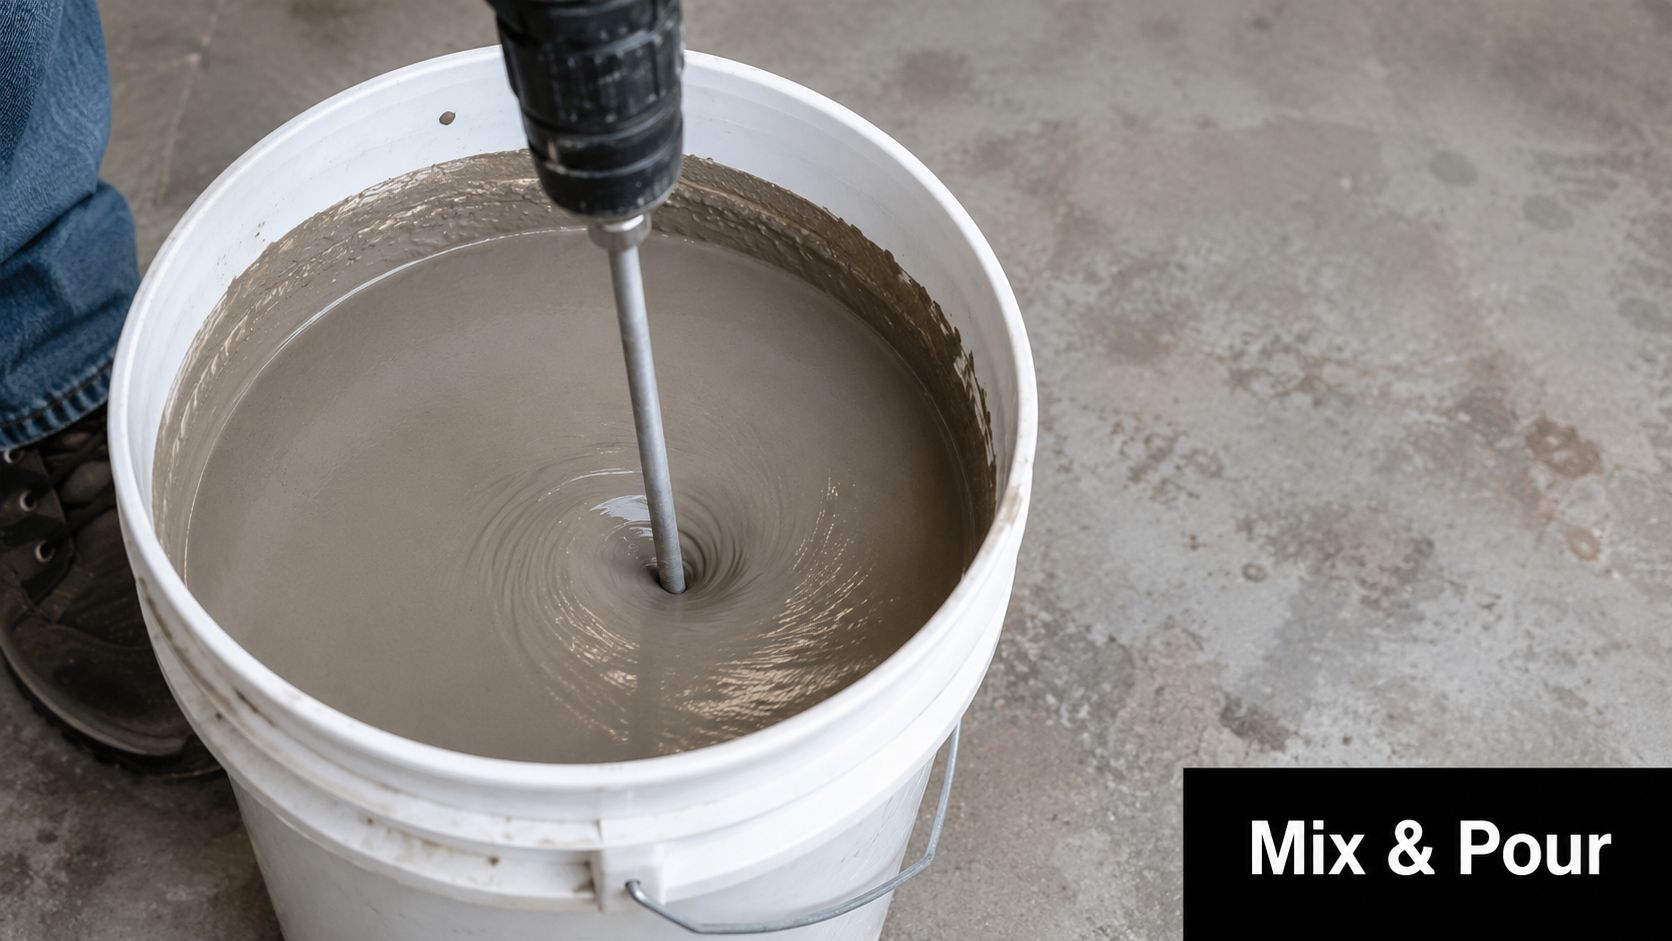
A clean, organised mixing area keeps the pour controlled and the finish consistent.
Get the mix right before you chase speed
Set out the drill, paddle, buckets, measuring vessel, rake or finishing trowel, spiked roller, and clean water before you start. If you are still hunting for tools once the first batch is mixed, the floor will show it. For anyone putting together the basics, a proper set of tiling and floor preparation tools gives you much better control over the pour.
Water ratio matters. Registered Builders and experienced tilers follow the data sheet exactly because small changes in water content change how the product flows, how it settles, and how it cures. Add too little and the material drags and leaves ridges. Add too much and you can weaken the surface, increase laitance, and create a soft or dusty top that causes problems under tile adhesive later.
Mix each batch the same way, for the same time, with the same measured water. On a small Melbourne bathroom floor, inconsistency between batches is enough to leave visible humps, cold joints, or edge lines where one mix started tightening before the next one landed.
The application sequence should be simple and deliberate:
- Start at the furthest point from the doorway so you can work back toward your exit.
- Keep batches coming steadily so wet edges stay alive and each pour blends into the last.
- Move the compound into place with a gauge rake or trowel rather than pushing it around excessively.
- Use a spiked roller promptly to release trapped air and help the surface settle evenly.
For readers who want to watch the movement and timing of the material, this demonstration is useful:
How to estimate material without guessing
Running short halfway through a pour is one of the classic DIY mistakes. Once that happens, people start stretching the mix, reducing depth, or trying to patch in a second pour after the first has already begun to set. That is how a flat floor turns into a grinding job.
Work out the area, check the intended build thickness, then calculate bag numbers from the manufacturer's coverage guide. As noted earlier in the article, bag coverage drops quickly as depth increases, so even a small bathroom can use more material than expected if the slab has low spots or an uneven set-down.
On-site advice: Measure the deepest point, not the average point you hope for. Then allow extra material for the dips that only show up once the straightedge goes down.
This is also where professional judgement matters. Self levelling compound is designed to correct flatness. It does not replace proper bathroom falls to the waste, and it does not solve structural movement, loose concrete, or out-of-level framing beneath the substrate. In a Melbourne bathroom renovation, that distinction matters because the finished floor has to work with waterproofing heights, tile thickness, and drainage requirements. If the floor needs significant correction, if falls are unclear, or if the slab condition is questionable, that is the point to get a Registered Builder or experienced tiler involved instead of guessing and hoping the adhesive will make up the difference.
Drying Times Troubleshooting and Tiling
Monday morning in a Melbourne bathroom renovation, the leveller can look hard, pale, and ready to go. By lunchtime, a DIYer has stacked tile boxes on it and wants to start spreading adhesive. That is often the point where a tidy job starts drifting off standard.
A self levelling pour has to do more than feel firm underfoot. It needs enough cure for the next stage, and that judgement comes from the product sheet, site temperature, slab conditions, layer thickness, and what is being installed over the top. In bathrooms, that matters because any weakness below the tile usually shows up later as drummy spots, cracked grout, or loss of bond.
Walkable and tile-ready mean different things
Many compounds are designed to set quickly. A firm surface only means light traffic may be possible. It does not confirm the floor is ready for tile adhesive, waterproofing, or concentrated loads from ladders, stacked materials, and other trades.
On site, I treat early walkability as a handling milestone, not a green light to keep building over it.
The safe approach is simple. Read the manufacturer's timing for the exact product, then check the room itself. Cool weather, poor ventilation, higher build areas, and damp concrete all slow the process. In a Melbourne bathroom renovation, that delay is common in winter and in older homes with colder slabs. Rushing the tile stage to save half a day can cost far more in rectification.
If the substrate forms part of a tiled wet area, the floor also has to suit the full system above it. That is one reason clients often hand this stage and the next one to experienced floor tiling specialists in Melbourne, where substrate condition, tile finish, and bathroom tolerances are checked together instead of as separate tasks.
Common faults and what usually causes them
Most levelling failures are predictable once you know what to look for.
- Pinholes or bubbling usually point to poor priming, residual dust, or air rising out of porous concrete.
- Ridges, cold joints, or lap marks usually mean the pour stopped, batches were inconsistent, or the wet edge was lost.
- A soft or chalky surface usually comes from excess water in the mix, weak surface prep, or fast moisture loss into the slab.
- Cracking usually points to movement in the base, incorrect thickness for the product, or application over contamination.
- Debonding or hollow patches usually mean the compound never properly keyed into the concrete.
The pattern matters. A few isolated surface defects may be repairable. Widespread bond failure usually means the floor has to come out and be redone properly.
What to do before tiling
Check the floor with a straightedge after cure, not just by eye. Bathrooms can fool people because small rooms make a floor look flatter than it is. Then inspect for soft spots, edge curl, dusting, and any area that sounds hollow under a tap test.
If the leveller is sound, flat, and cured for the next stage, tiling can proceed. If it is not, fix the substrate first. Tile adhesive is for bonding tile, not for correcting a failed levelling job or hiding poor flatness.
That is the practical difference between a DIY pour and a professional bathroom build. Registered Builders and experienced tilers use self levelling compounds because they save time and improve finish quality when the conditions are right. We also know when the floor is telling us to stop, reassess, and correct the base before waterproofing or tiling locks the problem in.
DIY or Call a Registered Builder for Your Renovation
A confident DIYer can use self levelling compound for concrete successfully in the right situation. A dry internal room, a straightforward slab, no waterproofing complexity, and enough time to prepare properly. That sort of project is manageable if you read the product sheet, measure carefully, and don't rush the primer or mixing stage.
Bathrooms are different. The floor build-up isn't isolated. It connects to falls, waterproofing, thresholds, waste positions, wall set-out, and the finished tile layout. If one part is off, the rest of the room usually has to work around it.
When DIY is realistic
DIY is more realistic when:
- The area is simple and not part of a wet zone
- The concrete is sound with only moderate variation
- You can work continuously without stopping halfway through the pour
- You understand the finish requirement before any tile goes down
That said, even small bathroom floors can punish inexperience because the room is compact. There's less space to manoeuvre, less time to react, and less tolerance for errors at doorways, shower entries, and around wastes.
When a professional should take over
In bathroom renovations, I'd strongly favour a professional when the floor needs accurate falls, waterproofing integration, or defect diagnosis before levelling begins. The tolerance is tight. Before tiling, the floor must not have more than 1/8 inch (3 mm) variation over a 6-foot (1.8 m) length, based on the tile preparation guidance cited earlier. Hitting that consistently is much easier when an experienced hand is checking the substrate.
A Registered Builder becomes especially important when the bathroom renovation involves multiple trades, compliance obligations, or coordination between demolition, plumbing, waterproofing, floor preparation, and tiling. The levelling step can't be treated as a stand-alone task in that context. It has to serve the whole bathroom assembly.
On balconies and other exposed areas, the consequences are more significant. Incorrect levelling can disrupt drainage, compromise waterproofing, and create leak issues that are much more expensive than the original floor prep would have been.
If you're unsure whether the floor needs a simple self-levelling pour or a more complete substrate correction, that uncertainty is often the sign to call someone in. In renovation work, uncertainty is rarely where the risk ends. It's where it starts.
If you're planning a bathroom renovation and want the floor prepared properly from the start, Melbourne Tiling Services P/L can help with complete bathroom renovations, floor preparation, screeding, waterproofing, and premium tiling across Melbourne. As Registered Unlimited Builders, the team coordinates the full process so the substrate, waterproofing, and tile finish all work together, not against each other.
Recent Comments