
You've probably seen the pattern. You finish a shower, the glass is spotted, the wall tiles feel slightly tacky, and the grout near the corners has started to darken again even though you scrubbed it not long ago. Many people attack that with a stronger cleaner. In bathrooms, that's often the wrong fix.
How to clean bathroom tiles properly depends on two things first: what the tile and grout are made from, and whether moisture is being controlled after cleaning. Get those right and routine cleaning stays light. Get them wrong and you can strip sealers, rough up grout, etch stone, and still end up with mould returning in the same places.
Table of Contents
- Why Bathroom Tiles Get Dirty So Fast
- What You Need Before You Start Cleaning
- How to Clean Different Tile and Grout Types Safely
- Tackling Stubborn Stains Soap Scum and Mould
- Keeping Tiles Cleaner for Longer With Simple Habits
- When to Call a Professional Tiler or Waterproofing Specialist
Why Bathroom Tiles Get Dirty So Fast
A bathroom gets dirty differently from a kitchen or hallway. The mess isn't just dust. It's steam, soap residue, body oils, splashback, and poor drying habits all working together on a hard surface that stays damp longer than it should.
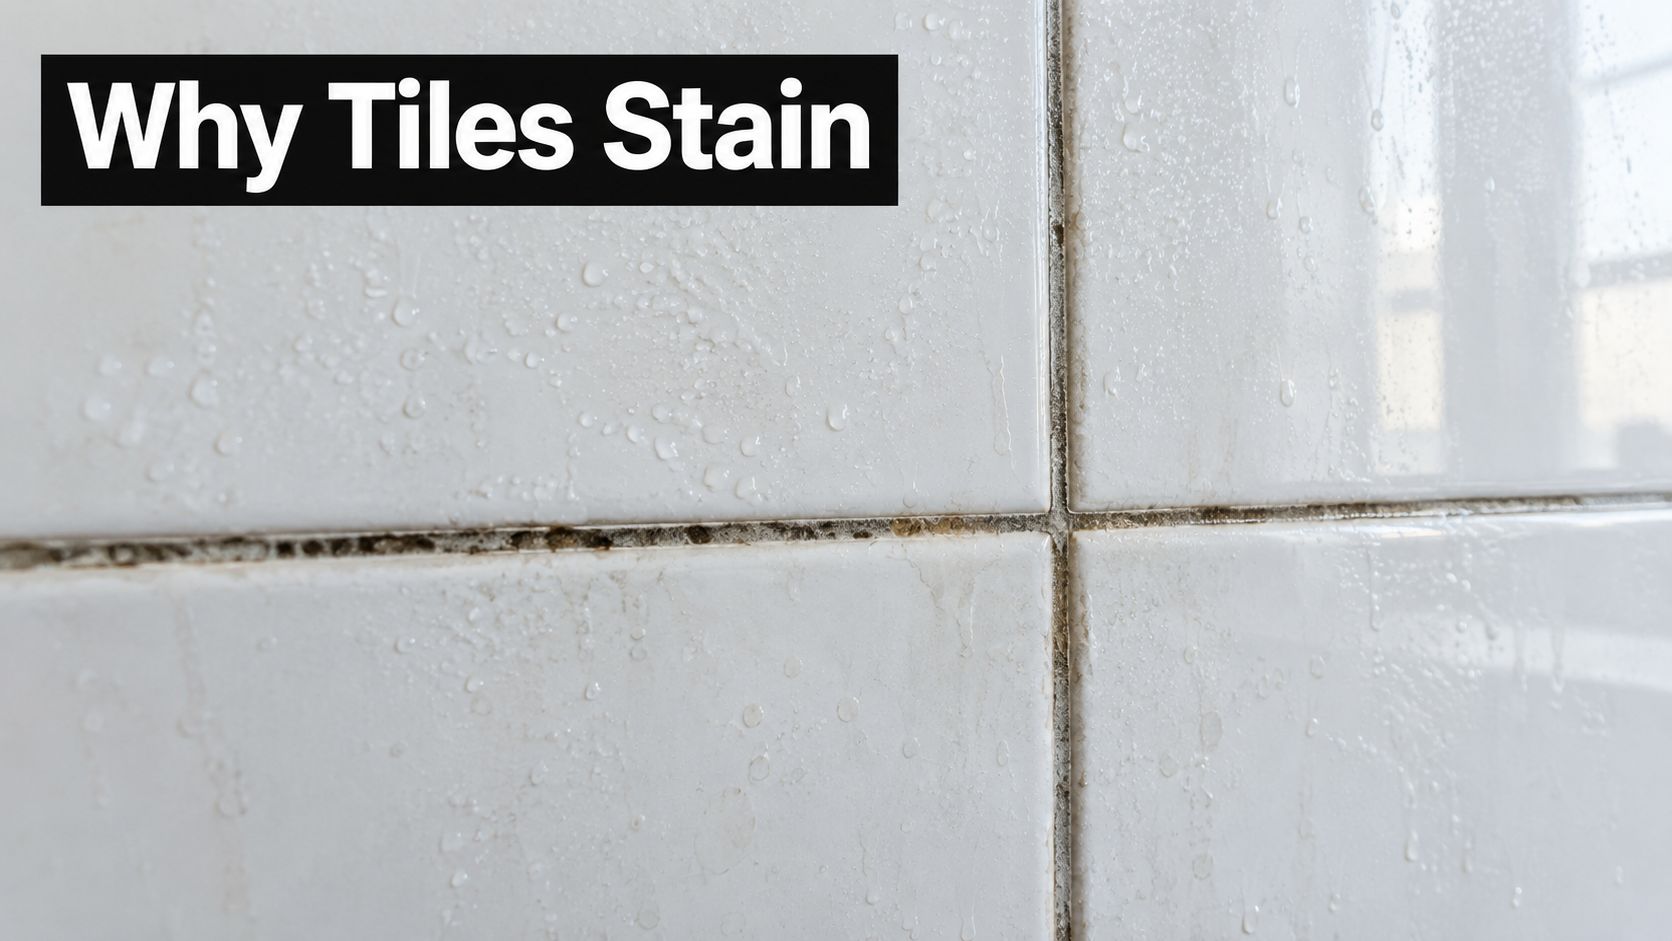
I see the same trouble spots again and again on site. Shower walls around shoulder height build a dull soap film. Lower corners hold moisture. Grout lines around the base of the shower screen start to stain before the tiles themselves do. On the floor, pink biofilm and darker grout usually mean water is sitting there too long, not that the owner didn't scrub hard enough.
Film on tiles and staining in grout are different problems
Tiles are usually easier to clean than grout. Glazed ceramic and porcelain have a tighter surface, so soap scum tends to sit on top. Grout is more vulnerable, especially cement grout, because it grabs residue and moisture more easily.
That's why the bathroom can look clean at a glance but still smell musty or show dark joints a few days later. You've removed surface grime from the tile face, but the grout, caulking, and damp corners are still holding moisture.
Practical rule: If the same grout line keeps going dark after cleaning, stop changing products and start looking at airflow, drying, and water entry.
Victorian guidance on mould and condensation puts moisture control first. It says to keep humidity below 60%, keep cupboards and wardrobes ventilated, and fix leaks promptly because cleaning surface growth won't solve the underlying moisture issue [Victorian moisture-control guidance]. In a bathroom, that matters around showers, vanity splash zones, and any enclosed wet area with weak airflow.
The bathroom usually needs drying, not just scrubbing
After-shower habits matter more than many think. The same Victorian guidance supports drying surfaces, ventilating the room, and repairing damaged grout, cracked tiles, or failed caulking instead of endlessly re-scrubbing problem spots [bathroom ventilation requirements in Victoria].
A lot of “dirty tile” complaints are really moisture-management failures. If your bathroom stays humid, grout remains damp, and water sits on horizontal edges, mould comes back fast. If your ventilation is decent and your cleaning matches the surface, tile maintenance becomes much simpler.
What You Need Before You Start Cleaning
The biggest mistake at this stage is overcomplicating it. You don't need a shelf full of aggressive chemicals to clean bathroom tiles well. You need the right tools, a safe cleaner, and a process that doesn't flood the floor or leave residue behind.
Keep the kit simple
Use a short list you'll reach for:
- Microfibre cloths: For lifting film without scratching glazed surfaces.
- Soft-bristle brush: Best for grout lines, corners, and around tap penetrations.
- pH-neutral cleaner: The safest default across most bathroom tile surfaces.
- Gloves: Handy when you're working on grout or using any stronger targeted product.
- Squeegee: Useful after cleaning and even more useful after every shower.
- Bucket with clean water: For rinsing properly instead of spreading residue around.
If grout discolouration is part of the problem, an oxygen-based grout cleaner can be a sensible spot-treatment option. Keep that for targeted use, not as your everyday wash.
Use a low-moisture workflow
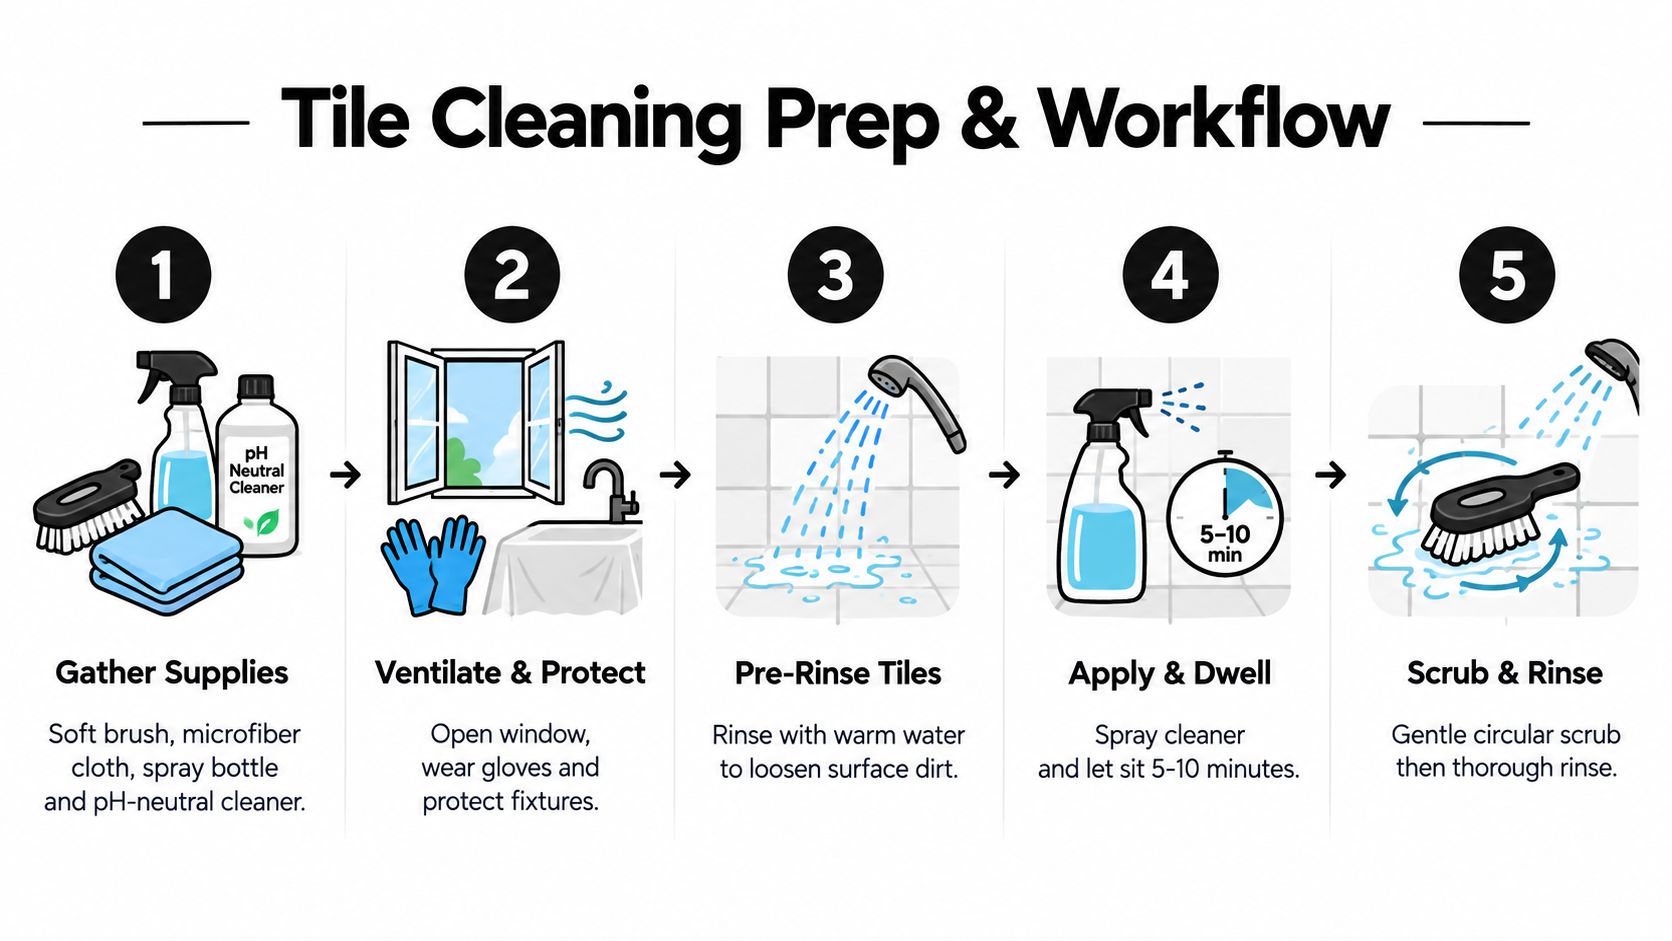
For ceramic and porcelain, the proven workflow is straightforward: remove loose dust and grit first, apply a pH-neutral cleaner with a damp microfibre cloth or mop, let it dwell for several minutes, scrub grout lines with a soft brush, rinse with clean water, and dry thoroughly to stop water spots and residue settling back onto the surface [Australian tile cleaning workflow].
That sequence matters. Grit left on the tile can scratch during scrubbing. Cleaner that's wiped off too quickly won't soften soap scum. Poor rinsing leaves a film. Skipping the final dry-down often creates the dull finish people blame on the tile itself.
A practical order that works
Dry remove the loose mess first
Sweep, vacuum, or wipe away hair, dust, and grit. Don't start wet while debris is still on the floor.Ventilate before you spray anything
Open the window or run the exhaust fan. Bathrooms trap fumes quickly.Apply cleaner with control
Dampen the cloth or mop rather than soaking the whole room. On walls, work from one section to the next so cleaner doesn't dry before you get back to it.Give it dwell time
Soap scum needs time to soften. People often fail here because they spray and instantly scrub.Brush grout gently
A soft brush does more than a harsh one because it stays in the joint without chewing it up.Rinse with clean water
Change the water if it turns cloudy. Dirty rinse water just moves grime around.Dry the surfaces
Use a microfibre cloth or squeegee. This is part of cleaning, not an optional extra.
Never mix cleaning chemicals. In bathrooms, that mistake happens fast and the room doesn't forgive it.
What doesn't work well
Some habits create more maintenance than they solve:
- Flooding the floor: Too much water can work into grout joints and edges.
- Using abrasive pads on glossy tile: They can leave the surface looking flat or marked.
- Leaving cleaner residue behind: This attracts more grime and can make tiles feel sticky.
- Scrubbing damaged grout as if it's dirt: If grout is failing, it needs repair, not more force.
If you want a routine that protects the finish long-term, think controlled moisture, soft tools, and complete drying.
How to Clean Different Tile and Grout Types Safely
The common Melbourne callout goes like this. Shower wall still looks cloudy after cleaning, the floor grout has gone patchy, and someone has already tried vinegar, bleach, and a stiff brush. The problem usually is not effort. It is using the wrong method for the tile and grout that were installed.
Bathrooms often mix dense porcelain, glazed ceramic, natural stone, and two very different grout systems. Clean them all the same way and you shorten the life of the finish, strip sealer from cement grout, or mark stone that was fine before the scrub started. Victorian bathrooms also hold moisture for longer through winter, so drying, ventilation, and resealing schedules matter as much as the cleaner itself.
A good starting point is matching the surface to the chemistry.
Safe cleaner choices by tile and grout type
| Surface Type | Safe Cleaner | Avoid | Maintenance Note |
|---|---|---|---|
| Ceramic tile | pH-neutral cleaner, damp microfibre cloth | Abrasive pads on glazed finishes | Usually straightforward to maintain. Focus on joints and corners |
| Porcelain tile | pH-neutral cleaner, soft brush on grout lines | Waxy or residue-heavy products | Dense tile, but soap film still builds if rinsing is poor |
| Marble | Stone-safe pH-neutral cleaner | Vinegar, acidic descalers, abrasive cream cleaners | Sealing slows absorption. It does not stop etching |
| Travertine | Stone-safe pH-neutral cleaner | Vinegar, bleach-heavy routines, acidic products | Porous stone needs gentle cleaning and sealer checks |
| Cement grout | pH-neutral cleaner, oxygen-based grout cleaner when needed | Strong acids and repeated harsh bleach use | Usually needs periodic resealing in a wet bathroom |
| Epoxy grout | pH-neutral cleaner, soft brush or cloth | Aggressive chemicals used out of habit | Does not need sealing, but still needs residue removed |
Ceramic and porcelain
Ceramic and porcelain cope well with regular bathroom cleaning, but they still show every shortcut. On glossy wall tile, abrasive pads can leave fine scratching that only shows once the light hits it side-on. On floor porcelain, the bigger issue is usually product residue. Too much cleaner, poor rinse, and no drying leaves a dull film that gets mistaken for staining.
Use a pH-neutral cleaner, light agitation, and a proper rinse. For dense floor tiles, these daily cleaning protocols for porcelain are a useful reference point, especially if you want a cleaner routine without building up residue.
Marble and travertine
Natural stone needs a different attitude. Marble and travertine can look solid, but the surface chemistry is less forgiving than ceramic or porcelain. Acidic cleaners can etch the face, rough scrubbing can flatten a honed finish, and strong bleach routines can leave the stone dry and tired over time.
Use a stone-safe neutral cleaner and keep water under control around joints, niches, and edges. If the stone is sealed, check whether water still beads on the surface. If it darkens quickly, the sealer may be fading and the cleaning plan should change before staining starts. In older Melbourne bathrooms with limited exhaust, I pay close attention to stone around shower returns and windowless ensuites because slow drying pushes more moisture into grout lines and unsealed edges.
Cement grout and epoxy grout
Grout drives the maintenance more than people expect. Cement grout is porous, picks up soap residue and body oils faster, and usually needs resealing on a cycle that suits how wet the bathroom stays. In a family shower with average ventilation, that often means checking it yearly rather than waiting for visible staining. Epoxy grout is far less absorbent and does not need sealing, but it still collects surface grime if residue is left behind after cleaning.
That difference matters every week, not just at installation. Cement grout benefits from gentler cleaners used more consistently, plus resealing before winter moisture starts hanging around the room. Epoxy grout gives you more tolerance for daily use, but it can still look dirty if cleaner film sits on top of it. If you are comparing systems, this guide on epoxy grout vs cement grout lays out the maintenance gap clearly.
One rule applies across all of them. Clean for the actual tile and grout that are in the room, not for whatever product was closest under the sink.
Tackling Stubborn Stains Soap Scum and Mould
Routine cleaning keeps bathrooms presentable. The headaches start when soap scum hardens, grout darkens, and mould keeps reappearing in the same corners.
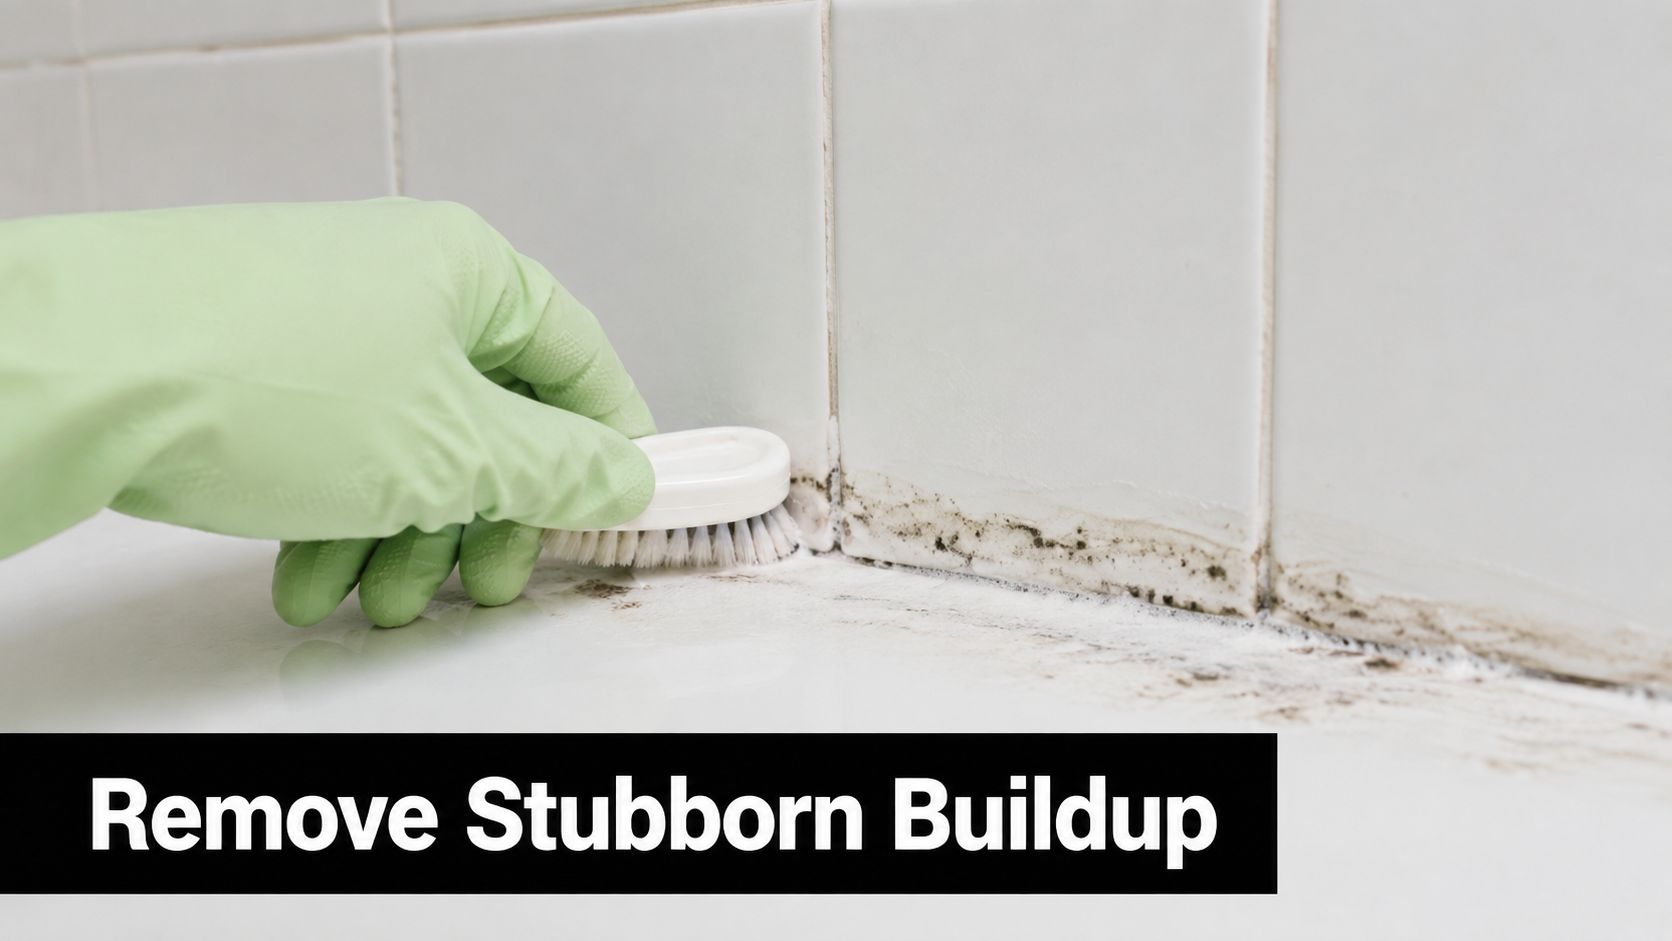
Soap scum needs dwell time more than force
Soap scum is usually a layered film, not a single stain. If you hit it with a brush straight away, you'll work harder than you need to and often leave a patchy result.
Do it this way:
- Apply evenly: Use your pH-neutral cleaner across the affected wall or floor area.
- Let it sit briefly: Give it several minutes to soften the film.
- Agitate with a soft tool: Microfibre or a soft brush is enough for most bathroom tile.
- Rinse completely: Any residue left behind becomes tomorrow's haze.
- Dry the area: This stops spotting and shows you what remains.
If the tile still feels tacky after rinsing, that usually means product residue or another round of softened soap scum is still there. Repeat gently. Don't jump straight to a harsher chemical.
Hard-water spotting and pink residue
White marks around taps and on shower walls are often mineral deposits. Pink residue on shower floors or around drains is usually biofilm. Both can tempt people into using rough pads and strong acids.
That's where judgement matters. On porcelain and ceramic, a careful repeat clean and thorough dry-down often gets you further than one dramatic treatment. On stone, you need even more restraint because the wrong product can mark the surface permanently.
For readers sorting through specialist options, this guide on how to choose a mold killer is a useful way to think about product labels, surface suitability, and safety before buying something stronger than your bathroom needs.
Mould is a cleaning job and a moisture job
Visible mould has to be removed. But if the room stays damp, it comes back. That's why dark corners, silicone edges, and the lower grout lines in showers often keep failing first.
Wear gloves. Keep airflow going. Use eye protection if you're doing targeted mould treatment. Work in small sections so you can rinse and dry properly rather than leaving product to sit too long.
A quick visual guide can help if you want to watch the hand pressure and brushing pattern that usually works best:
If mould returns to the same joint after proper cleaning and drying, start checking for failed silicone, cracked grout, or moisture moving from behind the surface.
When scrubbing harder makes things worse
Some stains aren't dirt anymore. They're damage, absorbed discolouration, or a sign that the grout or caulking has broken down. If grout is crumbling, if silicone is black through the bead, or if a tiled corner never dries out, more force won't restore it.
That's the point where cleaning should stop and repair should start.
Keeping Tiles Cleaner for Longer With Simple Habits
By the end of a Melbourne winter week, a bathroom can look dirty again even after a proper clean. The usual cause is not heavy soil. It is water sitting on the wrong surfaces, residue drying back onto the tile, and grout staying damp for too long.
The long-term fix is a maintenance routine that suits the tile and grout system you have. Porcelain walls usually need very little beyond regular wiping and drying. Honed marble, cement tiles, and cement grout need a gentler approach and closer attention to moisture. Epoxy grout is less absorbent, so daily drying matters more than sealing. Cement grout is the opposite. If you let it stay wet and unsealed, it will mark faster and hold that discolouration.
The habits that actually reduce work
Small habits make the biggest difference:
- Squeegee shower walls after use: This cuts down soap film before it dries onto ceramic and porcelain.
- Dry shelves, niches, and hob tops: Flat surfaces hold water longer and often leave the first mineral marks.
- Run extraction long enough to clear steam: In Victorian bathrooms, especially in cooler months, steam condenses back onto grout and silicone if the room does not dry out fully.
- Rinse off product residue while it is fresh: Body wash, shampoo, and conditioner leave a film that grabs more dirt later.
- Use a light weekly clean matched to the surface: pH-neutral cleaner suits sealed stone, cement tiles, and most grout lines. Glazed ceramic and porcelain usually clean up with less effort.
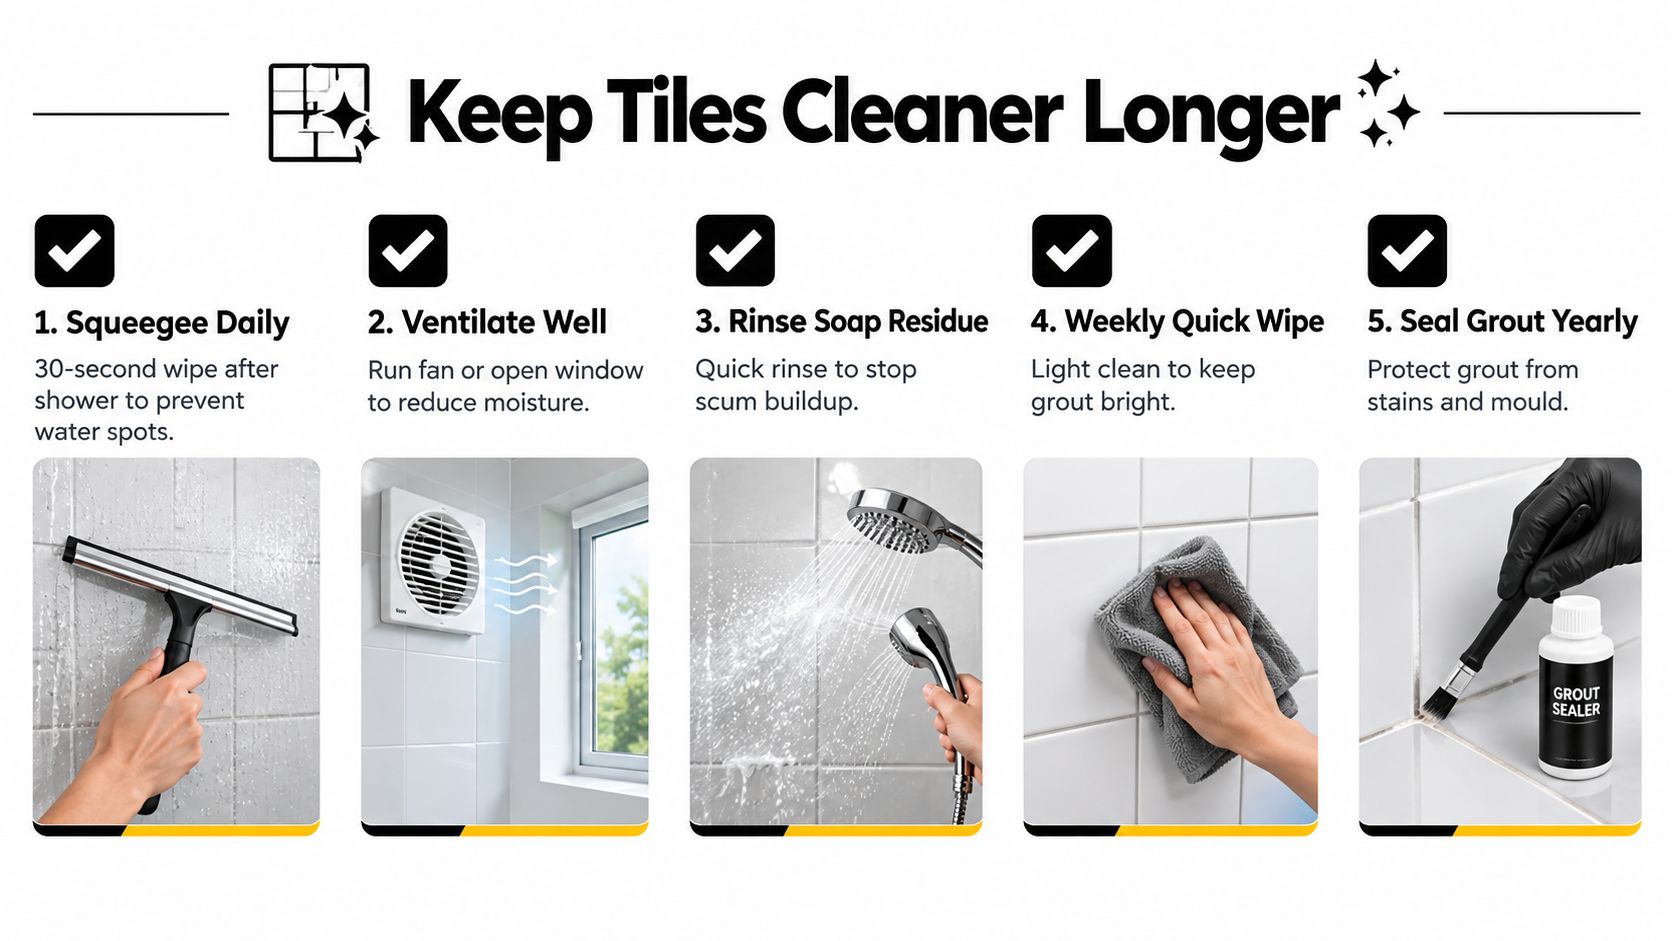
Good habits protect grout joints and tile finishes
Cleaning methods that look thorough can shorten the life of the installation. Flooding the floor, leaving strong product on joints, or using too much water in corners pushes moisture into cement-based grout and slows drying behind the surface. On natural stone, the same bad routine can dull the finish or drive residue into the pores.
That is why regular light cleaning works better than occasional aggressive scrubbing. It protects the face of the tile, keeps grout from loading up with residue, and makes it easier to spot early changes such as patchy sealing, slow-drying corners, or joints that are starting to darken.
Resealing belongs on the maintenance calendar
If the bathroom has cement grout, sealing is ongoing maintenance, not a set-and-forget job. A sensible schedule is usually every one to two years, depending on shower use, ventilation, and how quickly water stops beading on the grout. Epoxy grout does not need sealing, which changes the upkeep plan straight away.
If you are unsure what your grout needs, this guide to bathroom tile sealing for cement and epoxy grout lays out the difference clearly.
One practical check helps. If grout darkens fast when wet and stays dark long after the tile face has dried, review the sealer condition, room ventilation, and cleaning routine together. In a lot of bathrooms, those three issues travel together.
Good bathroom cleaning is mostly prevention. The easier bathroom to maintain is the one with the right tile, the right grout, proper drying after use, and a resealing schedule that matches the materials.
When to Call a Professional Tiler or Waterproofing Specialist
Cleaning has limits. If the bathroom keeps showing the same failure points, you may be dealing with repair issues rather than housekeeping.
Signs the problem isn't just surface dirt
Call for a professional assessment when you notice things like:
- Cracked tiles: Water can track through breaks and into the substrate.
- Crumbling grout: That's material failure, not staining.
- Failed caulking: Split or mould-ridden silicone won't be fixed by scrubbing.
- Recurring mould despite ventilation and drying: This can point to trapped moisture or leaks.
- Movement around shower bases or corners: Tiling and waterproofing systems may be compromised.
If water is affecting adjacent areas, don't ignore it. For ceiling-related leak symptoms, these emergency steps for ceiling leaks are a sensible starting point while you organise the right trade response.
Where registered builders fit in
In Victoria, a domestic builder limited to bathroom, kitchen and laundry renovations must apply through the Building and Plumbing Commission, and that application requires industry qualifications, project evidence, a technical referee report, criminal history check, photo ID, declarations, and payment authorisation before review [Victorian domestic builder renovation registration requirements].
There's also a practical cost threshold that matters for homeowners planning repair-heavy bathrooms. A Melbourne contractor listing states that registered building practitioners are legally able to carry out domestic building work costing more than $5,000 including labour and materials, which is highly relevant when bathroom cleaning problems turn into larger rectification work involving tiling, waterproofing, and trade coordination [Victorian registered builder cost threshold context].
Cleaning is DIY. System failure isn't.
Once water is getting behind the tile, once grout joints are failing repeatedly, or once the shower needs leak rectification, you're into specialist territory. That's when registered builders and waterproofing specialists matter. They can separate cosmetic issues from substrate issues and tell you whether the fix is resealing, regrouting, recaulking, or a larger repair.
If you're getting quotes, ask for clear scope, repair logic, and who is handling waterproofing, tiling, and any associated plumbing. If the bathroom is being reworked rather than just cleaned, proper planning beats patching every time.
Melbourne Tiling Services P/L handles bathroom tile repairs, regrouting, waterproofing-related rectification, and full bathroom renovations where cleaning alone won't solve the problem. If you want practical advice on protecting your tile and grout long-term, or you need a compliant renovation path with registered builders, visit Melbourne Tiling Services P/L.
Recent Comments