
Screed is the cement and sand layer that creates the flat base and drainage falls under your tiles, and for an unbonded screed in tiling the minimum thickness is 40 mm, with 50 mm recommended to help prevent curling and lifting. In a bathroom, it acts like a precision-engineered foundation for the tile finish, because even beautiful tiles won't perform properly if the base underneath is uneven, weak, or shaped incorrectly.
If you're planning bathroom renovations and reviewing quotes from tilers or registered builders, screed is often one of the most misunderstood line items. Homeowners usually focus on tile selection, tapware, niches, stone tops, and shower screens. The trouble is that the part you don't see often decides whether the whole floor drains properly, sounds solid underfoot, and stays crack-free.
In Melbourne bathrooms, screed matters even more when you're using large-format porcelain, natural stone, or slim tile panels. Those finishes don't forgive poor preparation. A floor can look close enough before tiling and still be wrong once the tiles go down. That's why experienced trades treat screeding as part of the system, not an optional extra.
Table of Contents
- An Introduction to Floor Screed for Home Renovators
- The Critical Role of Screed in a Flawless Tiling Job
- Exploring the Different Types of Tiling Screed
- Screed Thickness Curing Times and Substrate Preparation
- Why Modern Tiles Demand a Perfect Screed
- Common Screed Problems and Professional Solutions
- Hiring a Pro and Melbourne-Specific Screed FAQs
An Introduction to Floor Screed for Home Renovators
If you've seen "floor screed" in a quote and wondered whether it's just another way of saying concrete, it isn't. In tiling, screed is a carefully placed layer that gives the tile installer the exact surface needed for a proper finish. In wet areas, that includes the right shape so water moves where it should.
Think of screed as the difference between hanging cabinetry on a straight wall and trying to fit it to a crooked one. Tiles are no different. If the base is off, the finished room will show it. You might see lippage at tile edges, water sitting in corners, or hollow sounds when you walk across the floor.
Registered builders and experienced tilers don't treat screed as filler. They treat it as a control layer. It lets the team correct what the slab or substrate gives them, then build the bathroom floor to suit the waterproofing, the waste position, the tile size, and the final floor heights.
For homeowners planning high-end work, that's where the value sits. You're not paying for mud on the floor. You're paying for accuracy, drainage, and a tiled surface that feels solid for years, not just on handover day.
If you're comparing finishes for a renovation, it's worth understanding how screed fits into the broader floor build-up used in floor tiling services in Melbourne.
Practical rule: Expensive tiles don't fix a bad base. They expose it.
The Critical Role of Screed in a Flawless Tiling Job
A lot of failures blamed on tiles begin underneath them. Screed has several jobs at once, and when one of those jobs is done poorly, the problem usually appears later as pooling water, cracked grout, drummy tiles, or a floor that never looks quite right.
Screed shapes the bathroom floor
In a bathroom, the floor shouldn't just be flat. It needs the right falls. That means the surface is shaped so water moves toward the waste instead of drifting to the doorway or sitting against a wall. This is one of the most important parts of waterproofing integrity.
When falls are wrong, the waterproofing membrane may still be intact, but the room won't perform properly. Water lingers. Grout stays wet longer than it should. Cleaning becomes harder. In shower areas, the room starts feeling poorly built even if the tiles themselves were laid neatly.
It corrects the substrate below
Concrete slabs and existing floors are rarely perfect. Some are out of level. Some have minor undulations. Some have old patching, service penetrations, or transitions between materials. Screed gives the tiler or builder a way to create a controlled surface over those irregularities.
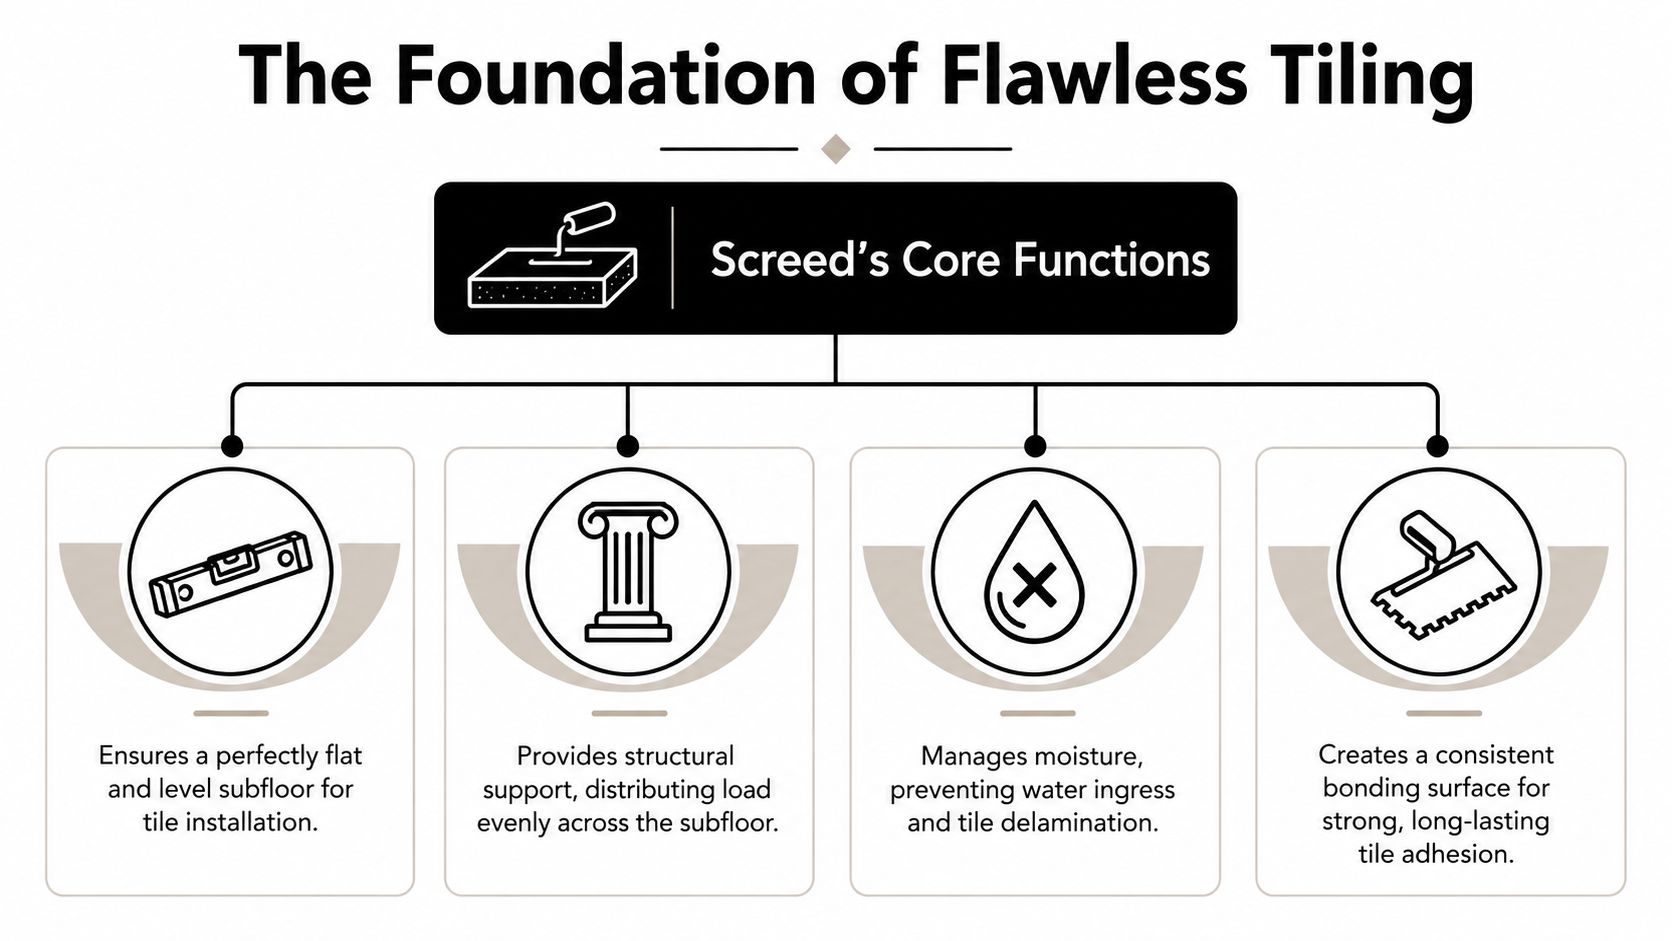
A good way to picture the floor build-up is this:
- Subfloor or slab: The structural base
- Preparation layer: Cleaning, priming, repairs, or slip sheet depending on the system
- Screed: The shaping and flattening layer
- Waterproofing and tile assembly: The protective and finished surface layers
That middle layer gives the installer control. Without it, you're trying to tile directly over whatever shape the substrate happens to be.
It creates a reliable bed for the tile system
Screed also helps where the floor build includes services such as underfloor heating or where exact finished heights matter at doorways and shower entries. In premium bathroom renovations, this becomes especially important because multiple trades need the floor to land at the correct level.
A straight tile finish starts well before the first tile comes out of the box.
The biggest misunderstanding is thinking screed exists only to make a floor look smooth. Its real role is broader. It supports drainage, flatness, adhesion, and the way the whole bathroom performs once people start using it every day.
Exploring the Different Types of Tiling Screed
Not all screeds are the same, and the right choice depends on the substrate, the room, the height available, and how the rest of the tiling system is being built. Homeowners often hear one word, "screed", as though it means a single product. On site, it doesn't.
Traditional sand and cement screed
This is the standard option typically referred to in residential tiling. It gives the installer a workable bed for shaping falls and flattening floors. In bathroom work, it's commonly used because it can be formed with precision around wastes, shower set-downs, and transitions.
Traditional screed suits jobs where the installer needs hands-on control. That's why it's still the backbone of many quality bathroom floors.
Polymer-modified screed
A polymer-modified mix is used when extra bond performance, reduced water demand, or tighter site conditions call for a more engineered product. It can be useful where the substrate is challenging or where the specification needs more than a basic sand and cement bed.
This doesn't mean every bathroom needs a modified screed. It means the builder or tiler should choose it for a reason, not because it sounds more advanced.
Liquid and self-levelling compounds
These products are often confused with traditional screed, but they serve a different purpose. A self-levelling compound is typically used to refine flatness, not to hand-shape shower falls in the way a dry-pack screed can. On some projects, it complements the system. On others, it's the wrong material for the task.
That distinction matters. A floor can be level and still be wrong for a wet area if it hasn't been shaped correctly for drainage.
Bonded and unbonded systems
This is one of the more important technical distinctions. A bonded screed adheres directly to the prepared substrate. An unbonded screed is separated from it by a slip layer. The choice affects thickness, reinforcement, and how the screed behaves.
According to Australian Standards guidance for unbonded screeds, AS 3958.1 and AS 4654.2 require a minimum thickness of 40 mm for an unbonded screed used in tiling, with AS 4654.2 specifically recommending 50 mm to help prevent curling and lifting. The same guidance states that unbonded screeds must be reinforced with either fibreglass mesh or small gauge steel mesh to control shrinkage-induced damage.
That isn't trivia. It's what separates a compliant assembly from one that looks acceptable on day one and starts moving later.
If you're comparing materials or trying to understand what your contractor has specified, it helps to know the basics of tiling materials used in floor and bathroom work.
| Screed Type | Typical Thickness | Approx. Curing Time Before Tiling | Best For |
|---|---|---|---|
| Traditional sand and cement screed | Depends on the system and site conditions | Requires full curing before tiling | Shaping falls and building bathroom floors |
| Polymer-modified screed | Product and application dependent | Follow the product specification | Jobs needing improved bond or tighter control |
| Liquid or self-levelling compound | Usually thinner than traditional screed applications | Product dependent | Correcting flatness outside hand-shaped wet area falls |
| Unbonded screed | Minimum 40 mm, with 50 mm recommended in AS 4654.2 | Requires proper curing before tiling | Floors where the screed is separated from the substrate |
Screed Thickness Curing Times and Substrate Preparation
A bathroom floor can look fine on Friday, feel hard on Monday, and still be nowhere near ready for waterproofing or tiles. I see that mistake in Melbourne renovations more often than homeowners expect, especially where someone assumes a firm surface means the screed has finished moving.
Thickness, curing, and preparation control whether the tiled floor stays flat, drains properly, and holds the waterproofing system together. On high-end bathroom work with large-format tiles, there is very little tolerance for a screed that shrinks, powders, or debonds from the base.
What the mix and curing rules mean on site
For a traditional sand and cement screed, the mix needs to be consistent, the water needs to be controlled, and the curing period needs to be respected. A wet, sloppy mix is easier to spread, but it usually creates more shrinkage and a weaker result. A drier, well-compacted mix takes more skill to place, but it gives better control over shape, strength, and long-term stability.
Australian Standards and manufacturer specifications set the framework, but the on-site judgement matters just as much. The right curing time depends on the screed system, thickness, ventilation, temperature, and what layer is going over it next. In a bathroom, that sequencing matters because the screed does not work in isolation. It becomes the base for waterproofing, adhesive, and tile. If the screed is still shedding moisture or shrinking, the stress shows up higher in the assembly.
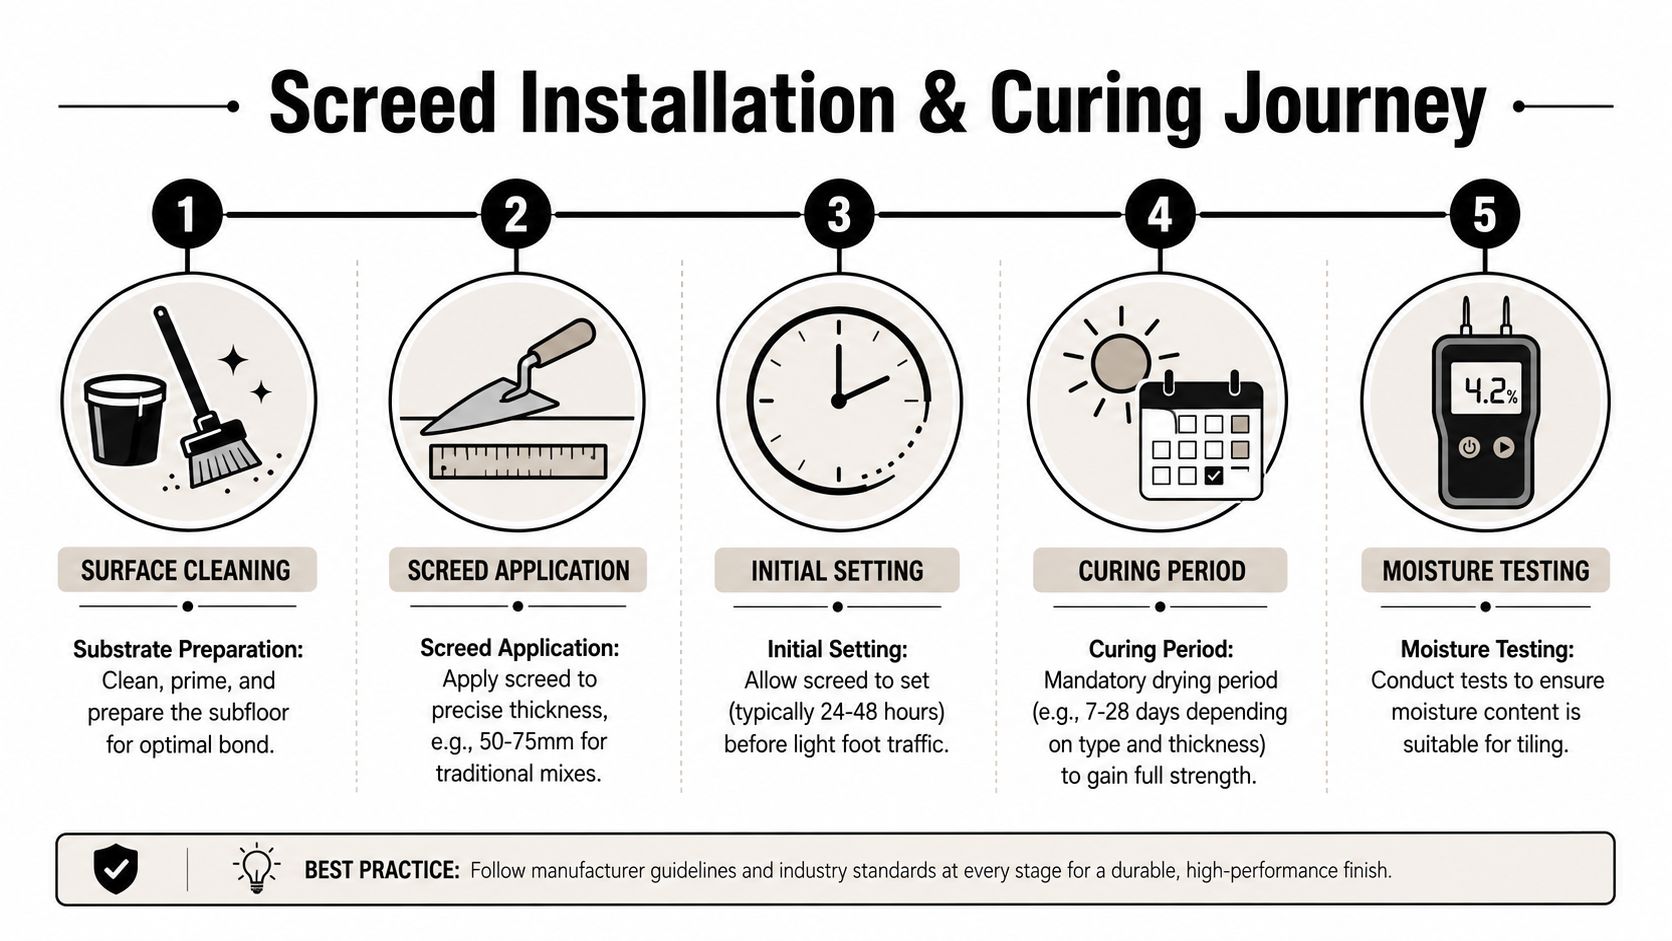
On site, the sequence usually runs like this:
- Prepare the substrate: Remove dust, laitance, paint, adhesive residue, oil, and loose material so the screed system has a sound base.
- Check levels and falls: Mark finished heights, waste locations, and door transitions before mixing starts.
- Place and compact the screed: Build the required thickness and shape with proper compaction, not just a quick spread-and-rub finish.
- Cure it to suit the system: Protect the screed from drying too fast and follow the specified cure and drying process before the next trade starts.
- Confirm readiness before tiling or waterproofing: Surface hardness alone is not the test. Moisture condition, bond, and stability matter.
That last point catches people out. A screed can be walkable long before it is ready to receive the next layer.
Why substrate preparation decides whether the screed lasts
Good screed over a poor base is like laying a luxury stone benchtop on a cabinet with a twisted frame. The finish might look straight for a while, but the support underneath is already setting up the failure.
In Melbourne bathroom renovations, the existing substrate often has old glue, paint overspray, cracked patches, saw cuts, plumbing penetrations, or soft surface laitance. If those defects are left in place, the screed can lose bond, dry unevenly, or crack at weak points. On a bonded screed, that bond line is everything. On an unbonded or floating system, the separation layer and edge treatment still need to be correct or the bed can move in ways it should not.
Preparation usually includes mechanical cleaning, checking for drummy or weak areas, repairing cracks where required, confirming the substrate is suitable for the selected screed system, and using the right primer or slip membrane. Trade discipline is evident. The result depends heavily on correct use of straightedges, lasers, grinders, mixers, and finishing tools, not guesswork or improvised gear. The right tiling tools for screed preparation and installation make it possible to hit levels accurately and keep falls honest.
For a Registered Builder, the bigger concern is compliance across the whole bathroom assembly. Screed has to suit the substrate, the waterproofing method, and the tile finish. Get that order wrong, or rush the drying stage, and the expensive part of the renovation ends up relying on the weakest layer in the room.
Why Modern Tiles Demand a Perfect Screed
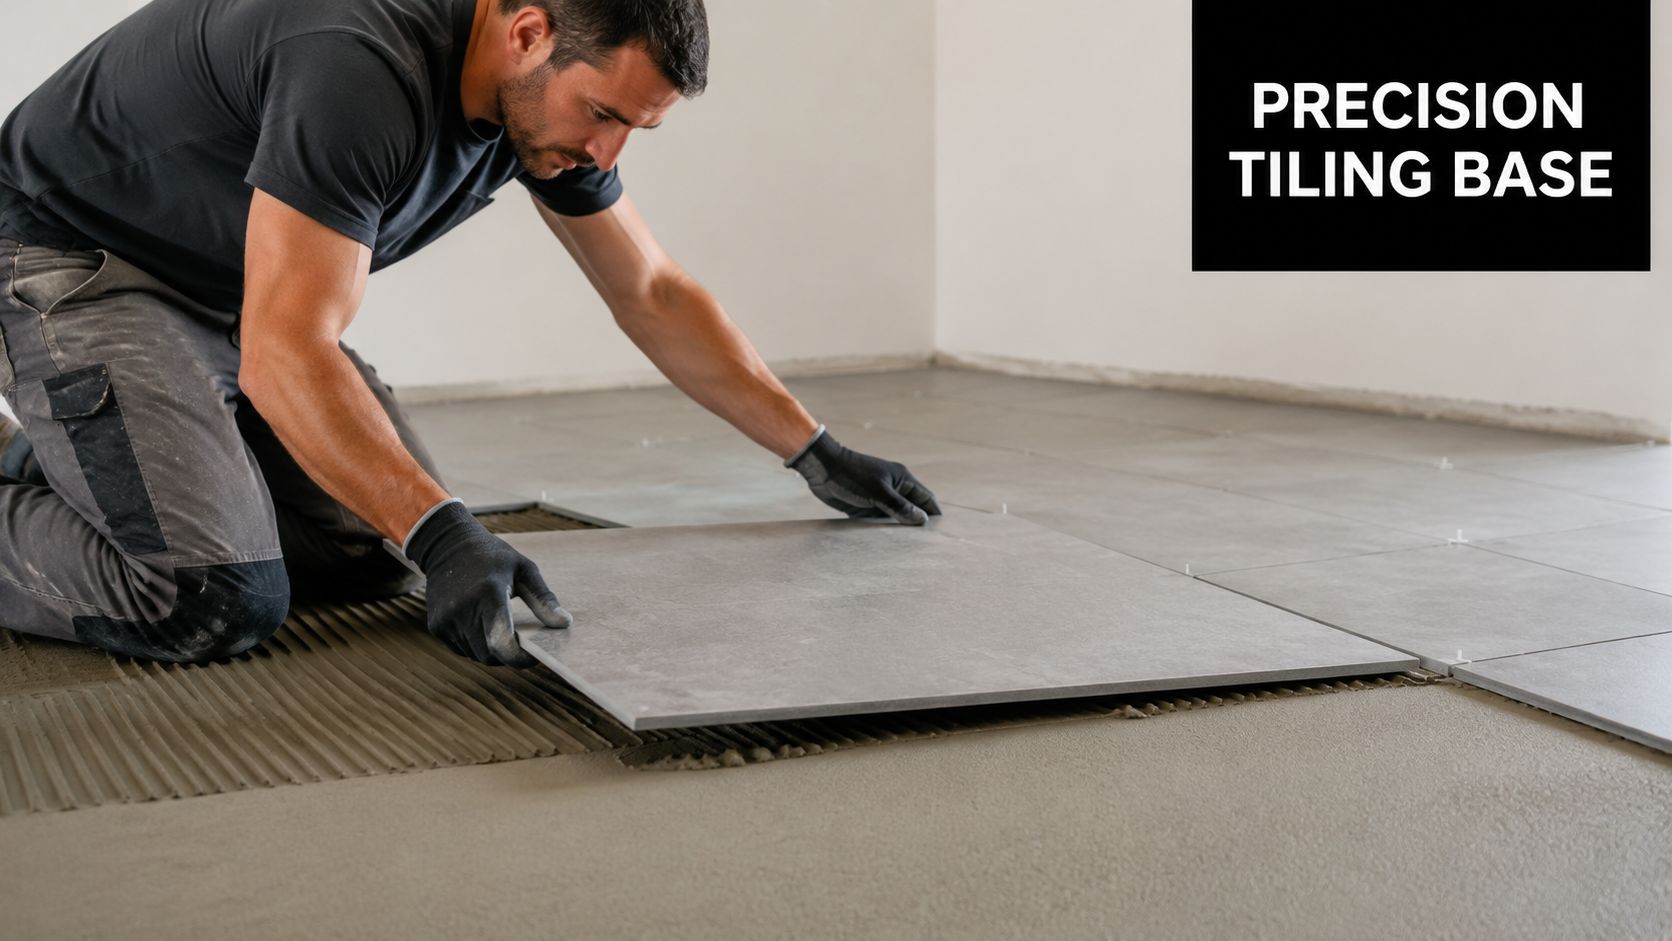
A homeowner chooses 600 x 1200 rectified porcelain for a new Melbourne bathroom because the room needs to feel sharp, flat, and expensive. The tile looks flawless in the showroom. On site, that same tile will expose every low spot, every hump, and every lazy fall in the screed.
Large-format tiles magnify every defect
Older bathrooms could hide a fair bit with smaller tiles and wider grout joints. Modern tile selections do the opposite. Large-format porcelain, rectified edges, natural stone, and slim panels leave very little tolerance for an uneven base.
A small mosaic can follow minor variation without drawing attention to it. A large tile spans across the highs and lows. That creates lippage, hollow support under parts of the tile, uneven reflections, and extra stress at edges and corners. In a high-end bathroom, those defects are easy to see and expensive to correct once the room is waterproofed and tiled.
I see this regularly in Melbourne renovations where clients want clean lines, narrow joints, and flush transitions. The finish only looks premium if the screed is set out with the same care as the tile.
Screed quality affects both tile performance and waterproofing integrity
Screed is not just there to give the tiler something to stick to. In many bathroom builds, it also controls the falls to the waste, supports the waterproofing strategy, and helps the whole floor system meet the standard expected under Australian practice.
If the falls are inconsistent, water sits where it should drain. If the surface is out of plane, the installer has to chase flatness with adhesive. That creates another problem. Adhesive works best as a bonding layer at the right bed thickness, not as a substitute for proper screeding.
The trade-off is straightforward. Spending more time getting the screed right saves trouble later with tile alignment, drainage, and finish quality. Rushing the screed usually shifts the problem to the waterproofing contractor or the tiler, and by then the room is already on the back foot.
Good coverage starts with a flat, accurate base
As noted earlier, tile installations over screed need proper adhesive contact between the tile and the substrate. That becomes harder to achieve when the base is wavy, powdery, or badly shaped around wastes and corners.
A short demonstration helps homeowners see what proper preparation is trying to achieve:
In practical terms, a well-finished screed gives the tiler control. Trowel lines collapse properly. Large tiles bed down evenly. Falls can be kept honest without creating birdbaths or proud edges at the doorway. That matters even more in bathrooms using large-format tiles, where the margin for error is small and the visual standard is high.
Premium tiles do not improve a bad base. They expose it.
Common Screed Problems and Professional Solutions
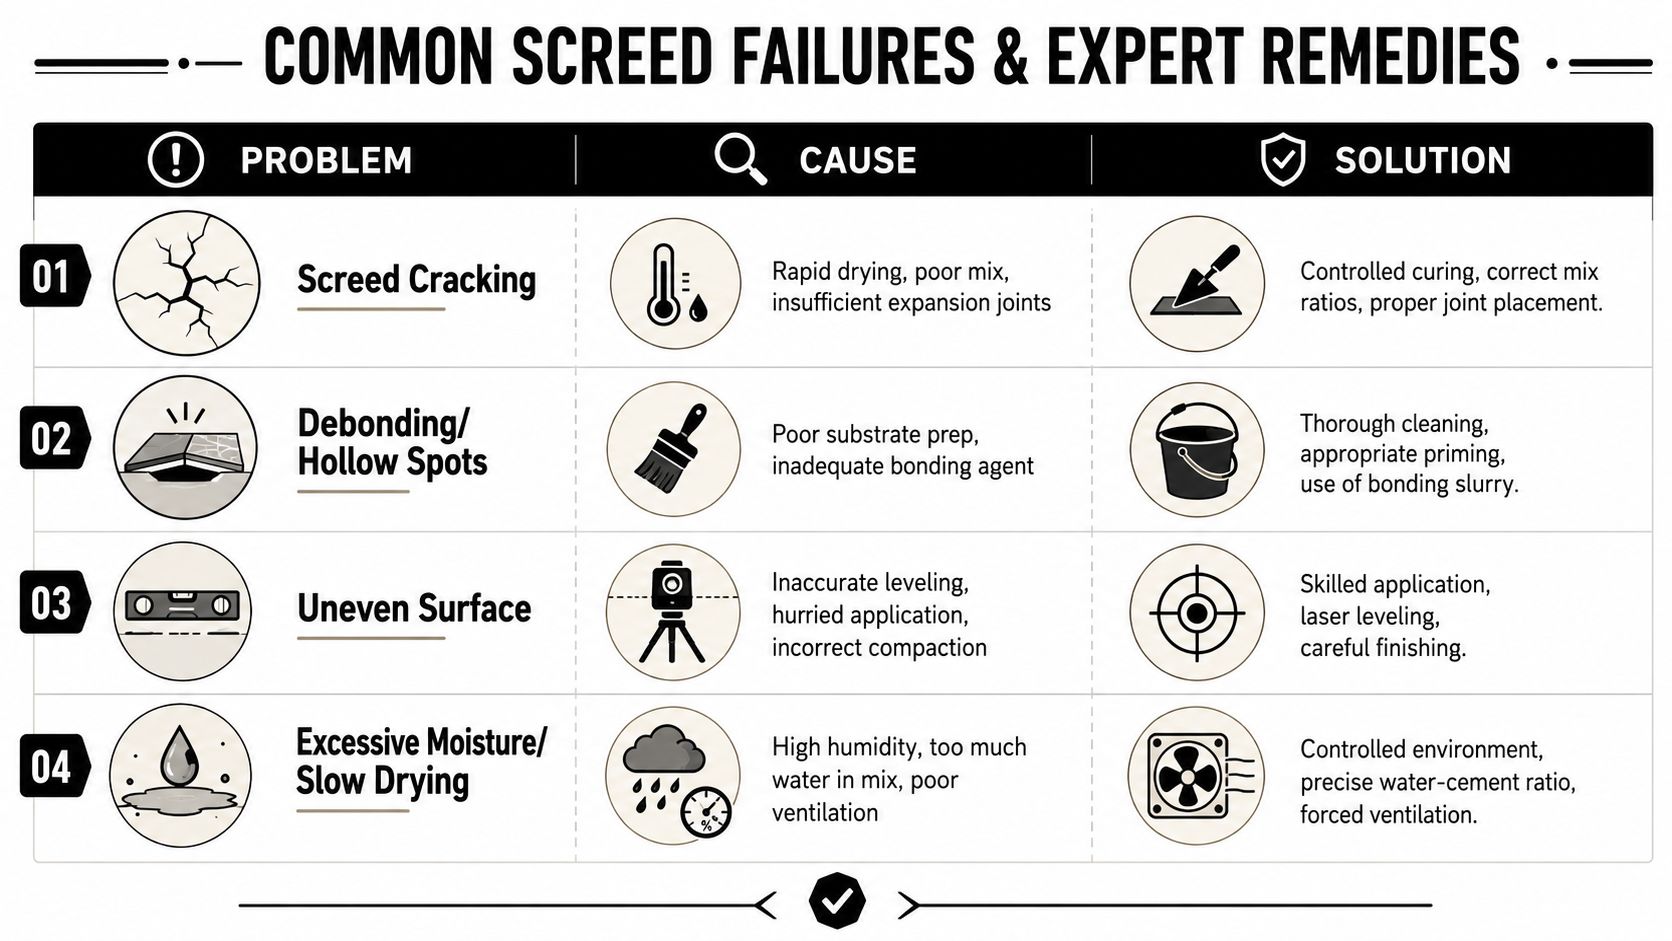
Most screed failures leave clues. Homeowners notice cracks in grout, tiles that sound hollow, or shower floors that never quite drain. The visible symptom isn't always the root cause, so it helps to look at the problem the way a builder or tiler would.
Cracking and curling
Cracking often points to poor mix control, rushed curing, movement in the substrate, or weak compaction. In practice, it usually isn't one single mistake. It's a chain. Too much water in the mix, inconsistent placement, and drying too quickly can all contribute.
Curling and lifting at edges commonly shows up when moisture behaviour in the screed isn't controlled properly. In unbonded work, inadequate thickness or poor reinforcement can also make the problem worse.
Professional prevention usually includes:
- Correct mix discipline: The sand and cement ratio can't be made up by eye on a rushed site.
- Controlled curing: The screed has to be protected so it doesn't dry unevenly.
- Proper reinforcement where required: Especially in systems that call for mesh.
- Accurate thickness control: Thin spots become weak spots.
Drummy spots uneven falls and slow drying
A drummy or hollow sound under tiles often suggests debonding somewhere in the assembly. Sometimes the issue starts with contamination on the substrate. Dust, residue, weak surface material, or poor priming can stop the screed from anchoring the way it should.
Incorrect falls are a different failure, but one homeowners notice quickly. Water sits near the shower screen, tracks toward the door, or forms a puddle in a corner. That's a workmanship problem, not bad luck. It usually means the floor wasn't set out with enough care before screeding and tiling began.
Slow drying or persistent moisture can come from excess water in the mix, poor ventilation, or a rushed programme that pushes the next trade in too early.
A useful way to assess risk is to ask whether the contractor has a method, not just confidence.
| Problem | Likely Cause | Professional Solution |
|---|---|---|
| Cracking | Poor mix, rapid drying, weak compaction, movement | Controlled mix, proper curing, sound substrate assessment |
| Hollow or drummy areas | Dirty or weak substrate, poor bond preparation | Thorough preparation, suitable primer or bond method |
| Water pooling | Falls set incorrectly | Careful set-out and shaping before tiles are laid |
| Curling or lifting | Moisture imbalance, excess water, inadequate system design | Correct system choice, proper thickness, disciplined curing |
If a screed job is rushed, the floor usually tells on it later.
Hiring a Pro and Melbourne-Specific Screed FAQs
Bathroom screeding isn't a weekend DIY job. In a wet area, the screed affects drainage, tile performance, and how well the waterproofing system does its job over time. If the floor is wrong, fixing it usually means removing finished work. That's why this part of bathroom renovations is best handled by experienced tilers working with registered builders who understand the full assembly, not just the visible surface.
Questions worth asking before work starts
When you're speaking with contractors, ask direct questions:
- Are you a Registered Builder or working under one? That matters when multiple trades and compliance issues need coordination.
- How will you form the falls to the waste? A clear answer is better than vague reassurance.
- What screed system are you proposing for this substrate? The answer should reflect the actual floor condition.
- How do you manage curing and sequencing before tiling starts? If the reply sounds rushed, that's a warning sign.
- Who is responsible for coordinating screed, waterproofing, and tiling? In failed bathrooms, this is often where accountability disappears.
Melbourne bathroom screed FAQs
How much does screeding a bathroom cost in Melbourne?
It depends on the bathroom size, access, substrate condition, waste location, floor height constraints, and whether the work is part of a full renovation. A simple rescreed and a custom floor build for large-format tiles are not the same scope, so fixed assumptions are risky.
Do I need council approval to re-screed a bathroom?
In many cases, screeding itself isn't the issue. The wider renovation scope is. Structural changes, plumbing relocation, and broader building work can affect approvals and compliance requirements. A Registered Builder can guide that process properly.
What about older Melbourne homes?
Older homes often come with uneven floors, previous patching, timber movement, and legacy waterproofing failures. They can produce excellent results, but they reward careful preparation and punish shortcuts.
If you're planning a bathroom or ensuite and want the floor built properly from the base up, Melbourne Tiling Services P/L handles complete bathroom renovations, screeding, waterproofing, and premium tile installation across Melbourne. Their team of Registered Builders coordinates the whole process so the screed, falls, waterproofing, and tile finish work together the way they should.
Recent Comments