

Melbourne bathroom renovations commonly cost between $24,000 and $38,000, depending on scope, fixtures, and materials. That figure reflects a shift from cosmetic updates to regulated wet-area projects requiring compliant waterproofing and registered builders.
A bathroom renovation can look simple from the doorway, but the visible finishes are only the final layer of a coordinated construction job. Behind the tiles are framing decisions, plumbing connections, electrical work, substrate preparation, waterproofing membranes, drainage falls, inspections and carefully sealed penetrations. If any of those stages are rushed, a beautiful bathroom can still develop leaks, movement or expensive defects.
The safest way to understand how to renovate a bathroom is to treat it as a wet-area building project first and a design project second. The National Construction Code 2022 and Victorian Building Authority guidance set technical expectations that affect the demolition plan, materials, trade sequence and evidence you should retain.
Table of Contents
- Starting Your Bathroom Renovation Project
- Planning, Budgeting, and Hiring Registered Builders
- Waterproofing Requirements and NCC 2022 Compliance
- Choosing Tiling Materials and Installation Methods
- Finishing Touches and Fixture Selection
- Bathroom Renovation Checklist for Homeowners
Starting Your Bathroom Renovation Project
A Melbourne homeowner might begin with a dated bathroom, a cracked grout line and a plan to replace the vanity. Once the first tile comes off, the situation can change quickly. The substrate may be damp, the floor may not drain correctly, the wall sheeting may be unsuitable, or an old shower penetration may have been sealed poorly.
That's why the published Melbourne renovation range of $24,000 to $38,000, and the Australian national median of about $30,000, should be treated as planning context rather than a guaranteed price. The final scope depends on the room's condition, fixture selection, tile specification, plumbing changes, electrical requirements, access and compliance work. These figures and the broader market context are reported in Australian bathroom renovation statistics and cost summaries.
Before demolition, record the existing room carefully. Photograph the floor, wall junctions, shower screen, penetrations, vanity connections and any staining. Check whether the bathroom sits over timber flooring, an upper-storey structure, a balcony-adjacent area or an apartment below another dwelling. Those conditions influence the level of substrate inspection and waterproofing detail required.
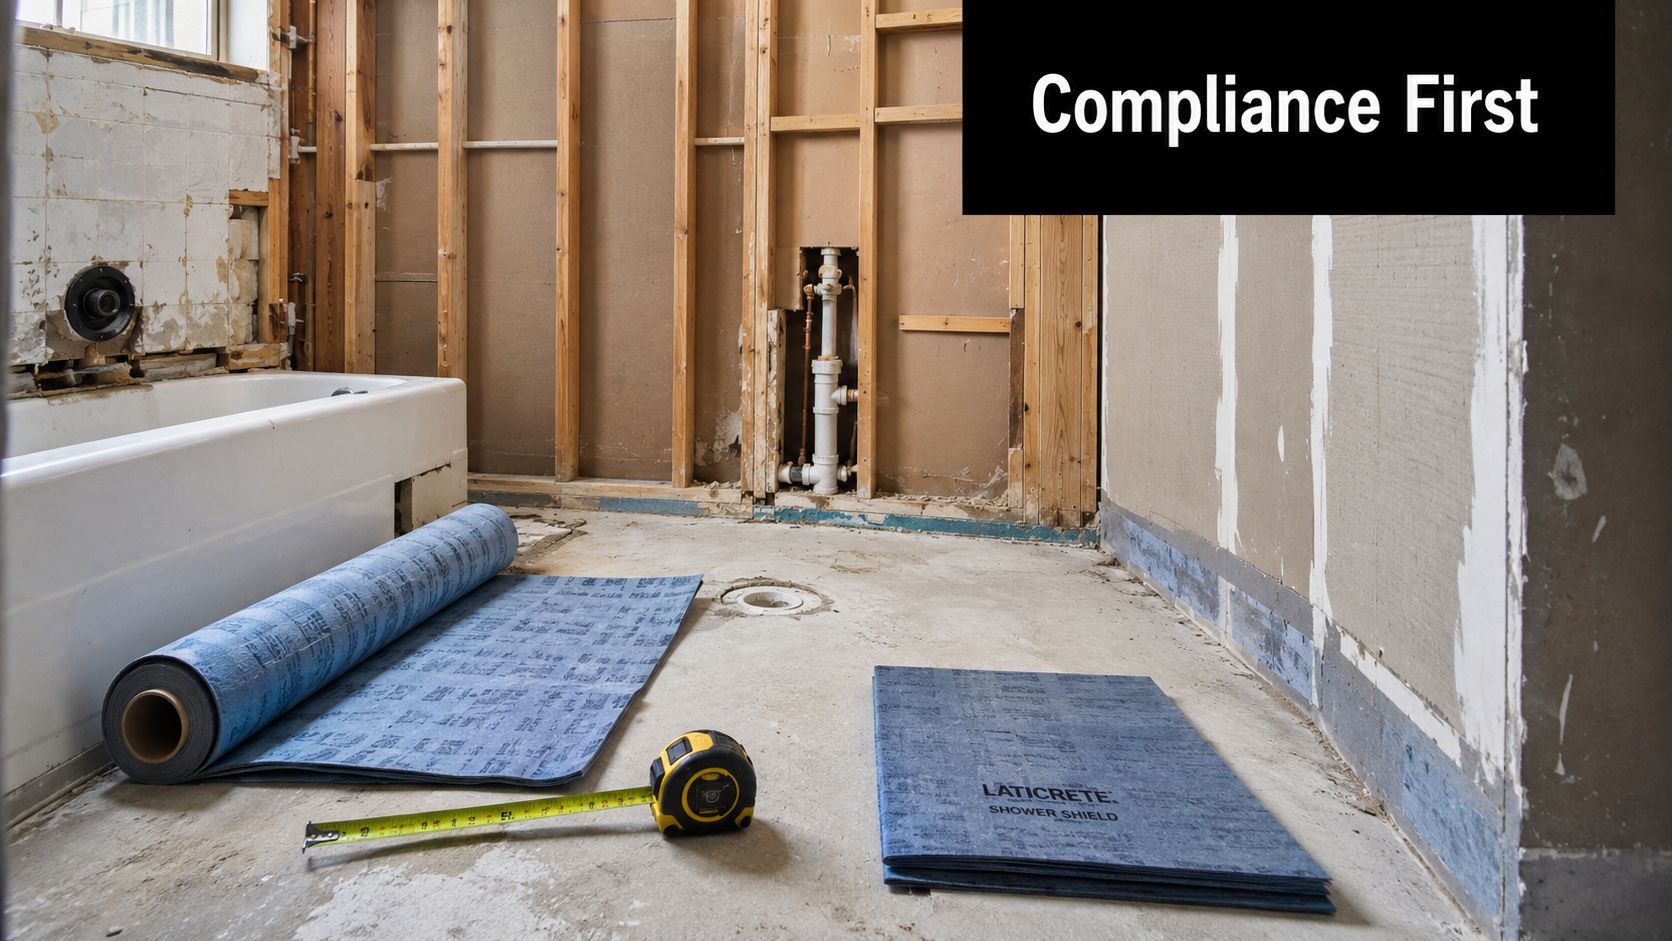
Define the work before demolition
A sound scope should identify:
- Layout changes: Moving a toilet, shower or vanity can increase plumbing coordination and may affect structural or approval requirements.
- Substrate condition: The builder needs to determine whether existing sheeting, framing and flooring can remain.
- Wet-area boundaries: Shower zones, wall junctions and floor wastes require planned waterproofing, not improvised patching.
- Finish level: Standard ceramic tiles, porcelain, marble and large-format products each require different handling and installation preparation.
- Trade sequence: Carpenters, plumbers, electricians, waterproofers, tilers and shower-screen installers must work in a controlled order.
A written timeline helps you understand when the room will be unusable and when selections must be finalised. For a practical view of sequencing, use this Melbourne bathroom renovation timeline while discussing the project with your contractor.
Demolition also deserves its own allowance and method. Dust control, waste removal, protection of adjoining rooms and careful isolation of water and power all matter. A useful external reference is this guide to bathroom tear-out price ranges, but your contractor should still inspect the property before pricing demolition.
Practical rule: Don't approve demolition until the scope identifies what happens if concealed damage appears. A clear variation process is safer than arguing about unexpected work after the room is open.
The right starting point is an organised assessment, not a tile showroom visit. Decide what must be repaired, what can be retained and which improvements justify the cost before anyone starts stripping the room.
Planning, Budgeting, and Hiring Registered Builders
A bathroom budget is usually decided by what sits beneath the visible finishes. Waterproofing preparation, substrate repairs, drainage changes and tile installation can alter the cost more than the tiles themselves. Layout changes also affect several trades at once, so confirm the scope before choosing fixtures or approving a quote.
Build the budget around defined work packages. Allow for demolition, waste removal, carpentry, plumbing, electrical work, ventilation, fixtures, waterproofing, tiling and compliance documentation. Large-format or heavy tiles may require different substrate preparation and handling, while a new shower position can increase plumbing and floor-work requirements. Use the earlier Australian renovation market reporting as broad context, not as a substitute for a site-specific quote.
Build a quote that can be compared
Ask every contractor to separate labour and materials, then list demolition, substrate preparation, waterproofing, floor screeding, tiling, plumbing, electrical work, fixtures, shower-screen installation and waste removal. A low total may exclude the work that becomes visible only after finishes are removed.
A renovation calculator helps only when it reflects actual selections. Enter the tile size, material, pattern, vanity, tapware, shower configuration, toilet, lighting and ventilation. State whether the existing layout remains. Give each contractor the same written scope so allowances and exclusions can be compared properly.
Use this planning sequence:
- Inspect the existing room. Check moisture, movement, drainage, framing and access before pricing the work.
- Confirm the layout. Set fixture positions before plumbing rough-in and identify any structural or service constraints.
- Choose materials early. Tile thickness, format, weight and pattern affect preparation, handling and installation time.
- Confirm approvals. Ask which permits, certificates and inspections apply, and identify who is responsible for arranging them.
- Compare written quotes. Check exclusions, allowances, programme, payment stages and variation terms.
- Verify registration and insurance. Check the contracting entity and evidence directly rather than relying only on a trading name or online reviews.
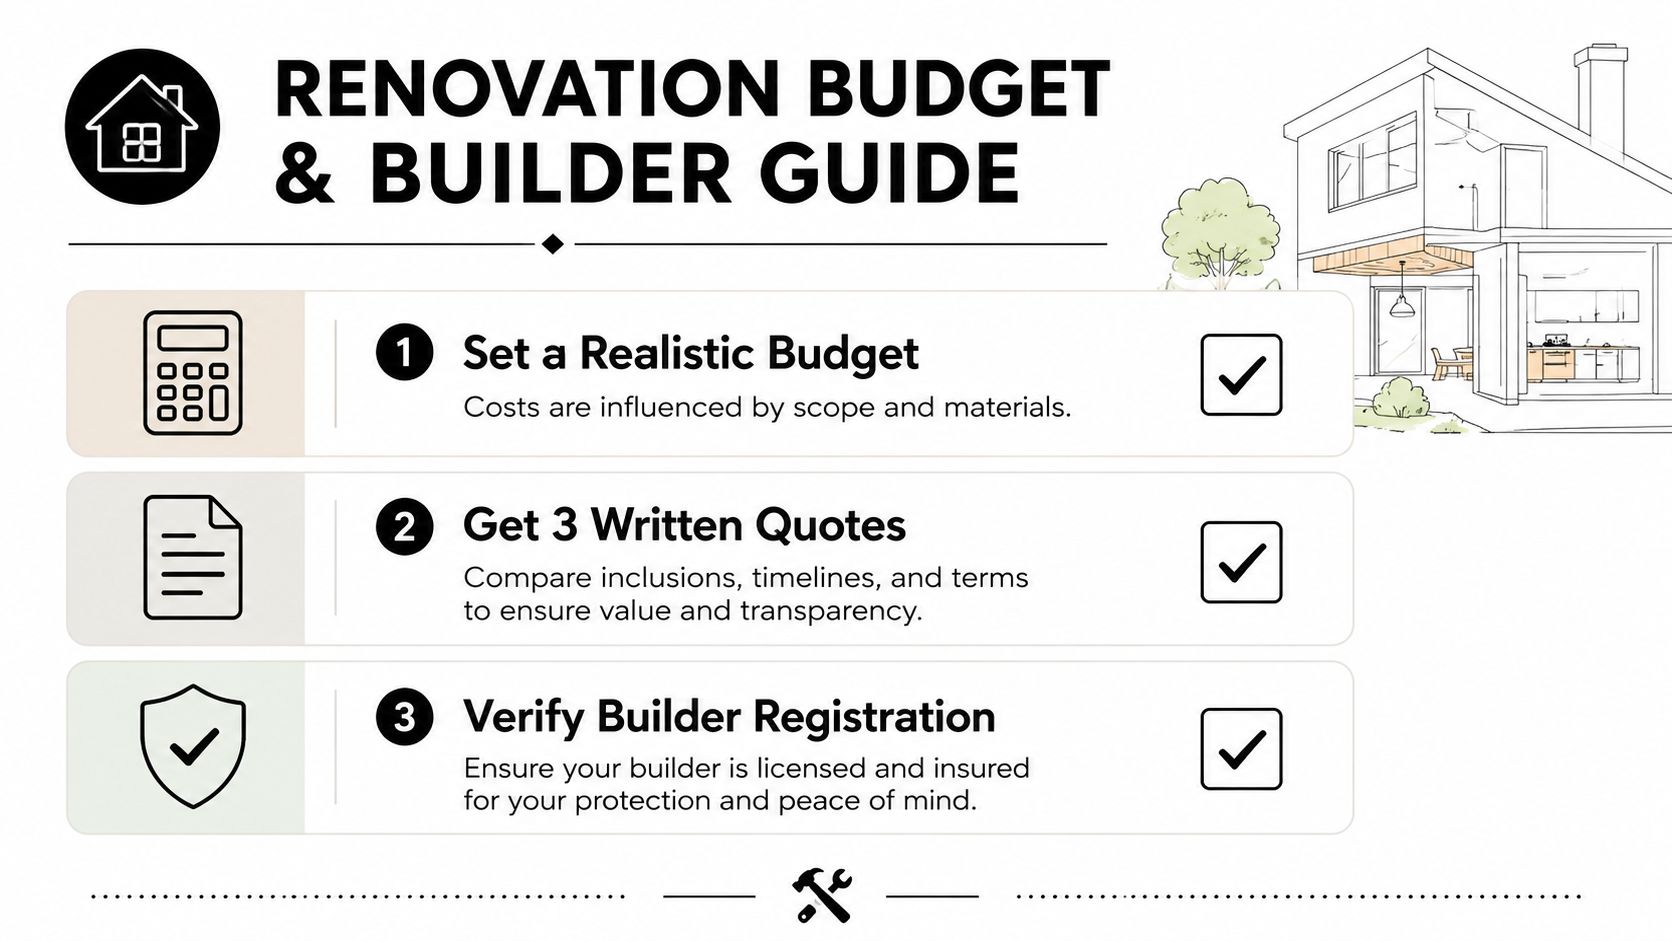
Why registered builders matter
Victoria has a domestic builder licence specifically for bathroom, kitchen and laundry renovations. The Victorian Building Authority application requires industry qualifications, project-work evidence, a technical referee report, a criminal history check, photo identification and declarations. The VBA reviews the applicant's knowledge and experience, conducts a reference check and notifies the applicant of the result. The published application fee is $765.40 for an applicant not already registered in another domestic-building class, or $612.30 for someone already registered in another class, according to the VBA domestic builder application form.
For a homeowner, registration is one part of controlling project risk. Confirm who holds the contract, who coordinates licensed trades and who provides waterproofing records. A single renovation contractor can reduce handover problems when one team controls the sequence, although the contract must still identify each responsibility clearly.
Melbourne Tiling Services P/L describes a workflow involving licensed carpenters, plumbers, electricians, tilers and waterproofers. Other registered builders may organise their teams differently. Compare the actual contract, trade licences, insurance, inclusions and documentation rather than assuming every renovation package covers the same work.
Keep approvals, product information, invoices, certificates, photographs and variation records together. Collect them during the renovation, while each decision and concealed condition can still be verified.
Waterproofing Requirements and NCC 2022 Compliance
Waterproofing is the stage that separates a durable bathroom from a concealed defect waiting to spread. Tiles and grout don't form the waterproofing system. The membrane, compatible substrate, junction treatment, penetrations and drainage design must work together.
Under the National Construction Code 2022 wet-area rules, shower floors must be waterproofed. Wet-area walls must generally be waterproofed to at least 1,800 mm high, and where a floor waste is installed the floor must fall continuously at a minimum of 1:80 toward the waste. In Victoria, the VBA notes that compliance with Part 10.2 of the Housing Provisions or AS 3740 satisfies the wet-area performance requirement. The relevant requirements are set out in the Victorian Building Authority waterproofing and structural integrity guidance.
Follow the correct sequence
A practical workflow is:
- Strip out and inspect. Remove old finishes and check framing, flooring and wall sheeting.
- Correct the structure. Repair movement, replace damaged materials and make sure surfaces are suitable.
- Install compatible sheeting. Pay attention to corners, joints and plumbing penetrations.
- Set the falls. Form the drainage plane before applying the membrane, not after tiling.
- Apply the waterproofing system. Use the specified primer, membrane, bond breakers, corners and reinforcement.
- Allow the system to cure. Follow the product requirements and protect the surface from damage.
- Record inspection evidence. Photograph details and retain the relevant compliance documentation.
- Tile only after approval to proceed. Tiling can hide defects, so don't use it to cover uncertainty.
Victoria's current practice also creates a common trap in older bathrooms. The VBA material notes that particleboard is no longer permitted as part of the waterproofing system. If an older bathroom relies on particleboard in a way that conflicts with the current system, the builder should address it rather than coating over the problem.
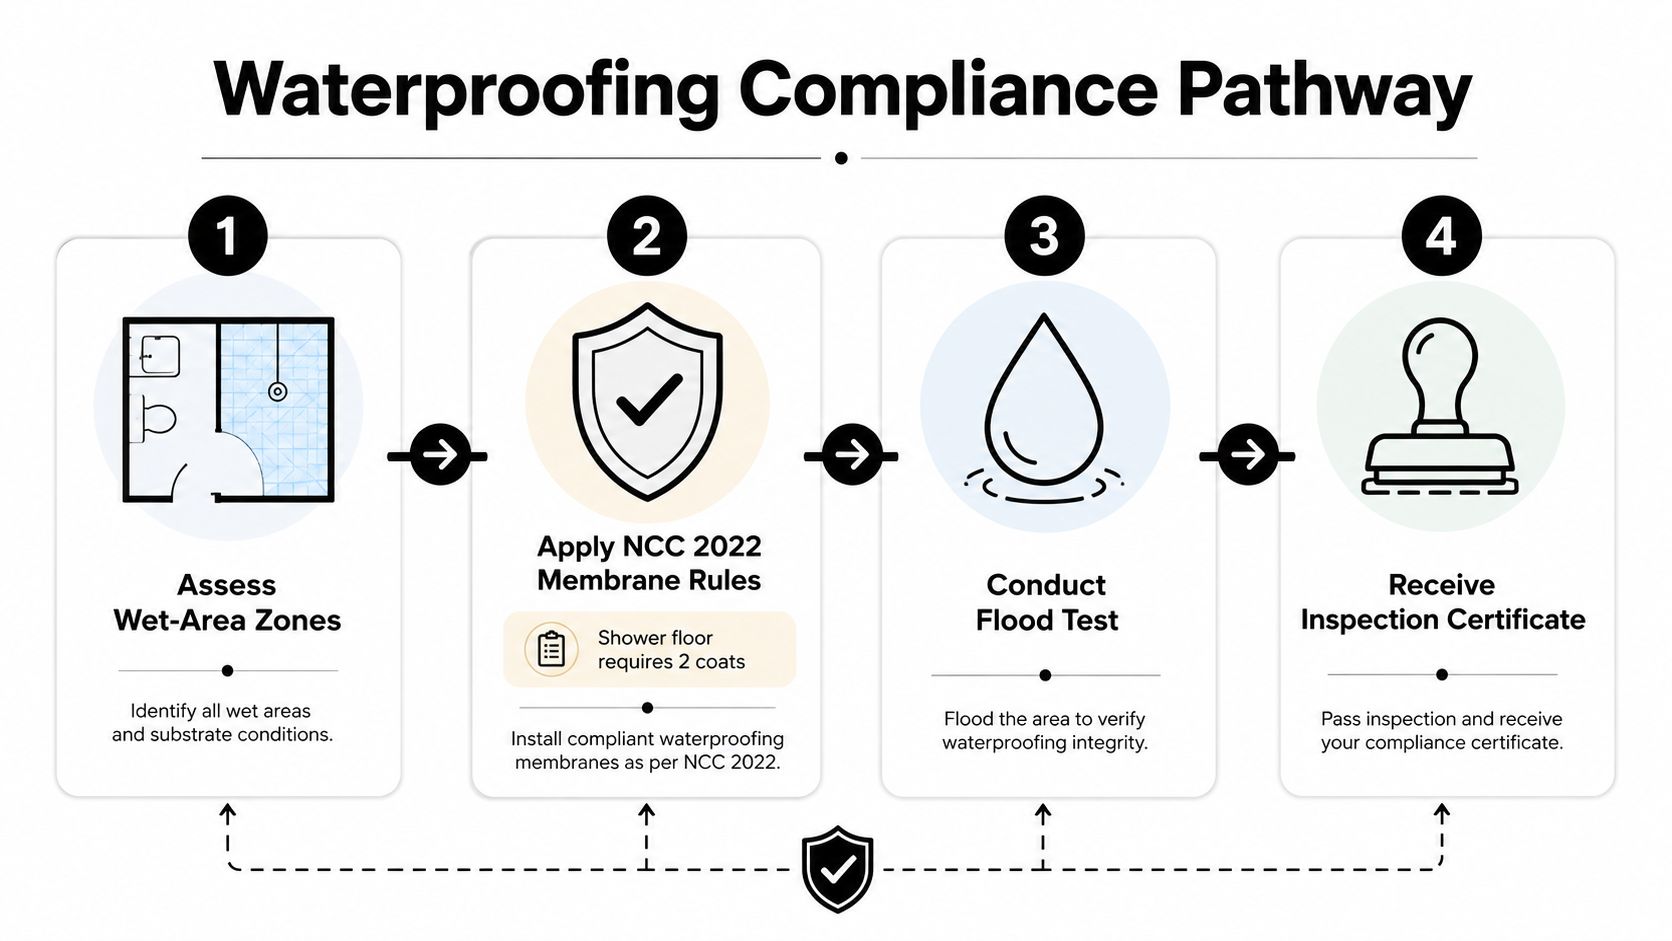
Inspect the details that fail first
Most waterproofing failures don't begin in the middle of an uninterrupted wall. They begin at floor-to-wall junctions, corners, pipe penetrations, wastes, shower screens and changes between materials. An unenclosed shower needs particular care, with waterproofing extending 1.5 m from the shower rose connection, according to the cited industry guidance on common failure points.
Upper-storey and timber-based floors deserve a higher level of scrutiny because movement can stress junctions and finishes. Wet rooms, balcony-adjacent bathrooms and leak-prone apartments may also justify a higher-spec waterproofing system. Australian pricing guides place standard full-bathroom waterproofing commonly around $800 to $1,800, while larger or more complex areas can reach $1,500 to $3,500 or more, depending on drainage integration, substrate correction and detailing. These ranges are discussed in Australian bathroom waterproofing cost guidance.
A failed wet area can require demolition beyond the original bathroom. Industry coverage citing Queensland warranty data places average bathroom-related rectification claims close to $25,000 when defects are finalised, although the figure relates to that specific data context rather than a guaranteed Victorian repair cost. The practical lesson is clear. Paying for proper preparation and evidence is often more economical than selecting the cheapest membrane application.
For Victorian projects, arrange the required inspection or compliance documentation before tiling begins. You can also review this resource on a Victorian bathroom waterproofing compliance certificate when deciding what records to request from your contractor.
Choosing Tiling Materials and Installation Methods
Tiling decisions affect waterproofing protection, cleaning, slip resistance, substrate preparation and the time required on site. The most expensive tile isn't automatically the most suitable, and the cheapest tile can become costly if its format or installation requirements don't match the room.
Ceramic tiles are often practical for walls and lighter-use applications. They're generally easier to cut than porcelain, which can simplify standard layouts. Porcelain is denser and commonly selected for floors or areas exposed to heavier use, but its hardness demands suitable blades, accurate setting out and an experienced installer. Marble gives a distinctive natural finish, yet it needs careful sealing, compatible cleaning products and a willingness to accept variation in colour and veining.
For a direct comparison of the first two options, use this guide to porcelain versus ceramic tiles.
Match the tile to the room
A compact bathroom with many corners, niches and penetrations can suit a smaller tile because the installer can form falls and manage cuts more easily. Large-format tiles reduce visual joints, but they need a flatter substrate and careful handling. A large sheet can highlight a hump or hollow that a smaller tile might bridge.
Kerlite and similar large-format products can create a clean interior finish and may also suit exterior applications, but the installation method must be planned around handling, adhesive coverage, substrate flatness and cutting. Don't choose a large-format product until the tiler has checked access, wall strength, sheet dimensions and the available lifting method.
Screeding and self-levelling
A bathroom floor should not be assumed to be level just because it looks flat. A shower or wet-room floor needs a controlled fall to the waste, while the surrounding floor may require screeding or self-levelling to provide a stable, tile-ready surface.
These methods aren't interchangeable:
- Screeding: Builds or shapes a cementitious surface, including designed falls where required.
- Self-levelling: Corrects suitable unevenness where a level substrate is the objective, but it isn't a substitute for a designed shower fall.
- Adhesive adjustment: Can accommodate limited variation, but shouldn't be used to conceal major substrate defects.
A professional tiler checks the surface with straightedges, confirms set-out lines and plans cuts before spreading adhesive. The result should place cuts in discreet locations, keep grout lines consistent and avoid narrow slivers around walls or fixtures.
DIY or professional installation
DIY tiling may work for a dry splashback or a straightforward wall, provided the substrate and waterproofing have already been correctly prepared. A full bathroom is less forgiving. Falls, penetrations, heavy porcelain, niches, mitres, movement joints and the relationship between tiles and shower screens all require precision.
Custom patterns can justify additional labour when they support the design, but a simple stacked or brick layout may deliver a cleaner result with fewer complications. Discuss the pattern before ordering, because wastage, batch consistency and tile availability affect the finished appearance.
Frameless shower screens also need accurate walls, stable fixings and properly sealed penetrations. The screen doesn't repair a defective waterproofing system. It must be installed after the tiled surfaces are ready, with fixings positioned so they don't compromise the wet-area detailing.
Finishing Touches and Fixture Selection
Fixtures should be selected for the way the room will be used, not only for showroom appeal. Tapware, vanity hardware, lighting, storage and ventilation all need to work with the tile layout and waterproofing details.
Choose tapware with replacement parts and finishes that suit regular cleaning. Chrome remains practical because damage is easier to identify, while coloured and brushed finishes can require more careful product selection and maintenance. Before the plumber closes walls, confirm the spout reach, handle position, outlet height and compatibility between the rough-in and the selected trim.
For a useful reference on planning the final connections, review these installation tips for water taps. The installer should also test every connection before cabinetry, mirrors and screens conceal access.
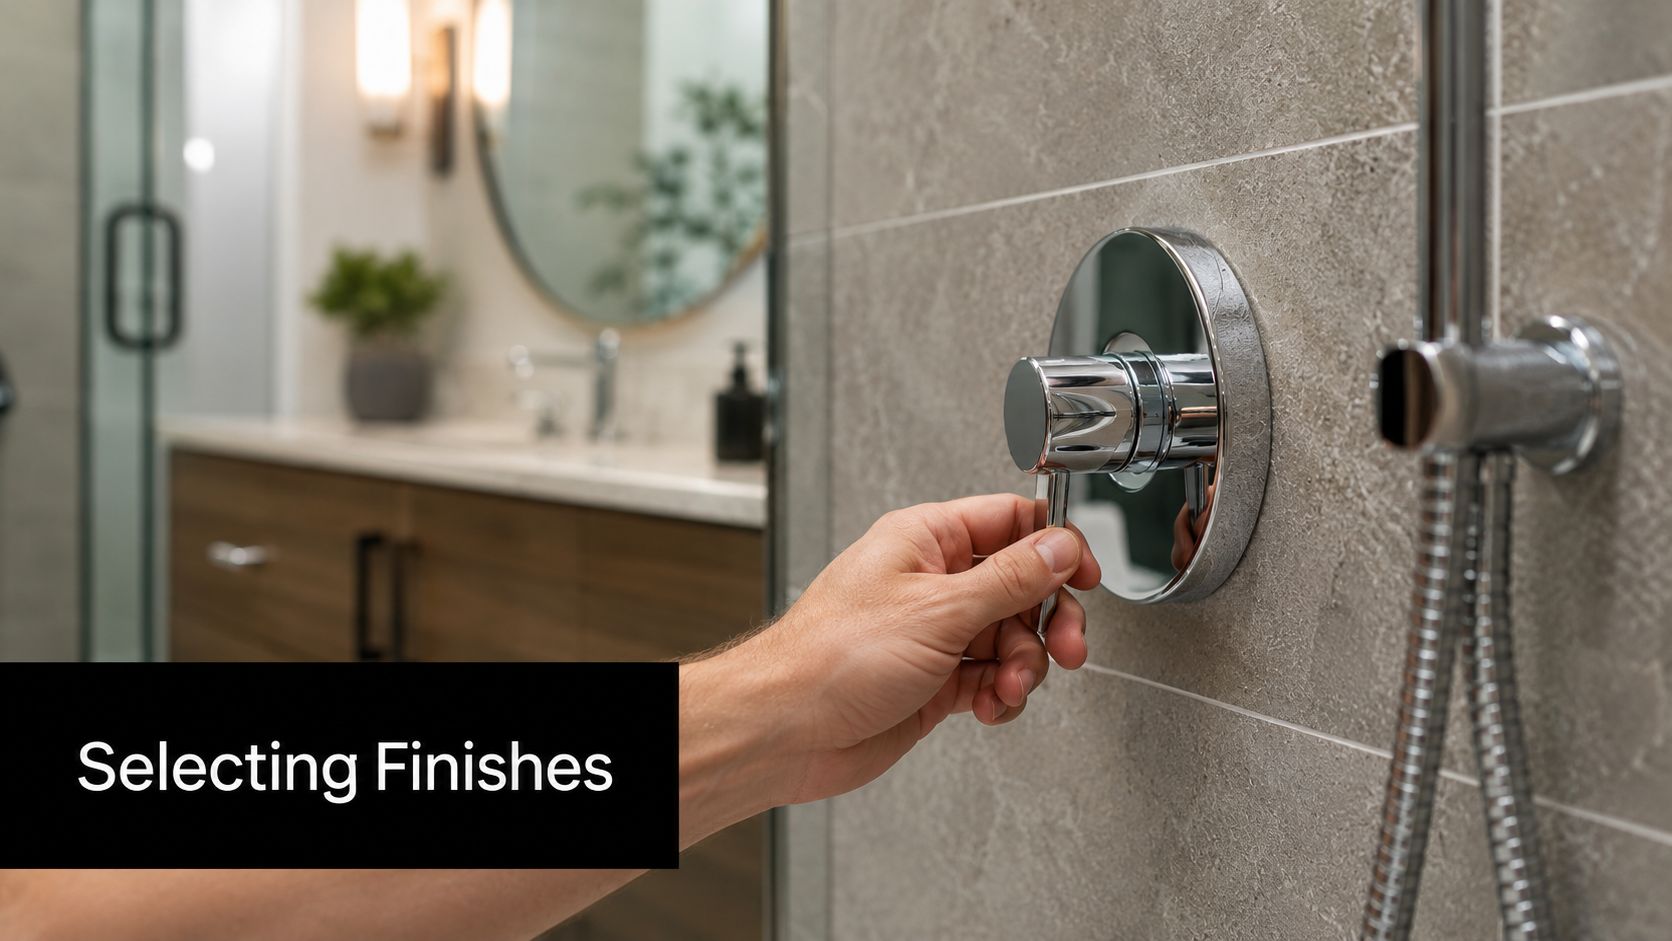
Select finishes that tolerate daily use
A vanity needs sufficient clearance for doors, drawers, plumbing and cleaning. Wall-hung units can make the floor easier to clean, but the wall structure and fixing method must support the load. Open shelving looks light, though it exposes clutter and requires more frequent cleaning.
Lighting should provide even task light at the mirror without creating glare. Electrical work belongs with the licensed electrician, particularly around wet zones, switches, exhaust fans and heated elements. Ventilation needs to discharge appropriately and should be coordinated before the ceiling is closed.
For floors, prioritise a surface that provides suitable grip in wet conditions. A polished stone or glossy tile may look attractive, but it can be a poor choice where water regularly sits. Ask the tiler about the product's intended application and cleaning requirements rather than relying on appearance alone.
Complete a deliberate handover
Before the shower screen is installed, inspect grout lines, tile edges, silicone joints, wastes, floor falls and fixture alignment. After installation, operate every tap, flush the toilet, run the shower and check that water reaches the waste without ponding.
Seal penetrations carefully. Screen fixings, tap outlets, shower arms, vanity plumbing and accessories can all create entry points if installers drill without coordinating with the waterproofing system.
A proper handover should include care instructions, product details, compliance evidence, photographs where available and a written list of touch-ups. Small defects are easier to correct before the trades leave and before cabinetry, mirrors and personal items fill the room.
Bathroom Renovation Checklist for Homeowners
Use this checklist before approving work, during construction and at handover.
Before work starts
- Define the scope: Record the layout, fixtures, tile formats, storage, lighting, ventilation and screen design.
- Inspect the existing room: Look for dampness, movement, damaged framing, unsuitable sheeting and drainage problems.
- Confirm approvals: Ask the registered builder which permits, inspections and certificates apply to the project.
- Compare written quotes: Check inclusions, exclusions, allowances, waste removal, programme and variation procedures.
- Verify the team: Confirm the builder's registration and identify the licensed trades responsible for plumbing, electrical, carpentry and waterproofing.
- Order carefully: Check tile batches, quantities, trims, wastes, tapware and screen measurements before the work begins.
During construction
- Protect the substrate: Don't allow tiling to cover damaged or unstable surfaces.
- Set drainage falls first: Confirm the shower and floor-waste arrangement before membrane application.
- Inspect waterproofing: Check wall coverage, junctions, corners, penetrations and the shower's unenclosed protection zone.
- Retain evidence: Keep photographs, product information, inspection records and compliance documents.
- Coordinate the trades: Make sure plumbing and electrical rough-ins are tested before walls and ceilings are closed.
Before final payment
- Test drainage: Run water through the shower and confirm it travels to the waste without persistent ponding.
- Check finishes: Inspect grout, silicone, tile alignment, cuts, screen seals, cabinetry and tapware.
- Test fixtures: Operate taps, shower controls, toilet, exhaust fan, lighting and storage hardware.
- Request handover records: Collect warranties, care instructions, certificates and agreed rectification notes.
- Plan the move back in: Protect new surfaces and organise belongings with practical stress-free moving tips for Melbourne.
The central lesson is simple. A reliable bathroom renovation depends less on choosing the trendiest tile than on controlling the sequence from inspection to handover. Registered builders and qualified trades should be able to explain what they're installing, why it complies and what evidence you'll receive when the work is complete.
Melbourne Tiling Services P/L offers start-to-finish bathroom and ensuite renovations, waterproofing, screeding, self-levelling, porcelain, ceramic and marble tiling, large-format Kerlite installation and frameless shower-screen installation across Melbourne and greater Victoria. To discuss your layout, materials and compliance requirements or request a quote, visit Melbourne Tiling Services P/L.
Recent Comments