
You're comparing bathroom renovation quotes when you notice one contractor has allowed for waterproofing and another has included it under tiling. Or perhaps your tenant has sent a photo of damp carpet outside the shower, even though the tiles still look sound. In either situation, the important question isn't which membrane brand someone plans to use. It's where the waterproofing starts, where it stops, and how the installer will seal every interruption along the way.
Good bathroom waterproofing services address the whole assembly beneath the finishes. For Melbourne homeowners and landlords, a written scope and dated photographs before tiling provide something a product label can't: evidence of what was installed.
Table of Contents
- What Waterproofing Must Cover in a Bathroom
- Membranes, Tanking and Liquid Systems Compared
- Victorian Rules, Registered Builders and Warranties
- Pre-Tile Checks That Prevent Hidden Leaks
- Leak Symptoms, Repair Scope and When to Call a Specialist
- Confirm a Written Waterproofing Scope Before You Book
What Waterproofing Must Cover in a Bathroom
Required waterproofing coverage in a bathroom
| Area | Required performance | Reference |
|---|---|---|
| Shower floor with hob, step-down or level threshold | Waterproof | NCC 2022 Housing Provisions |
| Shower walls | Waterproof to at least 1,800 mm above floor substrate | NCC 2022 Housing Provisions |
| Unenclosed shower floor zone | Waterproof within 1,500 mm radius of shower-rose connection | Victorian wet-area guidance |
| Wall and floor junctions and penetrations in shower | Waterproof | NCC Specification 26 |
| Timber or particleboard bathroom floor | Waterproof | NCC Specification 26 |
| Concrete or fibre-cement floor outside shower | Water resistant | NCC wet-area requirements |
| Tap and spout penetrations in horizontal surfaces | Waterproof | NCC waterproofing and water-resistance requirements |
The shower-floor requirement includes the hob or step-down, not just the flat surface where you stand. Likewise, shower-wall coverage is measured from the floor substrate, rather than from an arbitrary grout line or the top of a finished shower base. A quote that says only “waterproof shower” doesn't show whether either requirement has been allowed for.
An unenclosed shower needs particular attention because the regulated shower area extends beyond what many homeowners regard as the shower's footprint. Removing a screen or changing the shower-rose location can therefore change the membrane boundary, even when the room itself stays the same size.
Waterproof isn't the same as water resistant
Water-resistant construction tolerates wetting under the relevant requirements. Waterproof construction requires a barrier that prevents water passing into protected building elements. Tiles and grout alone shouldn't be treated as that barrier.
The substrate matters. Timber and particleboard need waterproof protection because moisture entering the floor assembly can cause swelling and damage, while suitable concrete or fibre-cement floors outside the shower can have water-resistance requirements instead. Penetrations through horizontal surfaces still need waterproof treatment.
A level-access layout also needs a deliberate transition between the shower and the rest of the room. For design context, SouthRay Kitchen & Bath's explanation of fully waterproofed bathroom layouts helps distinguish a wet-room concept from a conventional enclosed shower. The local compliance assessment must still determine the actual membrane extent.
Our waterproofing services cover interior and exterior walls and floors, including shower walls and floors, balconies and retaining walls. Those locations don't all use the same detailing, so the bathroom scope should identify its own surfaces rather than borrow a generic description.
Before comparing quotes:
- Measure the shower. Record the enclosure, shower-rose position and proposed threshold.
- Identify the substrate. Note whether the floor is concrete, fibre-cement, timber or particleboard, and flag anything still concealed.
- Request a marked sketch. Have the membrane boundary, wall coverage, waste and penetrations shown clearly.
Membranes, Tanking and Liquid Systems Compared
Waterproofing methods by use and trade-off
| Method | Typical use | Main strength | Main limitation |
|---|---|---|---|
| Sheet membrane | Flat floors and areas needing uniform thickness | Consistent thickness across flat areas | Seams and corners need careful jointing |
| Liquid-applied membrane | Showers, niches and irregular shapes | Seamless and follows corners | Thickness depends on coats and curing |
| Cementitious tanking | Floors and shower bases beneath tile | Compatible with suitable screeds and tile bonding | Needs adequate falls and curing time |
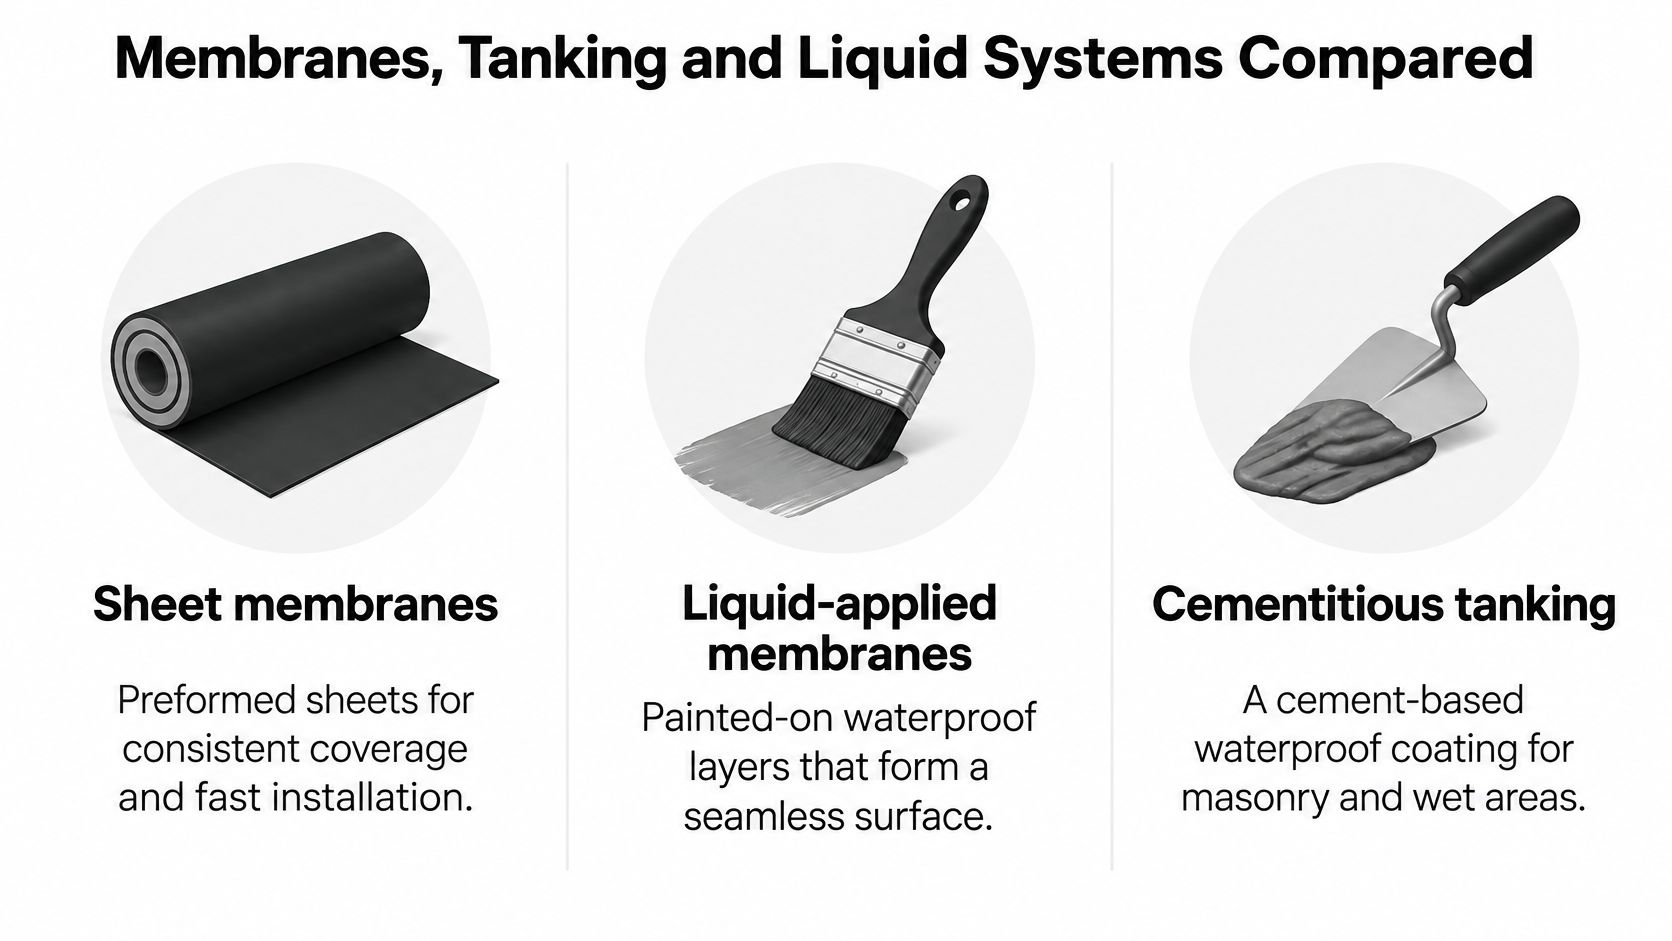
These approaches create a waterproof barrier differently. The comparison below illustrates the material types, but the installer still needs to specify a complete compatible system.
Choose for the shape and substrate
Sheet membranes suit broad, relatively flat areas where a preformed layer provides consistent material thickness. Their vulnerable details are seams, corners and connections to wastes. A neatly covered floor isn't enough if the installer hasn't bonded overlaps correctly or integrated the sheet with the drain fitting.
Liquid-applied membranes suit niches, returns and irregular shower layouts because the coating follows their shape without sheet seams across the field. Their common weakness is insufficient applied thickness, particularly where a roller spreads material too thinly. Installers should check coverage and wet-film thickness against the product specification, rather than judge performance by colour alone.
Cementitious tanking uses a cement-based waterproof coating suited to compatible mineral substrates, floors and shower bases beneath tiles. Compatibility with the screed, substrate and tile adhesive is essential. Don't assume every cement-based coating can accommodate the same movement or be applied over the same background.
Think of the membrane as a raincoat. Its broad panels matter, but the seams, corners and zips decide whether you stay dry.
Compare complete systems, not buckets
A system includes more than the visible membrane. Primer, reinforcing tape, bond breakers, collars, sealants and waste connections must work together. Mixing a convenient primer with an unrelated coating can introduce uncertainty that a familiar brand name won't resolve.
For our bathroom waterproofing, we use class 4 waterproofing systems on walls and cementitious-compatible systems on floors. That describes our service approach, not a universal instruction to select a product by class name alone. The written specification must still identify suitability for the particular substrate and application.
For a tiled shower with niches, a suitable liquid-applied system is often practical because it can follow the recesses. For a flat floor over a compatible substrate, sheet or cementitious systems are common options. None is automatically the best choice in every bathroom.
Ask for the product's technical data sheet and the proposed installation sequence. The compliance pathway and manufacturer's system requirements should govern the selection, including preparation, application thickness, curing and protection before tiling.
Victorian Rules, Registered Builders and Warranties
Victorian bathroom work must meet the Building Act 1993, Building Regulations 2018 and Plumbing Regulations 2018, and the Victorian Building and Plumbing Commission's guidance on concerns about building work identifies inadequate bathroom waterproofing as non-compliance that can cause moisture problems. Waterproofing is regulated building work, not an optional improvement beneath attractive tiles.
The applicable code edition and compliance route need to be established for the project. Don't assume a standard quoted in an old renovation proposal remains the correct basis for new work.
Establish the compliance pathway
The Australian Building Codes Board's waterproofing history explains that detailed wet-area construction provisions moved out of NCC Volume Two for 2012 to 2019, then returned to the Housing Provisions in 2022, with AS 3740:2021 retained as an available Deemed-to-Satisfy pathway. This helps explain why bathroom quotes can contain different references without making their actual installation method clear.
Under the pathways described for that framework, the choices are the Housing Provisions' wet-area requirements or the Australian Standard route with the specified accompanying Housing Provisions clauses satisfied. Installers mustn't cherry-pick provisions between pathways. Wet-area membranes must also demonstrate compliance with the applicable membrane product standard.
Our guide to bathroom waterproofing standards provides additional context for discussing the specification. Before work starts, get clear answers to these questions:
- Which pathway applies? Record the applicable code edition and compliance route.
- Which system will be installed? Identify the membrane and associated products.
- How will compliance be documented? Specify the records to be supplied before concealment and at handover.
Inspection should assess the assembly, not just the finished surface.
Put coordination and warranty terms in writing
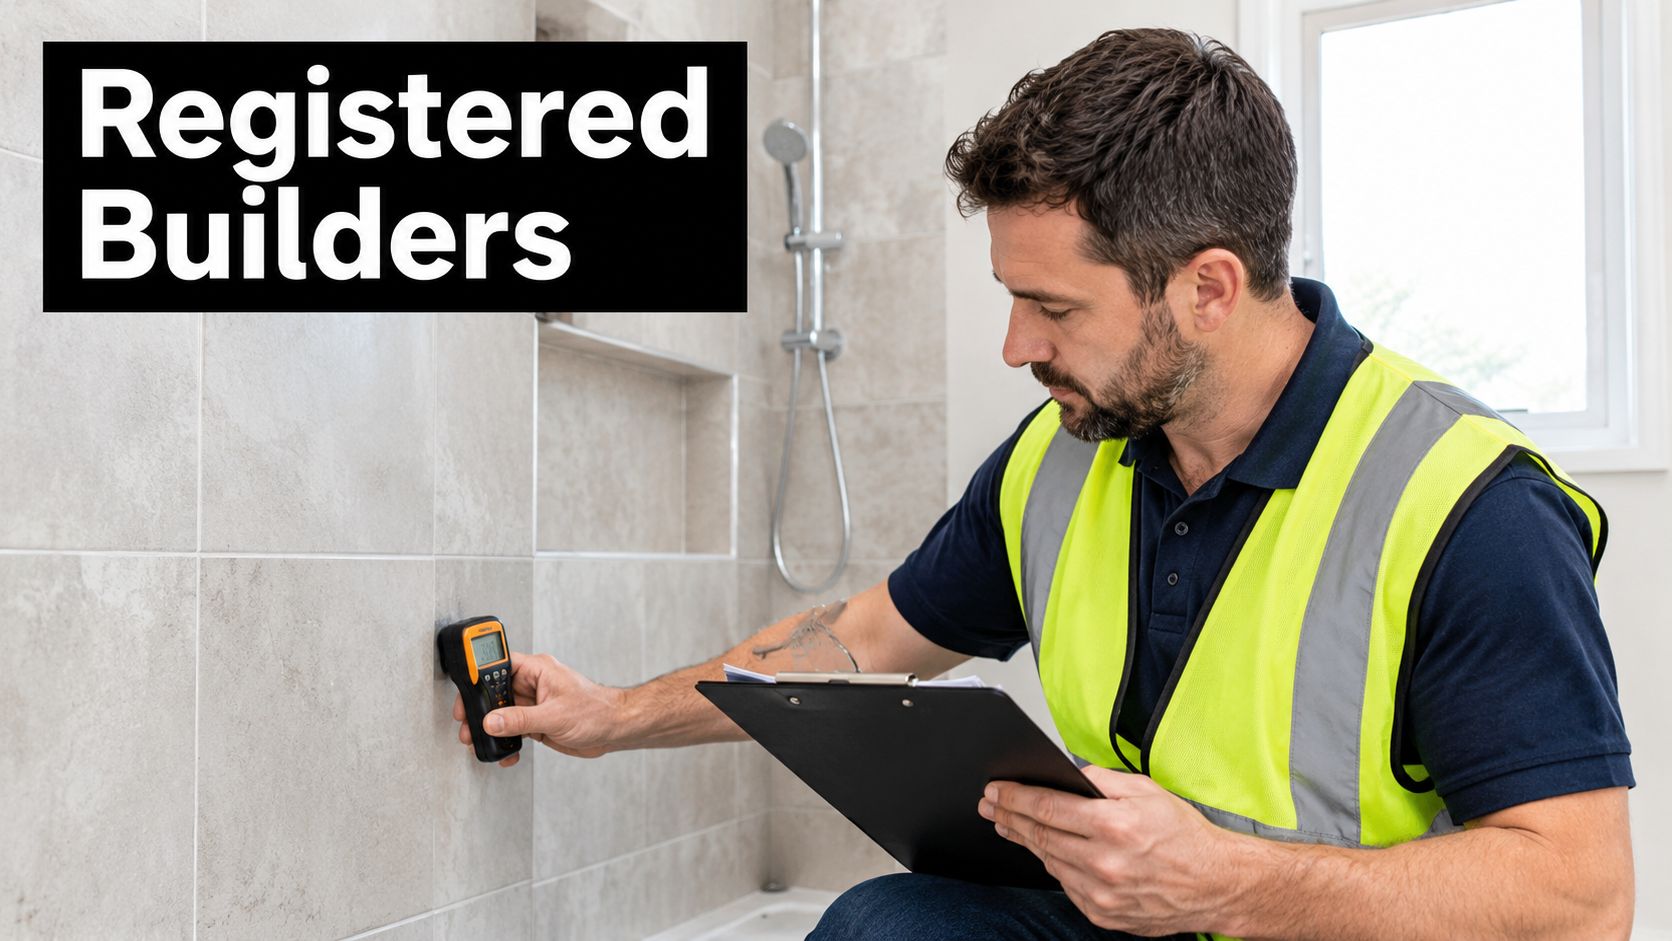
Registered builders coordinating bathroom renovations can manage the handovers between substrate installation, plumbing, waterproofing and tiling. The contract should identify who is responsible for checking those interfaces, rather than leave each trade assuming someone else has inspected them.
At Melbourne Tiling Services P/L, we operate as Registered Unlimited Builders, and our bathroom renovations are delivered with in-house carpenters, plumbers, waterproofers and tilers. All our workers are qualified and certified waterproofers or tilers. That coordination matters when a plumbing change affects a wall lining or a shower-screen fixing intersects waterproofing.
Our waterproofing work comes with extended warranties. Confirm the written term, covered work, exclusions, claim procedure and whether coverage transfers to a subsequent owner or applies when the property is tenanted; don't infer those conditions from the word “extended”.
Keep the written scope, compliance pathway, dated photographs, product details and warranty certificate together. If a leak appears, distinguish maintenance issues from possible installation defects before accepting responsibility. Notify the builder promptly about suspected defective work, and have the cause assessed rather than assuming every leak is either automatically a warranty claim or automatically the owner's expense.
Pre-Tile Checks That Prevent Hidden Leaks
The most useful inspection happens before the tiles conceal the work. A finished bathroom can look carefully built while hiding an incomplete drain connection, an untreated penetration or a membrane applied over a weak base.
Arrange a hold point in the programme so the waterproofing can be checked before tiling proceeds. The owner, landlord or builder should retain the resulting photographs and written log, rather than rely on images remaining on a tradesperson's phone.
Follow the installation sequence
Confirm a sound substrate. Check that sheets are securely fixed, joints are prepared, surfaces are clean and the background suits the selected membrane, because movement or loose material can undermine the barrier. Our explanation of substrate preparation helps identify what needs resolving before coating begins.
Check falls towards the waste. Use a straightedge and level to identify backfall or low spots, because a waterproof surface can still retain water when the drainage geometry is wrong. Include the niche shelf and any other horizontal ledges in this assessment.
Verify primer, membrane build-up and curing. Record the products used and confirm that all specified layers have been applied under suitable conditions, because a thin or incompletely cured coating isn't equivalent to the tested system. Photograph product labels and retain application records alongside the site images.
Inspect continuous junction treatment. Check corners, wall-floor junctions and bond-breaker details before they disappear beneath subsequent work, because the system must accommodate these changes of plane without an unprotected gap.
Examine penetrations and the threshold. Confirm treatment around pipes, tap fixtures, wastes and the doorway waterstop, because these interruptions need integration with the surrounding barrier. Photograph the threshold separately so its position and termination remain identifiable.
Measure the installed extent. The ABCB's waterproofing guidance specifies shower-wall waterproofing to at least 1,800 mm above the floor substrate for the stated shower configurations; photograph a tape measure against the installation and check the unenclosed shower boundary against the approved scope.
Make the photographs useful
Take an overall room photograph, then closer views showing each critical detail in context. Label the images by location and stage, and record the date, installer, product and any corrective work. A close-up without a recognisable location can be difficult to interpret later.
Practical rule: Photograph the detail while someone can still fix it without removing tiles.
Where stone flooring and underfloor heating are planned, coordinate the heating build-up before waterproofing starts. Varun Marbles' underfloor heating tips for stone bathrooms offer useful design context, but the membrane and heating manufacturers must determine the compatible layer sequence.
A later leak may originate at one of these concealed stages rather than at the visible tile surface. These records won't diagnose every defect, but they give an investigating specialist a much stronger starting point than a photograph of finished grout.
Leak Symptoms, Repair Scope and When to Call a Specialist
A leak rarely announces where it started. Water travels along joists, pipe runs and screed falls, so a stain can appear well away from the defect that caused it.
Leak symptoms and the right next action
| Situation | Likely scope | Specialist needed |
|---|---|---|
| Damp grout lines with no staining behind tiles | Regrout and reseal joints, then monitor | Optional, if damp returns |
| Water seeping through the shower threshold | Check threshold detail and membrane height | Yes |
| Damp patch on ceiling below the bathroom | Trace the source through the floor and plumbing | Yes, before any patching |
| Hollow or lifting tiles across the shower floor | Tile removal and membrane reinstatement if failure is confirmed | Yes |
| Soft or swollen timber subfloor | Membrane assessment and subfloor repair | Yes |
Treat this table as a starting point for investigation. Identical-looking stains can come from a plumbing joint, a threshold defect or water that has tracked across from another part of the room.
Notice where the higher-stakes rows sit. Failures cluster at junctions, thresholds and penetrations, where the membrane meets a drain, a doorway or a pipe, rather than across the open field of a wall or floor. A symptom's location tells an investigator more than its size.
Surface grout deterioration may justify local maintenance when there's no evidence of concealed damage. The absence of visible staining, though, doesn't prove that everything behind the tiles is dry. If damp returns after maintenance, stop repeating the same treatment and investigate.
When a patch isn't enough
Water at a threshold deserves attention because the fault may sit below the visible sealant joint. A fresh silicone bead over a leaking threshold works like repainting a damp wall: the surface looks better while the moisture keeps travelling underneath. Hollow tiles also need interpretation. They can signal a bonding problem while the membrane remains intact, so the removal scope should follow assessment rather than precede it.
For a ceiling stain, a plumber may need to rule out supply or waste leakage before a waterproofer opens the tiled assembly. The leak advice from Jays Plumbing and Sewer provides useful homeowner context for that situation. If the ceiling is sagging or water is near electrical fittings, keep clear and arrange urgent professional assistance.
Our bathroom waterproofing repair services cover shower-leak rectification and related tiling, carried out by qualified and certified waterproofers and tilers. Some concealed defects can't be confirmed until tiles and damaged materials are removed, so an initial assessment may need a staged investigation allowance. Ask what each stage will establish before work begins.
Compare repair costs on equal terms
In 2025, Sparky's Australian bathroom waterproofing pricing reported typical amounts of AUD 1,100 for a professional owner-managed renovation and AUD 1,400 as an itemised tiling-quote amount. These figures describe broader bathroom work, so treat them as references rather than leak-repair prices. Check whether demolition, substrate replacement, plumbing, screeding and retiling are included before comparing quotes.
A repair quoted cheaply because it skips demolition and substrate inspection can cost more in the end than a thorough job priced correctly the first time. Paying for a clear diagnosis helps avoid an ineffective patch and poorly planned destructive work.
Confirm a Written Waterproofing Scope Before You Book
Before accepting a quote, require a written waterproofing scope that identifies the shower dimensions, membrane boundary, waterproofing method, compliance pathway, warranty term and pre-tile photographic records. Compare its coverage with the bathroom's actual surfaces, substrate and shower configuration, not merely the total price.
Bring a clear shower photograph, the bathroom's approximate age, details of any leaks and their locations, and whatever you know about the floor construction. If you don't know whether the concealed subfloor is timber or particleboard, mark it as unconfirmed rather than guess.
Resolve the unknowns before signing
- Coverage: Have every shower surface, junction, penetration and threshold identified on a sketch.
- Concealed conditions: Record what requires inspection after demolition and how additional work will be agreed.
- Handover: Specify the product records, photographs and warranty documents you'll receive.
Melbourne Tiling Services P/L provides bathroom renovations, tiling and waterproofing, with free renovation quotes and 3D drawings. Our design process includes sketches, plans and discussions, with modifications agreed before work commences.
Use that planning stage to settle the membrane boundary and responsibilities before comparing prices. Don't accept a verbal assurance in place of a defined installation scope.
No written scope, no booking.
Melbourne Tiling Services P/L offers bathroom renovations, waterproofing, tiling and shower-leak repairs, with coordinated trades for the work beneath and above the tiles. Visit Melbourne Tiling Services P/L to arrange a free quote, and bring your shower photos, floor details and leak locations so you can discuss a written scope before booking.
Recent Comments