
Plan on a tile-ready window of roughly 4 to 48 hours after the final coat of waterproofing, and treat the membrane's own data sheet as the thing that sets the exact number. A rapid-drying acrylic can take tile in as little as 4 hours under controlled conditions, while an under-tile membrane sold off the shelf wants a full 48 hours before the first tile goes down.
Search for an answer and you'll get the same flat response everywhere: wait 24 to 48 hours. That advice isn't wrong so much as useless. It's a midpoint that ignores which product is on the wall, how thick it was applied, and whether the bathroom has had a fan running through a cold June week. The key question is narrower and more useful: what does this specific membrane, in this specific room, on this specific day, require before adhesive touches it?
Waterproofing is the one stage of a bathroom renovation that gets permanently sealed out of sight. Nobody can inspect it again once tiles, screed and shower screens are in place, and no tiler can fix it later without demolition. That asymmetry is why the waiting question matters more than it looks. Get the timing wrong in the cautious direction and you lose a day. Get it wrong in the other direction and you trap moisture under a finished floor.
Table of Contents
- Tile-Ready Times for Common Waterproofing Membranes
- Confirming the Membrane Is Dry and Documented
- What Slows Membrane Drying in Melbourne Bathrooms
- Shower Waterproofing Heights to Check Before Tiling
- What to Do If Tiles Went Down Too Early
- Why Waiting Costs Less and How to Lock In the Tiling Date
Tile-Ready Times for Common Waterproofing Membranes
There's no single figure, and a tiler who quotes one without asking which membrane you've used is guessing. Across Australian products the tile-ready window runs from about 4 hours to 48 hours after the final coat, and the spread isn't marketing noise. Different chemistry, solids content and film build dry at different rates.
The table below is the lookup to use today, before anyone books a tiler.
| Membrane or substrate | Tile-over time | Flood test |
|---|---|---|
| Rapid-drying acrylic membrane, non-critical areas | 4-6 hours at 22°C and 50% RH | Minimum 24 hours |
| Fast-drying membrane, controlled test at 20°C and 50% RH | About 4 hours | Confirm with the manufacturer before testing |
| Membrane with a 24-hour final drying time | 24 hours after final coat | At least 24 hours, confirmed in writing |
| Under-tile membrane (Bunnings data sheet) | Minimum 48 hours | After 48 hours |
| Concrete substrate before waterproofing | Cure at least 28 days | Not applicable, this is the substrate stage |
| Screed or render before waterproofing | Cure at least 7 days | Not applicable, this is the substrate stage |
The quickest figure comes from Bostik's Dampfix Platinum technical data sheet, which permits tiling in non-critical areas after 4 to 6 hours at 22°C and 50% relative humidity but still demands a minimum 24-hour cure before flood testing. That gap between tileable and watertight is the detail most homeowners miss. At the other end, a separate Bostik data sheet records products with a 24-hour final drying time and others that allow tiling only after 48 hours, and the under-tile membrane data sheet published by Bunnings specifies a minimum 48 hours before tiling, allows flood testing at 48 hours and reaches full cure at 7 days.
Every time in that table runs from the final coat, not the first. Read it as a starting point, then confirm against the written instructions for the shower waterproofing membrane installed in your room.
Your first move is unglamorous. Find the membrane name on the tin, the invoice or the builder's paperwork, then find the matching row. If nobody can tell you which product went on the wall, that's the problem to solve before anything else.
Confirming the Membrane Is Dry and Documented
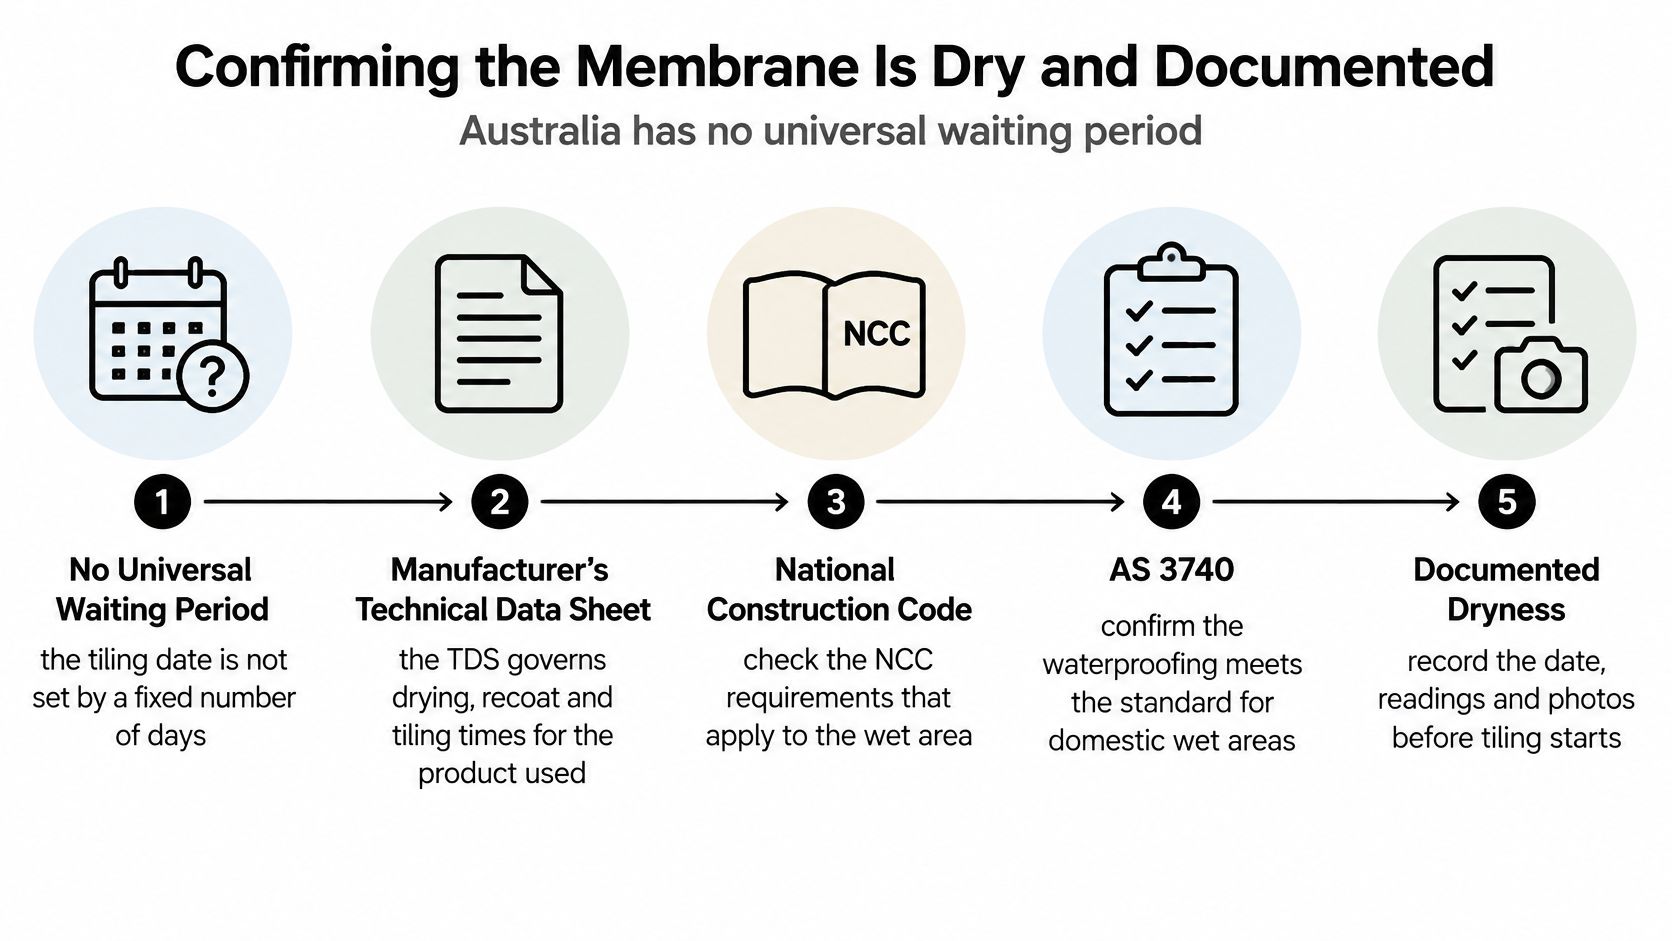
Australia has no single universal waiting period between applying a waterproofing membrane and tiling. The controlling requirement is the manufacturer's technical data sheet, read alongside the National Construction Code and AS 3740, the Australian standard for waterproofing domestic wet areas. The Victorian Building and Plumbing Commission adds the part that catches people out: excessive residual moisture in the substrate can stop a membrane curing fully or cause it to fail early, so a published minimum may need extending in cold, humid or poorly ventilated Melbourne conditions.
There's a second layer to this on renovation work. The NCC applies primarily to new building work, and requirements for alterations to an existing bathroom come from state and territory legislation. The Australian Building Codes Board notes that practitioners can still use the NCC as a compliance benchmark for renovations, which is exactly what a registered builder will do when sequencing a Melbourne bathroom renovation. Both the membrane instructions and the applicable renovation rules apply, and neither replaces the other.
Three milestones you must not merge
Most early-tiling failures start with someone treating "dry enough to tile" as the same thing as "ready for water". They're different conditions on different clocks.
- Tile-over time is when the film is dry enough, firm enough and free from tack to receive adhesive. This is the earliest you can start.
- Flood-test time is when the membrane will hold standing water without being damaged by it. It can be hours or days later than tile-over time.
- Full cure is when the product reaches its rated performance. One under-tile membrane reaches that at 7 days.
The rule I'd give any homeowner: a membrane can be tileable in four hours and still not ready for a flood test that afternoon. Those are two separate sign-offs, and the data sheet lists them separately for a reason.
Eight checks before the first tile
- Identify the product and its adhesive. Get the membrane name and version, pull the current data sheet, and confirm the tile adhesive you've bought is approved for use over that membrane. A great membrane under an incompatible adhesive still fails.
- Start the clock at the final coat. Not the first coat, not the day the walls were primed. Record the date and time the last coat went on.
- Compare elapsed time against the tile-over figure, then add time rather than subtracting it. If the room was cool or damp for part of that period, the clock effectively ran slower.
- Log the conditions. Temperature and relative humidity belong in the record. If the room is cold, heat it. If it's humid, ventilate it. Don't just hope.
- Touch-test the surface. It should be dry, firm and free from tack. A hand on the wall isn't a measurement, though it's a useful final filter. If you want to understand how moisture readings drive drying decisions in a wet area, the thinking behind structural drying decisions for Central Texas translates well, because the principle is identical: measure, record, then decide.
- Inspect the slow zones separately. Corners, wall-floor junctions, penetrations around wastes and tap bodies, and any area treated with bond-breaker sealant all dry more slowly than broad flat wall. Check them individually rather than trusting the middle of a large panel.
- Measure the waterproofing heights before anything covers them. A membrane can pass every dryness test and still fail compliance if it stops short of where it should.
- File the record with the warranty paperwork. Membrane brand, final-coat time, ambient conditions, earliest tiling time, inspection sign-off and photos. That folder is worth more than any verbal assurance if a leak appears two winters later.
Tiles seal the jar. Before the lid goes on, confirm what's inside is dry, and write down when you checked.
What Slows Membrane Drying in Melbourne Bathrooms
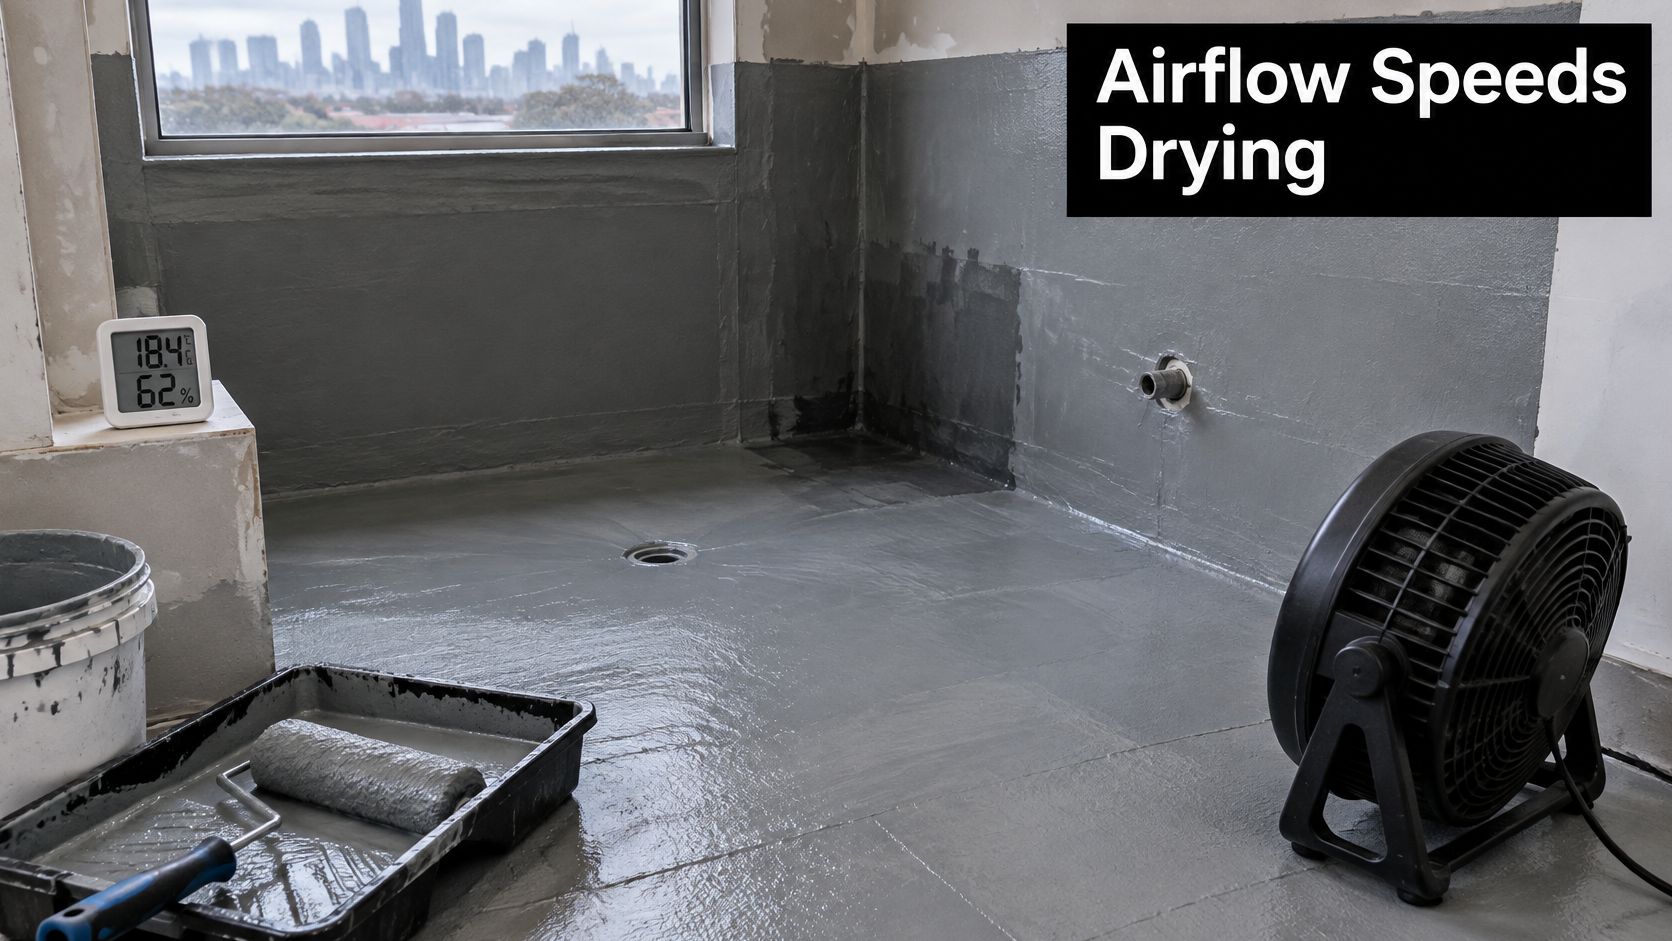
Think of a membrane like a wet coat on a line. It dries fastest where it's thin and exposed to moving air, and slowest where it's bunched up against a wall with no breeze. A bathroom is full of the second situation.
The laboratory baseline most data sheets quote is 22°C and 50% relative humidity. A south-facing Melbourne bathroom in July sits well below that on temperature and well above it on humidity, particularly before the heating goes on and while the window is shut against the rain.
| Condition | Effect on drying | Adjustment |
|---|---|---|
| Cool temperatures below 22°C | Slows drying and film formation | Treat the stated time as a minimum and extend it |
| Relative humidity above 50% | Slows drying, especially in water-based membranes | Extend the wait and run a touch test |
| Poor ventilation | Traps moisture in the room | Add fans or open windows and extend the wait |
| Thick application | Coats dry slowly, especially beneath the surface | Follow the maximum coat thickness and allow full recoat time |
| Impermeable or porous substrate | Holds moisture in screed or dense surfaces | Confirm the substrate is dry before membrane application |
| Wall-floor junctions and corners | Dry more slowly than flat areas | Check these zones separately before tiling |
| Penetrations and bond-breaker sealants | Slow drying where applied | Allow additional time and check these zones last |
A worked example from a cold room
Say a 1.8 metre by 1.5 metre shower in a south-facing Melbourne bathroom, waterproofed in June, with a membrane whose data sheet allows tiling after 4 hours at 22°C. The room is sitting at maybe 14°C overnight with the window closed. Plan on at least 24 hours, run a fan through the day, and don't be surprised if the corners and the wall-floor junction are still noticeably soft when the flat wall is fine.
Those slow zones are where I'd look last, not first, and where the extra day earns its keep. Same logic applies to the substrate choices behind your wall lining, which is why a reference like this guide to moisture-resistant drywall is worth reading before you assume the board behind the tile is doing the work the membrane should be doing.
A thick coat applied to catch up a schedule needs more time than a thin one, not less. The manufacturer's maximum coat thickness exists to protect the drying rate as much as the film strength.
What do you do if the room is still cool on the morning you planned to start? Wait, heat it or ventilate it. Tiling early to save a day is the only option on that list that can cost you the floor.
Shower Waterproofing Heights to Check Before Tiling
A membrane can pass every dryness test and still fail compliance if it stops short. Measure these positions with a tape before screed or tile hides them.
| Position | Minimum requirement | Check before tiling |
|---|---|---|
| Shower wall membrane | At least 1800 mm above finished tile level | Measure from finished tile level |
| Vertical flashing | At least 1800 mm above finished floor level | Confirm before screed and tiles go down |
| Shower with a waterstop | Membrane reaches the top of the finished floor | Check continuity with the waterstop |
| Shower under a framed screen | Ends at least 5 mm above the finished tile surface | Mark the height before the screen is installed |
| Door jamb below floor tiling | Waterproofed so the seal stays continuous | Check the jamb before tiling |
Those dimensions come from the NCC Housing Provisions on wet-area waterproofing, which also requires door jamb sections below floor tiling to be waterproofed so the seal stays continuous between the perimeter flashing and the waterstop. The reasoning is straightforward: screeds, tiles, shower screens, door jambs and perimeter seals must never damage or conceal a membrane that's in the wrong place. Once the screen is screwed down and the skirting is on, an error that sat 200 mm short is invisible until water finds it.
Mark it while the membrane is still wet
Pencil a line on the wall at the required height before the membrane goes on, and check it again after the final coat when you're walking the room for dryness. It takes two minutes and gives you something to point at.
For a fuller picture of what compliant work looks like at each stage, the bathroom waterproofing standards that apply in Victoria are worth reading before the job starts rather than after.
Then ask the builder or tiler to show you the marks before tiling begins. A tradesperson who knows the heights will walk you to the wall and point. One who doesn't will change the subject.
What to Do If Tiles Went Down Too Early
If tiles are already laid over a membrane that may not have been dry, watch for the signals that moisture is trapped underneath.
- A hollow sound when you tap across the floor or lower wall, especially near the shower.
- Movement in tiles that lift slightly or shift underfoot.
- Damp patches or a musty smell that doesn't clear with ventilation.
- Cracked grout along the wall-floor junction, which is where movement and moisture usually show first.
- Adhesive that never bonded, often revealed when a tile comes away with a clean back.
If any of those appear, stop work in the room and don't flood test the membrane. Ventilate and warm the space within the limits the adhesive and membrane data sheets set, and keep a written record of temperatures, humidity readings and dates as you go.
Next, check the membrane and substrate at the corners and penetrations, where moisture lingers longest. If the adhesive has failed or the membrane is damaged, confirm the repair method against the manufacturer's current data sheet rather than a forum post, and have a licensed waterproofer or a registered builder assess the work before anyone starts removing tiles.
Keep the receipts, data sheets, inspection records and installation timeline in one place. They establish what was installed, when it was covered, and under what conditions, which is what any warranty claim turns on.
Why Waiting Costs Less and How to Lock In the Tiling Date
A fixed day count feels safe because it's simple, and simple is how people end up tiling a day too early. The ABCB's cost-benefit analysis of waterproofing puts a number on the downside: rectifying waterproofing in one 6-square-metre bathroom in a single dwelling costs 44% more when performed five years after completion than when the defect is rectified during construction. The same analysis names bathroom waterproofing and tiling problems, including cracks, uneven surfaces and grout defects, as recurring building-quality issues.
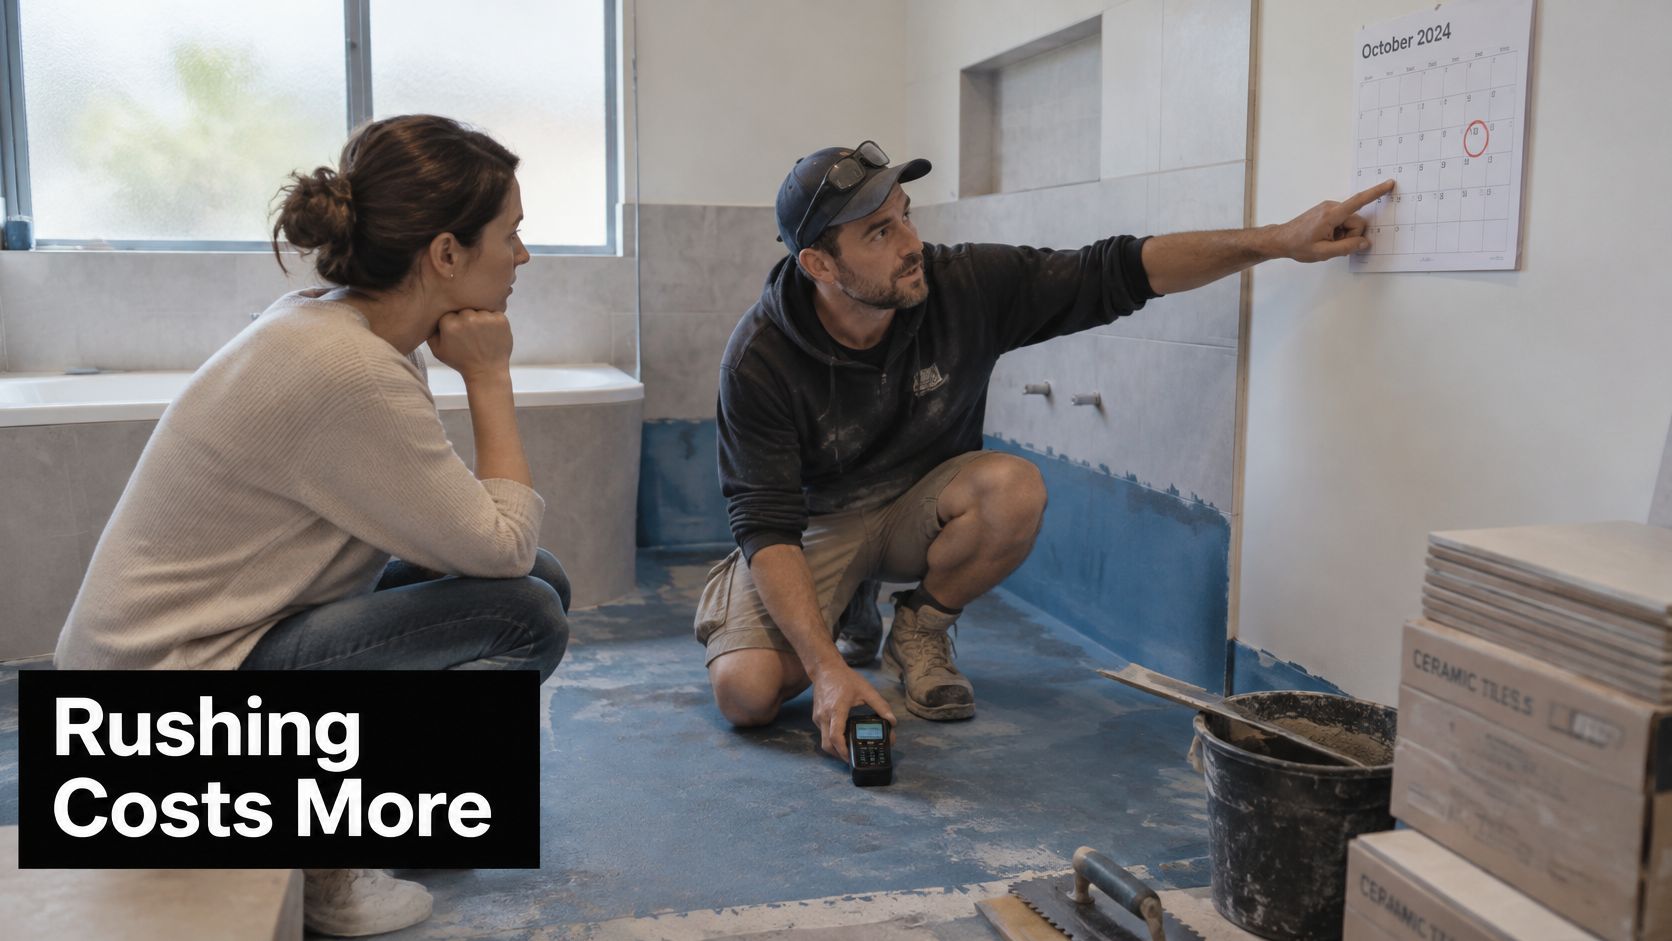
Set that against the cost of one more day. Fans and a heater cost almost nothing. A day of a tiler's time is a known, quoted number. Demolition, re-waterproofing and re-tiling a shower because adhesive let go over a damp membrane is a different order of expense entirely, and it usually arrives after the room has been in use for a season or two.
The cheapest waterproofing decision you'll ever make is the one where you wait until tomorrow.
Documentation is what converts a day of patience into protection. Cure dates, conditions, inspection sign-offs and photos give you evidence when a leak appears years later and memories have blurred. A registered builder coordinating waterproofers, screeders and tilers can sequence the work so the membrane is never covered before it's signed off, and every one of our waterproofers and tilers is qualified and certified for exactly that reason. Bathroom renovations here run with in-house carpenters, plumbers, waterproofers and tilers, which keeps the handover between stages tight rather than waiting on a subcontractor's calendar.
Three checks before you book the tiler
- Get the membrane name and tile-over time in writing. Not a verbal "yeah, 24 hours is fine". The product name and the figure from its data sheet, on paper.
- Set the tiling start from the final-coat date, plus extra time for cool or damp conditions, plus any flood test. Build the buffer into the schedule instead of discovering it on the morning.
- Ask for the inspection and documentation record before tiles go down. If the answer is vague, that's the answer.
If you're still mapping the wider sequence of a project, this bathroom renovation timeline shows where waterproofing, screeding and tiling sit relative to each other. For a sense of how other markets handle the same sequencing decisions, including layout and services planning in apartment bathrooms, Interiors by DeX has a useful bathroom upgrade guide for Chennai apartments.
The final step is the one that locks it all down. Send the membrane name, the room size and your planned start date to your builder, and ask for a written tiling date back. Once it's written, the calendar stops being a guess.
Melbourne Tiling Services P/L handles bathroom renovations across Melbourne with in-house carpenters, plumbers, waterproofers and tilers, all qualified and certified, so the gap between the final coat and the first tile is scheduled rather than squeezed. We're registered unlimited builders based in Highett, and we can confirm the tile-over time for your specific membrane and book the tiling date around it. Call 1300 661 658 or visit Melbourne Tiling Services P/L for a free quote and 3D design on your next bathroom or ensuite.
Recent Comments