
Substrate preparation is the process of making a surface structurally sound, clean, dry, flat, and correctly profiled so waterproofing membranes and tile adhesives bond reliably and last for decades. In wet areas, new concrete should cure for at least 28 days, while cement-sand screeds may require 7 days before waterproofing.
The popular advice that tiling is mostly about choosing the right adhesive and laying tiles neatly misses the point. The tile is the visible finish, but the substrate is the working foundation. If that foundation moves, holds contamination, retains unsuitable moisture, or sends water in the wrong direction, a beautiful bathroom can still fail.
Table of Contents
- Why Substrate Preparation Is the Most Overlooked Step in Tiling
- Core Technical Requirements for a Tiling-Ready Substrate
- How Preparation Differs Across Concrete Timber Plasterboard and Screed
- Recommended Surface Preparation Steps for Bathroom Renovations
- Common Substrate Failures and Their Costly Consequences
- Why Registered Builders Matter for Wet-Area Substrate Work
- Your Substrate Preparation Checklist Before Tiling Begins
Why Substrate Preparation Is the Most Overlooked Step in Tiling
Most tile failures start at the base layer, not at the face of the tile. A cracked grout joint, loose tile, hollow-sounding section, or leaking shower often points back to preparation that was rushed, misunderstood, or never properly checked.
In practical terms, substrate preparation means exposing the surface, assessing its condition, repairing defects, controlling moisture, removing contaminants, correcting levels and falls, and creating the right profile for waterproofing and adhesive. It isn't just sweeping dust from the floor before the tiler arrives.
Australian practice treats this as a technical stage. AS 3958:2023 formally covers preparation of backgrounds before bonded fixing and grouting of floor and wall tiles, including mosaic tiles and panels. It replaced earlier guidance such as AS 3958.1-2007, which also dealt with background preparation, tile fixing, and grouting. The AS 3958:2023 standard information reflects why experienced trades treat the background as part of the installation system, not as an afterthought.
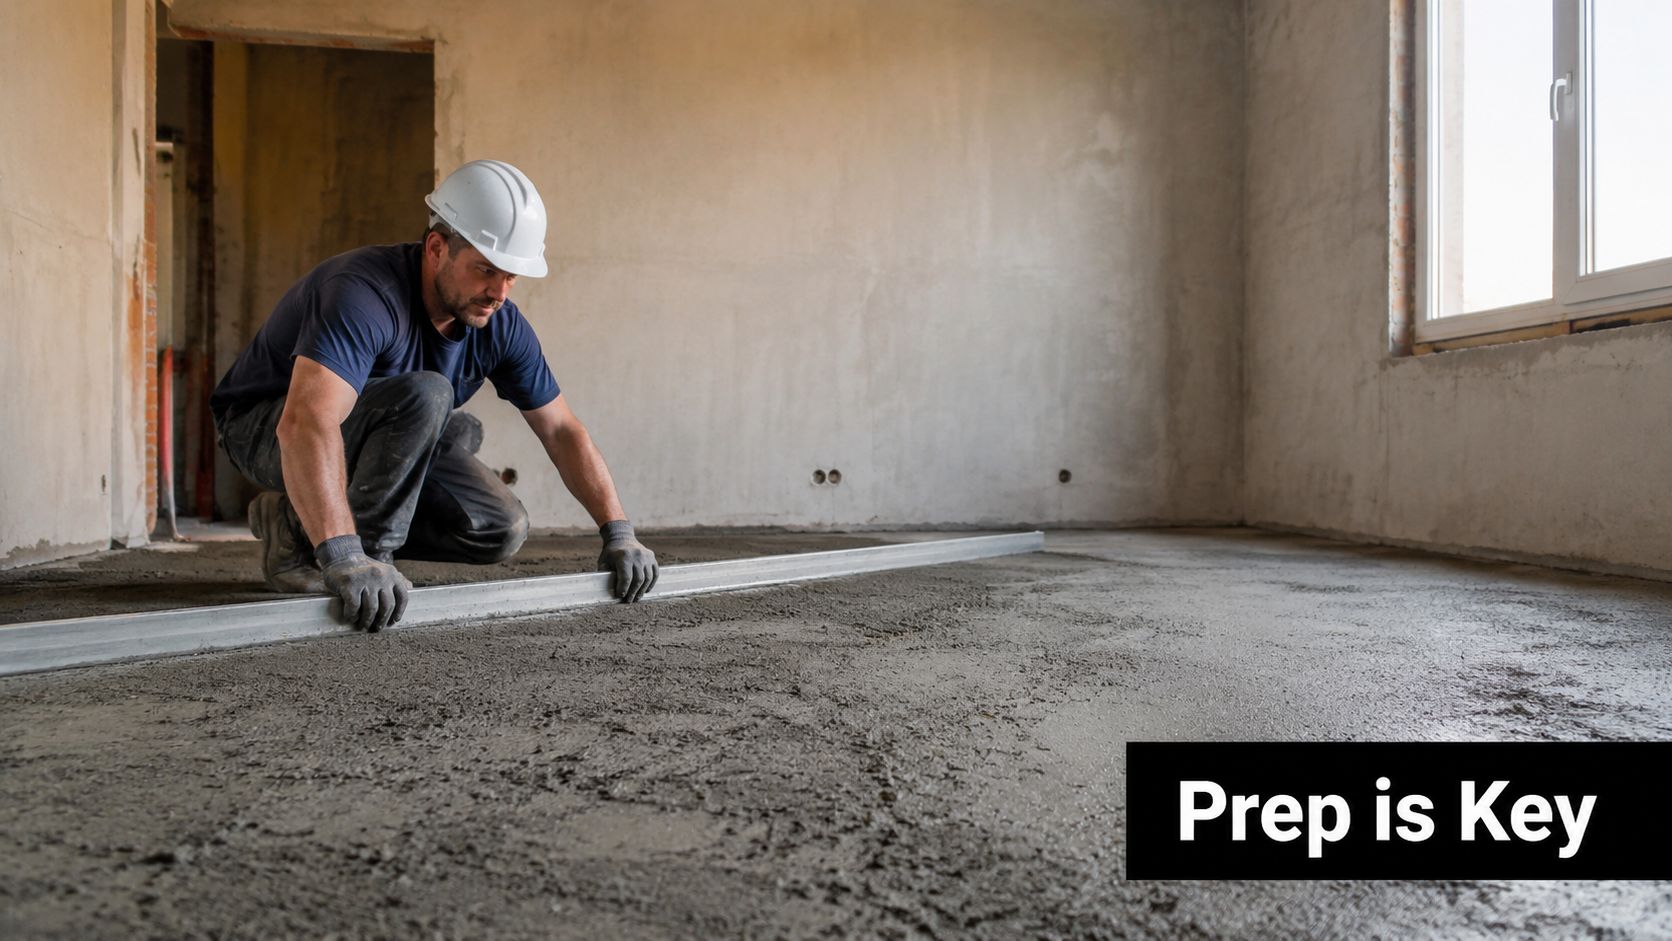
The invisible work behind a finished bathroom
On a Melbourne bathroom renovation, preparation can involve stripping back old tiles, removing adhesive, grinding concrete laitance, filling cracks, repairing damaged framing, installing an appropriate underlay, forming falls, and priming before waterproofing. The exact sequence depends on the material and the condition discovered during demolition.
A registered builder treats preparation as a hold point. The next trade stage shouldn't begin until the base is suitable for it. Waterproofing over a contaminated or unstable surface doesn't turn that surface into a sound one. Likewise, spreading a premium adhesive over a poorly prepared floor can't compensate for movement, dust, or unsuitable moisture.
Practical rule: If the substrate isn't ready to receive the membrane or adhesive, the renovation isn't ready for waterproofing or tiling.
Australian trade training reflects this approach. CPCCWF3001 teaches preparation of surfaces for tiling application, including controlling suction with water and applying slurry and bonding agents when required. That history matters because it shows substrate preparation has long been treated as a codified trade skill in Australia, not a cosmetic cleaning exercise.
Core Technical Requirements for a Tiling-Ready Substrate
A tiling-ready surface needs more than a smooth appearance. The site supervisor is checking whether the base can support the finish, accept the next product, and direct water as designed.
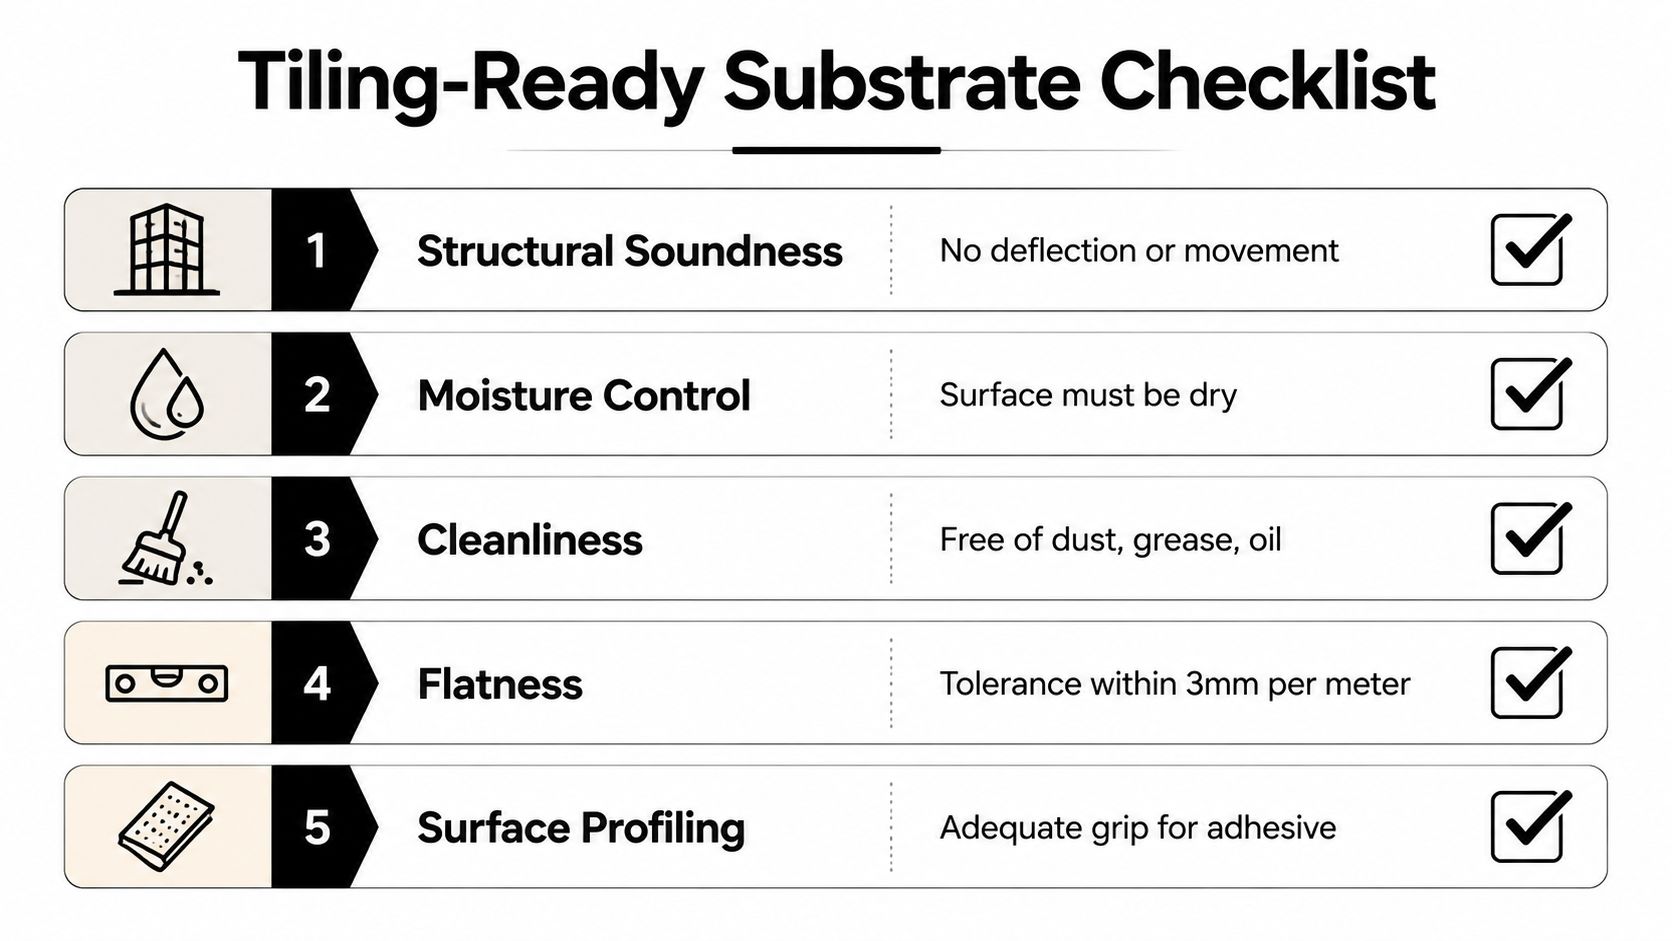
Five checks before the next trade starts
Structural soundness comes first. Concrete must not be loose, spalled, or breaking down at the surface. Timber floors need an assessment for movement and deflection before a tile underlay or tile system is installed. A surface that flexes underfoot may transfer stress into grout, adhesive, and tiles.
Moisture control requires more than touching the slab and deciding it feels dry. Australian technical guidance says finishes should be delayed until substrate moisture conforms to AS 1884 or AS 2455.1, while membrane manufacturers specify the acceptable condition for their own systems. Some systems permit application to damp surfaces, so the correct question is whether the moisture state matches the product specification, not whether every slab must be bone-dry.
Cleanliness means removing dust, laitance, oils, curing residues, old adhesive, paint, and other bond-breakers. A vacuum after grinding is useful, but it won't remove a contaminant that remains bonded to the surface. The surface must be suitable for adhesion.
Flatness matters because adhesive isn't a substitute for properly correcting a badly uneven base. High spots can be ground down, while hollows may need compatible repair mortar, screed, or levelling material. A straight-edge, level, and visual inspection reveal problems that disappear under general room lighting.
Surface profiling gives the primer, membrane, or adhesive a reliable key. Grinding, scarifying, or another approved mechanical method can open the surface and remove weak material. The final profile must suit the specified system, since overly aggressive preparation can create its own defects.
For wet-area work, the waterproofing system and tile adhesive must also be compatible. The practical relationship between the prepared base and the bonding layer is covered in this guide to tile adhesive for wet areas. Primers aren't interchangeable, and an installer should know whether the surface is porous, dense, dusty, damp, or previously coated before selecting one.
Inspection is more than a visual glance
A competent inspection checks for defects under a work light, tests questionable areas, confirms the intended falls, and records the substrate before it disappears beneath the membrane. A clean-looking slab can still have laitance, residual adhesive, or moisture outside the membrane manufacturer's limits.
How Preparation Differs Across Concrete Timber Plasterboard and Screed
“Substrate” is not one standard surface. Concrete, timber, plasterboard, and cement screed each respond differently to moisture, movement, primers, adhesives, and mechanical preparation. Treating them alike is a common cause of failures in Melbourne bathroom renovations.
Concrete requires more than a clean appearance. The surface may contain laitance, weak material, cracks, or voids, so the installer checks its condition, removes unsound material by suitable mechanical means, and repairs defects before waterproofing. New concrete should cure for at least 28 days before tiling or waterproofing under the Australian timing guidance in the National Tiles work method statement. Moisture must still be checked against the membrane manufacturer's limit. Cure time and moisture content are related, but they are not interchangeable.
Timber floors present a movement problem. Joists, sheet flooring, fixings, and transitions all need assessment before an appropriate tile underlay system is selected. Fibre-cement underlay may suit a specified system, provided movement joints and perimeter clearances follow the product instructions. Priming may be required to control absorption and prevent contaminants from weakening the bond. Excessive flexing can lead to cracked grout, loose tiles, or movement at transitions.
Standard plasterboard is not suitable as wet-area backing because it has been painted or covered with membrane. Wet-area wall linings must suit their location. Joints, junctions, penetrations, and fasteners form part of the waterproofing detail, not separate finishing tasks. The primer and joint treatment must be compatible with the membrane system before application begins.
Cement screed has its own cure and bonding requirements. A sand-cement screed may require 7 days before waterproofing, while moisture testing must confirm compliance with the membrane instructions. If the screed is bonded over an existing slab, the specified system may require a slurry or bonding coat. The screeding for tiles service information explains how screed selection and installation control the finished floor plane, not only its height.
NCC 2025 fall requirements add another practical check in wet areas. The prepared surface must support the required drainage direction without creating a hollow, reverse fall, or abrupt transition. Victorian registered builders treat this preparation as a codified trade skill because the substrate affects waterproofing, drainage, adhesion, and the durability of the finished work.
| Substrate Type | Key Prep Steps | Moisture Threshold | Common Failure Risk |
|---|---|---|---|
| Concrete | Inspect, repair, mechanically profile, remove laitance, prime where specified | Meet the membrane manufacturer's limit and applicable Australian requirements | Poor adhesion, cracking, blistering, or delamination |
| Timber | Check movement, verify framing, install suitable underlay, treat joints and transitions | Confirm the system's moisture and environmental requirements | Flexing, cracked grout, and tile movement |
| Plasterboard | Use suitable wet-area lining, seal joints and penetrations, prime compatibly | Follow the waterproofing system's substrate requirements | Swelling, weak joints, and membrane failure |
| Cement screed | Confirm cure, repair defects, check moisture, use bonding coat where specified | Allow the required cure, including 7 days where applicable | Shrinkage, debonding, and cracking through the finish |
Recommended Surface Preparation Steps for Bathroom Renovations
A Melbourne bathroom renovation should start with exposure, not assumptions. Demolition removes the tile and often reveals old adhesive, damaged sheet flooring, poorly formed falls, water-affected framing, or several layers that shouldn't remain under a new membrane.
A trade sequence that protects the next stage
Expose the known base. Remove loose tiles, failing adhesive, soft material, and suspect patching. Keep removing material until the remaining surface is stable and identifiable.
Assess structure and defects. Check concrete for cracks, spalling, hollow areas, and weak edges. On timber floors, inspect movement and support. Fill voids and repair defects with materials compatible with the intended waterproofing and tiling system.
Clean mechanically. Depending on the base, grinding, scarifying, scraping, or controlled washing can remove laitance, dust, residues, and old bond-breakers. Vacuuming finishes the process, but it doesn't replace mechanical removal of bonded contamination.
Check moisture and cure. New concrete generally needs at least 28 days, while cement-sand render screeds may need 7 days before waterproofing. Moisture meters or other approved testing methods help confirm whether the surface sits within the membrane manufacturer's limits. A membrane data sheet takes priority over a guess based on appearance.
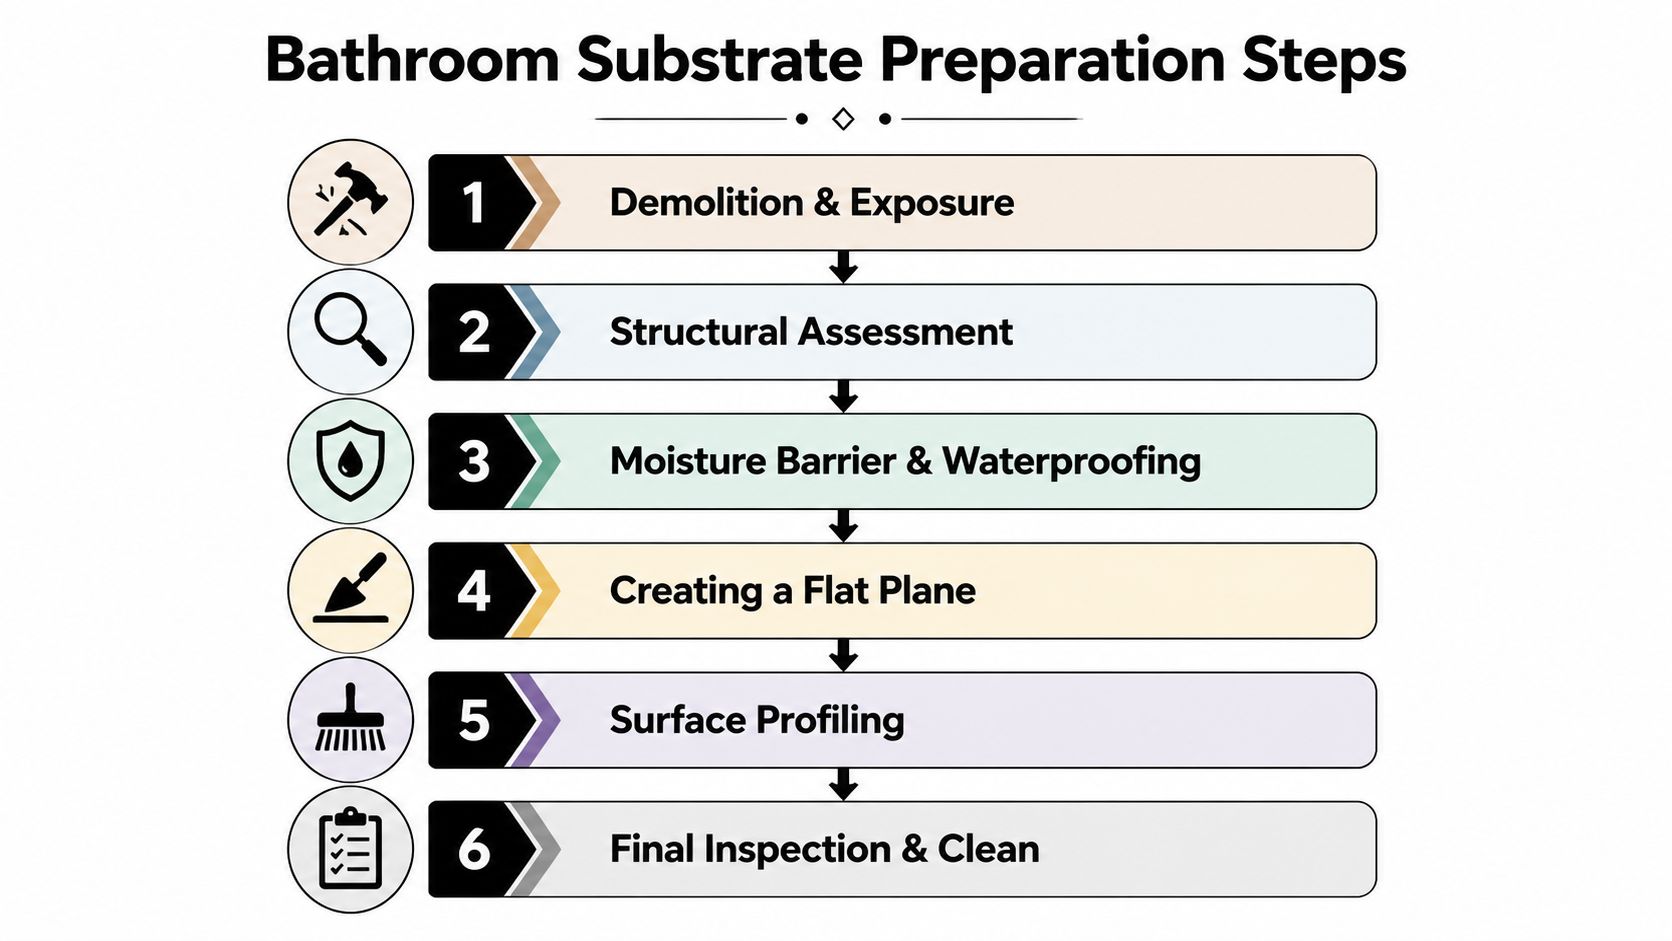
Prime deliberately. Porous surfaces may need a primer to control suction, while dense or non-absorptive bases require a compatible product intended for that condition. The primer must suit the membrane, and the installer should respect its coverage and drying instructions.
Form and verify falls. Internal wet areas need a structural substrate with a fall between 1:80 and 1:50 under the NCC 2025 guidance cited by Australian waterproofing update information. Other Australian waterproofing guidance tied to AS 3740 refers to 1:100 for floors and 1:80 for enclosed shower bases, so the design and applicable requirement must be checked rather than guessed. A laser level and straight-edge verify the result before waterproofing begins.
The NCC 2025 change is especially important outside. External waterproofed areas can no longer rely on a topping screed or tile bed to form falls, except in planter boxes. Finishes must be directly bonded to the membrane or loosely laid on pedestals. That rule doesn't mean a bathroom floor can be improvised. It means the substrate and fall strategy must be right before the membrane and finish are installed.
For a practical visual reference, review the following bathroom preparation video:
Before membrane application, the base should be smooth, clean, and free of imperfections. The bathroom floor waterproofing guidance also needs to be read alongside the actual membrane data sheet, because cure times, damp-surface permissions, primer requirements, and application thickness vary between certified systems.
Common Substrate Failures and Their Costly Consequences
The most expensive preparation mistake is usually the one that saves time at the start. Skipping a moisture check, accepting a weak screed, or leaving old adhesive in place can make the finished bathroom appear complete while the bond line remains vulnerable.
A membrane may blister or lose adhesion when applied over a substrate that hasn't reached the required cure or moisture condition. Poor falls create a separate problem. Water that sits against a wall or around a shower area can test every junction, penetration, and transition in the waterproofing system.
Where the failure begins
- False moisture confidence: The installer relies on touch or appearance instead of an approved test and the product limits. Trapped moisture can interfere with adhesion and membrane performance.
- Insufficient curing: Tiling or waterproofing proceeds over green concrete, screed, or levelling material. Shrinkage and movement can transmit cracking into the membrane or tile finish.
- Uncorrected falls: The floor looks broadly level but doesn't direct water properly to the waste. Pooling increases the load on junctions and can leave the bathroom difficult to keep dry.
- Bond-breakers left behind: Dust, oils, curing compounds, paint, and old adhesive remain under the new system. The membrane or adhesive bonds to contamination instead of the actual substrate.
- Movement ignored: Timber or unstable repairs move after the tiles are installed. Grout cracks, tiles loosen, and water finds pathways into vulnerable edges.
Australian technical notes require voids, cracks, and defects to be filled, surfaces to be smooth and free of contaminants, and porous substrates to be primed before membrane application. The concrete substrate preparation guidance also links preparation with moisture control and cure state.
| Failure Type | Root Cause | Typical Consequence | Estimated Rectification Cost |
|---|---|---|---|
| Moisture-related membrane failure | Substrate condition wasn't tested against the system requirements | Blistering, poor adhesion, and possible leaks | The cost varies with access, damage, and the extent of removal |
| Inadequate fall | Floor profile wasn't designed or checked before waterproofing | Persistent pooling and stressed junctions | Rectification may require removing finishes and rebuilding the fall |
| Uncured screed or levelling material | Waterproofing or tiling was rushed | Shrinkage cracks and debonding | Repairs can extend beyond the original wet-area work |
| Contaminated surface | Dust, oil, laitance, or adhesive remained | Delamination and loose tiles | Full strip-out may be required where the bond has failed |
No honest contractor can promise a fixed rectification figure without inspecting the bathroom. The important trade-off is clear, though. Preparation costs time and labour before the room looks different, while failed preparation can force demolition of work that appeared finished.
Why Registered Builders Matter for Wet-Area Substrate Work
In Victoria, a person must be registered with the Victorian Building Authority to perform domestic building work worth more than $10,000, including labour and materials, according to the Victorian domestic building registration guidance. The registration framework includes domestic builder unlimited and limited categories such as bathroom, kitchen, and laundry renovation.
That matters because wet-area substrate preparation sits inside a larger system. The builder must coordinate demolition, carpentry, plumbing, waterproofing, screeding, tiling, and inspections without allowing one trade to conceal a defect created by another.
Registration connects preparation with competence
The VBA's bathroom, kitchen, and laundry renovation materials require competence in installed wet-area wall and floor substrates and in selecting suitable waterproofing systems. The VBA registration application shows that substrate preparation is part of assessed technical capability, not an informal task handed to whoever arrives first.
A registered builder should be able to explain:
- The substrate decision: Why a particular screed, underlay, repair mortar, or lining was selected.
- The waterproofing interface: Which primer and membrane system are compatible with the prepared surface.
- The inspection record: What was checked before the membrane and tiles covered the work.
- The responsibility chain: Which licensed trade completed each connected part of the renovation.
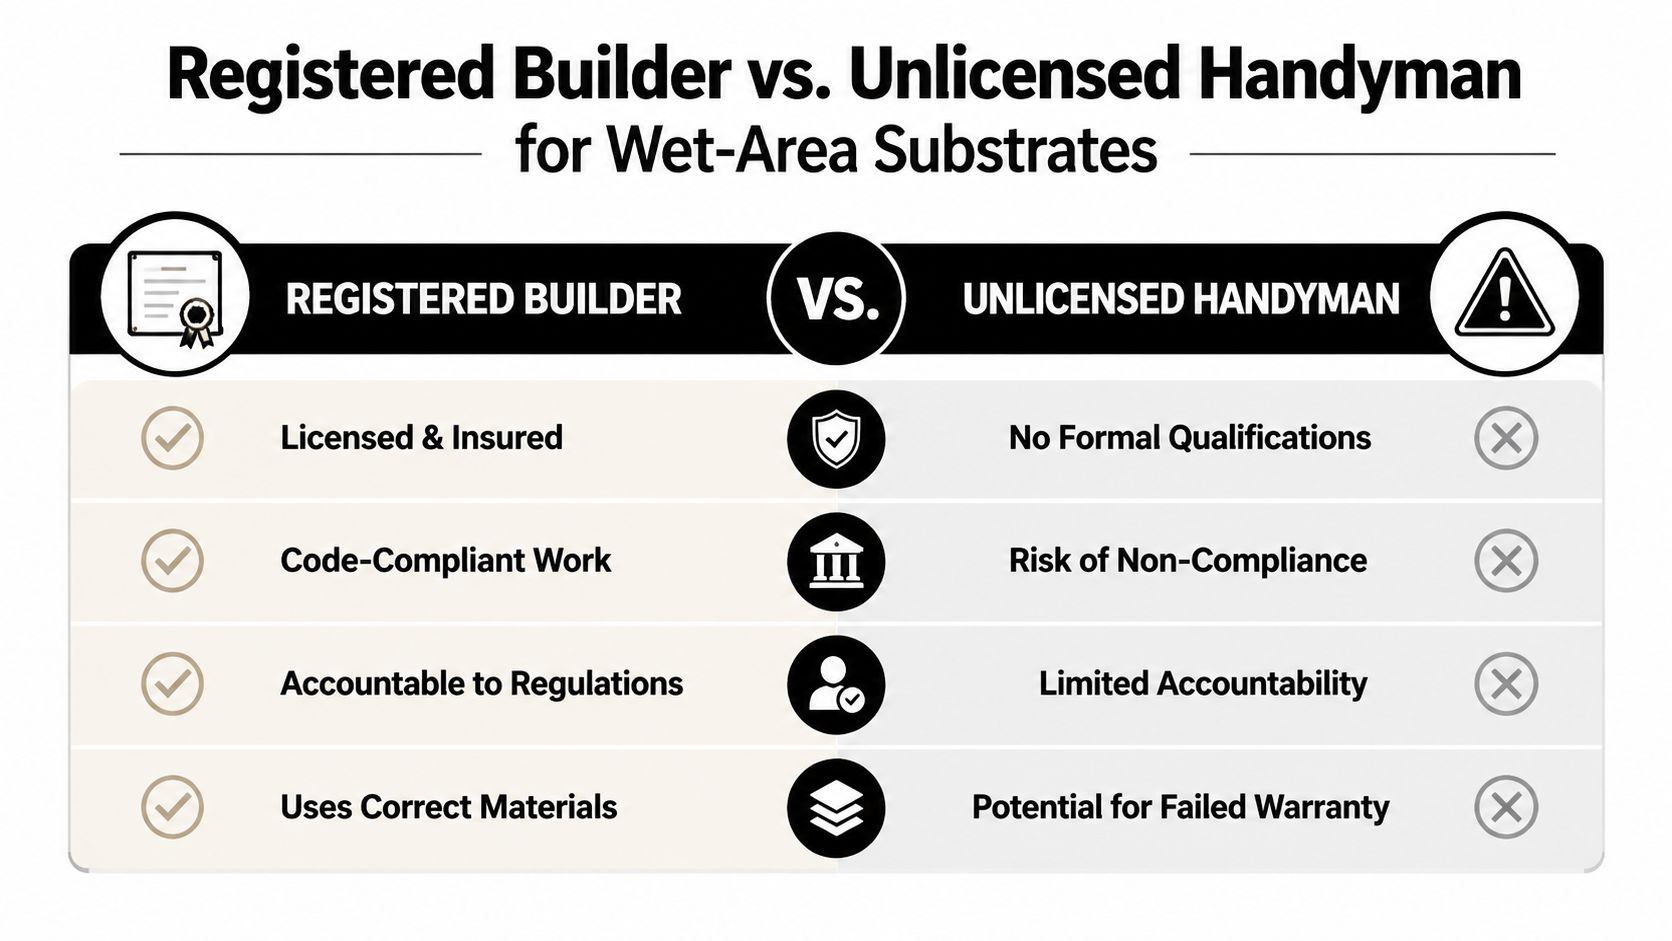
Registration doesn't make every installation automatically perfect, and it doesn't remove the need to inspect the work. It does give the homeowner a meaningful credential to verify before signing a contract. An unlicensed operator may offer a lower initial price by omitting testing, documentation, or proper preparation, but that saving can disappear when a concealed defect requires removal of finished work.
Your Substrate Preparation Checklist Before Tiling Begins
Before adhesive is mixed, ask the builder to confirm each point:
- Structure: Has the concrete, timber, lining, or screed been checked for movement, cracks, spalling, and weak areas?
- Moisture: Was moisture tested using a method and limit accepted by the membrane manufacturer?
- Cure: Has new concrete cured for at least 28 days, and the relevant cement-sand screed for the required 7 days, where applicable, before waterproofing? Confirm the Australian installation guidance.
- Cleanliness: Have dust, laitance, oil, curing compounds, old adhesive, and loose material been removed?
- Profile: Was the surface mechanically prepared where needed, then vacuumed and primed with a compatible product?
- Falls: Were wet-area falls checked against the design and NCC 2025 requirements, including 1:80 where required?
- Waterproofing: Were the membrane system, primer, coverage, and junction details checked before tiling?
Request photographs before each layer conceals the work. The record should show the exposed substrate, repairs, moisture checks, primer, falls, and membrane. A Victorian registered builder should explain these checks and retain evidence of them.
Preparation determines whether tiles remain bonded and the wet area stays serviceable. It is a codified, inspectable trade stage, not surface tidying.
Melbourne Tiling Services P/L handles substrate preparation during bathroom and ensuite renovations, including grinding, patching, screeding, self-levelling, fall correction, priming, waterproofing, and tiling coordination. To discuss an existing bathroom before selecting tiles, visit Melbourne Tiling Services P/L for a quote.
Write a Comment