
You step out of the shower, dry the floor, and notice the skirting outside the screen is damp again. The grout looks fresh, the silicone is new, and still the paint bubbles a week later. That pattern usually means the visible finish isn't where the water's getting in, and shower leak repair needs evidence before anyone reaches for a sealant gun or a jackhammer.
Table of Contents
- Why Shower Leak Repair Starts With Diagnosis
- Diagnose the Leak Without Opening the Shower
- Match the Symptoms to the Likely Failure
- Repair the Shower Waterproofing System
- Verify the Repair Before Closing the Shower
- Choose Between Targeted and Full Bathroom Repairs
- Plan Costs, Warranties and Specialist Support
Why Shower Leak Repair Starts With Diagnosis
A Melbourne house we see often follows the same script. Someone regrouts the shower in autumn, the wall dries over winter, then dampness returns on the bedroom side in spring. The homeowner assumes the grout failed again, but the entry point may be a mixer penetration, a screen perimeter, a floor waste, or a concealed break at the wall and floor junction.
Water doesn't always show itself where it enters. It can travel behind tiles, track along a screed, or follow a pipe before it stains a ceiling below. A damp patch is a clue about moisture movement, not proof of the source, and treating it as proof leads people to seal the wrong joint while concealed wetting continues underneath.
Urgent Water Control Versus Cosmetic Appearance
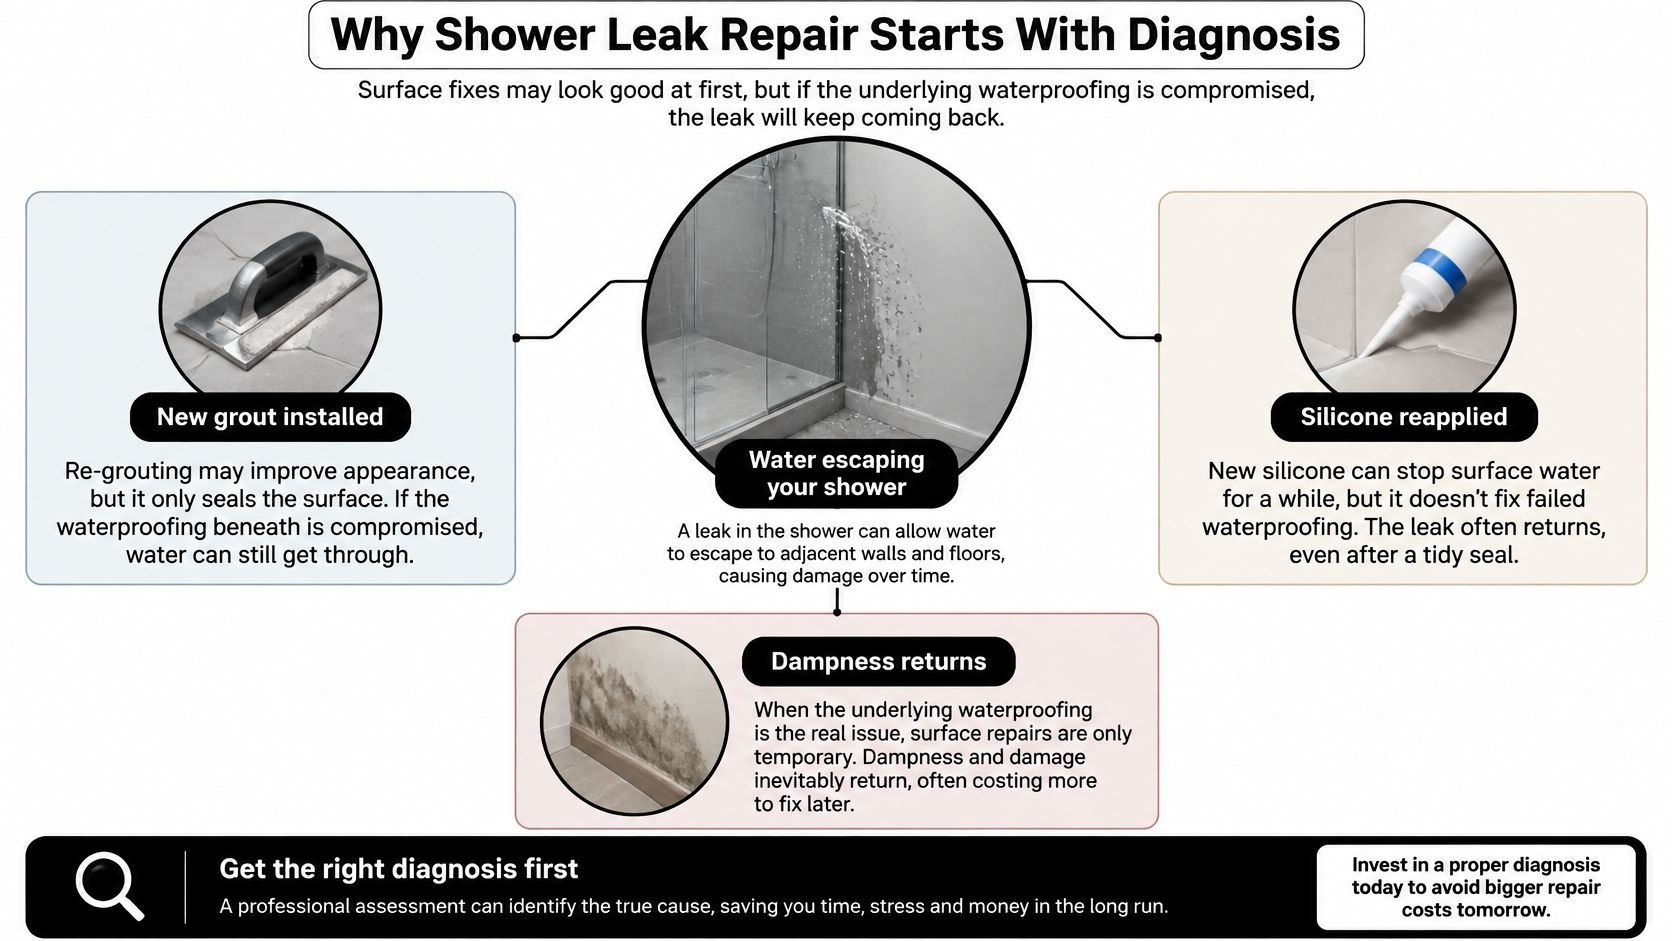
An active plumbing leak, pooling water, or swelling in adjoining materials needs containment first. Turn off the shower, protect floors, and get the plumbing checked if water appears when nothing's running. That's different from discoloured grout or aged silicone, which may look poor but doesn't automatically mean the membrane has failed.
Doing tasks in the wrong order costs money twice. Resealing over a wet substrate can trap moisture and hide mould or deterioration until tiles loosen. Demolishing first can destroy the very evidence that would've shown whether the failure was plumbing, drainage, or waterproofing.
Treat every symptom as a question to test, not as a diagnosis you've already made.
Before anyone recommends grout, silicone, or demolition, look at the whole system. Note the shower layout, access restrictions, adjoining finishes, and any waterproofing records or photos from construction. That starting discipline decides whether the repair stays targeted or becomes a broader rebuild.
Diagnose the Leak Without Opening the Shower
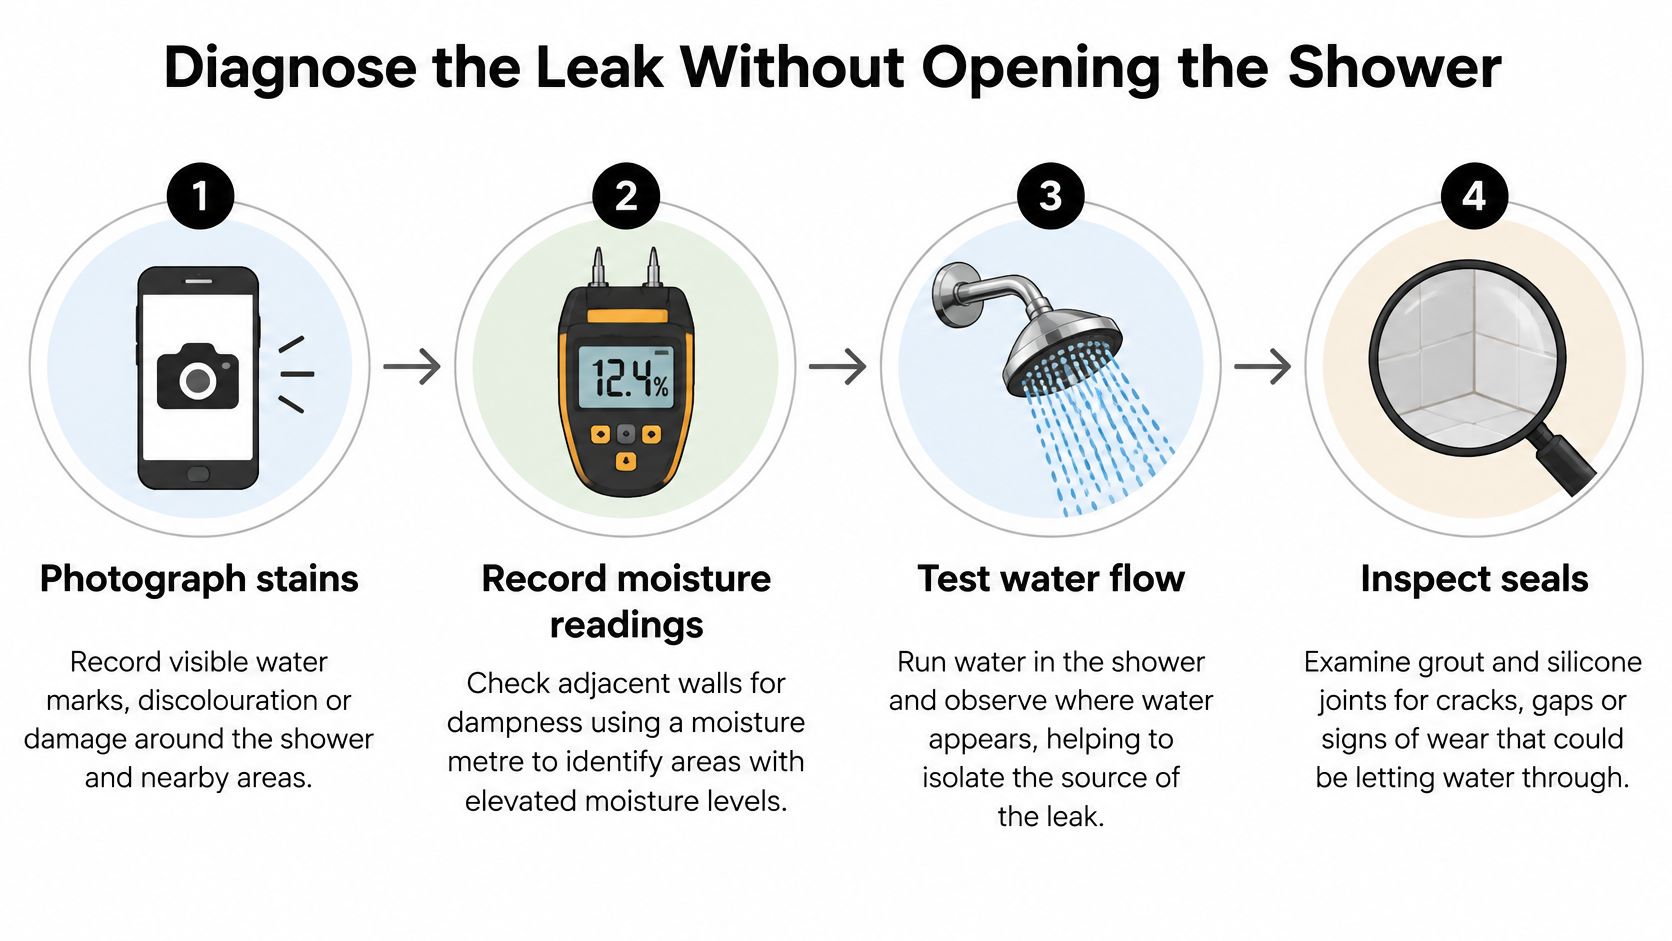
Start by building an evidence log you can hand to a plumber, builder, or property manager. Photograph stains, blistering paint, swollen skirting, and cracked joints with dates and locations. Write down when dampness appears, how soon after showering it shows, and whether it fades when the shower rests for several days.
Next, measure moisture in adjacent walls and floors rather than relying on touch. A pin or pinless moisture meter won't identify the source on its own, but readings mapped across a wall show where moisture concentrates and whether it's migrating. Record readings in the same spots each time so you can compare them.
Isolate One Source at a Time
Running the whole shower and watching for dampness tells you very little. Test components separately, because each test narrows the field. Controlled isolation is the core of professional shower leak detection in Melbourne homes, and it's what separates a defensible scope from guesswork.
- Shower rose and mixer: Run each on its own and watch penetrations, handles, and the wall around fittings for weeping.
- Screen perimeter: Direct water at the screen junctions and door seals while keeping the floor waste area dry.
- Floor waste: Pour water directly into the waste to test the drainage connection without wetting walls or corners.
- Junctions and corners: Inspect the wall-to-floor junction, internal corners, hob or threshold edges, and pipe penetrations for gaps, split sealant, or movement.
Separate Observations From Assumptions
Your log should state what you saw, not what you concluded. Write "moisture reading rose on the hallway wall after the waste test" rather than "membrane failed." That distinction matters, because a waste connection fault and a membrane failure need different trades, different access, and different budgets.
Finish by marking which test reproduced the leak and which didn't. If no single test reproduces it, or moisture sits behind tiles with no clear entry point, that's the trigger for specialist inspection before opening anything up.
Match the Symptoms to the Likely Failure
Mould, loose tiles, cracked grout, and a damp ceiling are downstream symptoms. They confirm water's been where it shouldn't, but they don't name the failure. Four broad sources account for most shower leaks, and each behaves differently under testing.
Victorian defect research reinforces the need to look beyond membranes. Among assessed Victorian buildings with non-cladding defects, nearly 80% had water or moisture related structural damage, with inadequate waterproofing and drainage identified as significant causes, according to Victorian Government research on non-cladding building defects. Drainage deserves the same scrutiny as the membrane itself.
Evidence-Led Shower Leak Triage
| Possible source | Useful evidence | First action | Escalate when |
|---|---|---|---|
| Plumbing leak | Dampness without shower use, weeping at mixer or rose | Isolate fixtures and arrange licensed plumbing testing | Moisture persists after plumbing is cleared |
| Screen or silicone defect | Leak appears only when water hits screen perimeter | Inspect seals and junctions, renew failed sealant properly | Moisture readings rise behind tiles or in adjoining walls |
| Drainage or waste fault | Leak reproduces when water goes straight into the waste | Check waste connection and flange interface | Falls pond water or waste testing wets the substrate |
| Concealed waterproofing failure | Recurring dampness, drummy tiles, moisture migration across junctions | Plan controlled opening to inspect the membrane interface | Multiple entry points or substrate damage are found |
Consider a common Melbourne scenario. A ceiling stain appears below an ensuite, tiles sound drummy, and the first quote recommends full membrane replacement. A separate mixer test, though, shows water tracking from a plumbing connection behind the wall, and the membrane may still be sound once the plumbing's repaired and the cavity dries.
Decision rule: Start with the narrowest intervention the evidence supports, and escalate only when symptoms persist, several entry points are implicated, or concealed conditions can't be verified.
That rule protects you both ways. It avoids a strip-out you may not need, and it stops a cosmetic seal from being sold as a fix for concealed damage.
Repair the Shower Waterproofing System
Once diagnosis points behind the tiles, sequence matters more than speed. Stop uncontrolled water first, protect adjoining finishes, and confirm whether plumbing or drainage work must happen before waterproofing begins. Skipping that order means new membranes get applied over faults that'll soak them again.
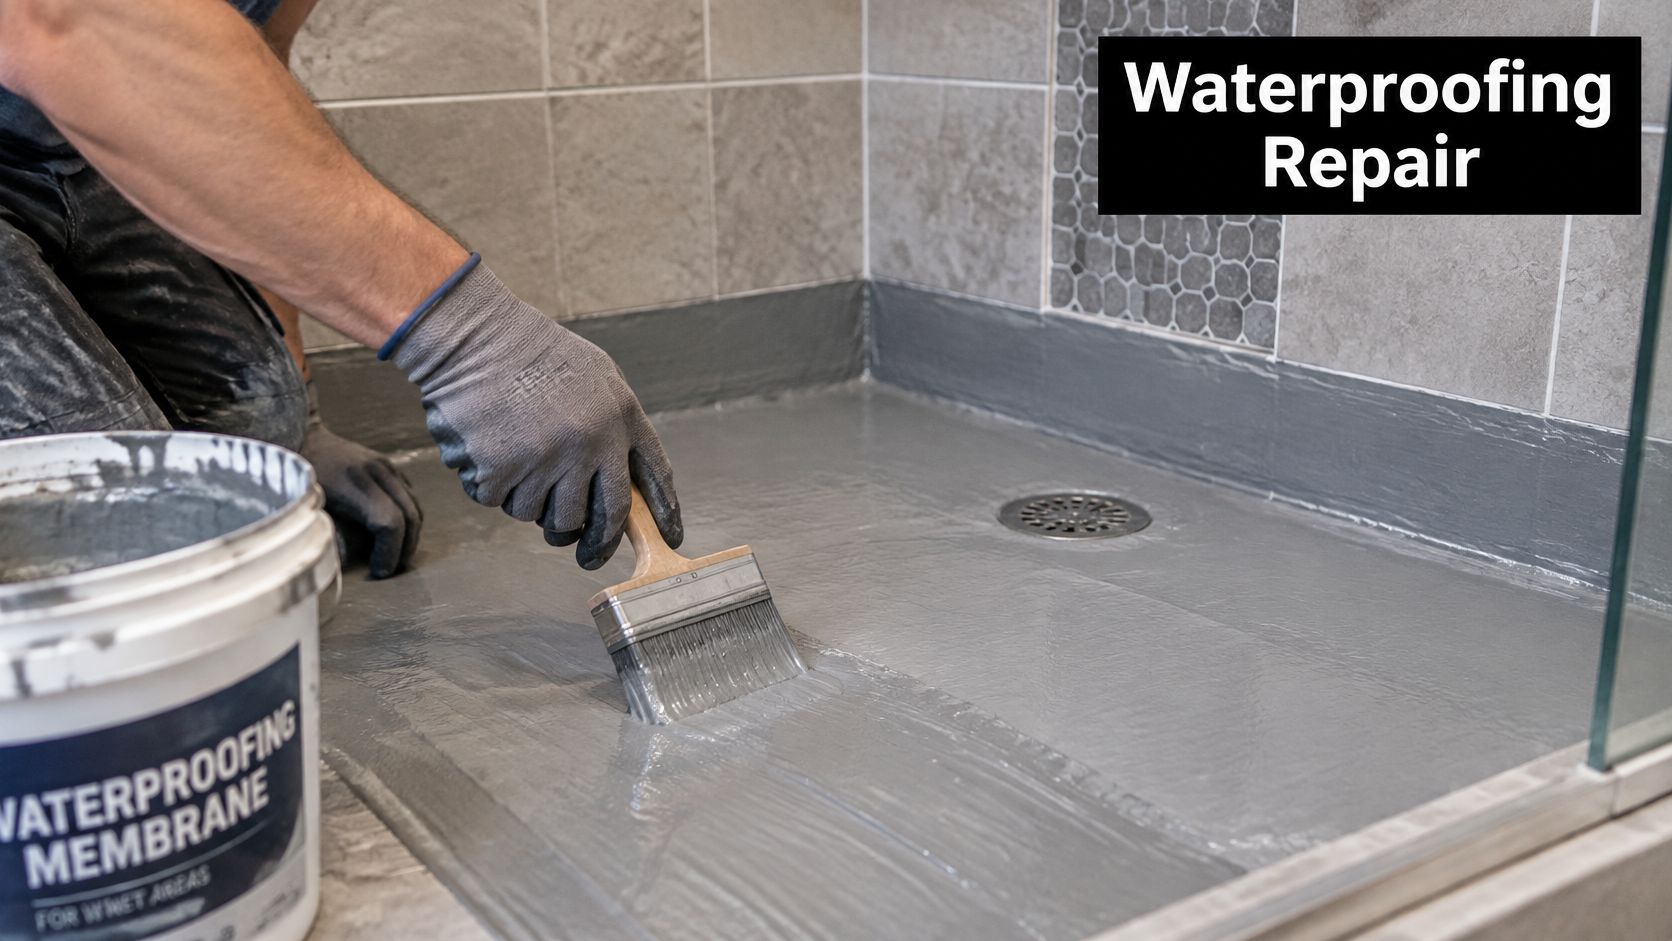
The membrane application below shows the concealed layer doing the actual waterproofing work, not the tiles above it.
Open Only Far Enough to Verify
Remove only enough tile and lining to expose the suspected interface. Then inspect the substrate, membrane, bond breakers, sealants, drainage flange, penetrations, and falls as one system. Australian compliance treats waterproofing as that complete system of substrate, membrane, bond breakers, waterstops, sealants, adhesives, and finishes, and detailed guidance on shower waterproofing membranes explains how those layers interact.
Compliance benchmarks are specific, not visual. Under NCC 2022 Housing Provisions, the shower floor must be waterproof, walls must be waterproof to at least 1,800 mm above the floor substrate, and wall junctions must be waterproof at least 40 mm on each side, as set out in NCC 2022 wet area waterproofing provisions. A dry looking surface after regrouting doesn't demonstrate any of that.
Prepare, Detail, Then Reinstate
Surface preparation decides whether a membrane lasts. Substrates need to be smooth, clean, dry, and free of dust, protrusions, voids, and contamination, and you shouldn't apply a new membrane over damp or unstable surfaces. Government inspection material also identifies inadequate sealant at shower junctions as a recurring defect and links waste leaks to incorrect membrane connection at the drainage riser, in Western Australia's wet areas industry bulletin.
- Junctions and penetrations: Remove failed sealant, size joints correctly, and use flexible, mould resistant, substrate compatible sealant.
- Floor waste: Verify the flange to membrane connection before tiling, since this interface fails often and hides well.
- Materials compatibility: Confirm membranes, primers, and adhesives work as a system before application.
- Licensed work: Plumbing and electrical faults belong to licensed trades, while membrane and tiling work suit an experienced waterproofer, tiler, or builder coordinating the sequence.
The same system thinking applies outdoors, where falls, drainage, and junctions decide performance long before finishes go on. HomeProBadge's walkthrough of backyard shower installation steps shows that sequencing logic in a simpler setting. Indoors, photograph every concealed stage before screeding and tiling cover it.
The video below shows membrane work in progress, which helps you recognise what proper coverage and detailing look like before finishes hide them.
Reinstate finishes only after concealed work passes inspection. Silicone replacement is maintenance of a joint, not a membrane repair, and presenting it as one is where many recurring leaks begin.
Verify the Repair Before Closing the Shower
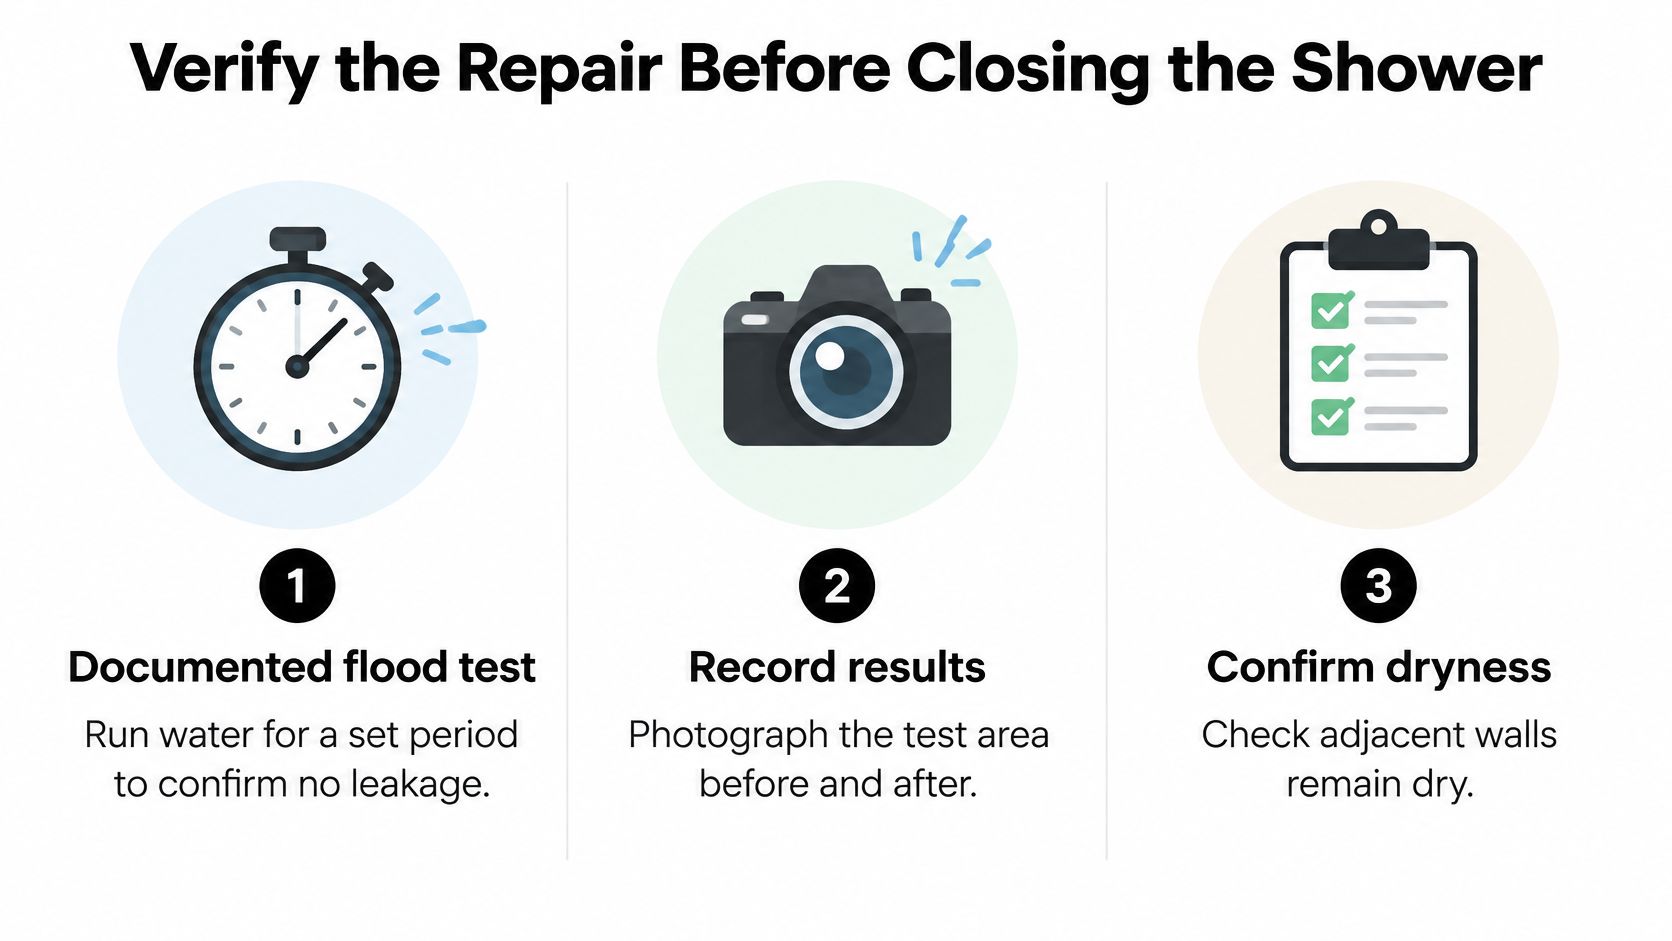
A shower that looks dry after a weekend unused hasn't proven anything. Drying out and being repaired are different states, and confusing them is how leaks return months later. Verification means retesting the original source under controlled conditions and recording what happens.
Western Australia's inspection data shows why concealed quality needs checking rather than assuming. Only 58 percent of inspected points complied with applicable code and AS 3740 requirements, 40 percent of cases involved incompatible membrane or primer combinations, and fewer than 10 percent of membranes were appropriately protected during subsequent work, according to Building and Energy General Inspection Report Six. Damage from later trades is a real failure mode, not a theoretical one.
Flood Test and Document the Result
A documented flood test after repair is the practical acceptance benchmark. Record the test conditions, duration, observations, and moisture readings, then check adjacent walls, floors, and ceilings for any migration. The aim is no measurable leakage during the test, with photographs of concealed work retained for the owner or property manager, consistent with the framework in NCC 2019 wet areas provisions.
A visually dry shower is not the same as a correctly functioning wet area system.
Check finished junctions, sealant joints, drainage behaviour, and falls before handover. Protect the membrane during any later trade work, since unrepaired damage from tilers or others undermines the whole repair. Incomplete records weaken warranty conversations later, so keep test results, product details, and installer credentials together.
Normal curing and finish protection can restrict use briefly, and that's expected. Rising moisture readings, musty odours, or dampness returning in the same location aren't curing, they're signals the source still needs investigation.
Choose Between Targeted and Full Bathroom Repairs
Not every leak justifies a strip-out, and not every targeted repair is honest value. A localised plumbing connection, a failed screen joint, or perished sealant with dry readings behind tiles can justify limited work. Recurring dampness, membrane damage, deteriorated substrate, failed falls, or several defects at once usually point to removing and replacing the shower system.
Context from the code helps frame that choice. Australia's wet area rules have shifted over decades, from the first NCC Volume Two in 1996, through reliance on AS 3740 from 2012 to 2019, to NCC 2022 reinstating detailed provisions alongside AS 3740:2021, as summarised in the ABCB guide to waterproofing houses. Older showers may predate current detailing expectations, which affects what a repair can realistically achieve.
Three Common Decision Scenarios
- Rental shower: Prioritise containment, documented diagnosis, and the smallest durable repair, since access and tenant disruption shape the scope.
- Strata apartment: Confirm responsibility and approvals before intrusive work, because the membrane, plumbing, and finishes may sit with different parties.
- Planned bathroom renovation: If finishes are already coming out, renewing the full waterproofing system often makes more sense than patching a membrane of unknown age.
Access, existing finishes, waterproofing records, and future renovation plans all shift the answer. Delay cuts both ways too, because slow concealed wetting can turn a small substrate repair into framing or lining replacement. Trades that document their diagnosis clearly tend to win local remodeling jobs on trust rather than on the cheapest reseal, which is worth remembering when you compare scopes.
For unenclosed showers, containment details also matter. The NCC requires a waterstop at a minimum horizontal distance of 1,500 mm from the shower rose, per the ABCB waterproofing frequently asked questions. A failed waterstop can send water well outside the shower footprint, which changes both diagnosis and repair extent.
Ask for a scope that separates diagnosis, temporary protection, repair, testing, finishes, and follow-up. If a quote bundles everything into one line, you can't tell what you're buying.
Plan Costs, Warranties and Specialist Support
There's no honest fixed price for shower leak repair, because the variables multiply quickly. Source, access, demolition extent, waterproofing, drainage, plumbing, finishes, testing, and property management requirements can differ substantially between two showers that look identical. Anyone quoting a firm figure before diagnosis is pricing a guess.
Floor construction alone changes obligations. Concrete and fibre cement floors may be water resistant, whereas timber based floors such as particleboard and plywood must be waterproof, under NCC housing provisions for wet area waterproofing. The same visible leak can therefore carry different repair duties in different homes, and a breakdown of shower leak repair costs helps you see where money goes.
What a Defensible Quote Should Itemise
- Inspection and testing: Moisture readings, isolation tests, and any plumbing checks.
- Temporary protection: Water shutoff, floor protection, and containment measures.
- Removal scope: Exactly which tiles, linings, or fixtures come out, and what happens if damage extends further.
- System reinstatement: Membrane products, junction and penetration detailing, drainage or plumbing works, and finishes.
- Verification and records: Flood testing, photographs, product batch details, installer credentials, and stated exclusions.
Where a shower sits within broader bathroom renovations, coordination becomes the risk. Registered builders, including Registered Unlimited Builders, are relevant because they sequence tilers, waterproofers, plumbers, and carpenters so concealed work is inspected before it's covered. That coordination, plus clear after hours processes like emergency call triage for plumbers, keeps urgent leaks from becoming unmanaged damage while approvals catch up.
In strata properties, notify the owners corporation or manager promptly and check the registered plan before intrusive work. Responsibility in Victoria can depend on that plan, and guidance on waterproofing responsibilities in Australian strata properties explains why separating the leak fix from consequential damage matters. Insurers often treat defective waterproofing differently from damage caused by escaping water, and gradual seepage may be disputed, so don't assume coverage.
Keep moisture records, defect photographs, installer credentials, and post repair test results in one file. That paper trail supports warranty claims, insurance discussions, and future owners far better than a verbal assurance that everything looked fine.
If your shower keeps leaking after resealing, or you're planning bathroom renovations and want the waterproofing diagnosed before tiles come off, Melbourne Tiling Services P/L provides leak rectification, waterproofing, and start to finish bathroom work across Melbourne with registered builders coordinating the licensed trades involved. Visit Melbourne Tiling Services P/L to arrange an inspection, discuss your evidence log, and get a scoped quote that separates diagnosis, repair, testing, and finishes.
Write a Comment