
A national bathroom renovation rose from $21,484 in 2021 to $26,747 in the latest HIA figure, an increase of $5,263, or approximately 24.5%. For Melbourne homeowners, that's a planning benchmark, not a fixed price, because labour, access, compliance, waste removal and material choices can shift the total.
A useful bathroom renovation cost breakdown starts with the work behind the finishes. The vanity, tapware and tiles are easy to price, but demolition, plumbing, electrical work, substrate repairs, waterproofing, project coordination and disposal often determine whether a renovation stays controlled or expands after the walls open.
Older national averages can give homeowners false confidence. A small ensuite with difficult access, relocated plumbing and a level-entry shower may cost more per square metre than a larger bathroom with an existing layout and straightforward slab. The practical question isn't just, “What does a bathroom renovation cost?” It's, “What scope is included in that price, and what risks remain outside it?”
Table of Contents
- Understanding the True Bathroom Renovation Cost Breakdown
- Breaking Down Labour Materials and Trade Costs
- The Hidden Financial Risks of Waterproofing Compliance
- Why Square Metre Estimates Mislead Melbourne Homeowners
- Choosing Registered Builders and Understanding Permit Rules
- Building Your Melbourne Renovation Budget Checklist
Understanding the True Bathroom Renovation Cost Breakdown
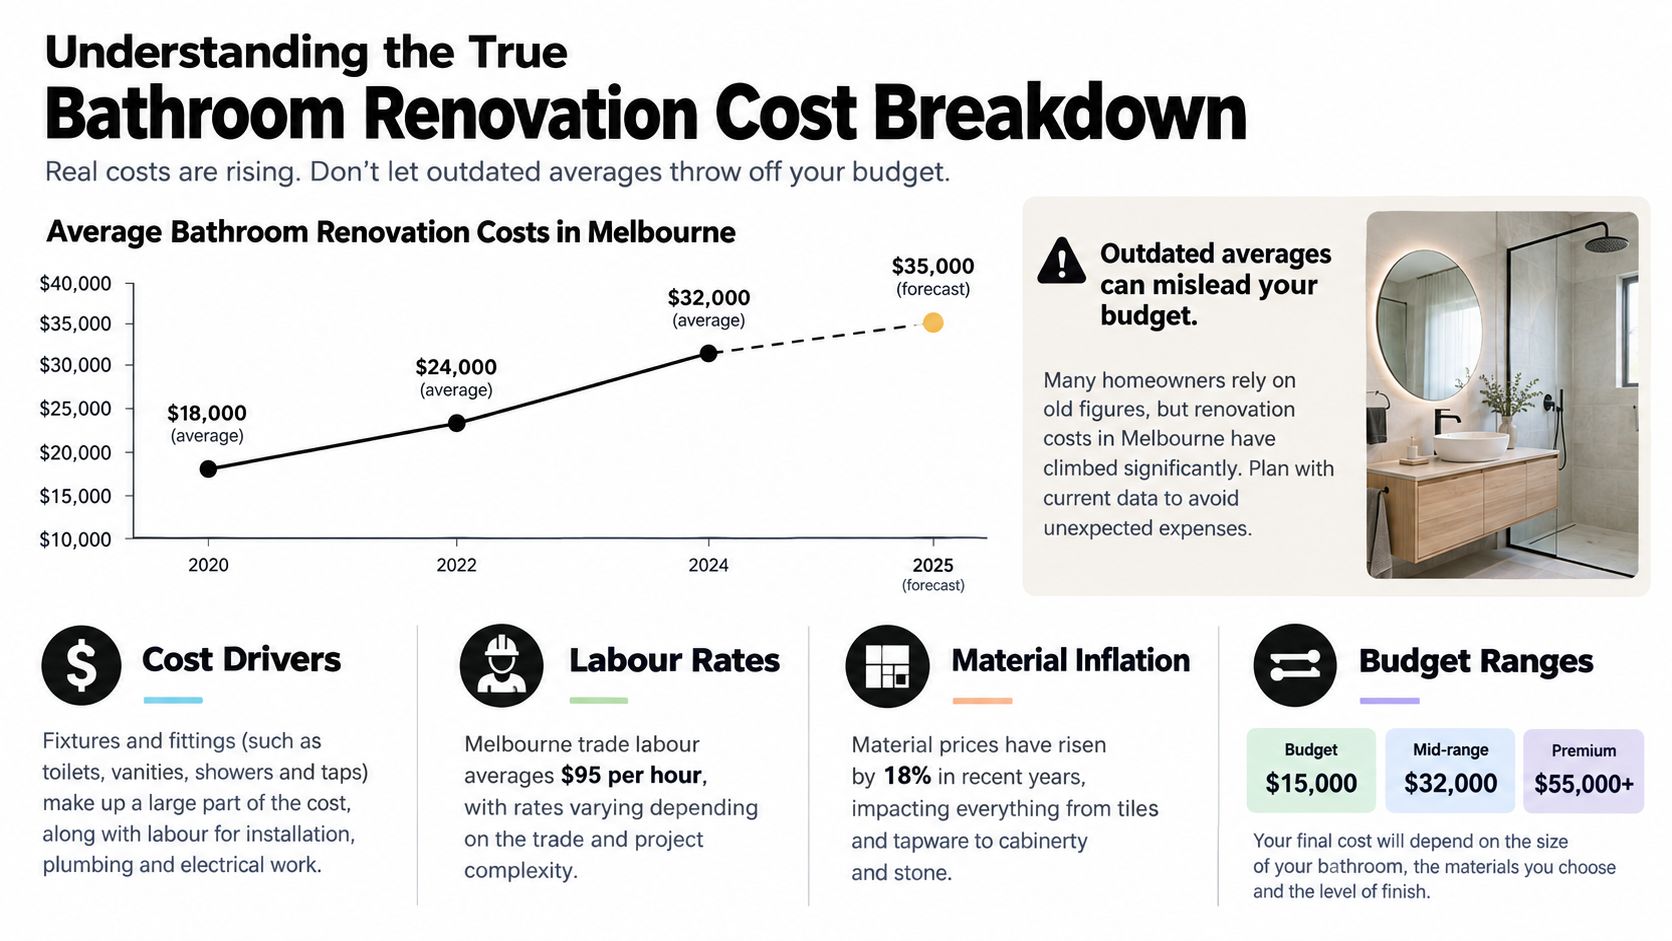
The HIA's national average moved from $21,484 in 2021 to $26,747 in the latest cited figure, according to the HIA figures cited in the Australian bathroom renovation cost reference. For Melbourne homeowners, that rise is a warning against relying on old guides or simple per-square-metre allowances, especially when the true cost often sits inside access limits, compliance work and hidden rectification.
That gap shows up fast on site. A compact ensuite can cost more than owners expect because small rooms are less forgiving, not cheaper to build. Every trade still has to enter, set up, protect finishes, waterproof properly and complete detailed work in a tighter footprint. If the room also needs relocated plumbing or a level-entry shower, the complexity increases again.
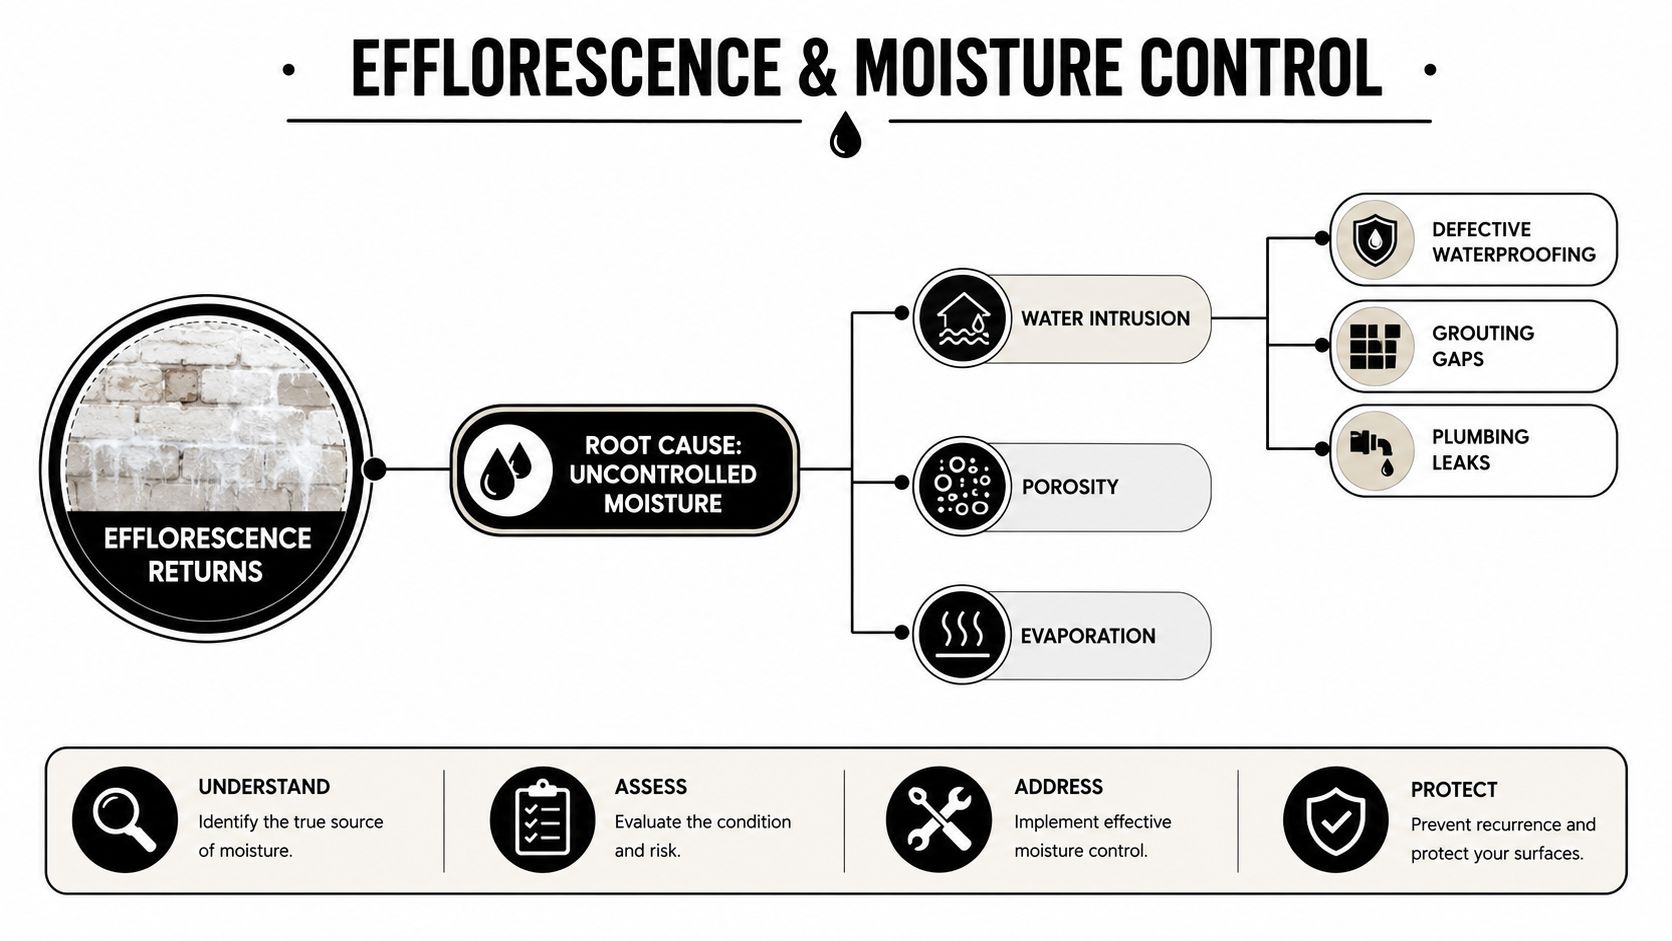
Melbourne conditions add their own pricing pressure. Apartment jobs can carry lift bookings, restricted parking, limited delivery windows and tougher waste removal. Older homes can expose damaged substrates, out-of-square walls and previous work that does not meet current wet-area standards. National averages do not capture those asymmetries well, and the biggest one is usually waterproofing. If that work is non-compliant, the repair bill is rarely limited to the membrane itself. It can mean strip-out, drying time, retiling and rebooking multiple trades.
Read the scope, not just the total
A higher-specification Australian renovation breakdown allocates approximately 23% to tiling, 16% to plumbing, 9% to demolition and waste removal, 6.5% to electrical work, and 5.5% to certified waterproofing. Together, those categories represent about 60% of the illustrative project total, before fixtures, cabinetry, design, permits, coordination and contingency.
| Cost category | Typical budget share |
|---|---|
| Tiling | Approximately 23% |
| Plumbing | Approximately 16% |
| Demolition and waste removal | Approximately 9% |
| Electrical work | Approximately 6.5% |
| Certified waterproofing | Approximately 5.5% |
This is why two quotes with a similar finish schedule can still be miles apart. One may keep the layout, limit wall tiling and leave coordination to the owner. Another may include full demolition, substrate repairs, certified waterproofing, trade sequencing and the builder oversight required once the job crosses Victorian registration thresholds.
Practical rule: Ask every builder to separate demolition, plumbing, electrical, waterproofing, tiling, fixtures and coordination. If those costs sit inside one bundled amount, value is harder to test and omissions are easier to miss.
The same logic applies when scoping and budgeting rehab projects. Define the inclusions, the exclusions and the likely risk items before demolition starts. That is how Melbourne owners protect the budget and avoid cheap quotes that become expensive after the walls open.
Breaking Down Labour Materials and Trade Costs
A bathroom quote is built trade by trade, and the expensive surprises usually sit inside the labour and preparation, not the tapware brochure. In Melbourne, the same room can price very differently once you factor in access, substrate condition, waste locations, apartment rules and who is carrying the coordination risk.
Tiling carries more than the tile selection
Tile cost is only one part of the tiling line. The labour shifts fast when walls are out of square, floors need correcting, or the design calls for full-height tiling, niches, mitred edges, feature inlays or large-format porcelain. Small ensuites are a common trap. They look cheaper on paper, but tighter working space, more cuts, harder set-out and slower sequencing can make them disproportionately expensive compared with a larger bathroom.
Material choice also changes the installation method. Stone and large-format tiles need flatter surfaces, more careful handling and cleaner set-out. Even a modest tile can become a labour-heavy job if the substrate is poor or the pattern leaves little room to hide movement in the room. That is why a detailed bathroom renovation quote matters. It shows whether preparation, trims, adhesives, grout, edge details and tile layout are included.
Plumbing cost is driven less by the fixture count than by what has to move behind the walls and under the floor. Keeping the existing layout usually protects the budget. Once a shower waste, toilet pan or vanity position shifts, the quote can change quickly, especially in older Melbourne homes with difficult access or slab work. A floor waste relocation that looks minor on a plan can trigger extra demolition, drainage alterations, floor preparation and more time from multiple trades.
Demolition and electrical work expose the existing conditions
Demolition is where hidden conditions start showing themselves. A simple strip-out can turn into substrate repair, levelling, frame rectification or disposal of water-damaged materials. On apartment jobs, lift bookings, restricted cart-out times, protection to common areas and building management rules all add labour that owners often do not see in the finished room.
Electrical pricing works the same way. The fitting itself may be inexpensive, but the labour can still be substantial once new circuits, exhaust fans, switches, GPOs, mirror lighting or compliance-related changes are involved. Quotes should separate the rough-in and installation work from decorative fittings so you can compare them properly.
Waterproofing also affects trade cost well beyond its line item because every penetration, junction, fall and drying stage has to line up with the plumber, waterproofer and tiler. If that sequencing is loose, the budget gets hit twice.
Allow for the work after handover
Cleaning, rubbish removal, protection and defect touch-ups are often missed until the end of the job. Checking post-construction cleaning estimates helps clarify what may sit outside the building contract.
The strongest quotes spell out who orders materials, books trades, protects finished surfaces and carries responsibility if the programme slips. In Victoria, that coordination role matters. Once the project scope crosses registration thresholds, homeowners have more protection when licensed professionals are managing the work rather than leaving the sequencing to separate trades.
The Hidden Financial Risks of Waterproofing Compliance
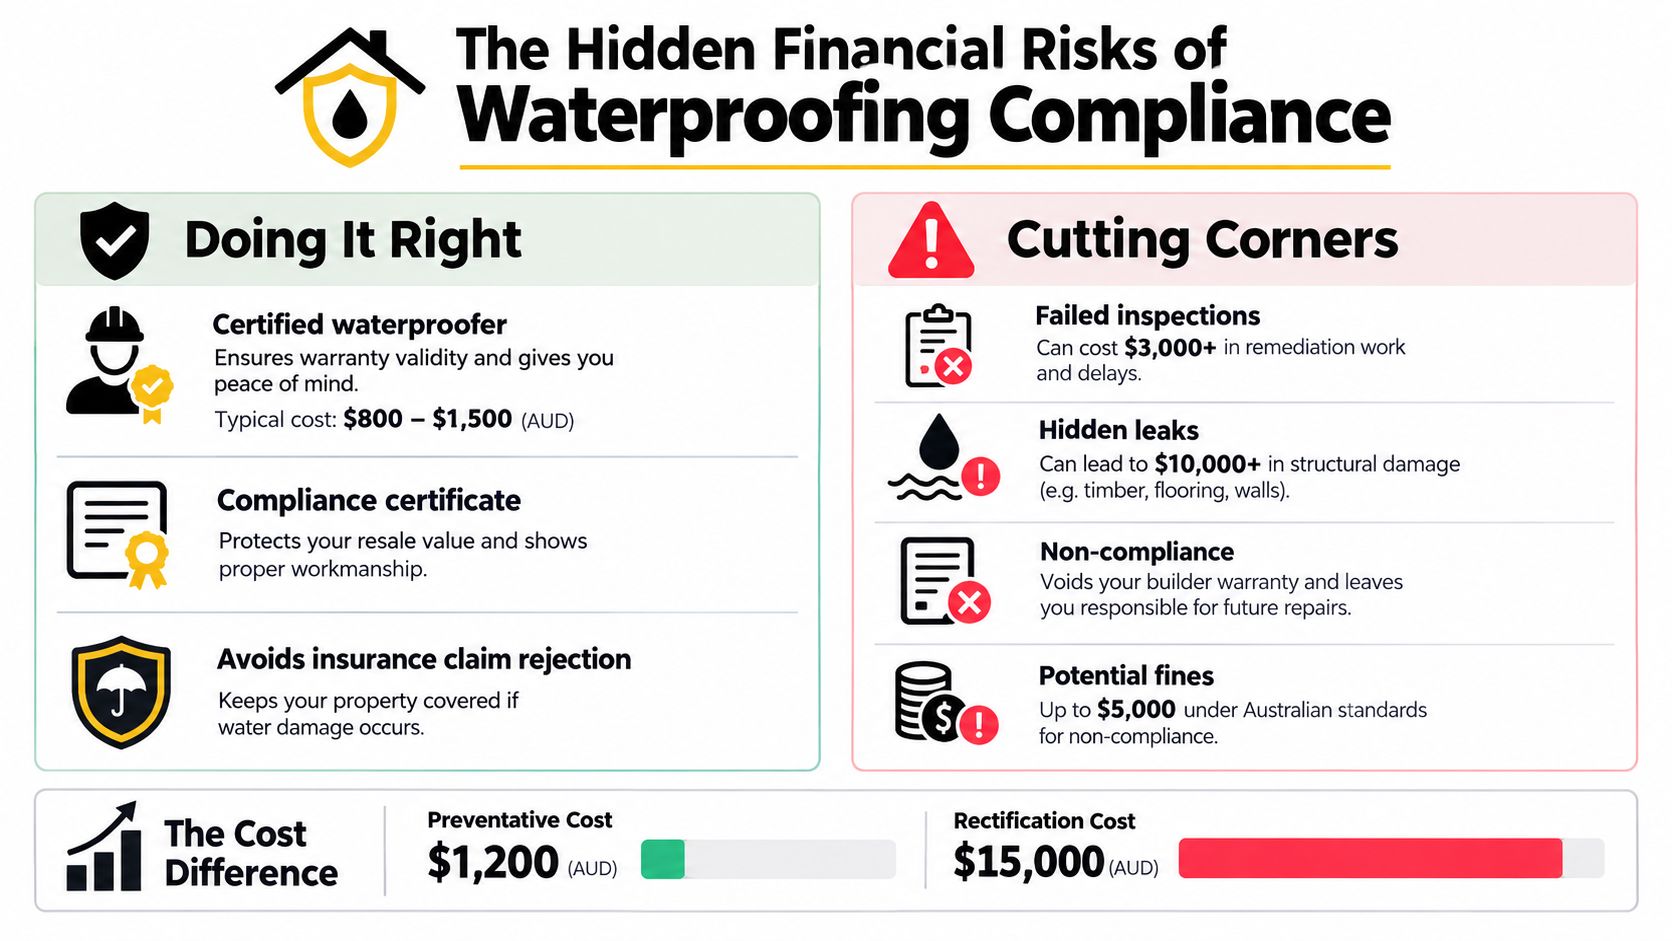
Waterproofing isn't just a small line in a bathroom renovation cost breakdown. It's an asymmetric risk. The upfront saving from reducing preparation or documentation can be modest, while a failure may require demolition, substrate repair, drying, re-waterproofing, retiling and access to adjoining areas.
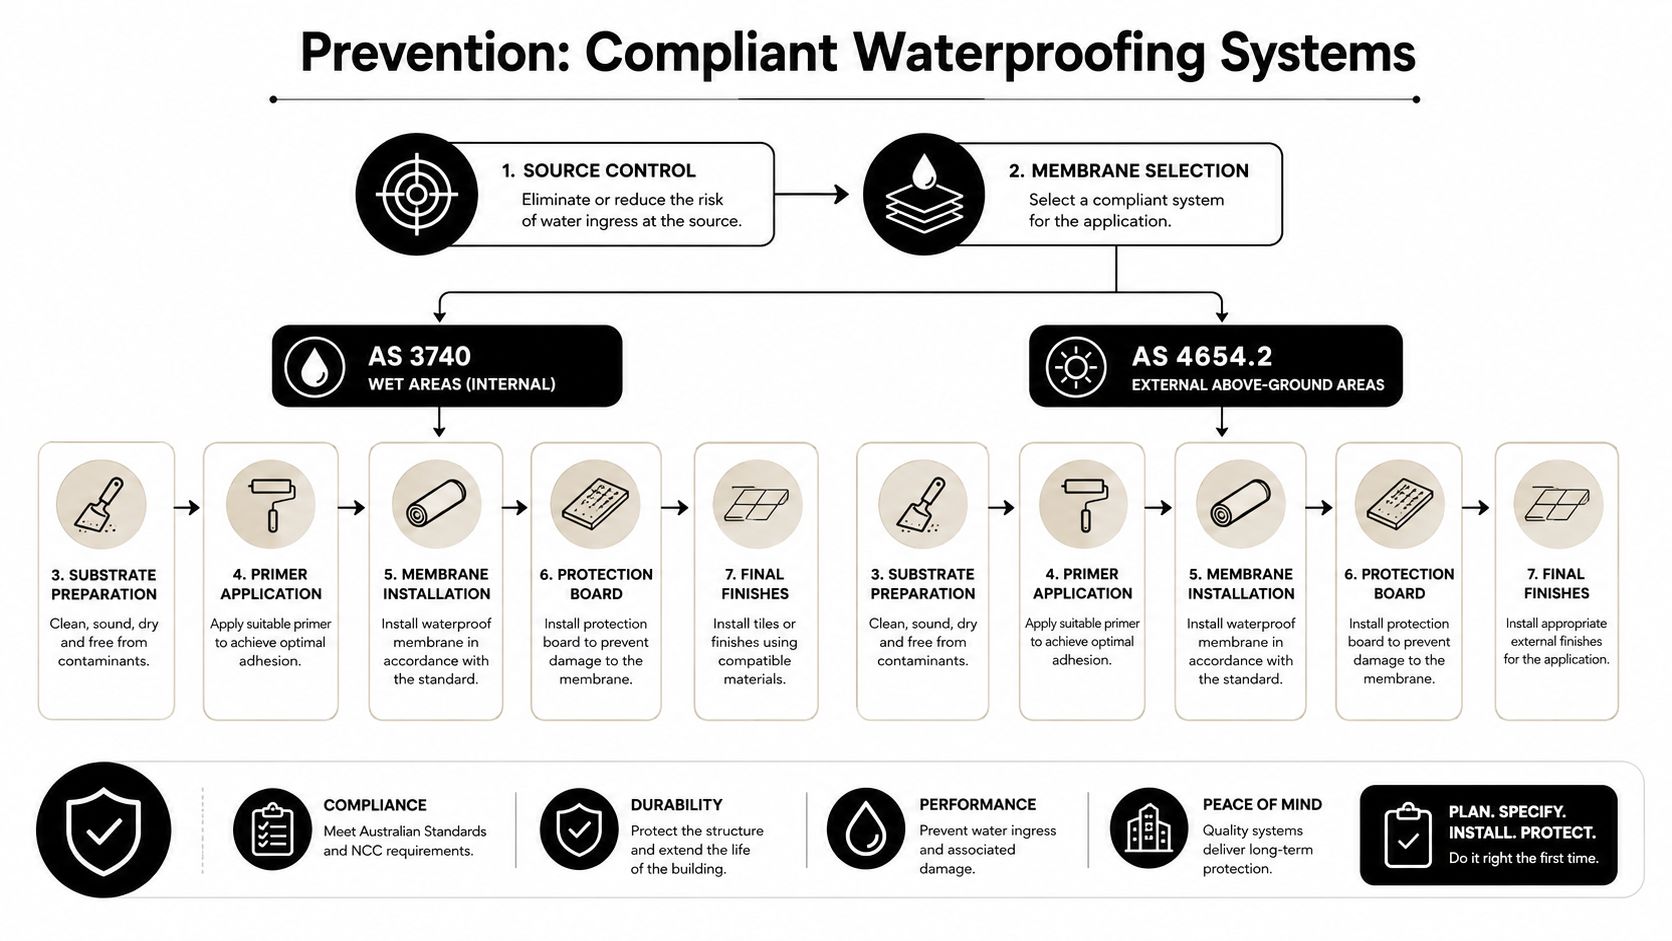
The Victorian Building Authority waterproofing guidance treats membrane preparation, substrate condition, junction treatment, falls, documentation and inspection as part of compliant wet-area work. A quote that says “waterproofing included” doesn't reveal whether those tasks are properly coordinated.
Understand what the membrane protects
The NCC 2022 Housing Provisions for wet-area waterproofing specify that the floor of a shower with a hob, step-down or level threshold must be waterproof. Shower walls must be waterproof to at least 1,800 mm above the floor substrate, and wall junctions and joints in the shower area must be waterproof for at least 40 mm on either side of the junction.
Those requirements explain why tile coverage isn't a substitute for a compliant waterproofing system. Water can enter around penetrations, wall-floor junctions and poorly treated transitions, even when the finished tile surface looks sound. The applicable pathway may be a Performance Solution, a Deemed-to-Satisfy solution or a combination, with the Australian Building Codes Board explanation of house waterproofing setting out that compliance framework.
A low quote may exclude damaged substrate rectification, drying time or coordination between the plumber, waterproofer and tiler. Ask who checks the substrate before the membrane goes down, how penetrations are treated, what evidence is supplied and who signs off the sequence.
The cost of waterproofing should be judged against the cost of losing access to the room and opening finished areas again, not against the cheapest membrane allowance.
A compliant scope protects more than the bathroom. Water can affect framing, adjoining rooms, cabinetry and lower-level ceilings. For property managers and landlords, the risk also includes tenant disruption and a more complicated insurance or maintenance conversation.
Watch the waterproofing sequence before approving a quote:
- Substrate preparation: Confirm whether damaged or uneven surfaces are included or treated as a variation.
- Falls and drainage: Establish how the shower floor will direct water to the waste.
- Penetrations: Ask how pipe penetrations and junctions will be sealed.
- Trade coordination: Confirm that plumbing, waterproofing and tiling are scheduled in the correct order.
- Evidence: Request the relevant compliance documentation and inspection records.
For Melbourne projects requiring documentation, review the scope described in this waterproofing compliance certificate guidance before accepting a fixed price.
Why Square Metre Estimates Mislead Melbourne Homeowners
A square-metre rate is useful for comparing tile quantities, but it's a poor substitute for a renovation scope. Bathrooms contain fixed costs that don't shrink in proportion to floor area. Demolition, waterproofing setup, plumbing mobilisation, electrical compliance, certification, waste removal and project management still have to happen in a compact ensuite.
Victorian wet-area guidance references a continuous floor fall of 1:80 minimum to 1:50 maximum where a floor waste is used, as explained in this Australian bathroom standards reference. A small room can therefore demand careful set-out and substrate work even when it contains very little floor area.
Compare complexity rather than room size
Consider two projects. The first is a larger bathroom retaining the existing shower, toilet and vanity positions, with standard tiles on sound surfaces. The second is a compact ensuite with a level-access shower, relocated waste, wall-hung toilet, recessed niche, large-format panels and an uneven timber floor. The second project may carry a higher cost per square metre because it requires more coordination and more detailed preparation.
A practical complexity multiplier starts with five questions:
| Scope question | Lower-complexity position | Higher-complexity position |
|---|---|---|
| Layout | Existing wet zones retained | Plumbing and wastes relocated |
| Finish | Standard tile format | Premium, large-format or stone materials |
| Substrate | Sound and straightforward | Uneven, unusual or damaged |
| Demolition | Cosmetic refresh | Full strip-out |
| Shower | Standard shower arrangement | Accessible, step-free or custom design |
This framework doesn't produce a price on its own. It tells you why two apparently similar bathrooms can receive very different quotations and which decisions are driving the difference.
Fixed costs limit proportional savings
Reducing the room's dimensions won't remove the need to mobilise licensed trades, prepare the wet area, coordinate inspections or dispose of demolition waste. A compact ensuite may also be harder to work in, increasing handling time and making large-format installation more demanding.
Large tiles aren't automatically cheaper because they cover more surface with fewer joints. They may need flatter walls, specialised cutting and careful movement through a narrow property. Likewise, retaining a layout usually helps, but concealed defects can still appear once demolition exposes the floor and wall assemblies.
Use a Melbourne tiling cost per square metre reference as one input, then ask for a project-specific schedule covering preparation, installation, trims, grout, waste and access. The useful figure is the installed scope, not an isolated rate multiplied by floor area.
Choosing Registered Builders and Understanding Permit Rules
Victorian homeowners should treat builder registration and contract administration as part of the budget protection, not paperwork added after the design is finished. Consumer Affairs Victoria states that bathroom renovations valued at more than $10,000 must generally be performed by a builder or tradesperson registered with the Building and Plumbing Commission, or BPC. Projects above that threshold also require a major domestic building contract, according to Consumer Affairs Victoria's guidance on builders and tradespeople.
Check the person against the scope
Registration alone isn't enough. Verify that the registered builder is authorised to perform the work described in the contract, particularly where the project combines carpentry, plumbing, electrical work, waterproofing and tiling.
A sensible checking process is:
- Define the scope: Write down demolition, layout changes, waterproofing, tiling, fixtures and finishing work.
- Verify registration: Check the builder or relevant tradesperson with the BPC.
- Read the contract: Confirm the price, inclusions, exclusions, programme, responsibilities and variation process.
- Confirm trade roles: Identify who engages and supervises the plumber, electrician, waterproofer and tiler.
- Keep records: Store approvals, selections, certificates, invoices and variation documents together.
A major domestic building contract creates a formal basis for handling changes and disagreements. It should identify what happens if demolition exposes damaged substrate, a selected product becomes unavailable or the homeowner requests a layout change.
Separate permits from construction
Permit responsibility is a different question from who physically performs the renovation. Permit requirements depend on the scope and property, particularly where the project changes structure, openings or other building elements.
If a builder, architect or draftsperson obtains a building permit for you, Consumer Affairs Victoria says you must provide written authority, either in the contract or in a separately signed document, as explained in the Victorian plans and permits guidance. The agreement should state who determines whether a permit is required, who applies for it and who communicates with the relevant authority.
Don't rely on a verbal assumption that the builder has handled everything. A written responsibility matrix prevents disputes over applications, inspections and documentation, especially when several registered builders and specialist trades are involved.
Building Your Melbourne Renovation Budget Checklist
A dependable budget combines scope, complexity and compliance. Use this checklist before accepting a quotation:
- Request itemised pricing: Separate demolition, plumbing, electrical, waterproofing, tiling, fixtures, cabinetry, waste and project coordination.
- Protect the layout: Ask what changes if the toilet, shower or vanity moves.
- Test the substrate assumption: Confirm whether floor and wall repairs are included or treated as variations.
- Define waterproofing: Record the shower type, membrane extent, junction treatment, penetrations, falls and documentation.
- Check registration: For work above $10,000, verify the registered builder or tradesperson and require the appropriate major domestic building contract.
- Clarify permits: Put responsibility for determining, applying for and authorising permit work in writing.
- Compare installed value: Assess tile preparation, trims, grout, handling and waste, not just a per-square-metre figure.
- Allow for access: Include apartment rules, parking, lift bookings, protection and disposal requirements.
- Review variations: Make sure the contract explains approval, pricing and record keeping before work starts.

Melbourne Tiling Services P/L provides start-to-finish bathroom renovations, waterproofing, screeding, self-levelling, tiling and shower-screen installation, while coordinating licensed trades and offering free quotes and 3D drawings. That type of coordinated service can suit homeowners who want one documented scope rather than separate trade estimates that leave gaps between responsibilities.
For a Melbourne bathroom renovation cost breakdown that reflects your actual layout, access conditions and finish selections, visit Melbourne Tiling Services P/L to discuss your project and request a transparent quote. Ask for the waterproofing, trade coordination, tiling preparation and variation process to be documented before demolition begins.

Recent Comments