

You're usually not standing in front of a wall thinking about capillary action. You're looking at a shower wall with a tide mark, a skirting board that's swollen, or a balcony tile that's just started to lift, and you want the problem gone before the next quote turns into a bigger renovation. In Melbourne bathrooms, that moment matters, because the finish you can see is often only the last symptom of a moisture problem that started lower down in the wall or outside at ground level.
Table of Contents
- Why Rising Damp Shows Up When You Start a Renovation
- What Rising Damp Actually Is and Why It Keeps Coming Back
- How to Tell Rising Damp Apart From Lookalike Problems
- Comparing DIY Fixes, Handyman Repairs and Full Remediation
- The Professional Remediation Pathway Step by Step
- Bathrooms, Balconies and the Tiling Finish on Top
- Quotes, Costs and Choosing the Right Team in Melbourne
Why Rising Damp Shows Up When You Start a Renovation
The call usually starts with a tile problem, not a wall problem. A homeowner sees a line of staining in a shower, a balcony edge that sounds hollow, or paint that keeps blistering at the bottom of a plaster wall, then asks for a tile repair because that feels like the cheapest fix.
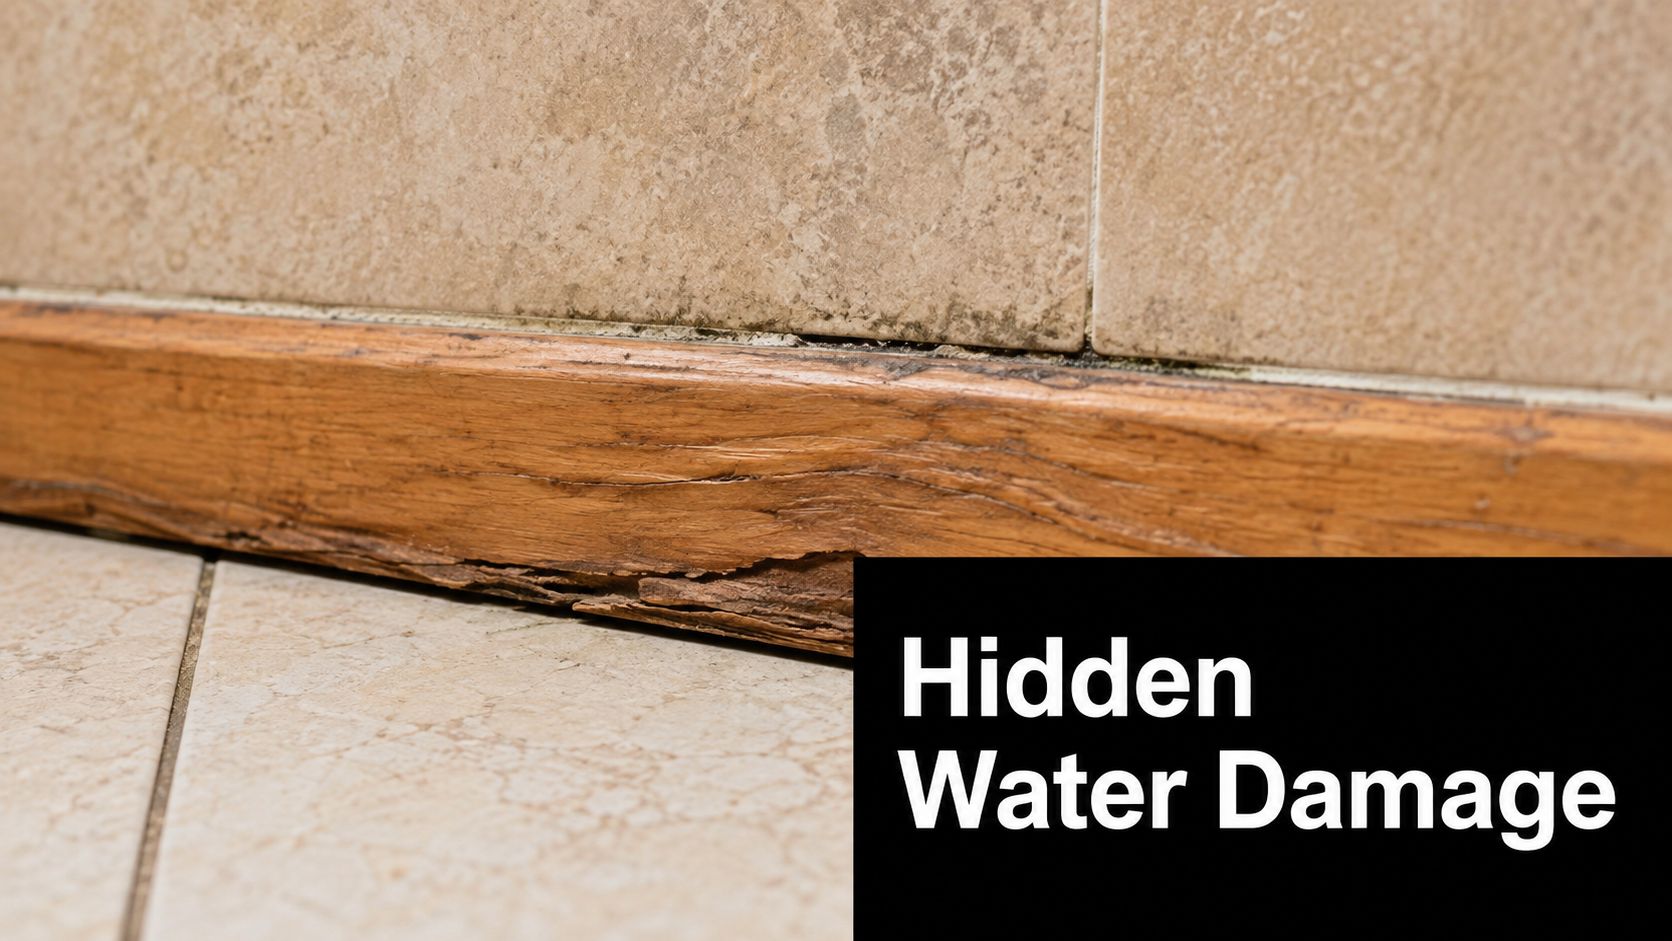
The quote changes the minute moisture enters the picture
That first quote often gets wider the moment the substrate is inspected properly. Australian guidance treats rising damp as a building-defect issue tied to moisture movement through masonry, not just a surface stain, and NSW Environment notes that the moisture source, drainage, and barriers all need attention if the repair is going to last. NSW Environment salt attack and rising damp guide
A tidy finish over damp masonry is just a temporary disguise.
That's the hard lesson many owners only learn after a repaint or re-grout fails. The visible damage, whether it's plaster decay, paint failure, or efflorescence, is usually the end point of a longer moisture pathway, so the scope changes from “repair the tile” to “treat the wall base, then rebuild the finish.”
What the renovation sequence needs to answer
The right sequence is driven by four questions. Is it really rising damp, what caused it, what can be left in place, and what has to come out before new tile work begins?
In older Melbourne homes, those questions matter even more because past renovation layers can trap moisture behind newer finishes. That's why a builder who understands moisture source control will often slow the job down at demolition, even when the owner wants the tiling back fast.
The practical takeaway is simple. If the inspection only looks at the stain, the job is probably being priced as a cosmetic patch. If the inspection starts at the wall base, the ground around it, and the drainage path, the repair has a real chance of holding.
What Rising Damp Actually Is and Why It Keeps Coming Back
A damp patch at the bottom of a wall often starts in the ground, then works its way into the masonry through capillary action. Porous brick, mortar, and render can pull moisture upward through tiny voids when the base of the wall stays wet. NSW Environment describes the problem in those terms, and the same guidance links the moisture movement with salts that travel into the wall and crystallise as it dries. NSW Environment salt attack and rising damp guide
Why the damage appears where it does
The wall usually does not fail in a neat, even pattern. The damage tends to show up low on the wall as plaster decay, paint failure, or efflorescence, because evaporation leaves the salts behind at the surface. A fresh paint job can look fine for a short time, then start blistering, peeling, or breaking down again once the moisture keeps moving.
Australian heritage and conservation guidance treats this as a long-term maintenance and building fabric issue, not a one-off stain. The repair has to stop the moisture source and reduce further salt loading, otherwise the same contamination keeps travelling through the wall and spoiling the finish.
Why surface repairs don't hold
A surface patch can hide the symptom, but it leaves the moisture behaviour unchanged. Repainting, re-grouting, or sealing a patch of plaster usually buys a short reprieve, then fails again if the masonry below is still damp.
The repair has to work at the base of the wall, or the problem just comes back through the finish.
Time also matters. By the time the stain is obvious, the moisture pathway has often been active long enough for salts to build up in the masonry. Once that happens, the contaminated finish often needs to come off before a proper rebuild can start, because trapped salts keep attacking the new surface.
A bathroom or laundry renovation makes that pattern easier to see, which is why source finding belongs before the tiles go back. A proper inspection may also need leak detection in Melbourne if the wall base, shower base, or nearby plumbing could be feeding the damp. Rising damp is a moisture movement problem that only shows up as a tiling issue once it reaches the room.
How to Tell Rising Damp Apart From Lookalike Problems
Many homeowners searching for rising damp solutions are dealing with a different moisture source. NSW Environment guidance on heritage maintenance, along with the SPAB, points to lookalikes such as external ground levels, bridged cavity walls, leaking gutters and downpipes, plumbing leaks, and poor site or sub-floor drainage. NSW Environment heritage maintenance rising damp sheet
The five common imposters
Before anyone starts drilling a wall, check for these first.
- External ground too high: If paving or soil sits too close to the wall base, it can bypass the intended barrier.
- Bridged cavities or finishes: Tiled floors, screeds, or render can create a moisture bridge across the DPC line.
- Gutter and downpipe faults: Overflow or poor discharge can keep the wall base wet.
- Plumbing leaks: A leaking shower or pipe can mimic damp that looks like it's coming up from below.
- Poor drainage around the building: If water stays near the foundations, the wall base keeps getting fed moisture.
A bathroom leak often gets mistaken for rising damp because the symptoms can spread across the same lower wall area. If the shower base, wastes, or nearby pipework are suspect, leak detection in Melbourne should come before any wall treatment.
What to look for on site
A quick field check usually tells you a lot. Rising damp tends to show a lower-wall pattern, often with salts or white deposits near the base rather than random patches higher up. A wall that feels cold and wet at the bottom points more toward masonry moisture, while a clammy wall higher up can suggest condensation or another source.
Layered renovations need extra care. New tiles, altered bathroom levels, or raised external paving can bridge the damp-proof course and make a wall look like it has rising damp when the problem is a detail failure at the base.
The decision point is practical. If there is a clear external water source or a bridge at the DPC line, fix that first. If the wall base is still wet after those causes are removed, the damp diagnosis is worth pursuing, because the finish will only fail again if the source stays active.
Comparing DIY Fixes, Handyman Repairs and Full Remediation
Not every damp job needs a full wall rebuild, but the cheap path is usually cheap only once. Surface coatings, sealants, and patch repairs can improve appearance, yet they don't alter the movement of moisture through porous masonry, so the finish often fails again when salts and damp keep working behind it.
Repair pathways compared
| Repair Path | Typical Cost Band (Melbourne) | Disruption | Realistic Lifespan |
|---|---|---|---|
| DIY surface fix | Low upfront, materials only | Low at first, then repeated touch-ups | Short, because the source stays active |
| Handyman patch repair | Moderate | Moderate, with partial finish removal | Better than paint, but still vulnerable if the base remains wet |
| Full professional remediation | Higher upfront | Highest, because the contaminated finish and moisture source are addressed | The strongest option when diagnosis is correct and the rebuild is done properly |
Why the cheapest option often costs more
Anti-mould paint, silicone, and bitumen patches all work on the visible layer. They can hide staining for a while, but they don't recreate a continuous barrier where the moisture is entering, and they don't remove salts already sitting in the wall. That means the underlying problem stays alive.
A handyman repair can help if the issue is limited and the moisture source has already been removed. But if the wall is still bringing groundwater up through the masonry, skim coats and partial re-renders often just give the next tradie a harder job later.
When full remediation makes sense
Full remediation is the only path that deals with the wall as a system. It means diagnosing the source, removing contaminated finishes where needed, installing or restoring the barrier, and then rebuilding the finish on a dry, stable substrate.
That doesn't mean every room needs the most invasive option. It does mean the repair should match the diagnosis, not the sale pitch on the tin.
The Professional Remediation Pathway Step by Step
A credible damp repair starts at the wall base, not at the tile colour. The right sequence is source control first, then barrier creation, then rebuild, because each stage depends on the one before it. As noted earlier, that is the part many quick fixes miss.
Inspection, drilling and injection
The physical work starts by opening up contaminated finishes where needed and checking the wall, the skirting line, and the surrounding ground for ingress, bridging, or a failed damp-proof course. Chemical DPC systems are then installed into mortar beds or selected brick courses, using drilled holes at 6 to 8 inch intervals, about 150 to 200 mm, with hole depth around one-half to three-quarters of wall thickness. For thicker walls, access from both sides improves penetration. Safeguard Europe rising damp book
Pressure control matters too. Preservation procedure guidance specifies 50 to 100 psi and staged pumping in 4-inch to 6-inch increments so the treatment distributes evenly rather than pooling in one spot. GSA treating rising damp by injecting chemical dampproofing
Dry-out, strip-out and rebuild
After injection, the wall needs time to dry before the next trade starts closing it in. The holes are plugged with sand-cement mortar after the initial dry-out period, then the contaminated plaster or lining comes out back to sound material. If the finish stays wet or salt-loaded, the new tile system is sitting on a weak base from the start.
Practical rule: if someone wants to retile before the wall has dried and the barrier has settled, the job is being rushed.
That rebuild has to suit the wall, not fight it. Compatible finishes matter because the new surface cannot be forced to sit against residual salts, trapped moisture, or bridging details, and that is where the coordination between carpenter, waterproofing trade, tiler, and Registered Builder pays off. The wall base gets corrected first, then the lining is rebuilt to match the drying profile and the intended wet-area finish.
For balcony work, the same logic applies but the edge details change the risk. External tiling can bridge the DPC line, hold moisture against the wall edge, and create a path back into the substrate, so balcony waterproofing in Melbourne has to be planned around drainage fall, edge treatment, and substrate flatness from the start.
The quote should spell out the diagnosis, the injection layout, the dry-out period, the replastering scope, and the rebuild detail. If those parts are not itemised, the repair has not been thought through as a whole.
Bathrooms, Balconies and the Tiling Finish on Top
A damp wall can be treated properly and still fail if the finish above it is built carelessly. In bathrooms and laundries, the waterproofing, screed, tile choice, grout, and substrate flatness all shape how easily moisture can work its way back into the repaired wall.
Wet areas need clean transitions
Where waterproofing is required, the National Construction Code sets wet-area waterproofing expectations, including an upturn of at least 150 mm above the finished floor level in shower areas and other wet areas where the membrane is required. That detail matters more after a damp repair, because a membrane that stops short or gets bridged by a later finish can undo the wall work.
The sequence on site has to stay disciplined. Correct the damp source first, let the wall dry, then install compatible render or lining, followed by waterproofing, then screed or levelling, then tile installation, and finally grout and sealant detailing.
Balconies need a different eye
Balconies fail in a different way because external tiling can bridge the DPC line and hold moisture against the wall edge. Drainage fall, edge detailing, and substrate flatness become critical, especially with large-format porcelain, Kerlite, or stone, where movement and uneven support show up quickly.
For balcony-specific waterproofing and detailing, see balcony waterproofing in Melbourne.
A balcony can look perfect and still be wrong if the drainage path feeds the wall base.
A Registered Unlimited Builder earns their keep here. They should coordinate the sequence so the membrane, screed, and tiling do not create a new bridge over the repaired DPC, particularly around shower screens, thresholds, and balcony edges.
Once the wall is treated, the finish on top still has to function as a wet-area system with proper waterproofing transitions. If the base beneath it is still moving moisture, even premium materials are only hiding a structural mistake.
Quotes, Costs and Choosing the Right Team in Melbourne
A proper quote for damp remediation and bathroom renovation should read like a scope of work, not a guess. It needs to itemise diagnosis, injection works, dry-out time, replastering, waterproofing, screed or levelling, tile supply and installation, and the finish details that stop moisture bridge-back.
What to ask before you sign
- Who diagnosed the cause: Ask whether the team checked for bridged DPCs, gutter faults, plumbing leaks, or drainage problems before proposing injection.
- Who is coordinating the job: A Registered Unlimited Builder should be able to sequence the trades, not just quote the tile layer.
- How the waterproofing is detailed: The membrane upturn, junctions, and transitions should be specified clearly.
- How the rebuild avoids bridge-back: You want to know how new tiles, screeds, and thresholds will stay clear of the repaired moisture path.
Reading the scope, not just the price
A quote that only mentions “damp proofing” is too thin. A quote that explains the repair stages tells you the contractor understands that moisture source control comes before finishes.
That matters in Melbourne bathrooms because the wrong sequence can turn a renovation into a repeat job. The clean-looking finish is only reliable when the wall base has been treated, the contaminated material has been dealt with, and the waterproofing system has been rebuilt around the repaired substrate.
For compliance and waterproofing documentation in Victoria, see waterproofing compliance in Victoria.
The usual budget conversation in renovation planning is simple enough, but the better question is whether the scope covers moisture control or only surface renewal. If the team can't explain the difference, they're probably pricing the visible work and hoping the hidden work won't matter later.
If you're planning a bathroom, ensuite, or balcony repair in Melbourne and the wall base looks suspicious, Melbourne Tiling Services P/L can help you sort out the source first and rebuild the finish properly. Visit Melbourne Tiling Services P/L to discuss damp-affected renovations, waterproofing, and tiling work that's built to last.
Recent Comments