Exhaust Fan Installation Guide for Bathroom Renovations

Getting the exhaust fan installation right is non-negotiable in a bathroom reno. It keeps moisture in check, saves your finishes from damage, and keeps the building inspectors happy. In plenty of Melbourne homes, a cheap, undersized fan is exactly why grout and paint start failing within twelve months. In major bathroom renovations, this task is best left to registered builders who can coordinate all the necessary trades.

Table of Contents

Why Exhaust Fan Installation Matters in a Bathroom Renovation

We saw this firsthand with a newly tiled ensuite not long ago. The builder had stuck an undersized fan in there, ducting it straight into the roof cavity. The waterproofing membrane ended up holding condensation it was never designed to handle. Mould set in, and the tiles started delaminating within months.

Moisture acts differently in modern, tightly sealed bathrooms. All that warm, humid air rises and hits the cooler ceiling linings and joists, where it condenses. You have to size your ventilation to the actual room volume and the number of air changes you need per hour. For significant bathroom renovations, only registered builders have the expertise to manage the entire process, from structural changes to coordinating electricians and waterproofers, ensuring a compliant and long-lasting result.

Why You Should Treat the Fan as Essential Work

  • Stops tile adhesives and grout from breaking down due to constant condensation
  • Prevents paint from bubbling and plasterboard from staining
  • Keeps mould at bay, which can void warranties and throw insurance claims into chaos
  • Guarantees compliance with the National Construction Code and AS 1668.2 ventilation standards

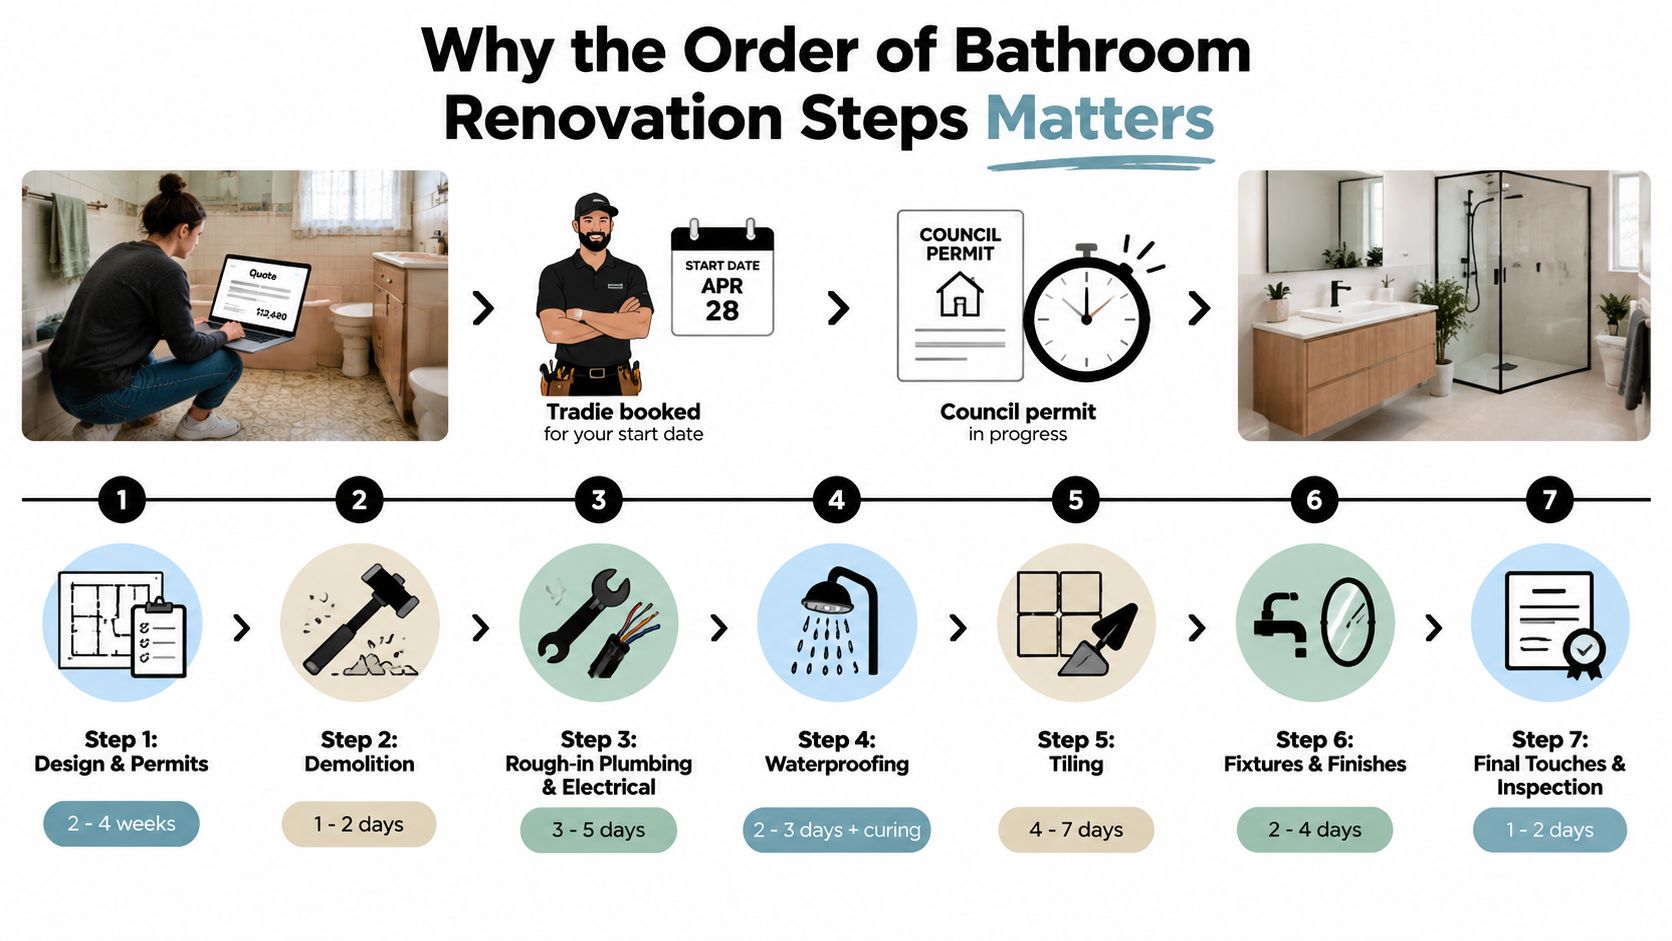
For registered builders, the fan sits on the same checklist as the waterproofing sign-off. Getting the electrician, plumber, and tiler coordinated at the rough-in stage saves a massive headache. It drastically cuts the risk of someone drilling through a cured membrane or putting the isolator switch in the wrong spot.

Always specify a bathroom fan that fits the renovation sequence, ensuring your waterproofing, tiling, and ceiling linings stay fully protected.

Real-world scenarios to consider:

  • Working with a tight ensuite? Go for a higher L/s capacity fan with a humidity sensor to stop chronic condensation before it starts.
  • Got a short duct run? A quiet, high-capacity ceiling fan will always outperform a low-power unit fighting a long flex run.

For a deeper dive into airflow standards, check out our guide on Bathroom Ventilation Requirements.

A modern, well-lit bathroom featuring a walk-in glass shower, a vanity, and an overhead exhaust fan.

Choosing the Right Fan for Your Bathroom or Ensuite

Three different styles of white bathroom exhaust fans sitting on a wooden workshop table.

Start by sizing the fan to your room volume and target air changes rather than relying on brand marketing. For a small ensuite, a quieter unit with smart controls will serve you better than raw power, while family bathrooms typically need sustained extraction during showers. This is a critical decision during bathroom renovations, where a registered builder can help select the most appropriate unit for the space.

A practical rule I've seen work well on Melbourne renovations is to follow the AS 1668.2 guidance so moisture never overwhelms your finishes. Bathroom exhaust fans should achieve a minimum of 25 litres per second for rooms up to 12 m², rising to 40 L/s for larger bathrooms — this ensures the fan can clear humid air within the recommended air change rates. Learn more about these ventilation findings.

You'll need to decide between continuous-rated fans for whole-house or long-run ventilation and intermittent-rated units for short bursts after showers. Continuous fans can reduce condensation risk in tightly sealed homes, while intermittent fans work perfectly fine for powder rooms.

Fan Types and Noise Considerations

Noise becomes a real issue in bedrooms-adjacent bathrooms. Look for ratings in sones or decibels and aim for models under 1.5 sones for ensuites near sleeping areas. Mixed-flow inline fans tend to be quieter and more energy efficient when you're dealing with a long duct run.

  • Three-speed fans give you the flexibility to balance quiet background ventilation with higher extraction for post-shower runs.
  • Humidity-sensing fans automate performance and often reduce runtime, which saves energy.

Matching Fan to Room Size

Room Size Typical Minimum L/s Recommended Fan Type
Up to 6 m² 25 L/s Quiet intermittent ceiling fan
6–12 m² 25–30 L/s Three-speed or humidity-sensing unit
>12 m² 40 L/s Inline mixed-flow or high-capacity ceiling fan

A fan with a backdraft damper and easy-clean grille pays dividends over time — fewer service visits and better long-term performance.

Checklist for Renovation Projects

  1. Confirm your L/s requirement and match it to AS 1668.2 guidance.
  2. Prefer humidity sensors for sealed bathrooms.
  3. Specify an IP rating suitable for the fan location.
  4. Require a built-in backdraft damper and removable grille for cleaning.

These choices align with how registered builders coordinate ventilation on site and protect waterproofing and tiling through the renovation sequence.

Planning the Duct Run, Position, and Penetrations

A long cylindrical metal HVAC duct running through an unfinished residential attic space with insulation.

Getting the fan position right makes or breaks the whole setup. Aim to sit the grille roughly 600–900 mm from the shower head so you're pulling steam out before it drifts across the room. That proximity cuts extraction time noticeably and stops moisture from settling on the ceiling plaster. In an ensuite with a 2.4 m ceiling, for instance, centring the grille over the shower recess rather than tucking it near the wall makes a visible difference in how quickly the mirror clears.

Once you've picked your spot, keep the first 900 mm of duct run dead straight. Any bend too close to the fan inlet chokes the airflow and costs you rated litres-per-second performance. A clean, straight lead lets the fan hit its spec without needing to upsize the motor.

Practical Duct Choices

Rigid smooth-bore duct is the honest winner here. It moves more air and you can actually get a brush through it when lint builds up over the years. Flexible duct has its place, but it sags between joists and can chew through 10–30% of your airflow depending on how much it deflects. If you're working in a tight ceiling cavity, a short rigid stub into an elbow beats a long stretch of flex every time.

A sagging flex run is the single most common reason retrofit fans underperform. You can spec the best motor on the market and still lose the battle if the duct is pooling water and collapsing between rafters.

Routing Through Tight Victorian Ceilings

Low-set Victorian-era ceilings don't give you much room to play with. Downlights, beams, and cable trays crowd the cavity, so you need to plan vertical drops carefully. Try to run the duct alongside existing framing rather than crossing through service zones. If the roof space above is genuinely inaccessible, mounting an inline fan at the soffit lets you relocate the noise source outside the living area altogether.

Before cutting any penetrations, sit down with your registered builder and agree on the termination point. You want to dodge waterproofing laps and fire-rated elements, and the timing matters—penetrations need to happen during rough-in, not after the membrane has been applied and cured. Otherwise someone's drilling through waterproofing that's already signed off.

Common Duct Termination Options Compared

Each termination style carries trade-offs around airflow, weather resistance, and cost. The right pick depends on your roof type, storey count, and how exposed the external wall is.

Termination Type Airflow Loss Weather Exposure Typical Cost Best Fit For
Wall cap Low Medium Low Single-storey homes
Roof cowl Medium High Medium Double-storey or tiled roofs
Soffit vent with inline fan Low Low Higher Tight ceilings, apartments

Wall caps work fine on single-storey brick veneer where the run is short and the exterior wall is sheltered. Roof cowls handle double-storey or steep tiled roofs better, though they catch more wind-driven rain. Soffit termination with an inline fan costs more upfront but suits apartments and tight ceiling cavities where you can't afford to lose airflow through a long run.

Practical Examples

  • Short run under roof battens: use 100 mm rigid duct with an insulated elbow.
  • Long attic run up to a roof cowl: a mixed-flow inline fan keeps motor size and noise down.
  • Apartment balcony termination: soffit vent with a damper to stop cold air pushing back through the duct.

Numbered Checklist

  1. Map the duct route to avoid downlights and existing service runs.
  2. Specify rigid duct for the first 900 mm, then minimise flex.
  3. Lock in your termination type with the registered builder before anyone cuts a penetration.

Nail this planning stage and your exhaust fan installation will run reliably for years—without anyone having to patch up compromised waterproofing halfway through the bathroom renovation.

Tools, Materials, and Coordinating Trades on Site

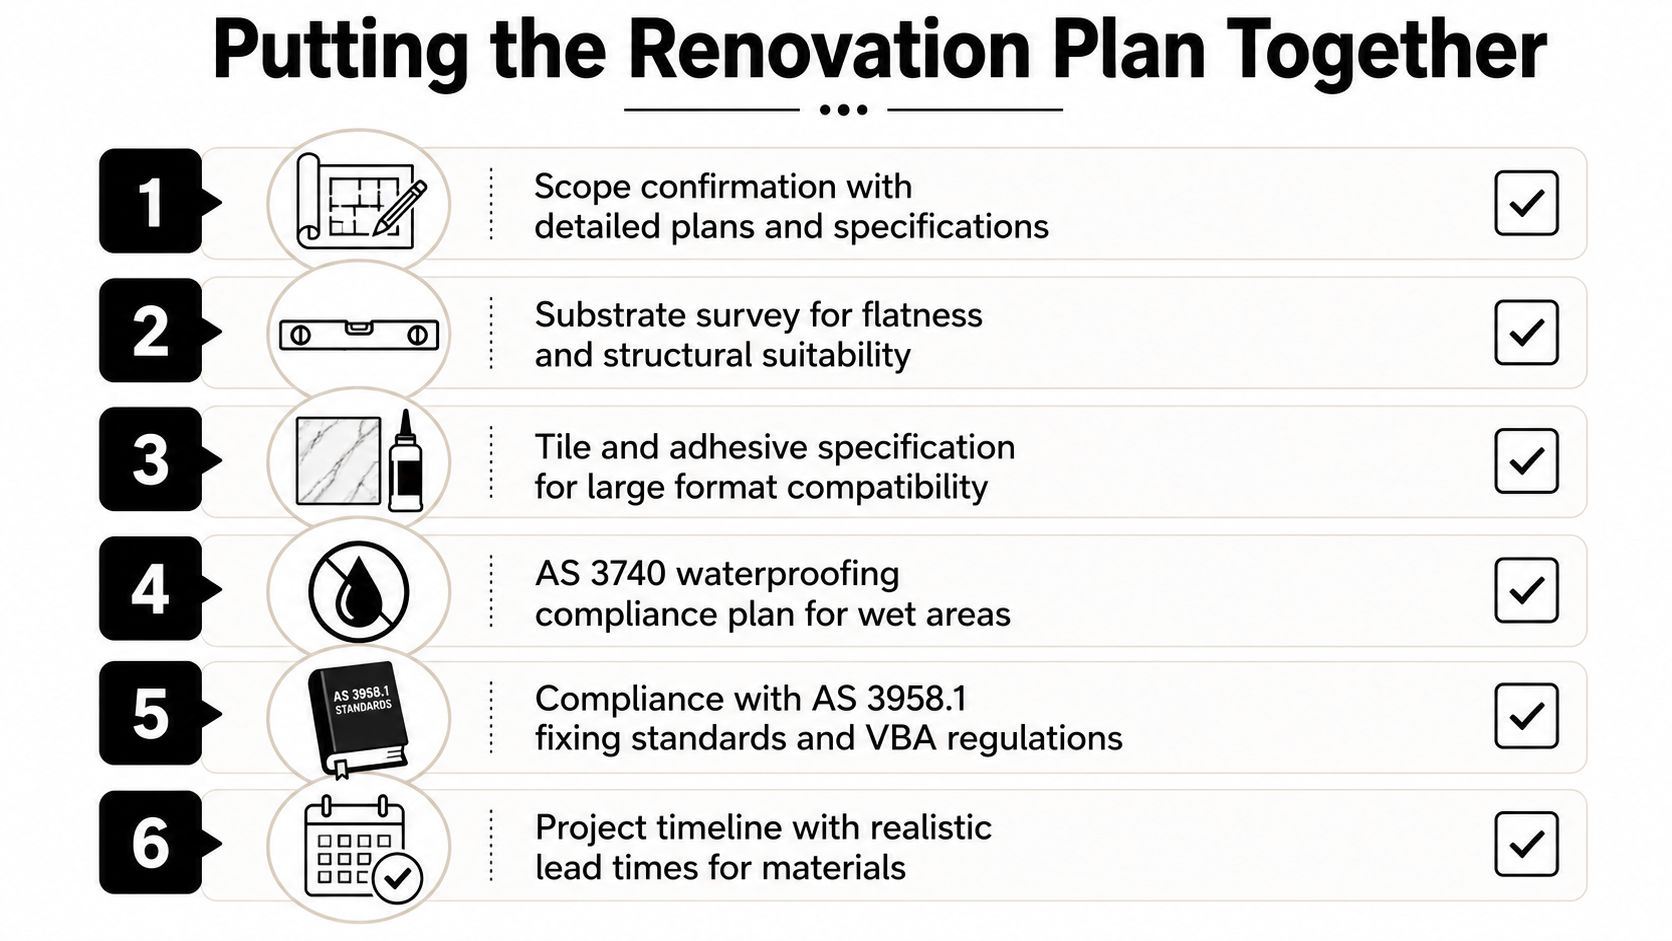
Getting an exhaust fan installed properly isn't just about the fan itself — it's about making sure the carpenter, electrician, waterproofer, and tiler all show up in the right order. Nail the sequencing early and you'll avoid the kind of rework that blows out timelines and budgets. This level of coordination is a core part of comprehensive bathroom renovations handled by registered builders. Rough-in happens after framing but before plaster goes up, and final fit-off waits until tiling and paint are completely finished.

Before anyone sets foot on site, the registered builder or renovation specialist typically arrives with a fairly specific kit:

  • Hole saws matched to the fan collar, plus spare blades for plasterboard and fibre cement
  • Stud finder and contour gauge to steer clear of joists and hidden services
  • Cordless driver, vibration-reducing screws, and adjustable mounting brackets
  • Acoustic foam gaskets, anti-vibration brackets, and acoustic-rated duct hangers to keep noise transfer down
  • Rigid duct sections, insulated elbows, and aluminium foil tape with flexible clamps for airtight joints
  • Exterior vent with an integrated backdraft damper and weather collar suited to either roof or wall termination
  • Fire-rated sealant and intumescent collars for any penetration through a fire-rated ceiling assembly
  • IP-rated isolator switch and labelled circuit breakers for electrical safety

A few practical on-site habits save a lot of headaches. Agree with the waterproofer exactly where penetrations will sit — nobody wants to drill through a cured membrane. The tiler needs the ceiling finished and fully cured before wall tiles near a shower area go up. And split the electrical visits: one for the rough-in cable to the isolator, another for the final connection once the fan housing is mounted.

Common DIY Misses

Some mistakes come up again and again. Forgetting acoustic gaskets is a big one — without them, you'll get rattle through the ceiling linings that drives everyone mad. Using normal cloth tape instead of aluminium foil tape is another; cloth tape degrades and undermines airflow ratings over time. And skipping a backdraft damper on roof terminations means cold air pours straight back in on winter nights.

When getting a quote from a renovation specialist like Melbourne Tiling Services P/L, make sure it includes a clear materials list, sequencing milestones, electrical certification, waterproofing sign-off, and a warranty on the ventilation work.

Checklist for Quotes

  1. Itemised fan model and L/s rating
  2. Duct type and termination chosen
  3. Trades schedule and sign-off milestones
  4. Certificates from electrician and waterproofer

Practical Installation Walkthrough For A Ceiling-Mounted Fan

Start by marking the cut-out between the joists, then scan the area with a stud finder and an insulating camera to check for hidden cables or plumbing. On a standard 2.4 m ceiling, you'll want to centre the grille about 600–900 mm from the shower — close enough to grab steam before it spreads across the room. Always check for services first, then confirm your joist spacing before making any cuts.

Cut the ceiling opening with a hole saw matched to the fan collar size, clear away the dust, and test-fit the housing before you touch the waterproofing. This is where experienced builders take a measured approach: rough-in before the plaster goes up, then do the final fit-off once the tiling and paint have fully cured.

Mount the housing on adjustable brackets and fix it to the joists with vibration-reducing screws. For short duct runs, keep the first 900 mm rigid and straight, then connect the duct to the fan outlet with a short straight section before the first elbow. Use clamps and aluminium foil tape on every joint to keep things airtight.

  • Slip acoustic foam gaskets between the housing and ceiling to kill any rattle or vibration.
  • Fit an intumescent collar when you're penetrating a fire-rated ceiling, and make sure the registered builder signs off on the penetration.

Run the mains cable to an isolating switch positioned within sight of the bathroom entry. Leave the final connection to a licensed electrician — that's the requirement under Victoria regulations. Always isolate the circuit at the switchboard and test with a residual current device when you're commissioning the fan.

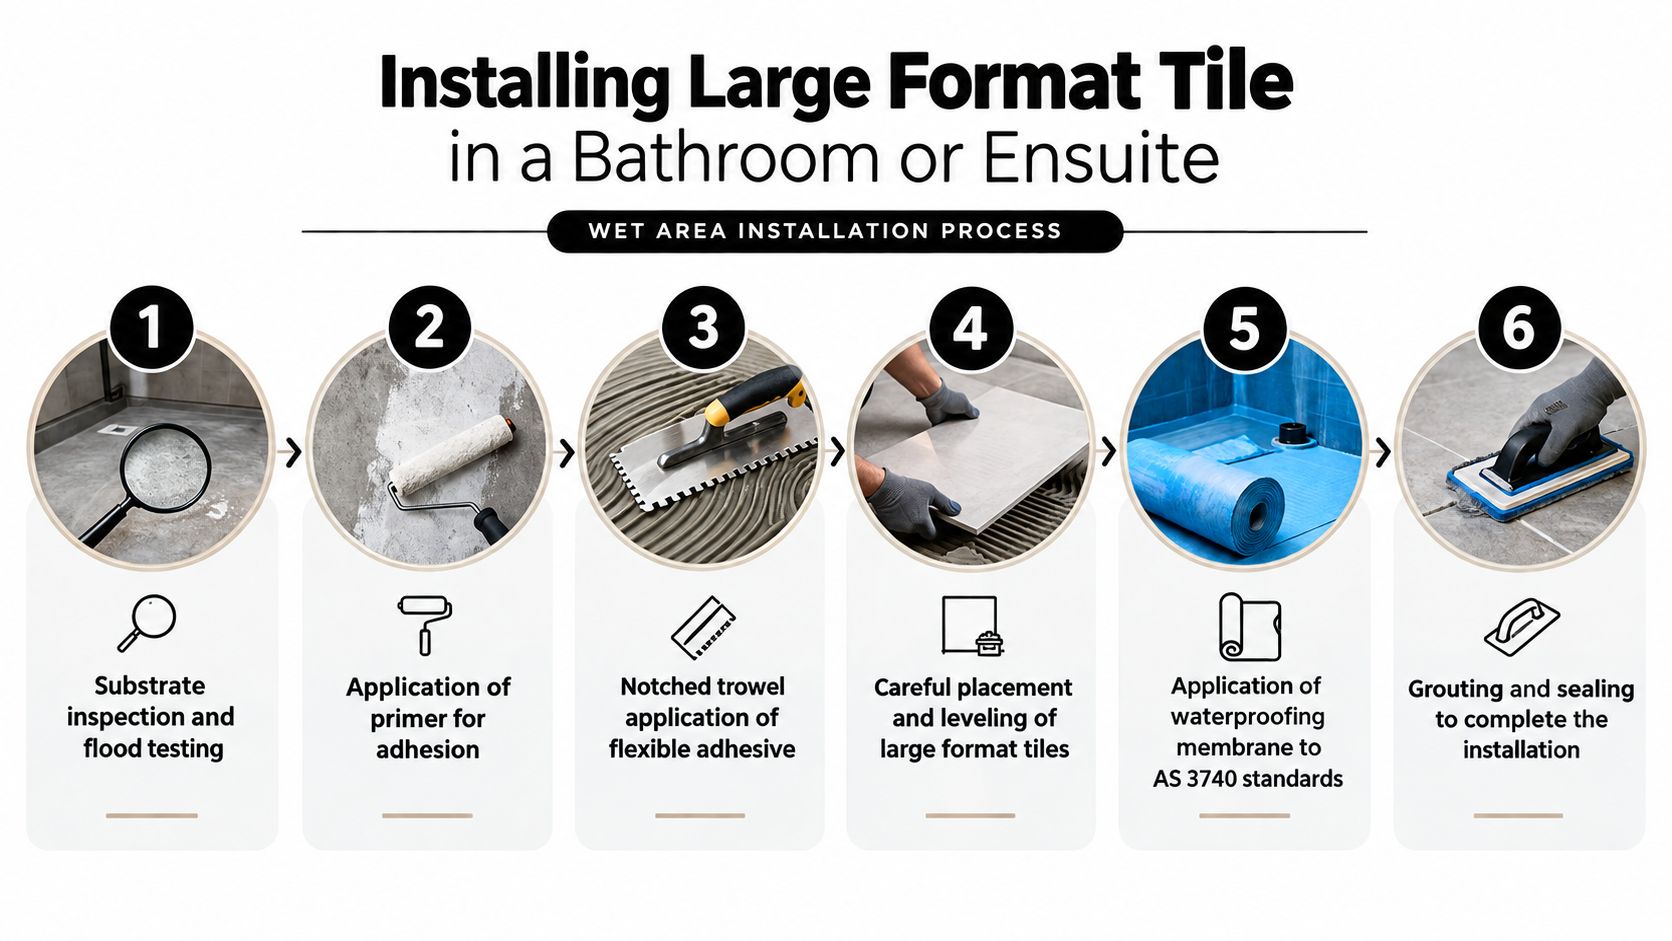
Waterproofing And Tiling Crossover

Waterproofing, paint, and tile adhesives need to be completely cured before you fit the grille. If the fan cover goes on too soon, you trap solvents and moisture against the roof lining and tiles, which can lead to delamination and void your warranty.

A properly sequenced install prevents rework and protects the waterproofing sign-off from the registered builder

On a recent ensuite job, we left the grille off for a full 7 days after tiling. That gave the paint time to cure without staining, and it let the tiler get back in for any edge touch-ups if needed. Once everything's ready, seat the grille, run a smoke pencil test to confirm extraction is working, and hand over the certificates of electrical safety and waterproofing to close out the job.

A six-step instructional graphic showing how to install a ceiling-mounted exhaust fan safely and effectively.

The infographic visualises the six-stage workflow from marking the cut-out to fitting the cover, clarifying sequencing and critical checks.

Key insight — keeping the first duct run straight and coordinating sign-off with the registered builder are the two actions that prevent most post-install faults.

Electrical, Permits, and Compliance in Victoria

When it comes to bathroom renovations in Victoria, the rules around electrical work are non-negotiable, especially in wet areas. While you might be keen to tackle the installation yourself, it's crucial to understand where the DIY line is drawn and when you absolutely must call in the professionals.

Any new wiring, changes to existing circuits, or switchboard modifications for a fixed appliance like an exhaust fan must be done by a licensed electrician. They are the only ones who can legally perform the final connection and provide a Certificate of Electrical Safety, which is your proof of a safe and compliant installation.

You'll also notice a specific rule about the fan's isolation switch. In Victoria, it must be located within sight of the bathroom entry. This isn't just a random requirement; it’s a critical safety measure linked to IP zoning, ensuring anyone can quickly kill the power before entering a potentially hazardous wet zone.

How IP Ratings Affect Fan Placement

Choosing the right fan isn't just about airflow; it's about safety. Every fan has an IP (Ingress Protection) rating, which tells you how well it’s sealed against solids (like dust) and liquids (like water and steam).

The fan you choose must have an IP rating suitable for its specific location, or "zone," within the bathroom. A fan directly over a shower, for instance, will need a much higher rating than one mounted on the ceiling in the middle of the room, far from any direct spray. Getting this right prevents corrosion, dangerous short circuits, and potential headaches with your insurance down the track.

Don't be surprised if your licensed electrician or registered builder insists on a specific IP-rated fan. They’re protecting you—and their own licence—by ensuring the installation won’t cause warranty or resale nightmares later on.

When Do You Need a Building Permit?

A simple fan swap-out probably won't require a permit. However, if your project involves structural changes like cutting new joists, penetrating the roof for ducting, or installing new waterproofing, a building permit is almost always necessary. Bathroom renovations often fall into this category.

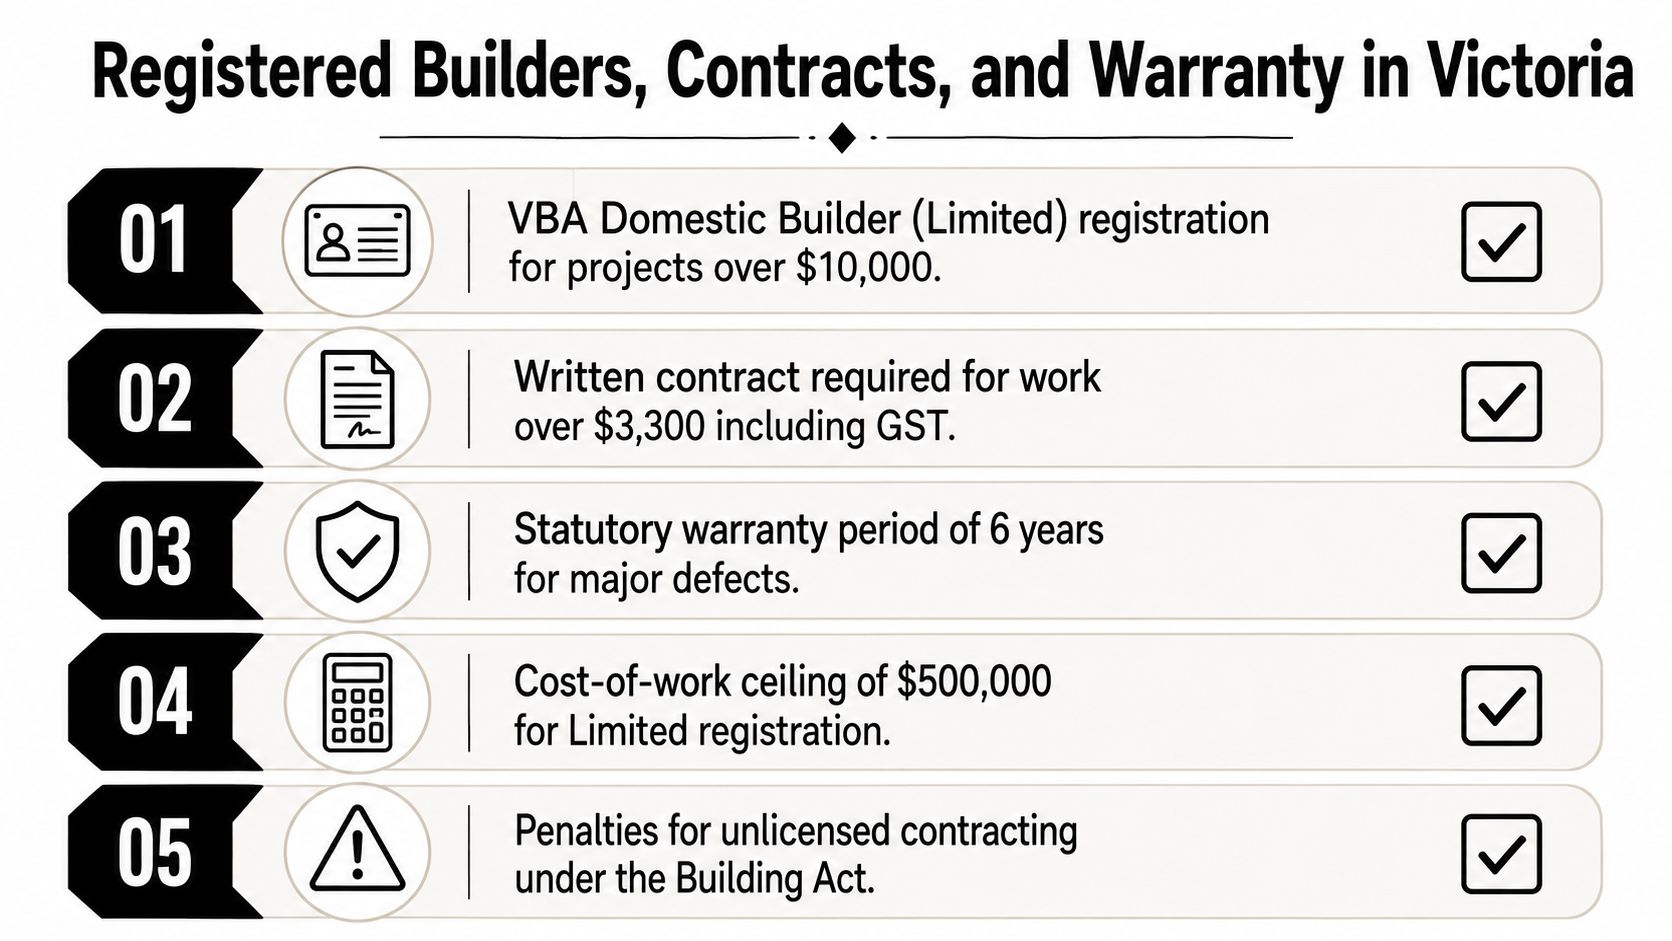
The Victorian Building Authority (VBA) has strict requirements, especially around waterproofing and coordinating different trades on a single project.

  • You'll likely need to engage a Registered Unlimited Builder if the job involves modifying plasterboard, altering the roof structure, or tying into existing waterproofing.
  • The builder's role is to act as the head contractor, coordinating the electrician, plumber, tiler, and waterproofer to ensure everything is done in the correct sequence and to Australian Standards.

Your Handover Paperwork Checklist

Once the dust settles and the job is done, make sure you have all the essential compliance documents in hand.

  1. The Certificate of Electrical Safety from your electrician.
  2. A Waterproofing Compliance Report signed off by the licensed waterproofer.
  3. All final paperwork from your registered builder, detailing the trades involved and any inspections passed.

For a deeper look at waterproofing expectations and how they tie into exhaust fan installation, check out our guide on Waterproofing in Melbourne.

Testing, Common Faults, and Long-Term Maintenance

Once the fan is wired and the grille is fitted, the job isn't quite done. A few post-install checks make the difference between a fan that performs reliably for years and one that becomes a nagging headache. Grab a smoke pencil and hold it near the grille — you want to see that smoke get pulled straight in without hanging or drifting sideways. If it doesn't, the problem is almost certainly in the duct or the damper, not the electrics. That simple test tells you exactly where to focus your attention.

While the fan is running, pay attention to what you hear. A steady, low hum is what you're after. Rattles, clunks, or a metallic ringing usually point to loose clamps, a housing that hasn't seated properly, or a section of flex duct that's sagging and vibrating. Tighten the brackets, slip in some acoustic foam gaskets, and re-route any pooled flex to see if the noise clears up.

  • Fan runs but extraction is weak
    • Look for crushed or kinked ducting and pull out any sagging sections.
    • Check taped joints for gaps and reseal with aluminium foil tape.
    • Make sure the first 900 mm of duct is rigid and straight — this alone can restore the rated L/s.

A common service-call pattern is a fan that runs fine but extracts poorly — in almost every case the duct lost the battle, not the motor.

If you notice condensation dripping from the cover, the duct is likely missing insulation in the roof space. Slip on an insulated duct sleeve and check that the roof cavity has proper vapour control. On colder nights, backflow often traces back to a failed damper — either replace it or fit a correctly sized backdraft assembly.

Simple Annual Maintenance Every Homeowner Can Do

  1. Pop off the grille and give it a wash in warm soapy water.
  2. Vacuum the impeller from the room side using a small crevice tool.
  3. Run the smoke pencil test again and listen for any new noises.

If extraction has dropped off spec, note it down and get a technician to do a flow measurement. For registered builders and renovators in Victoria, keep your certificates of electrical safety and waterproofing accessible — they're invaluable when you need to figure out whether a fault came down to installation sequencing or a material failure.

Case example: A recent Melbourne ensuite call turned up a failing damper and uninsulated duct run. Replacing the damper and insulating the duct brought performance back to 40 L/s, stopped the nightly backflow, and protected the tiled finish for years to come.

DIY Versus Hiring a Registered Builder in Melbourne

Deciding whether to tackle an exhaust fan installation yourself or bring in a professional usually comes down to scope and risk rather than just the bottom line. Swapping out an old ceiling fan for a new one on an existing duct run is a realistic weekend project for a handy homeowner with basic tools and a multimeter. You'll skip the permit paperwork and can often keep parts costs under $200, which is a decent saving.

But once you start cutting new holes through the roof or wall, disturbing waterproofing membranes, or adding circuits to the switchboard, the equation changes fast. These jobs affect your home's warranties and compliance under Victorian regulations. This is where bathroom renovations cross into territory best handled by registered builders. In Melbourne, labour rates also climb when ceiling access is awkward or the duct run stretches across a long distance.

When to Hire a Professional

  • New duct penetrations through the roof or wall
  • Work that alters waterproofing membranes
  • Full switchboard or circuit additions requiring a Certificate of Electrical Safety
  • Bundled bathroom renovations where sequencing matters

Hiring a registered builder often saves money overall by protecting the waterproofing warranty and coordinating trades.

Making the Call

Start by listing every task involved and flag anything that touches the membrane or structure. Then get a fixed quote that breaks down the fan model, ducting, electrical certification, and how the work will be sequenced. If the savings from going DIY come in under $500, it's usually worth handing it to a builder to protect your warranty and resale value.

You might be interested in learning more about bathroom renovation specialists at Melbourne Tiling Services P/L bathroom renovation specialists.


For reliable, registered builder coordination and full compliance, contact Melbourne Tiling Services P/L at https://melbournetilingservices.com.au

Epoxy Grout vs Cement Grout: The Right Choice for 2026

You're probably at the point where the bathroom looks half-finished, the tiles are chosen, the tapware is locked in, and then someone asks a question that sounds minor but isn't: Do you want epoxy grout or cement grout?

That decision sits in a tiny joint between tiles, but it affects almost everything that matters in bathroom renovations. Cleaning. Staining. Waterproofing performance at the tile surface. How the room ages. Whether the shower still looks sharp a few years after handover or starts showing dark joints, patchy colour, and hard-to-shift grime.

In Melbourne, that choice deserves more thought than is typically given. A good Registered Builder will treat grout as part of the whole wet-area system, not a cosmetic afterthought. The tile, adhesive, substrate preparation, waterproofing membrane, movement joints, falls, drainage, and grout all need to work together. If one part is wrong, the finished room can still fail in service, even if it looked great on day one.

Table of Contents

Choosing Your Grout The Critical Decision in Your Renovation

A common renovation moment goes like this. The wall tiles are already selected. The vanity is on order. The layout has been marked out. Then the grout discussion starts, and many homeowners assume it's just a colour card decision.

It isn't.

In a high-end bathroom, grout is one of the materials you'll notice every day without realising it. You see it when the shower dries unevenly, when soap residue hangs around in corners, when light-coloured joints start to darken, or when a floor still looks fresh because the grout hasn't absorbed half the room. That's why this choice belongs in the same conversation as waterproofing, tile specification, and the build method your Registered Builder signs off on.

A woman carefully considering different tile and grout samples while shopping for home renovation materials.

In practical terms, most homeowners are choosing between cement grout and epoxy grout. Cement grout is familiar, easier to work with, and often suits dry or lower-demand areas. Epoxy grout is denser, less forgiving to install, and usually chosen where long-term performance matters more than keeping the initial material cost down.

The small decision isn't small at all. In a shower, grout choice affects how the room behaves under daily water, cleaning products, steam, and use.

For Melbourne homeowners, the answer shouldn't come from trend talk. It should come from the room itself. Is it a family bathroom used hard every day? A premium ensuite with large-format porcelain? A balcony detail where leak risk is already a concern? A heritage-style floor where the look of a traditional grout line matters?

A seasoned tiler and a Registered Builder will look at the same issue from slightly different angles. The tiler focuses on finish, joint performance, cleanability, and installation method. The Registered Builder focuses on system compatibility, wet-area compliance, coordination of trades, and whether the final assembly aligns with AS 3740 and the broader bathroom renovation scope. That's the right way to judge epoxy grout vs cement grout.

Understanding the Contenders Cement and Epoxy Grout

Grout is not a generic filler. In a bathroom renovation, it is part of the finished system, and the type you choose affects appearance, cleaning, maintenance, and how well the tiled surface holds up in service.

Cement grout in simple terms

Cement grout is the traditional product used between tiles after the adhesive has cured. It is cement-based, usually blended with fine sand, pigments, and additives to improve workability. On many Melbourne projects, it remains the standard choice because it is familiar to installers, easier to shape in the joint, and available in a wide range of colours and price points.

There are two main types:

  • Sanded cement grout suits wider joints because the added aggregate gives it more body and helps reduce shrinkage.
  • Unsanded cement grout is smoother and better suited to narrow joints or tile surfaces that can scratch easily.

That distinction matters on site. A grout that does not suit the joint width can finish poorly, wear unevenly, or become harder to maintain. I see this regularly on bathroom renovations where the tile has been chosen first and the grout specification left until late. A Registered Builder will usually push that decision earlier, because the tile, joint width, substrate movement, and wet-area detailing all need to work together, especially where the bathroom must comply with AS 3740.

If you're weighing up tile finishes, joint widths, and product compatibility, it helps to review the full range of tiling materials used in premium bathroom builds.

Epoxy grout in simple terms

Epoxy grout is a resin-based product made from epoxy resins and a filler component, mixed as a system before application. It does not behave like standard cement grout on the wall or floor. It is denser, less absorbent, and much more technique-sensitive during installation.

From a builder's perspective, that difference is not just technical. It affects who should install it, how quickly it must be cleaned off the tile face, and whether the selected tile is suitable for an epoxy system in the first place. On high-end bathrooms, epoxy grout is often specified because the owner wants stronger stain resistance and easier long-term cleaning, but it only delivers that result if the installation is done properly.

A simple comparison helps:

Material type Composition General behaviour
Cement grout Cement, fine aggregate, pigments, additives More porous, easier to install, more traditional in appearance
Epoxy grout Epoxy resin and filler components Dense, low-absorption, harder to install, more resistant in use

Why the composition matters

The material makeup drives the actual result. Cement-based grout can take up moisture, soap residue, and surface staining more readily. Epoxy grout resists that far better because the joint surface is much less absorbent.

That matters in Melbourne bathrooms, where steam, regular shower use, and inconsistent ventilation can expose weak points over time. It also matters in the broader renovation scope. A Registered Builder is not only looking at the grout line itself. The builder is checking whether the whole wet-area assembly, including waterproofing, tile selection, joint treatment, and finishes, is suitable for the room and aligned with AS 3740.

Tile type also changes the decision. Large-format porcelain, mosaics, textured tiles, natural stone, and handmade finishes all respond differently during grouting and clean-up. A product that performs well on a dense porcelain wall tile may be the wrong choice on a stone surface that can mark, stain, or react during installation.

In short, cement grout and epoxy grout are built differently, installed differently, and expected to perform differently. That is why the right selection should be made as part of the bathroom specification, not as an afterthought once the tiles are already on site.

Performance and Durability Head to Head Comparison

A premium bathroom can look sharp at handover and still disappoint two winters later. In Melbourne, that usually shows up in the shower first. Darkened grout lines, staining around niches, and joints that never seem to stay clean. For a Registered Builder or tiler specifying a wet area properly, performance has to be judged over years of use, not on installation day.

Feature Epoxy Grout Cement Grout (Sanded/Unsanded)
Water resistance Dense, very low absorption Porous and more likely to hold moisture
Sealing Doesn't require sealing Requires sealing and periodic upkeep
Stain resistance Strong resistance to common bathroom staining More likely to absorb residue and discolour
Chemical resistance Handles stronger cleaning regimes better Needs more care with product selection
Installation Technique-sensitive and less forgiving Easier to place and wash off
Typical use Showers, floors, niches, high-use bathrooms Lower-demand areas or cost-conscious selections
Material cost Higher upfront Lower upfront

A visual comparison makes the trade-offs easier to scan.

A comparison chart showing the performance differences between epoxy grout and cement grout for tiling projects.

Moisture Performance and Porosity

In bathroom work, porosity is the dividing line.

As noted in Zephyr and Stone's epoxy grout overview, epoxy grout is non-porous, waterproof, stain-resistant, and does not require sealing, while cement grout remains porous. On site, that difference shows up in how the room handles daily shower use, steam, and slower drying conditions through Melbourne's colder months.

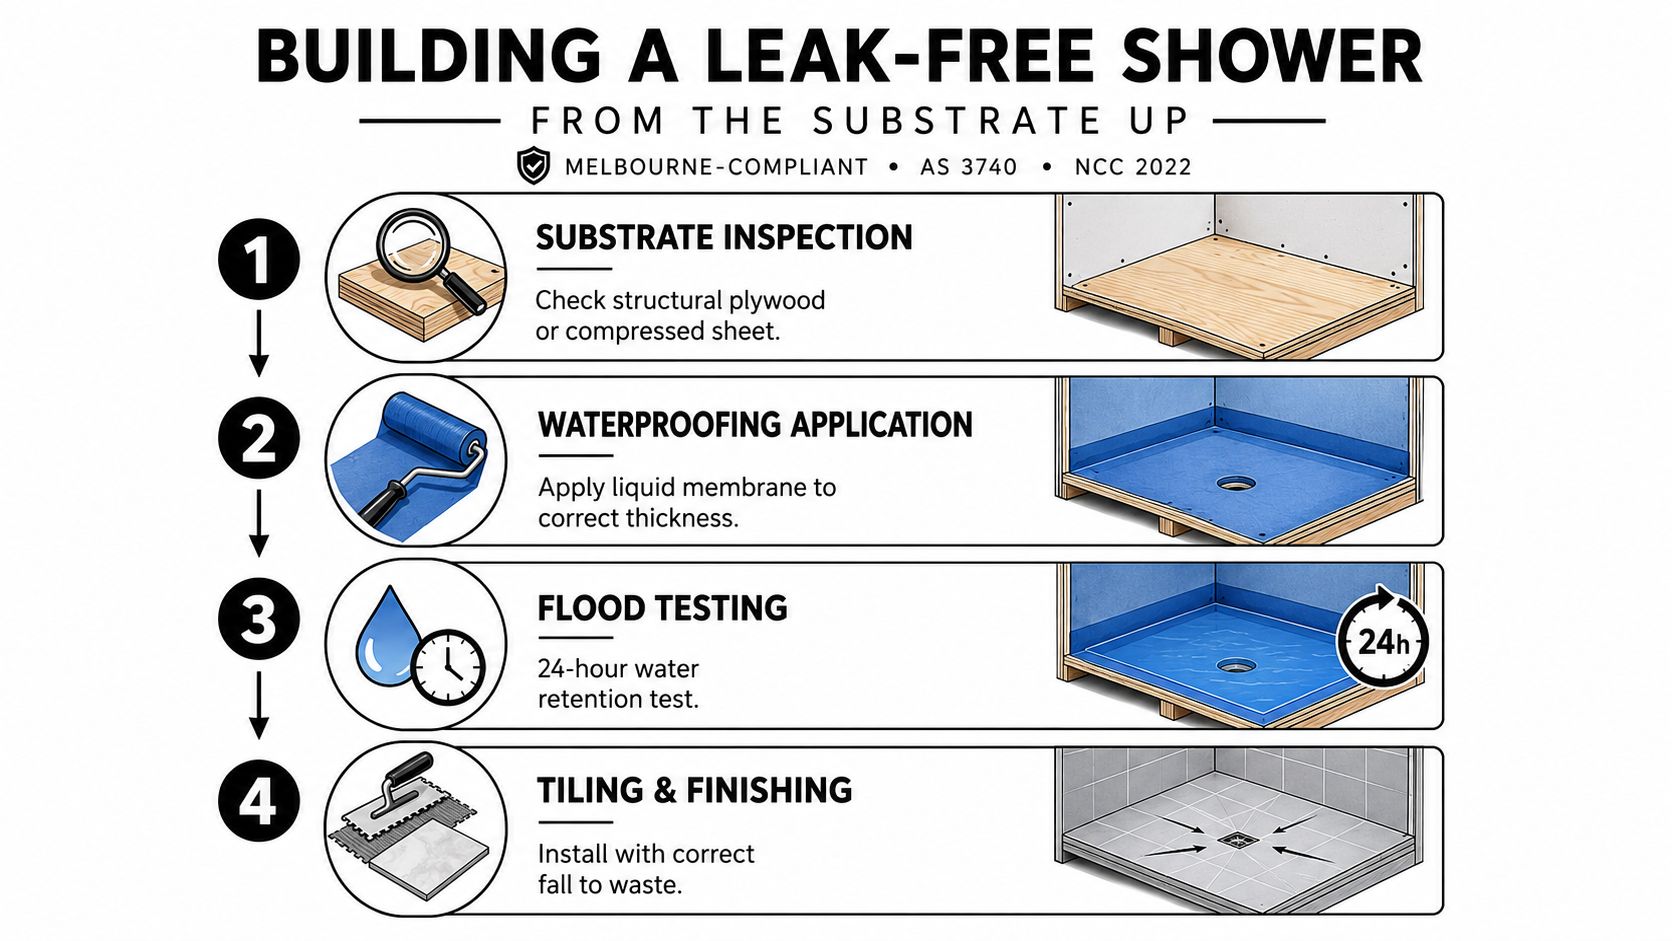
That surface performance still sits behind the primary compliance issue. Grout is not the waterproofing system. Under AS 3740, the waterproof membrane and wet-area detailing are what protect the structure. The grout choice affects how much moisture and residue the tiled surface holds, how easily it cleans up, and how well the finish presents over time. If you want the full wet-area assembly specified properly, this guide on how to waterproof a shower correctly is the right starting point.

In practical terms, epoxy gives water less chance to sit in the joint itself. Cement grout can still perform acceptably in a compliant bathroom, but it asks for more maintenance discipline from the owner.

In a shower, the membrane protects the building. The grout affects how the surface wears, stains, and cleans.

Later in this section, the video below shows the practical differences in handling and finish.

Stain and Chemical Resistance

Bathrooms cop more abuse than many owners expect. Shampoo, soap scum, fake tan, hair colour, makeup, cleaning sprays, and hard-water residue all end up on the joints.

Epoxy handles that environment better because contaminants stay closer to the surface instead of soaking in. That is why it is regularly specified in places with stricter hygiene demands, including some commercial and healthcare settings. For a high-end residential bathroom, the benefit is simpler. The grout line tends to keep its original colour and needs less coaxing to look clean.

Cement grout is more forgiving to install, but it is less forgiving in service. Pale joints around mixers, niches, and shower floors often show the age of the room well before the tiles do. Sealing helps, but it does not turn a porous product into a non-porous one.

Durability and Movement

Durability is not only about compressive strength or hardness. It is about how the joint holds its appearance under cleaning, foot traffic, heat, moisture cycling, and normal building movement.

Epoxy generally holds colour better and is less prone to the shrinkage and surface wear that can make cement joints look tired early. For clients spending serious money on porcelain, stone, custom joinery, and fixtures, that matters. A bathroom should still look considered after years of use, not just in the project photos.

There is a limit, though. No grout should be expected to act as a movement joint. Changes of plane, junctions between materials, and larger tiled areas still need correct movement accommodation and flexible sealant where required. A Registered Builder will look at those details because long-term performance depends on the full assembly, not one bag or bucket of grout.

Appearance and Colour Consistency

Many decisions get made, even if owners do not say it outright. They want the bathroom to keep the same look in year five that it had in week one.

Cement grout can suit a classic finish and can look excellent in the right hands. But the final colour is more vulnerable to variation from mixing water, wash timing, curing conditions, and general site control. On larger bathrooms, that can leave subtle patchiness between walls or between separate days of installation.

Epoxy usually delivers a more consistent finished colour, especially in wet zones built around rectified porcelain or mosaics where every joint is on display. The trade-off is workmanship tolerance. If the installer is slow on cleanup or leaves residue on the tile face, epoxy will expose that mistake quickly. In other words, epoxy often gives the better long-term finish, but only when the tiler and builder have allowed for the product properly in the specification and installation sequence.

Suitability by Location Where to Use Each Grout Type

A Melbourne bathroom can have a beautiful tile selection, a good membrane, and still become harder to live with than it should be if the grout choice is wrong for the room. I look at this the same way a Registered Builder should. By location, cleaning load, moisture exposure, and how the full assembly has been designed to perform over time.

A split image showing a clean modern bathroom shower and a tidy kitchen backsplash with text overlay.

Showers and Other Wet Areas

For premium showers, epoxy grout usually makes the stronger case.

That applies in many Melbourne homes because bathrooms often dry slowly through winter, exhaust fans are not always used well, and family bathrooms see repeated daily use. Shower floors, lower wall sections, niches, and bench seats stay under the most pressure. Soap residue builds up there. Water sits longer there. Those are the locations where epoxy's lower absorbency and better stain resistance pay off in day-to-day use.

Under AS 3740, the waterproofing membrane remains the layer that protects the structure in internal wet areas. Grout sits above that system and affects serviceability, maintenance, and appearance. It does not replace compliant waterproofing. If you are planning a renovation, this guide on how to waterproof a shower correctly is a useful reference before tile and grout are specified.

Cement grout can still be used in some bathroom areas, but I would be more selective with it in high-end work. It suits lower-risk wall areas outside direct and repeated soaking, especially where the owner accepts sealing and more ongoing care. In a main shower used every day, epoxy is usually the better long-term decision.

Kitchen Splashbacks and Feature Walls

These areas are more about use pattern than water exposure alone.

Epoxy works well on splashbacks behind cooktops, coffee stations, and prep areas where oil, food splatter, and frequent wiping are expected. It also suits light-coloured grout joints where clients want the original look to hold up without gradual darkening around the busiest parts of the kitchen.

Cement grout remains a reasonable option on decorative walls with lighter service conditions. A powder room feature wall, a laundry wall above the trough, or a bathroom wall outside the wet zone does not face the same cleaning demand as a shower recess. In those locations, a quality cement grout can be the more balanced specification if budget, tile type, and finish all support it.

Floor Areas and Balconies

Floor decisions should follow traffic, moisture, and cleaning method.

On an internal floor in a guest bathroom or lower-use room, cement grout can perform well if the tile system has been built properly and the owner understands the maintenance involved. On a bathroom floor used by a family every morning, with wet feet, regular mopping, and hair or product residue around the vanity, epoxy generally holds up better and keeps the joints looking cleaner.

Balconies need a stricter assessment. A builder should be looking first at falls, drainage, membrane detailing, substrate movement, and perimeter junctions. Grout matters, but it is one part of a larger external waterproofing and drainage strategy. Epoxy can be a sensible choice on exposed tiled surfaces because it copes better with moisture and contamination than standard cement grout, yet it will not compensate for poor falls or bad detailing.

On balconies, grout supports the system. If the substrate, membrane, drainage, or movement detailing is wrong, the tiled finish remains at risk regardless of grout type.

That is the practical distinction Melbourne homeowners should keep in mind. Use epoxy where moisture, staining, and cleaning pressure are highest. Use cement grout where the area is lower risk, the aesthetic suits it, and the maintenance trade-off is acceptable.

Installation The Professional Tiler and Registered Builder's Role

A grout choice often looks simple on a quote. On site, it affects programming, workmanship, risk, and who carries responsibility if the bathroom does not perform as intended.

That matters more in Melbourne than many owners realise. Winter curing conditions, variable humidity, and the way wet areas are signed off under AS 3740 all put pressure on installation quality. From a Registered Builder's point of view, grout is not a cosmetic afterthought. It sits inside a wet-area system that has to be built, sequenced, and handed over properly.

An instructional infographic detailing the five essential steps for professional tile grout installation, from surface preparation to curing.

Why Epoxy Installation Demands More Control

Epoxy gives very little margin for delay. Once mixed, the installer has a short working window, and cleanup has to be controlled from the first section. If the tiler spreads too much, washes too late, or works over a tile with heavy texture without testing first, residue can become a serious defect rather than a minor snagging item.

I see the same pattern on higher-end renovations. The epoxy product itself is usually not the problem. Trouble starts when the crew treats it like standard cement grout, works too fast in the wrong places, or fails to coordinate with the builder on timing, access, and room conditions.

Common causes of a poor result include:

  • Oversized mixes that begin to tighten before the area is finished
  • Sections that are too large for proper wash-off control
  • Residue left on matte, textured, or stone-look tiles
  • Untidy finishing at drains, niches, junctions, and trim edges
  • Poor site coordination around temperature, moisture, lighting, and trade access

Cement grout is more forgiving. It still needs a competent hand, but it allows more correction time and generally suits straightforward installations better.

What the Builder Should Be Checking

On a compliant bathroom build, the tiler and Registered Builder have different roles, but they should be working to the same plan.

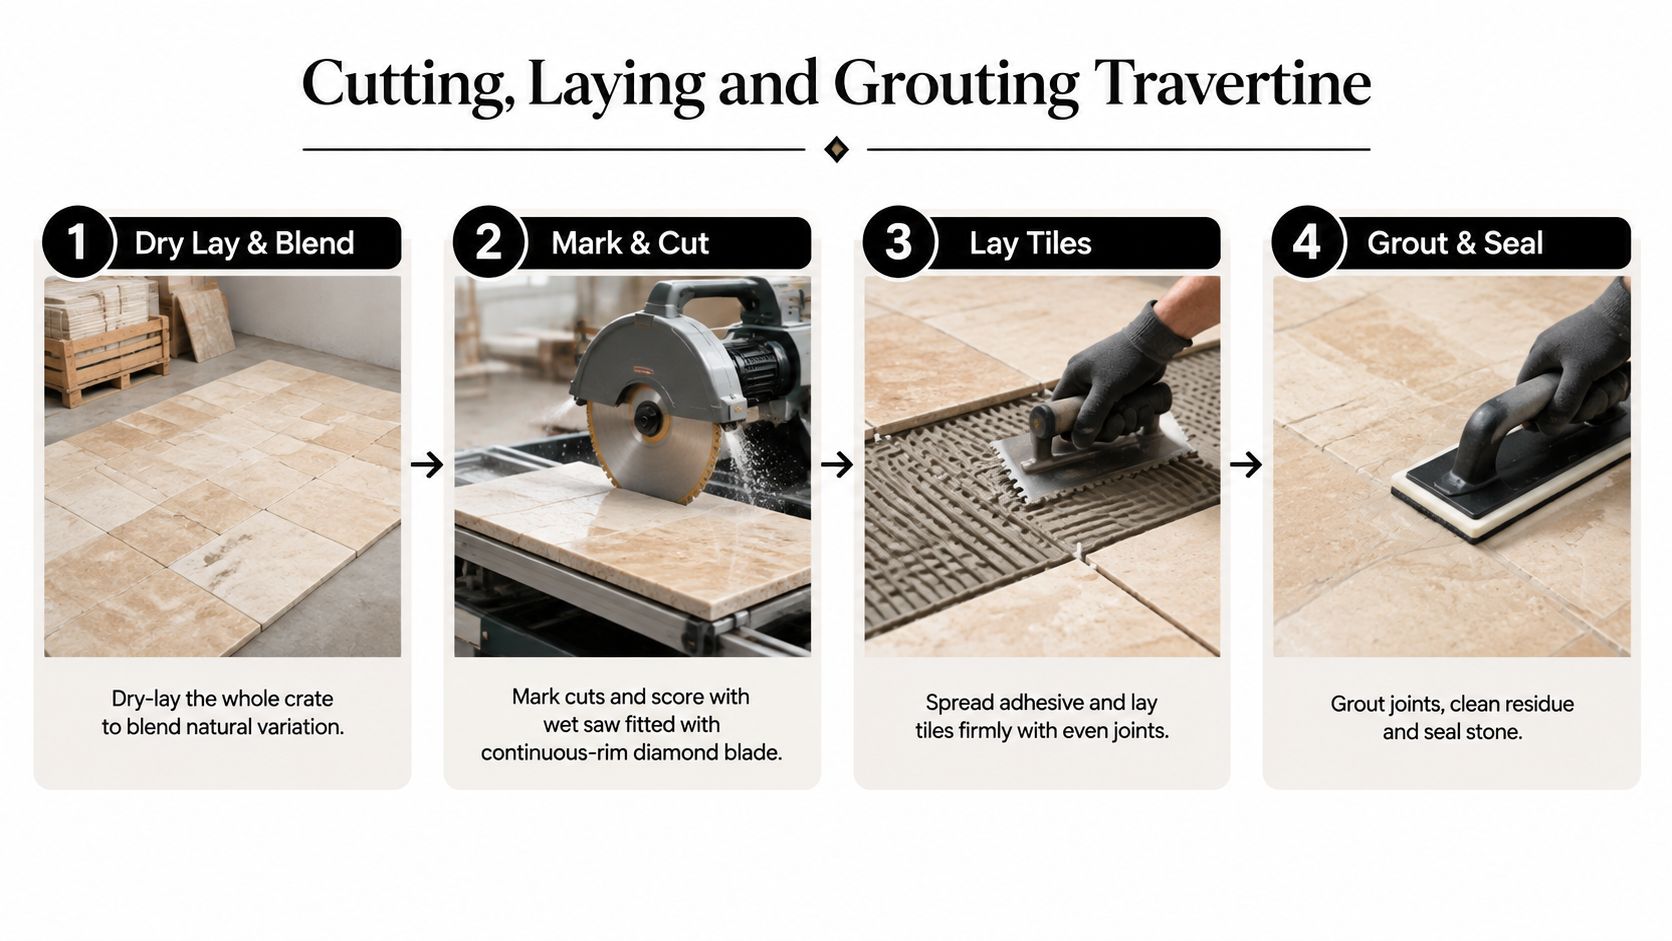
The builder should already have the wet-area assembly under control before grout is discussed. That includes substrate condition, set-downs where required, falls, drainage layout, waterproofing, movement joints, and protection of finished work. Under AS 3740, the bathroom has to perform as a system. Grout selection needs to suit that system, not fight against it.

A proper installation usually includes the following:

  1. Joint preparation
    Adhesive squeeze-up, dust, and loose debris are cleared so the grout can fill the joint properly.

  2. Correct curing time after tile fixing
    The tile bed must be stable before grouting starts. Rushing this step invites avoidable movement and bond issues.

  3. Accurate mixing and handling
    Epoxy in particular needs disciplined proportioning and batch control.

  4. Tight work zones
    Good tilers break the room into manageable sections and finish each one fully before moving on.

  5. Controlled cleanup and protection
    The tiled surface is cleaned methodically, then protected from early traffic, water, and follow-on trades.

For owners comparing quotes, it helps to choose local tiling contractors with experience in high-spec wet areas rather than a general handyman who offers grouting as a side service.

What a Homeowner Should Expect on Installation Day

A professional crew should be able to explain the method in plain terms. They should know whether the selected grout suits the tile surface, the joint width, and the room's level of water exposure. They should also be clear about curing times, cleaning limitations, and when other trades can come back into the room.

That last part is often missed on renovation sites. A grout job can be technically sound and still be damaged by early use, wet testing at the wrong time, or another trade dragging gear across fresh joints.

Use this checklist when you review the job:

  • Surface readiness: Joints are clean, tile faces are checked, and the room is ready for the specified grout.
  • Product suitability: The grout matches the tile, joint width, and intended use of the bathroom.
  • Application method: The installer works in controlled sections, especially with epoxy.
  • Cleanup standard: Residue is managed immediately, not left until the end of the day.
  • Post-install protection: The area is protected while the grout cures.
  • Builder oversight: Responsibility is clear between tiler, waterproofer, builder, and other trades.

In a premium bathroom renovation, that coordination is what separates a finish that looks good at handover from one that still looks right years later.

Lifecycle Cost Maintenance and Repair Considerations

A Melbourne bathroom often looks perfect at handover. The true test starts six months later, after winter condensation, daily showers, cleaning products, and regular use have worked on every joint.

That is why grout selection should be judged on ownership, not just purchase price. For homeowners planning a high-end renovation, and for a Registered Builder carrying responsibility for the finished wet area, the better question is simple. Which grout will still perform, present well, and stay serviceable without avoidable callbacks?

Upfront Spend Versus Long-Term Ownership

Cement grout usually wins the first invoice. It can be a sensible choice in the right location, especially where the area is low risk and easy to maintain. But in a main bathroom, ensuite, or shower used every day, the cheaper starting point can lead to more cleaning, more maintenance, and earlier cosmetic decline.

That matters in Melbourne homes. Bathrooms here deal with cool mornings, steam build-up, and periods where moisture hangs around longer than clients expect. If joints stay damp or collect residue, cement grout tends to show it sooner. Sealing helps, but sealing is still a maintenance task that has to be done properly and repeated over time.

Epoxy changes that ownership pattern. It asks for more care in specification and installation, then usually asks less from the homeowner afterward.

Maintenance Reality in a Family Bathroom

In practical terms, maintenance is where the difference becomes obvious.

A sealed cement joint can perform well, but it still needs attention. The surface is more likely to hold soap residue, body oils, and general bathroom grime, particularly in shower floors, niches, and corners where airflow is poor. Once discolouration sets in, the room can look tired even if the tiles themselves are still in good condition.

Epoxy is easier to keep looking consistent. It resists staining better, does not require sealing, and generally stands up better to the cleaning routine that busy households realistically follow, not the ideal one written on a product sheet.
Ownership factor Epoxy grout Cement grout
Routine cleaning Wipes down more easily in wet areas More prone to holding residue and dulling over time
Ongoing upkeep No sealing required Sealing and periodic refresh work may be needed
Visual consistency Better colour stability in heavy-use bathrooms More likely to show patchiness or staining with age
Best fit Showers, ensuites, family bathrooms, premium wet areas Dry walls, lower-use spaces, tighter renovation budgets

A bathroom that is hard to keep clean often becomes the bathroom clients want redone first.

Repairability and Future Access

Cement grout still has one practical advantage. It is usually easier to rake out, patch, and refresh in a localised area. If a small section is damaged, the repair process is generally simpler and less specialised.

Epoxy is harder once cured. Spot repairs can be more noticeable, and removal takes more time and more care, especially around large-format porcelain, mitred edges, underfloor heating zones, and finished waterproof details. In other words, epoxy rewards accuracy at the start.

From a Registered Builder's point of view, that is a risk allocation issue as much as a product issue. Under AS 3740, the wet area system has to work as a system. Grout is not the waterproofing layer, but failures, staining, cracked joints, or careless repair work can still trigger invasive investigation, trade coordination, and disputes about responsibility. In a premium renovation, the cost of opening up a shower is rarely limited to the grout line itself.

The practical conclusion is straightforward. Cement grout is easier to repair, but more likely to need attention. Epoxy is harder to repair, but in the right location it is often less likely to become a maintenance problem in the first place.

That is usually the deciding trade-off for Melbourne homeowners who want the bathroom to keep its finish, meet the expectations of a high-end build, and stay out of the callback cycle.

Your Final Verdict A Recommendation for Your Project

If you want the shortest practical answer on epoxy grout vs cement grout, here it is.

If your project is a main shower, family bathroom, ensuite, niche, bench seat, or other wet area that will be used every day, epoxy grout is usually the stronger long-term choice. It suits homeowners who want less maintenance, stronger stain resistance, and a cleaner finish over time.

If your project is a dry wall area, a decorative feature, a lower-use room, or a renovation where budget is tight and the risk is low, cement grout can still make sense. It's familiar, more forgiving to install, and often appropriate where the room isn't under constant moisture pressure.

If you're planning high-end bathroom renovations with large-format porcelain, tight joint lines, and an expectation that the room should still look premium after years of use, epoxy is hard to ignore.

If you're renovating under the guidance of registered builders, the right question isn't “Which grout is better in general?” It's “Which grout fits this tile, this room, this waterproofing system, and this maintenance expectation?” That's how professionals make the call.

Choose epoxy when performance leads the brief. Choose cement when the location allows it and the trade-offs are acceptable. Don't choose either in isolation from the rest of the wet-area system, especially where AS 3740 compliance, waterproofing detail, and long-term durability are on the line.


If you're planning a bathroom renovation, ensuite upgrade, leak rectification project, or need advice on the right grout system for a wet area, Melbourne Tiling Services P/L can help you assess the full assembly, not just the tile surface. As Melbourne-based specialists in bathroom renovations and tiling, they coordinate the details that matter, from waterproofing and substrate preparation to premium tile installation and finish quality, so your grout choice supports a bathroom that looks right and performs properly.