
A professionally installed frameless shower screen in Melbourne typically costs between $560 and $1,090, with a median around $800. That's the realistic starting point for a standard job, but the final number moves depending on the glass, hardware, layout, and how the screen fits into the rest of your bathroom renovation.
Many individuals start in the same place. They've picked the tiles, they know they want a clean modern shower, and then the quote for the screen lands with less detail than they expected. One supplier gives a supply-only figure. Another gives an installed price with no breakdown. Then someone else talks about custom glass, black fittings, wall prep, and suddenly it's hard to tell what you are paying for.
That confusion gets worse when you're planning a full bathroom renovation, not just replacing a screen. In Melbourne, the shower screen sits inside a bigger chain of work that usually includes waterproofing, floor falls, tiling, plumbing set-out, and compliance. If any of those pieces are off, the frameless screen becomes harder and more expensive to install properly.
Table of Contents
- Introduction
- Typical Frameless Shower Screen Prices in Melbourne
- What Drives the Cost of a Frameless Shower Screen
- Frameless vs Framed and Semi-Frameless Screens
- How to Get an Accurate Quote for Your Bathroom Renovation
- Project Timeline Warranties and Cost-Saving Tips
- Start Your Bathroom Transformation with a Free Quote and Design
- Frequently Asked Questions
Introduction
A common Melbourne renovation scenario goes like this. The old shower has started leaking, the tiles are dated, and the homeowner wants the room to feel larger without moving walls. A frameless screen is usually one of the first items on the wish list because it changes the look of the room immediately.
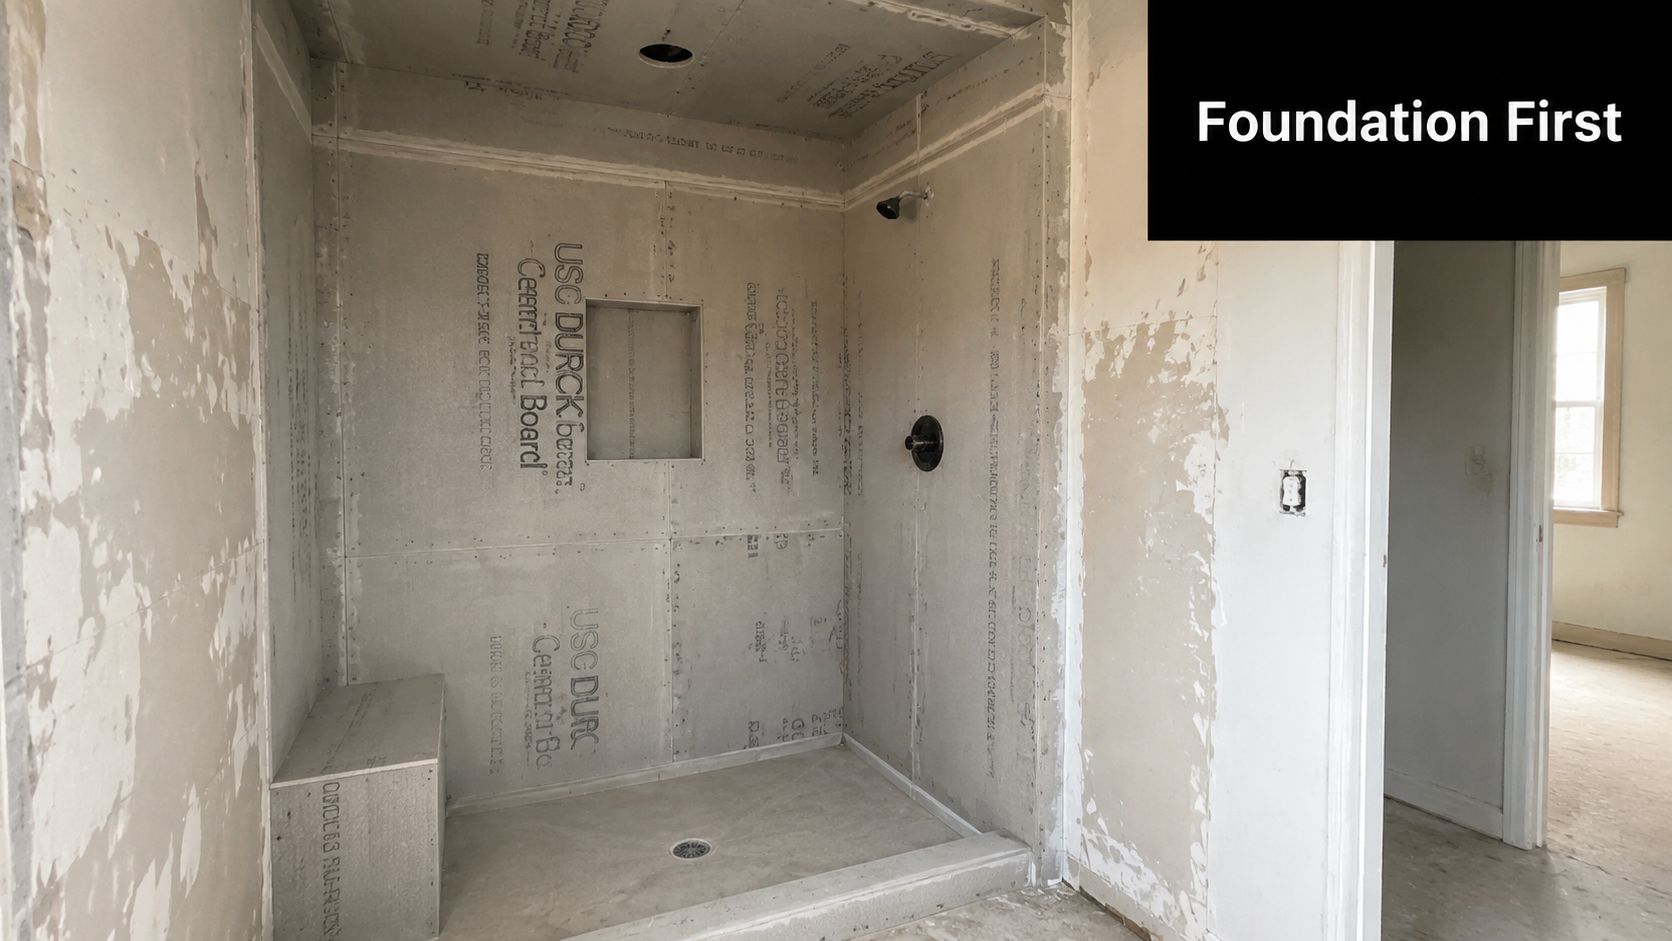
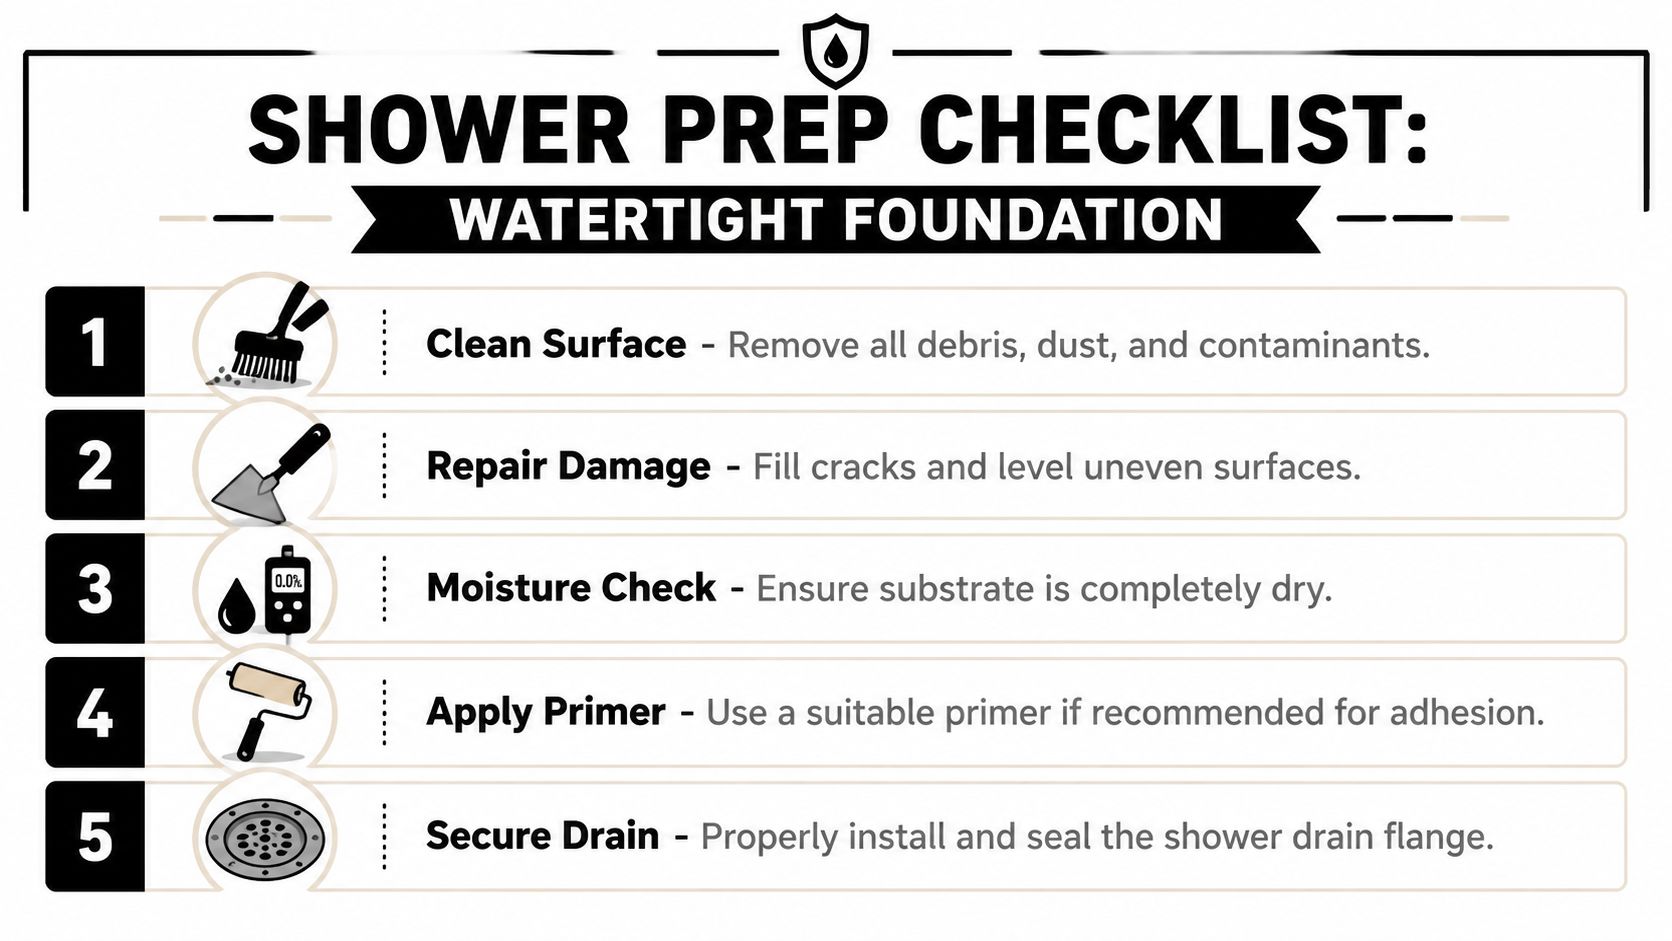
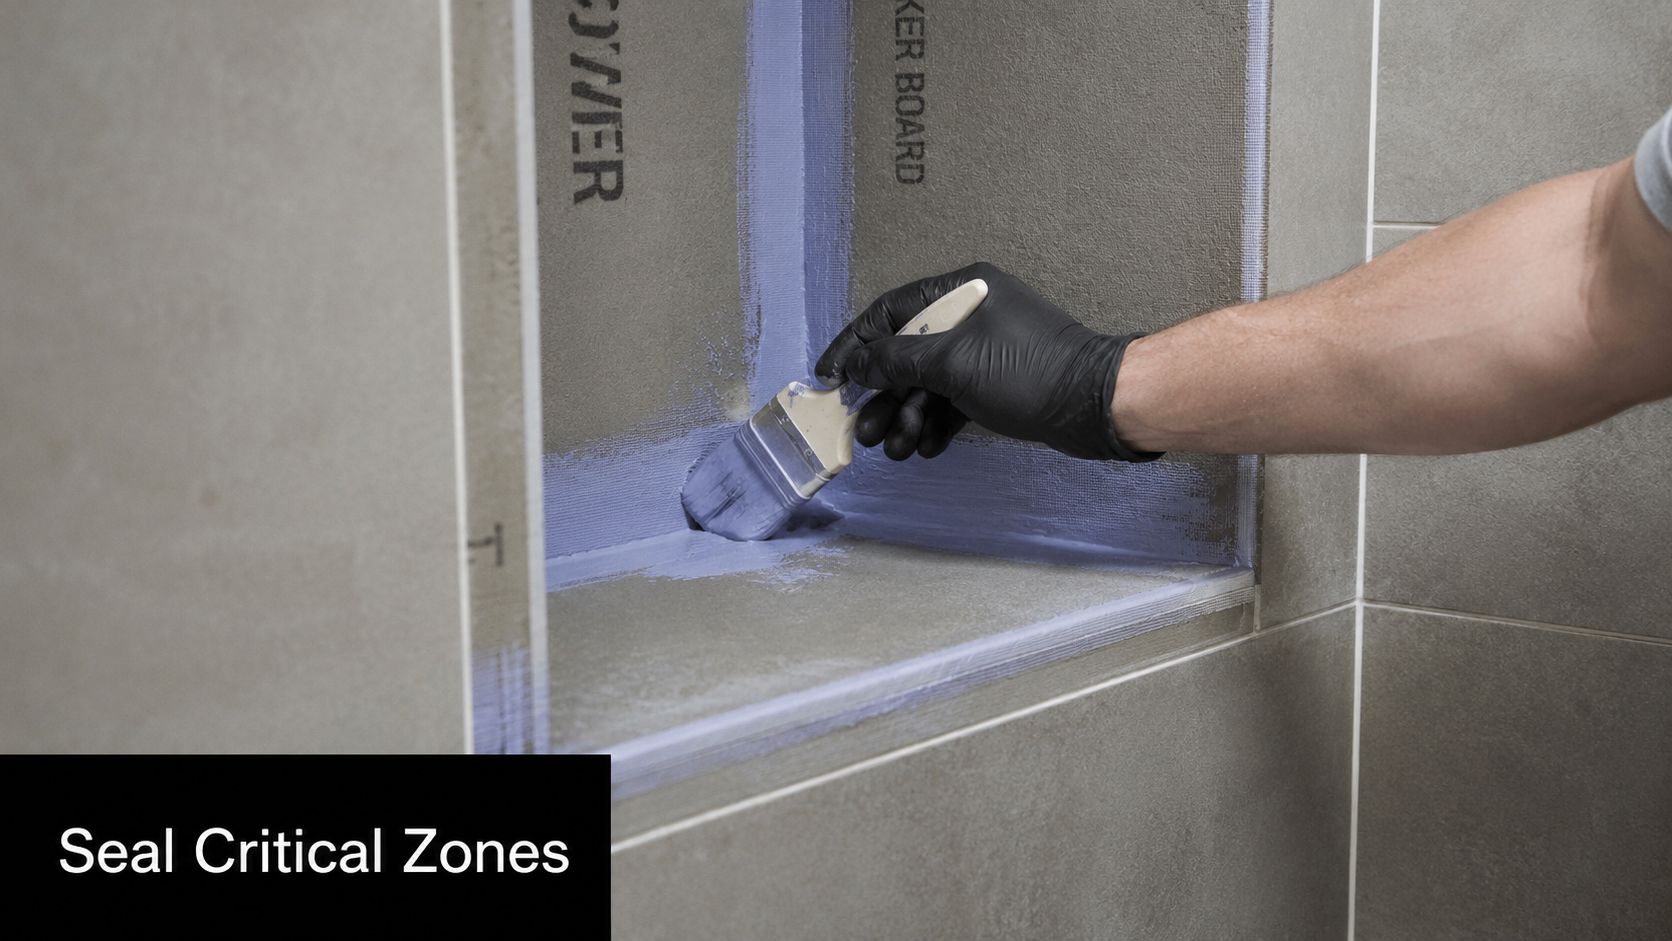
The problem is that shower screen pricing often gets treated like it exists on its own. It doesn't. In real bathroom renovations, the screen only goes in properly after the waterproofing is right, the walls are straight enough, the floor falls have been formed correctly, and the tile layout has been planned to suit the glass and hardware.
Practical rule: If the bathroom hasn't been measured after tiling decisions are locked in, the shower screen number is still only a rough allowance.
That's why online calculators can be misleading. They might give you a number for a panel and a door, but they usually don't account for out-of-square walls, a hobless shower, reeded glass, matte black hardware, or the fact that a Registered Builder may be coordinating the full job.
For homeowners in Victoria, that matters. Bathroom renovations and registered builders belong in the same conversation because the screen is part of a regulated wet-area build, not just a decorative add-on. When the work is quoted properly, you can see where the money is going and where it makes sense to spend more.
Typical Frameless Shower Screen Prices in Melbourne
The clearest starting point comes from current Australian market pricing. A basic frameless shower screen starts at about $360 for a standard 2100mm x 900mm walk-in panel including aluminium channel, while a larger 1740mm x 1785mm x 2000mm three-panel sliding frameless screen can reach $690. Installation usually adds $200 to $400, which puts a standard all-in project at $560 to $1,090, with a commonly observed median total around $750 to $850 across Melbourne and greater Victoria according to hipages frameless glass shower screen cost data.
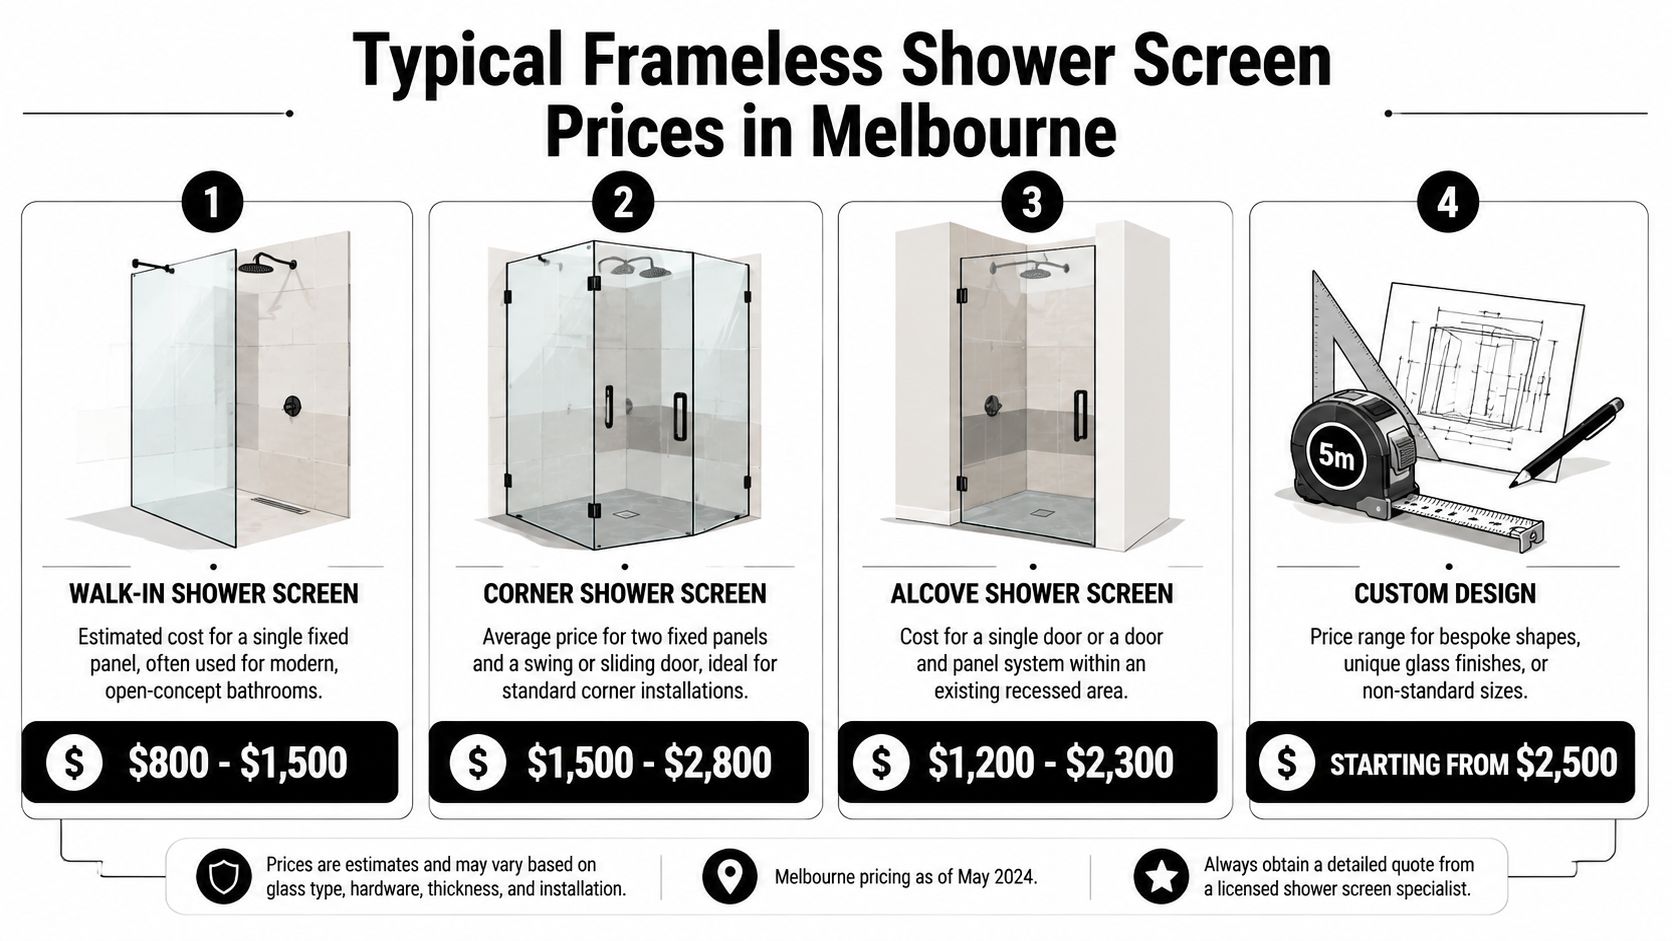
Those numbers are useful because they show the difference between entry-level frameless and more complex layouts. A simple walk-in panel is one thing. A three-panel sliding setup needs more glass, more hardware, and more installation time. That's why frameless shower screens prices can look inconsistent if you compare quotes without checking the actual configuration.
What standard Melbourne quotes usually include
In a straightforward quote, you'll generally see:
- Glass supply that reflects the panel count and size
- Basic hardware suited to the selected design
- Installation labour based on how long the job should take
- A separate allowance for delivery or related site issues, because not every supplier handles that the same way
Two-panel systems sit near $410 plus $195 installation, while rectangular units sit near $550 with similar installation fees in the same pricing guide above. That places frameless firmly in the mid-to-high end of bathroom fit-out items.
The number that matters most to homeowners isn't the cheapest panel price. It's the installed number once the bathroom is ready for glass.
Why the screen cost can feel smaller or bigger inside a full reno
A frameless screen can look modest on paper until it's viewed alongside waterproofing, tiling, plumbing trim-off, and builder coordination. If you're pricing the whole room, it helps to compare the screen as one line item within the broader renovation budget rather than treating it as an isolated purchase. For a more job-specific local breakdown, this guide to shower screen installation cost in Melbourne is a practical next step.
What Drives the Cost of a Frameless Shower Screen
If two frameless screens look similar in photos but the prices are nowhere near each other, there's always a reason. The cost usually moves because of four things: the glass itself, the hardware finish, the layout, and the site conditions.
Glass and compliance
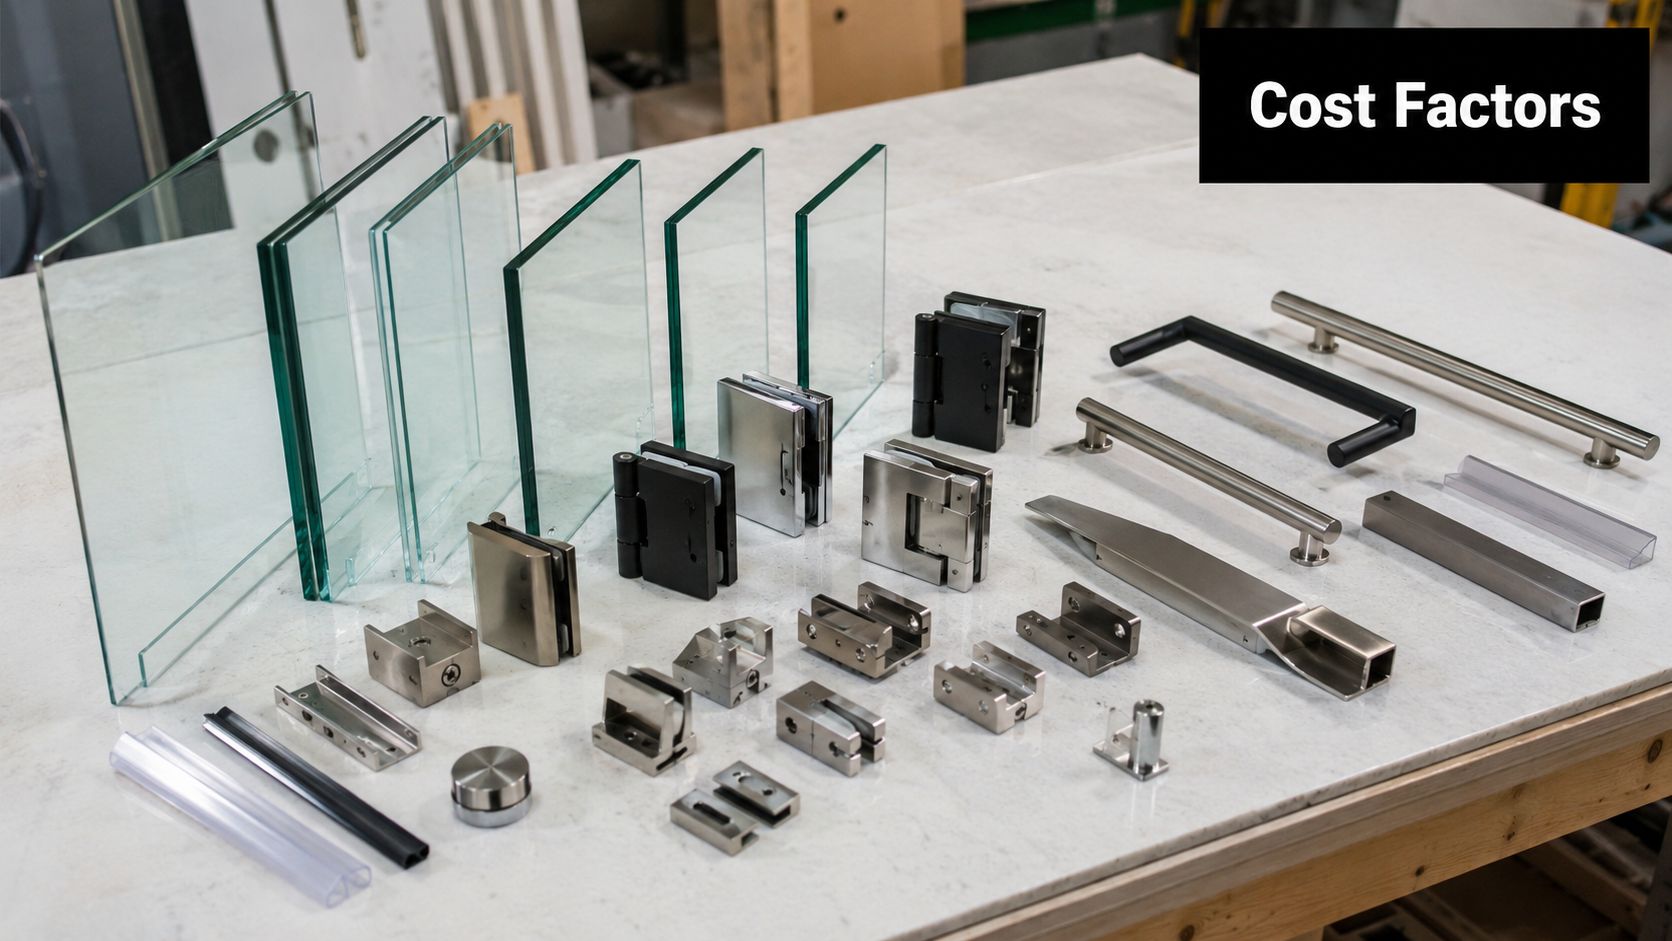
Frameless screens in Australia must use toughened safety glass certified to AS/NZS 2208:1996, and the requirement for fixed panels and sliding doors is a minimum thickness of 10mm under Victorian plumbing and building expectations, as outlined by Best n Buy's shower screen specification notes.
That requirement matters because thicker glass isn't just a style choice. It affects weight, hardware performance, transport, handling, and installation method. Once you move into premium selections such as 12mm tempered glass, reeded textures, or darker designer finishes, the price can rise sharply. The Australian market also shows a real premium material tax on luxury frameless products, with Bella Vista catalogue pricing including fully frameless reeded panels at $843 RRP and sliding systems at $1,628+, well above the common entry-level ranges shown elsewhere in the market, as seen in the Bella Vista shower screen catalogue.
Hardware and finish selection
Hardware changes the number faster than many homeowners expect. Hinges, handles, stabiliser bars, brackets, channels, and seals all sit in the quote somewhere. Chrome is usually the easiest place to stay sensible. Matte black, brushed finishes, and more decorative hardware push the screen into a more coordinated design package.
That's often the right move in a high-end ensuite. If the room has large-format tiles, premium tapware, and a minimal palette, basic hardware can make the shower look like the one item that was value-engineered too hard.
A frameless screen only looks expensive when the hardware and glass feel out of place. When they match the bathroom, the cost makes more sense.
Configuration and labour
Labour is one of the most misunderstood parts of frameless shower screens prices. In Australia, installation labour runs at $45 to $65 per hour. A two-panel frameless setup typically takes 3 to 4 hours, which totals $195 to $260, while a three-panel sliding door system can take 6 to 8 hours, resulting in installation fees of $400 or more, based on hipages shower screen installation pricing.
That same source notes that semi-frameless and fully frameless options broadly range from $200 to $700 excluding installation, while framed alternatives remain around $250. It also notes a clear price hierarchy, with frameless carrying a 44% to 180% premium over basic framed models because of glass thickness, hardware durability, and the cleaner minimalist finish.
Here's a short video that helps visualise what proper frameless installation involves:
Site conditions and custom work
Some bathrooms make installation easy. Others don't.
The expensive jobs usually have one or more of these issues:
- Out-of-plumb walls that require tighter measuring and custom glass
- Non-standard openings such as nib walls, angled ceilings, or recessed shelves
- Bench seats or notches that force more fabrication detail
- Hobless entries where water control and exact levels matter more
- Tile variation that affects how neatly channels, clamps, or hinges can sit
If you want the most cost-effective outcome, standard sizes and straightforward geometry are your friends. Once a screen needs special cuts or has to solve poor preparation from earlier trades, the quote climbs quickly.
Frameless vs Framed and Semi-Frameless Screens
A lot of homeowners know they like the frameless look but still want to know if it's worth paying more for. That's a fair question. The answer depends on what matters more in your bathroom: upfront price, ease of cleaning, visual weight, or water containment.
The basic market hierarchy is already clear from the cost data cited earlier. Framed sits at the bottom end, semi-frameless occupies the middle, and frameless is the premium option. But price alone doesn't tell you what you're living with day to day.
Shower Screen Comparison
| Feature | Frameless | Semi-Frameless | Framed |
|---|---|---|---|
| Price | Highest upfront cost in the three categories | Mid-range | Lowest entry cost |
| Aesthetics | Cleanest sightlines and most open look | Good balance of openness and structure | Heavier visual presence |
| Cleaning and maintenance | Fewer channels and edges to collect grime | Some framed sections still need attention | Most frame lines and channels to clean |
| Durability | Strong glass and quality hardware, but relies on accurate install | Good practical compromise | Structurally familiar and budget-friendly |
Where frameless earns its keep
Frameless tends to suit bathrooms where the tiles, niches, and fittings are part of the visual result. You see more of the wall finish, more of the floor, and less metal. In smaller bathrooms, that often makes the room feel more open.
It also tends to be easier to keep looking sharp because there are fewer framed edges to trap soap residue. That doesn't make it maintenance-free, but it does remove some of the spots where grime usually builds up.
Where the other options still make sense
Semi-frameless is often the practical middle ground. It keeps some of the lighter look while giving a bit more structure and often slightly easier water management around the opening.
Framed still has a place in budget-sensitive bathrooms, rentals, and straightforward replacements where cost matters more than the minimalist finish.
If the rest of the bathroom is being renovated to a premium standard, framed screens can look like a shortcut. If the room is basic and functional, framed can still be the sensible choice.
How to Get an Accurate Quote for Your Bathroom Renovation
The best quotes don't start with glass. They start with the room.
A proper shower screen quote depends on finished dimensions, wall condition, floor level, hinge position, and how the door will open around vanities, toilets, and towel rails. If you ask for a price too early, you'll get a broad estimate, not a dependable number.
What to have ready before the site visit
You'll get a much clearer quote if you can show these decisions upfront:
- Your preferred screen type such as fixed panel, hinged door, sliding system, or corner layout
- Your tile selection because grout joints, tile thickness, and layout affect the final measure
- Your hardware finish if you already know whether you want chrome, black, or another look
- Any design constraints such as niches, shaving cabinets, wall taps, or underfloor heating transitions
A measured site visit after waterproofing and tiling planning is usually where vague estimates turn into real numbers.
Questions worth asking
Not every quote is built the same way. Ask whether the price includes supply, installation, hardware, measure, and delivery. Ask what happens if the walls are not square. Ask who is responsible for checking finished set-out before the glass is ordered.
A useful quote should also make it clear whether the screen is being considered as a standalone install or part of full bathroom renovations and registered builders coordination. That difference changes who carries responsibility if another trade leaves the opening out.
Why registered builders matter in Victoria
In Victoria, bathroom renovation projects involving frameless shower screens typically require Registered Builders to ensure compliance with the Building Act 1993. The same source notes that the median cost for a full bathroom renovation in Melbourne, including waterproofing and frameless screen installation, is approximately $10,000, according to Fresh Screens' Melbourne bathroom renovation guidance.
That's the bigger picture many screen-only quotes miss. In a full renovation, the screen is connected to waterproofing, substrate prep, drainage, tiling, plumbing trim-off, and final fit. A Registered Builder coordinates those moving parts and carries the compliance mindset across the whole room.
One practical option for that type of integrated job is frameless shower screen installation in Melbourne, where the screen is handled within the renovation process rather than treated as an isolated afterthought.
Project Timeline Warranties and Cost-Saving Tips
A frameless screen is usually one of the last visible items to go into the bathroom, but it depends on earlier work being finished properly. If the waterproofing, screed, tiling, and final set-out are still moving around, glass can't be ordered confidently.
How the job usually runs
The smooth jobs tend to follow a simple sequence:
- Layout is locked in and plumbing positions are confirmed.
- Waterproofing and tiling are completed so the finished opening can be measured accurately.
- Final measure happens on site after the critical surfaces are done.
- Glass is manufactured to suit the actual opening.
- Installation is booked once the bathroom is ready and protected.
That order matters because frameless glass doesn't forgive guesswork. Even small set-out changes affect how doors swing, how seals land, and whether the margins look even.
What to check on warranties
Ask separately about the glass, the hardware, and the installation workmanship. They're not always covered under one simple promise. You also want to know what maintenance is expected, especially around sealant, cleaning products, and moving hardware.
Because the product must use AS/NZS 2208:1996 toughened safety glass with a minimum 10mm thickness for fixed panels and sliding doors, compliance isn't optional. It's part of the baseline for a lawful and safe installation in Victoria, as outlined in the earlier cited specification guidance.
Cheap glass isn't the bargain in a wet area. Correct glass, correct set-out, and correct waterproofing are what prevent expensive callbacks.
Where you can save without regretting it
There are smart ways to reduce cost without gutting the result:
- Choose standard sizes where possible because custom fabrication pushes the quote up fast.
- Keep the layout simple. A fixed panel or straightforward door arrangement is easier to build and install than a heavily customised enclosure.
- Use standard finishes if your budget is tight. Chrome usually keeps the number under better control than premium decorative hardware.
- Coordinate the screen with the renovation program so the measuring and installation happen at the right time, not as a rushed add-on.
- Make sure waterproofing paperwork is in order. For wet-area projects, understanding Victorian waterproofing compliance certificates helps avoid issues later.
Start Your Bathroom Transformation with a Free Quote and Design
Frameless shower screens are a premium item, and the price reflects that. You're paying for thicker compliant glass, better hardware, more precise measuring, and an installation that has to work with the finished waterproofed bathroom, not just sit inside it.
That's why the cheapest number isn't usually the most useful one. The right figure is the installed cost for your actual layout, with your tile choices, your fittings, and your renovation scope taken into account. For Melbourne homeowners, that often means looking at the screen as one part of the wider bathroom build rather than shopping it in isolation.
If you're planning a renovation in Melbourne or greater Victoria, it helps to get a quote encompassing the whole picture. A proper process should include a site assessment, realistic pricing, and clear advice on what will affect the number before anything is ordered.
A free, no-obligation quote and a professional 3D design make that process easier because you can see the room before committing. It also gives you a practical way to compare design choices, especially if you're weighing standard frameless glass against more premium finishes or a more customised layout.
Working with registered builders also gives you a cleaner line of responsibility across the project. The shower screen, waterproofing, tiling, plumbing, and final fit-out all need to line up. When they do, the result looks better and performs the way it should.
Frequently Asked Questions
Can I install a frameless shower screen myself
It's possible in theory, but it's not a good idea for most homeowners. Frameless glass is heavy, the margins are tight, and mistakes can damage tiles, hardware, or the waterproofed area. In a renovation, the bigger risk is not the fitting itself. It's getting the set-out wrong.
Do black or designer finishes cost more than chrome
Yes, they often do. The exact difference varies by supplier and hardware range, so it's better to ask for that item to be broken out in the quote rather than guessed as a blanket upgrade.
Are frameless screens durable enough for a family bathroom
Yes, provided the glass is compliant, the hardware is decent quality, and the screen is installed properly on a bathroom that has been set out correctly. In busy bathrooms, the quality of hinges, seals, and wall fixing matters just as much as the glass.
Can a frameless screen go on any floor surface
Not automatically. The floor needs the right falls, a stable substrate, and a finished surface that suits the fixing method and water control. This is one reason the screen should be planned together with the rest of the bathroom renovation.
If you want a practical quote for a frameless shower screen as part of a full bathroom renovation, Melbourne Tiling Services P/L can assess the space, provide a free quote, and help you line up the design, waterproofing, tiling, and installation under one renovation process.
Recent Comments