

You've finished a Melbourne bathroom renovation, the tiles look flawless, and the shower niche has become the room's neatest feature. Then, months later, a faint watermark appears on the adjoining wall. The grout still looks sound, so the cause isn't obvious. Often, the trouble began behind the niche, where a missed junction, flat shelf, unsealed penetration, or poorly integrated membrane allowed water into the wall assembly.
Shower niche waterproofing isn't a decorative upgrade. It's part of a regulated wet-area system governed by the National Construction Code and AS 3740:2021. The substrate, framing, membrane, bond breakers, falls, penetrations, tiles, and shower-screen detailing all have to work together. This guide follows the practical sequence used on Melbourne bathroom renovations, including the registration obligations that apply to builders and waterproofers and the frameless-screen details many generic guides leave out.
Table of Contents
- Why a Shower Niche Is the First Place a Bathroom Leaks
- The Code and Registration Baseline Every Melbourne Project Should Meet
- Preparing the Framing, Substrate, and Falls Before Any Membrane
- Sheet Membrane Versus Liquid Membrane for a Shower Niche
- Flashing, Taping, and the Niche Base That Drains
- Leak Testing, Sign-Off, and Documentation Before Tiling
- Common Shower Niche Defects, Fixes, and Long-Term Maintenance
Why a Shower Niche Is the First Place a Bathroom Leaks
A common rectification call starts with a renovation that appears complete. The homeowner has used the shower for months without noticing anything unusual. Then a discoloured patch appears on the wall beside the bathroom, paint begins to blister, or the ceiling below shows a damp mark. By the time the symptom is visible, the niche may have been receiving water every day.
A recessed niche interrupts the otherwise continuous wall plane. That creates more internal corners, more substrate joins, more membrane transitions, and often a penetration for lighting or plumbing. The base also becomes a small horizontal surface where water can sit if the fall is missing or directed the wrong way.
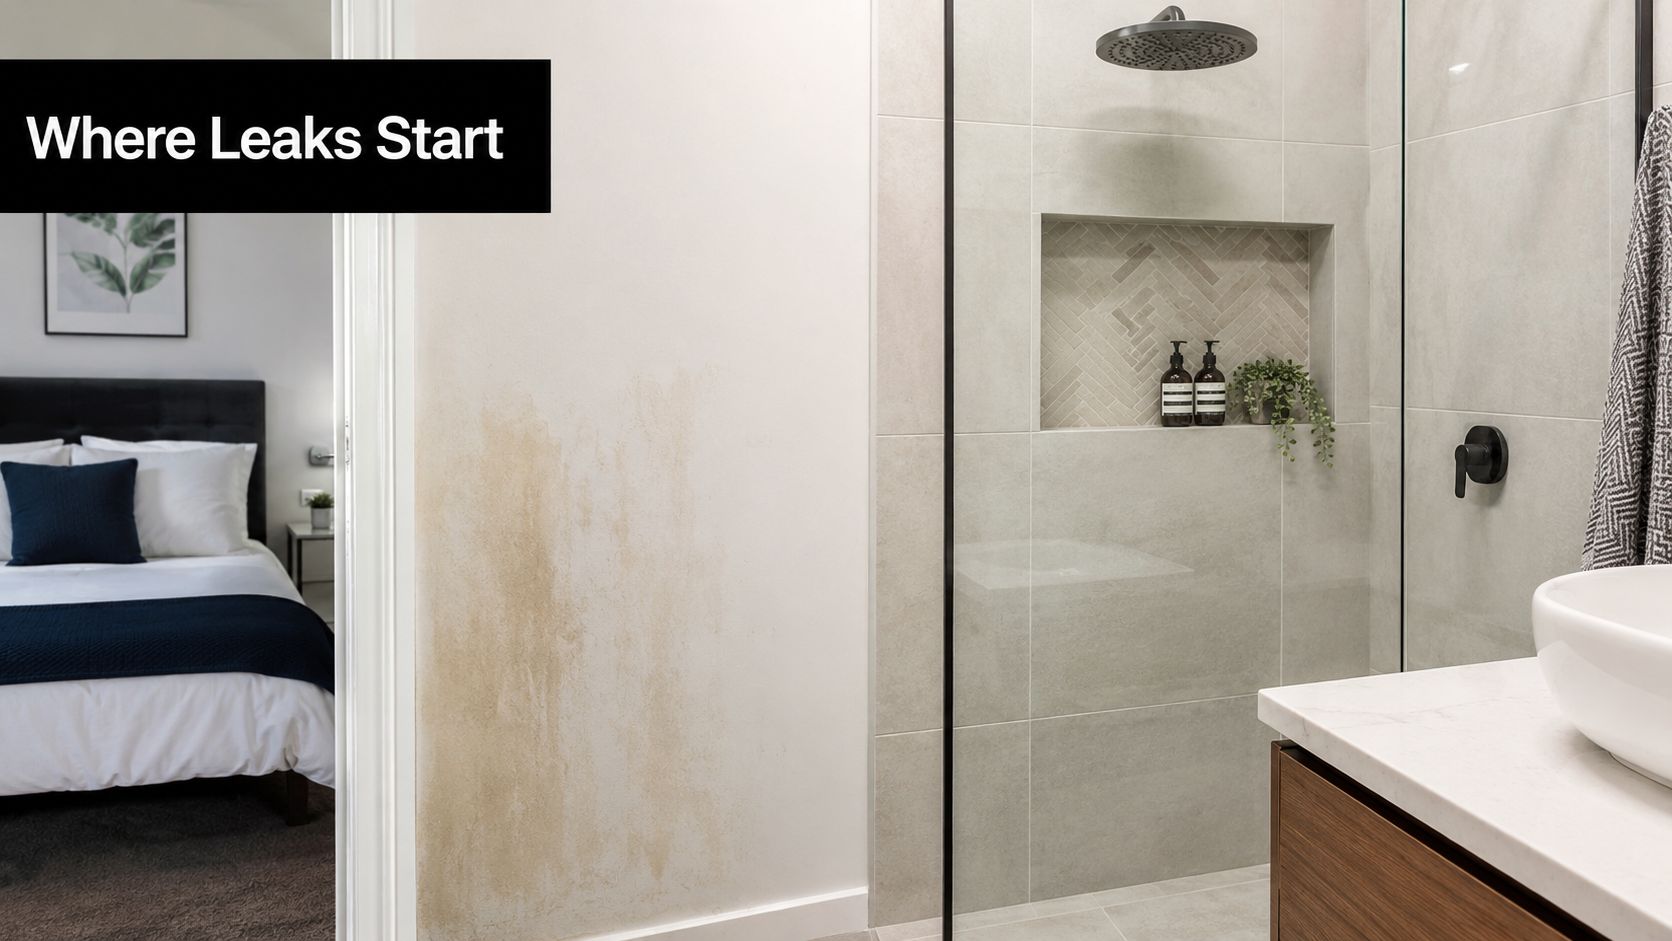
Where the water gets in
The membrane itself is rarely the only issue. In failed niches, the vulnerable points are usually:
- Internal corners: The back, side, and base junctions need compatible fillets or bond-breaker detailing so movement doesn't open a direct path behind the membrane.
- Shelf bases: A level shelf can hold water against the rear corner rather than directing it towards the shower.
- Penetrations: Mixer outlets, pipework, niche lighting, and screen fixings all need compatible sealing.
- Wall transitions: The niche lining must connect with the surrounding wet-area substrate without leaving an unprotected break in the waterproofing plane.
Australian guidance places the shower floor and shower walls within a defined waterproofing zone. Under the NCC 2022 wet-area waterproofing provisions, shower walls must be waterproofed to at least 1800 mm above the floor substrate, and wall junctions and joints within the shower area require waterproofing for at least 40 mm either side of the junction. A niche sits inside that regulated zone, so it must be treated as part of the assembly, not patched as an afterthought.
Practical rule: If the tiler can't show how the niche membrane joins the surrounding wall membrane, the tiles are hiding a risk rather than finishing a compliant detail.
Rectification is disruptive because the visible repair is only the beginning. Tiles may need removal, the niche substrate may need to be opened, the membrane may need to be reinstated, and the wet area may require another test before retiling. Spending time on framing, substrate preparation, membrane continuity, falls, and inspection before tiling is far cheaper than diagnosing a stained adjoining room later.
The Code and Registration Baseline Every Melbourne Project Should Meet
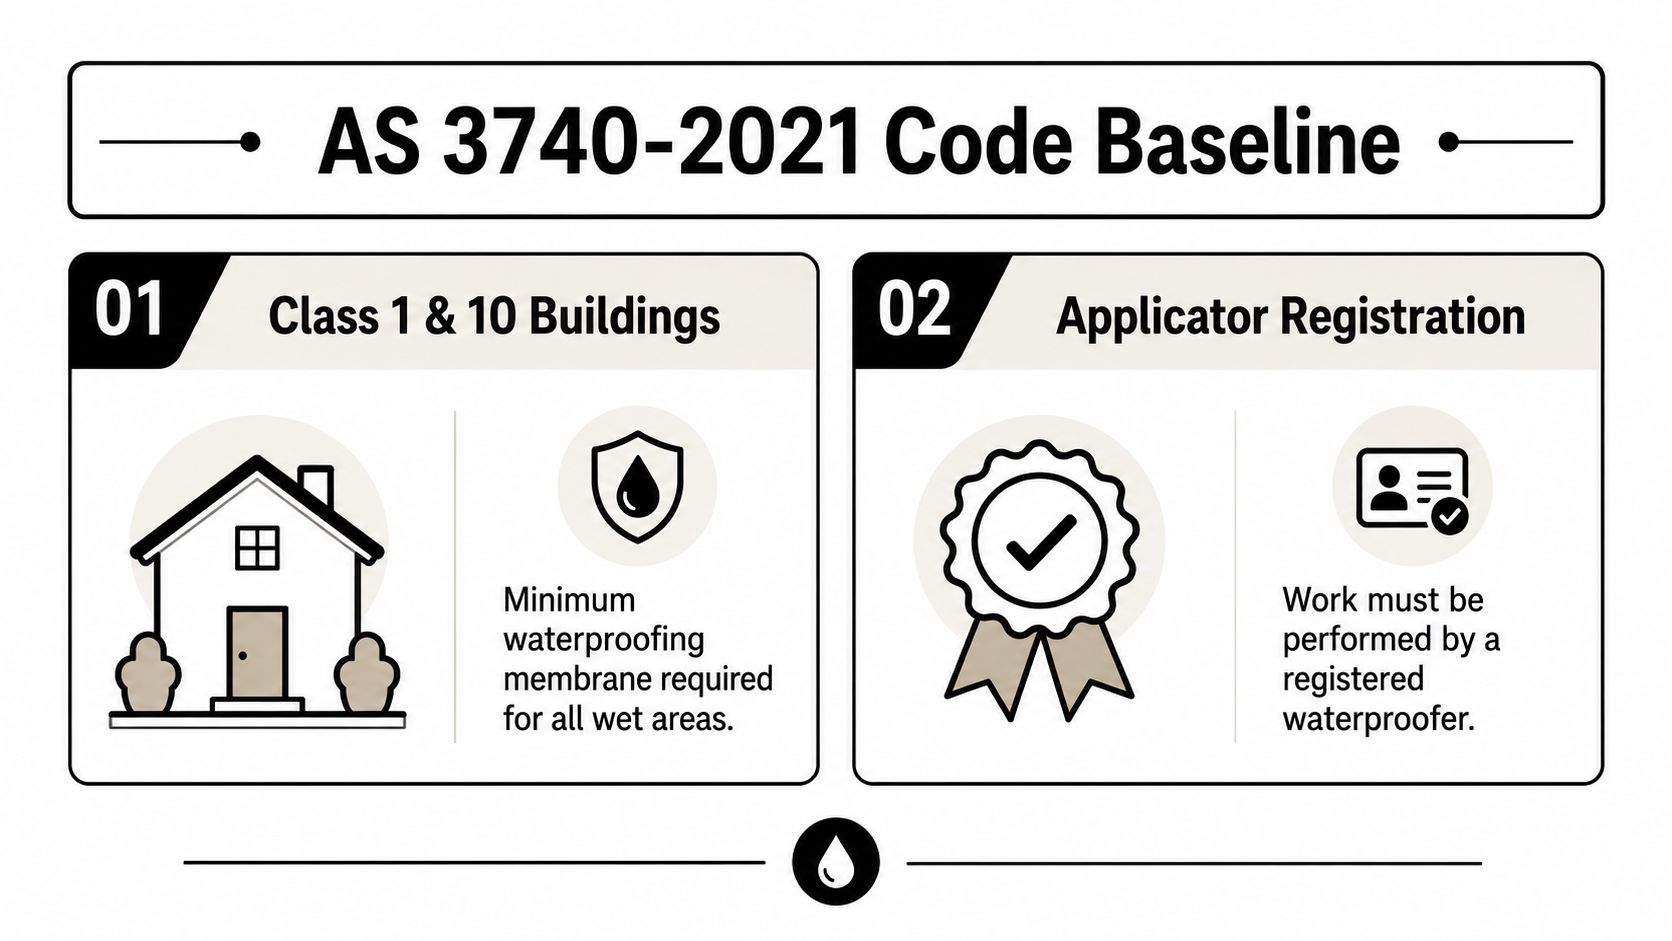
The starting point is AS 3740:2021, which sets minimum waterproofing requirements for domestic wet areas in Class 1, 2, and 4 buildings. It also applies to wet areas in Class 3 to 9 buildings as if they were Class 2 or 4 parts of a building, making it relevant beyond detached homes and standard apartment bathrooms. The Standards Australia description of AS 3740:2021 identifies it as the core standard for materials, design, and installation of waterproofing in these wet areas.
The NCC 2022 provisions translate that framework into practical coverage. The shower floor, including a hob or step-down, must be waterproof. Shower walls need waterproofing to at least 1800 mm above the floor substrate, while shower-area wall junctions and joints require coverage for at least 40 mm on either side. Penetrations also need sealing, which matters around mixers, shower outlets, shelves, and any niche lighting.
Falls and shower risk categories
The finished shower floor must fall towards the waste between 1:80 and 1:50. The Australian Building Industry Services information on waterproofing explains that this range corresponds to 12.5 mm to 20 mm per metre. The Victorian Building Authority treats both enclosed and unclosed showers as Category 1 high-risk areas, with a minimum 1:80 fall in shower areas. The VBA material also identifies 1:100 where vertical separation applies and no fall requirement for a Category 3 area where an enclosed shower retains water, conditions that shouldn't be casually applied to an open or frameless design. These distinctions are set out in the VBA wet-area waterproofing practitioner material.
Registration questions to ask
Victoria separates bathroom renovation work from waterproofing work through different domestic builder categories. The Victorian regulations include a class limited to bathroom, kitchen and laundry renovation, and another class limited to waterproofing, so a renovation builder and a waterproofing practitioner aren't automatically the same registration scope. The relevant categories appear in Schedule 12 of the Victorian Building Regulations.
Victoria also requires registration to perform domestic building work over $10,000 in labour and materials, or to carry out building work requiring a permit regardless of cost, as explained by Consumer Affairs Victoria's registered practitioner guidance. Before signing a quote, ask:
- Who holds the registration: Confirm the builder's registration class and the waterproofer's relevant scope.
- What the quote includes: Check that framing, substrate, falls, membrane, penetrations, testing, and documentation aren't excluded.
- Which system is specified: The membrane needs to be compatible with the substrate, adhesive, corners, collars, and tile finish.
- What evidence you'll receive: Ask for photographs, product details, and test records before tiling covers the work.
For a renovation, a waterproofing compliance certificate in Victoria should form part of a properly documented handover where applicable.
Preparing the Framing, Substrate, and Falls Before Any Membrane
A niche can't be waterproofed properly if the opening moves, the lining is unsuitable, or the shelf starts flat. Preparation decides whether the membrane has a stable, continuous surface to protect.
Build a rigid opening
The niche opening should be framed with plumb studs and solid noggings. The upper and lower members need to support the lining and shelf without flexing, while the opening must avoid clashes with plumbing, electrical services, insulation, and structural elements. A wide horizontal niche deserves particular caution because removing too much existing framing can reduce wall stiffness. If the wall is structural or external, the builder needs to resolve that issue before the niche is cut.
The lining choice depends on the system and site conditions. Fibre cement sheet, compressed sheet, and proprietary foam tile backer can all be suitable when used according to their product instructions and integrated with a compatible membrane. The important point is continuity. A waterproof niche box installed against a poorly prepared opening still leaves a weak perimeter.
A prefabricated niche saves time only when its flange, substrate, membrane, and surrounding wall have been designed as one detail.
The niche lining must cover the back, sides, top, and base. AS 3740:2021 material quoted in this technical reference on niche waterproofing requires all niche surfaces to use a water-resistant substrate, with the niche separated from the lining on the opposite side of the wall. That separation matters where the recess would otherwise press directly against or share a vulnerable lining on the other face.
Establish the falls before coating
The niche base needs a minimum 1:100 fall towards the shower. That requirement is separate from the main shower-floor fall. A tiler can create the niche slope by packing, screeding, or forming the substrate before the membrane is applied, but the method must leave a sound, even surface.
The base should fall out of the recess, not towards the back wall. The back and side corners need to remain clean and continuous so water can travel across the shelf and out rather than collect in the rear junction. A registered waterproofer should check the substrate for dust, contamination, loose material, and excessive moisture, then use the specified primer before applying the membrane.
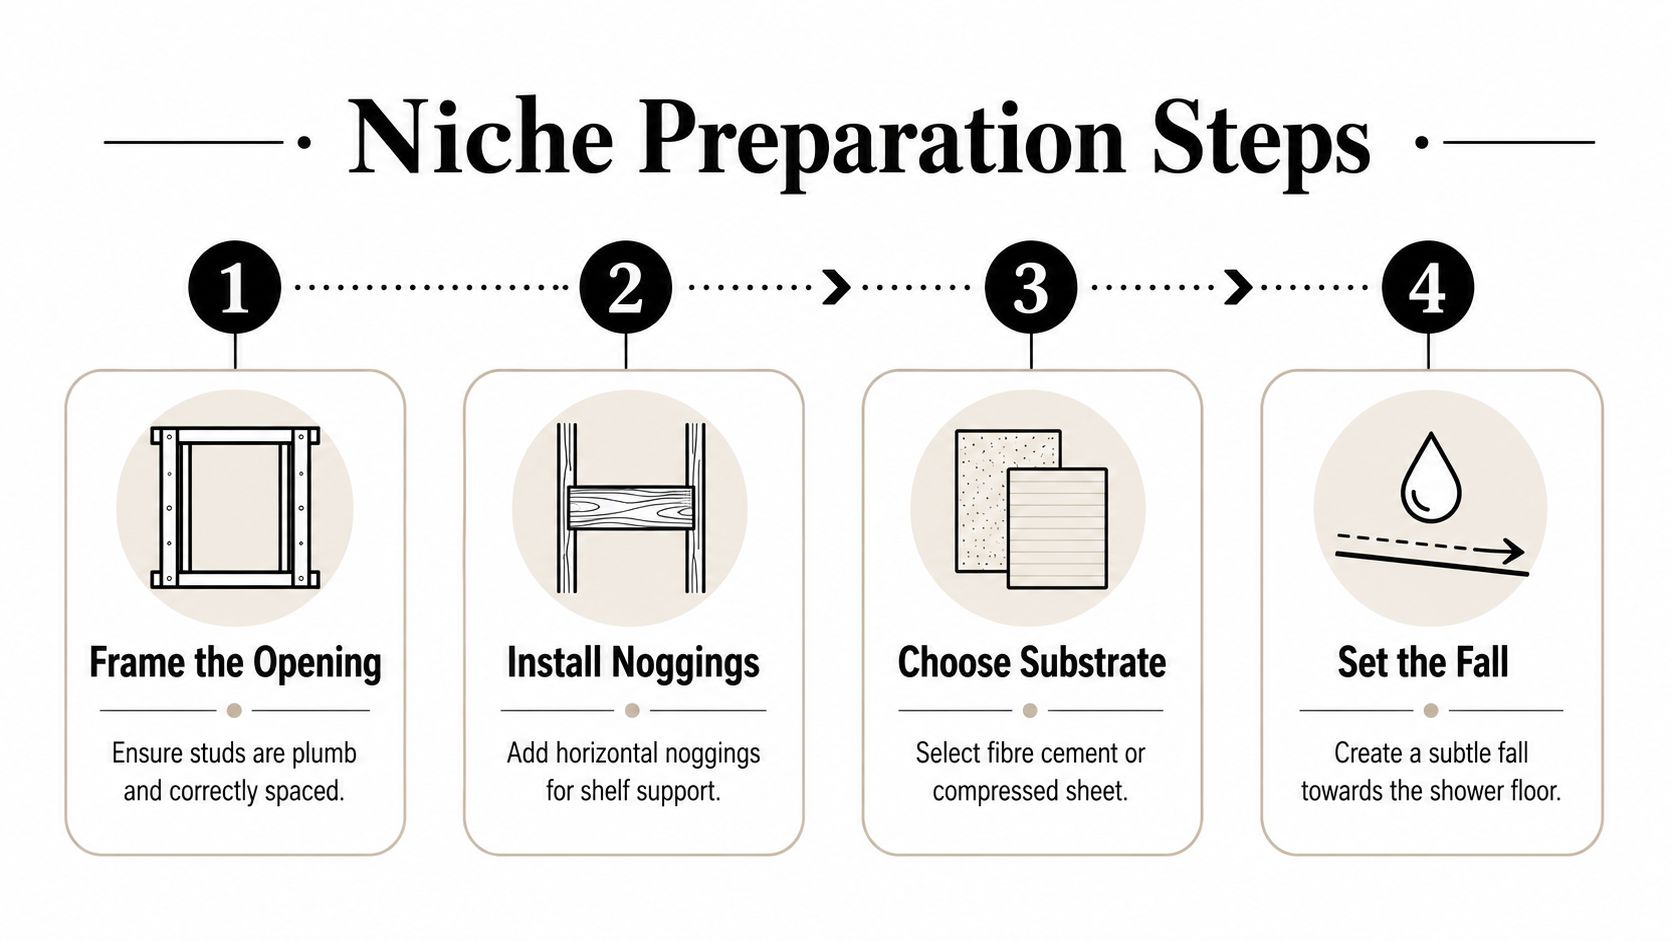
The practical order is straightforward:
- Frame the opening: Make the structure square, plumb, and adequately supported.
- Install noggings: Provide firm support for the shelf and each lining edge.
- Install the substrate: Line every niche face and keep it separated from the opposite wall lining where required.
- Set the fall: Form the base slope before membrane application and confirm that it drains towards the shower.
A short site video can help illustrate the construction sequence, but it doesn't replace the membrane manufacturer's instructions or the registered waterproofer's inspection.
Sheet Membrane Versus Liquid Membrane for a Shower Niche
Both sheet and liquid membranes can produce a reliable shower niche when the products are compatible and the installer follows the system requirements. Neither option fixes poor framing, a flat shelf, contamination, or an unsealed penetration.
| Criterion | Sheet Membrane | Liquid Membrane |
|---|---|---|
| Internal corners | Preformed corners and proprietary tapes can make geometry consistent. | The material conforms to complex shapes but needs careful reinforcement at corners. |
| Application control | Coverage is visible, with overlaps and bonding carrying the main risk. | Coat thickness, drying, and recoating windows carry the main risk. |
| Speed | Fast on prepared, regular surfaces. | Flexible for custom shapes, but requires curing between stages. |
| Common failure | Poorly bonded overlaps, wrinkles, or incomplete corner adhesion. | Thin spots, pinholes, or coating applied before the previous layer is ready. |
| Best fit | A clean, stable niche with a compatible proprietary detailing system. | A complex recess where an experienced applicator can control coverage and curing. |
What works on site
Sheet systems are useful where the niche has crisp, predictable geometry. The membrane is cut to suit the back, sides, top, and base, then joined with compatible tapes or corner pieces. Overlaps must be fully bonded, pressed free of wrinkles, and integrated with the surrounding wall membrane. A sheet that appears to cover the area but isn't properly bonded at an edge is not a finished waterproofing detail.
Liquid polyurethane and acrylic systems are more forgiving around irregular geometry because the coating follows the substrate. That flexibility comes with discipline. The waterproofer needs to apply the specified coats at the specified coverage, allow the correct drying period, and avoid trapping moisture between layers. Cold and humid Melbourne conditions can make rushed recoating particularly risky.
The membrane system should also suit the tile adhesive and substrate. Product instructions govern primers, reinforcement, curing, and compatibility, so choosing a brand from a catalogue without checking the complete system is poor practice. A useful shower waterproofing membrane service overview can help homeowners understand what should be discussed, but the installer still needs to nominate the actual compatible system for the project.
Treat corners and penetrations as separate details
At wall-to-floor and wall-to-niche junctions, the applicator uses compatible fillets, bond-breaker tape, or the proprietary equivalent. These details accommodate movement and help the membrane remain continuous through a change in plane. Mixer outlets, shower penetrations, and niche lights need collars or reinforced detailing, not a casual smear of membrane around the pipe.
The choice between sheet and liquid should follow the geometry, substrate, enclosure, and applicator's demonstrated skill. Brand loyalty is a poor substitute for a complete, documented system.
Flashing, Taping, and the Niche Base That Drains
A niche must drain into the shower, not function as a small tiled shelf that holds water. The membrane covers the back, sides, top, and base, then turns into each junction with compatible fillets or bond breakers. All niche surfaces require waterproofing, with a minimum 1:100 fall towards the shower under the applicable wet-area requirements, as noted earlier.
Form the internal corners
Sharp changes of plane can thin a membrane, leave gaps beneath reinforcement, or crack when the framing moves. The applicator prepares each junction, installs the specified fillet or bond-breaker tape, and dresses the membrane continuously over the detail. Back and side upturns must remain continuous, with no pinholes or open lower corners.
The niche base should slope outward into the shower. A single sloping shelf is easier to clean and inspect than a concealed step or complicated channel. A drained shelf can work, but it adds an outlet, another junction, and another component requiring compatible products and ongoing cleaning. A full-width niche also needs stronger framing and more accurate tile setting than a compact recess.
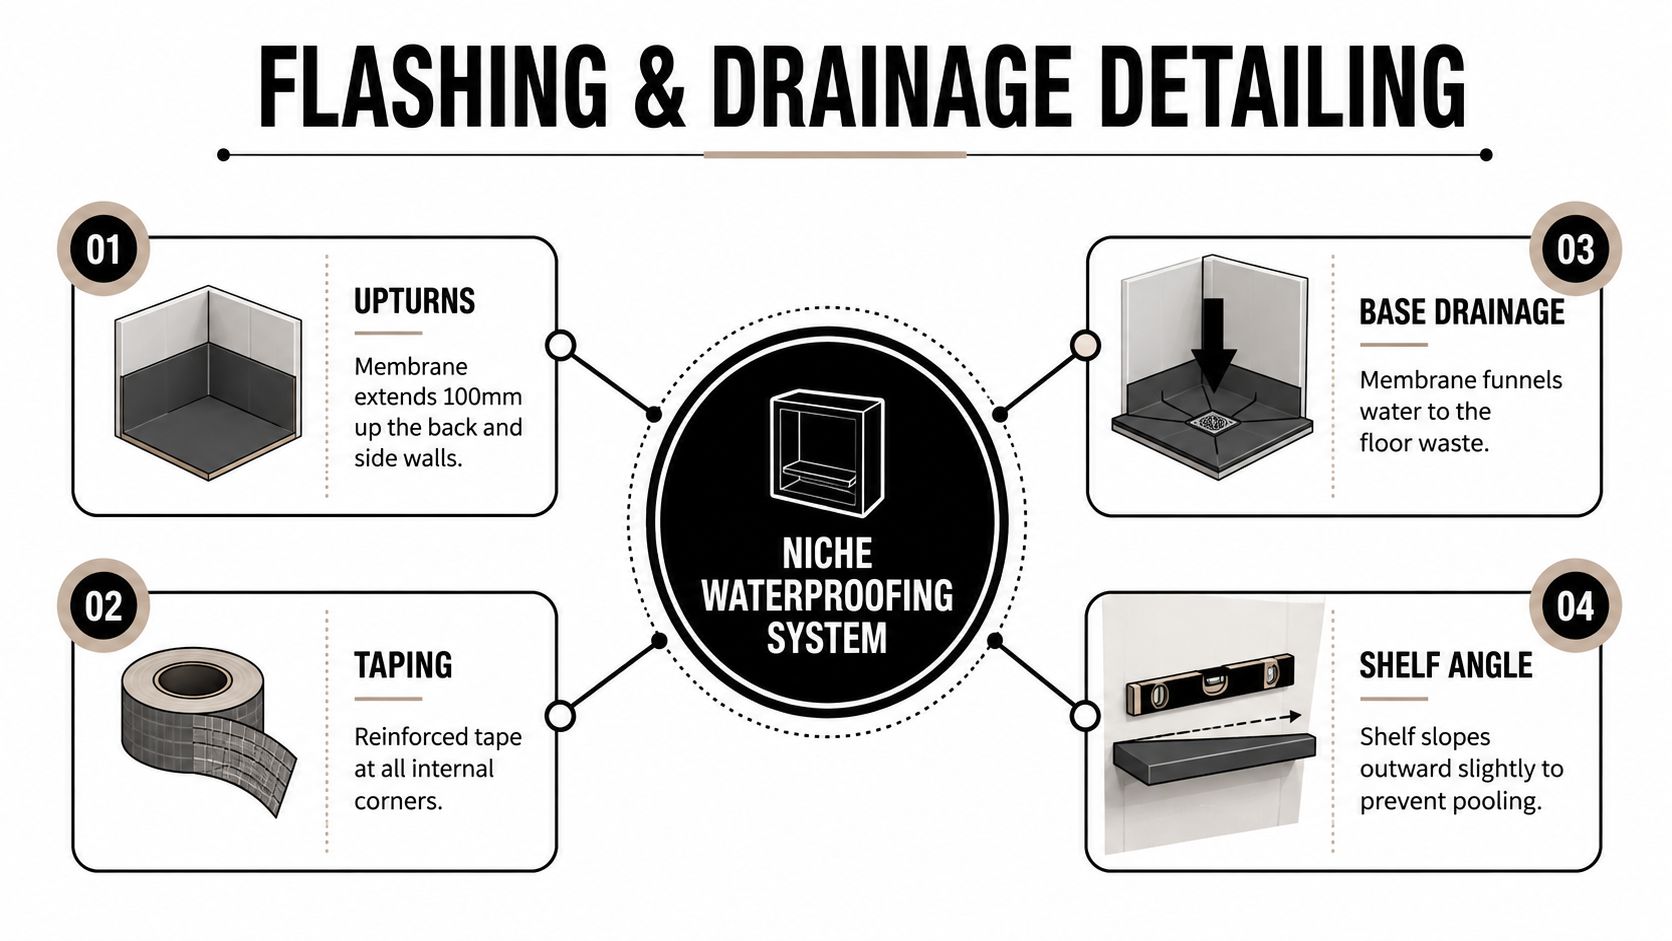
Connect the niche to the floor system
The wall membrane must join the floor membrane, which then dresses into a compatible floor-waste flange or puddle-flange arrangement. Waterproofing is incomplete if it stops short of the waste, finishes behind an unsealed penetration, or leaves the shower-screen line outside the planned wet-area detail.
The main shower floor fall remains between 1:80 and 1:50, or 12.5 mm to 20 mm per metre, under VBA guidance and the AS 3740 framework. A shower drainage installation service should coordinate the waste, screed, membrane, tile thickness, and finished levels. The grate is not a trim item to position after everything else.
Frameless screens change the exposure
Frameless and walk-in screens let more spray reach the wall and niche opening. The screen rail, channel, and fixing line must be planned before membrane application, especially where a waterstop sits beneath the rail. Drilling through a completed tiled wall can breach the waterproofing when the fixing detail was not allowed for during construction.
An enclosed shower contains spray more effectively, but it does not correct poor niche detailing. An open shower exposes more wall area, so the designer, builder, waterproofer, and screen installer need agreed falls and water-containment details before tiling begins. This coordination is where many otherwise neat niches fail.
Leak Testing, Sign-Off, and Documentation Before Tiling
Waterproofing should be inspected before tile adhesive hides it. A visual check looks for missed corners, pinholes, uncoated substrate, damaged membrane, incomplete collars, and poor transitions around the niche. It should also confirm that the shelf still has its intended fall after all reinforcement and coating have been applied.
Run a controlled flood test
Where the construction and project requirements call for it, the shower area can be temporarily flooded and held for the standard 24-hour period. The NCC wet-area waterproofing provisions provide the broader regulatory context for wet-area waterproofing, while the site team must follow the applicable testing method and membrane instructions.
Before filling, the tester marks the water level and protects openings and test drains appropriately. During the hold period, the adjoining room, skirtings, ceiling below, penetrations, and accessible edges should be checked for moisture or movement in the level. A niche may not be the lowest point, so the inspection must cover the whole wet zone rather than focusing only on the recess.
If the test fails, the team shouldn't just dry the area and tile over it. The membrane system needs diagnosis. A localised defect may allow a controlled repair followed by another test, but widespread separation, missing coverage, or a poor floor-to-wall connection can justify removing and rebuilding the wet-zone membrane.
Record the work
A useful handover file includes:
- Photographs: Capture the substrate, niche corners, membrane coverage, penetrations, waste connection, and screen-zone detail before tiling.
- Product records: Keep membrane and primer names, batch numbers, and manufacturer instructions.
- Application notes: Record coat sequence and applied thickness where the system requires it.
- Site checks: Include substrate moisture readings, preparation notes, and inspection dates.
- Test evidence: Note the test method, water level, duration, observations, and any repairs.
Once tiling begins, later diagnosis becomes slower and more destructive. Documentation gives the owner and builder a clear record of what was installed, and it provides useful evidence if a warranty or rectification question arises.
Common Shower Niche Defects, Fixes, and Long-Term Maintenance
A neat tile finish can conceal a badly performing niche. The recurring defects in Melbourne rectification work are usually simple geometry or detailing mistakes, not mysterious product failures.
The failures that keep returning
Ponding on the shelf usually means the base was left level or falls towards the rear. The repair involves removing enough tile to expose the substrate, correcting the fall, reinstating the compatible membrane detail, and repeating the required test before retiling.
Delamination at the back wall can follow inadequate substrate preparation, movement, or a niche lining installed flush against the opposite wall lining where separation was required. The affected lining and membrane may need removal rather than a surface patch.
Perimeter silicone failure allows water behind the finished edge, especially where the joint is contaminated, too thin, or applied to a moving connection without proper preparation. Silicone is a maintenance joint, not a replacement for membrane coverage.
Capillary tracking at mixer penetrations often starts where the pipe collar or seal was omitted. Water follows the small gap around the penetration and travels behind the tile. The correct remedy depends on the extent of damage, but it can require opening the wall around the fitting and reinstating the penetration detail.
Repair or rebuild
Local tile and membrane removal makes sense when the defect is isolated and the surrounding system is documented and sound. A full wet-zone rebuild is often the safer decision where multiple junctions are missing, the floor membrane doesn't connect to the waste, or the substrate has moved. Any repair should include a new inspection and, where required, a repeat flood test.
Maintenance still matters after handover:
- Inspect while cleaning: Look for cracked grout, open silicone, staining, and persistent moisture.
- Maintain flexible joints: Replace failed silicone before water reaches the substrate.
- Avoid excessive shelf loading: Heavy rigid objects can stress a small shelf and its tile edges.
- Keep the recess clear: Remove residue so water can run out rather than sit in corners.
- Report changes early: A stain outside the shower is a reason to investigate, not a mark to paint over.
Melbourne Tiling Services P/L provides bathroom renovations, shower niche waterproofing, screeding, drainage detailing, tiling, frameless shower screens, and leak rectification across Melbourne and greater Victoria, coordinating registered builders and relevant trades for the wet-area scope. For a niche renovation or an existing leak, visit Melbourne Tiling Services P/L to arrange a project discussion and request a quote before the tiles conceal the detail.
Recent Comments