

Getting the exhaust fan installation right is non-negotiable in a bathroom reno. It keeps moisture in check, saves your finishes from damage, and keeps the building inspectors happy. In plenty of Melbourne homes, a cheap, undersized fan is exactly why grout and paint start failing within twelve months. In major bathroom renovations, this task is best left to registered builders who can coordinate all the necessary trades.
Table of Contents
- Why Exhaust Fan Installation Matters in a Bathroom Renovation
- Choosing the Right Fan for Your Bathroom or Ensuite
- Planning the Duct Run, Position, and Penetrations
- Tools, Materials, and Coordinating Trades on Site
- Practical Installation Walkthrough For A Ceiling-Mounted Fan
- Electrical, Permits, and Compliance in Victoria
- Testing, Common Faults, and Long-Term Maintenance
- DIY Versus Hiring a Registered Builder in Melbourne
Why Exhaust Fan Installation Matters in a Bathroom Renovation
We saw this firsthand with a newly tiled ensuite not long ago. The builder had stuck an undersized fan in there, ducting it straight into the roof cavity. The waterproofing membrane ended up holding condensation it was never designed to handle. Mould set in, and the tiles started delaminating within months.
Moisture acts differently in modern, tightly sealed bathrooms. All that warm, humid air rises and hits the cooler ceiling linings and joists, where it condenses. You have to size your ventilation to the actual room volume and the number of air changes you need per hour. For significant bathroom renovations, only registered builders have the expertise to manage the entire process, from structural changes to coordinating electricians and waterproofers, ensuring a compliant and long-lasting result.
Why You Should Treat the Fan as Essential Work
- Stops tile adhesives and grout from breaking down due to constant condensation
- Prevents paint from bubbling and plasterboard from staining
- Keeps mould at bay, which can void warranties and throw insurance claims into chaos
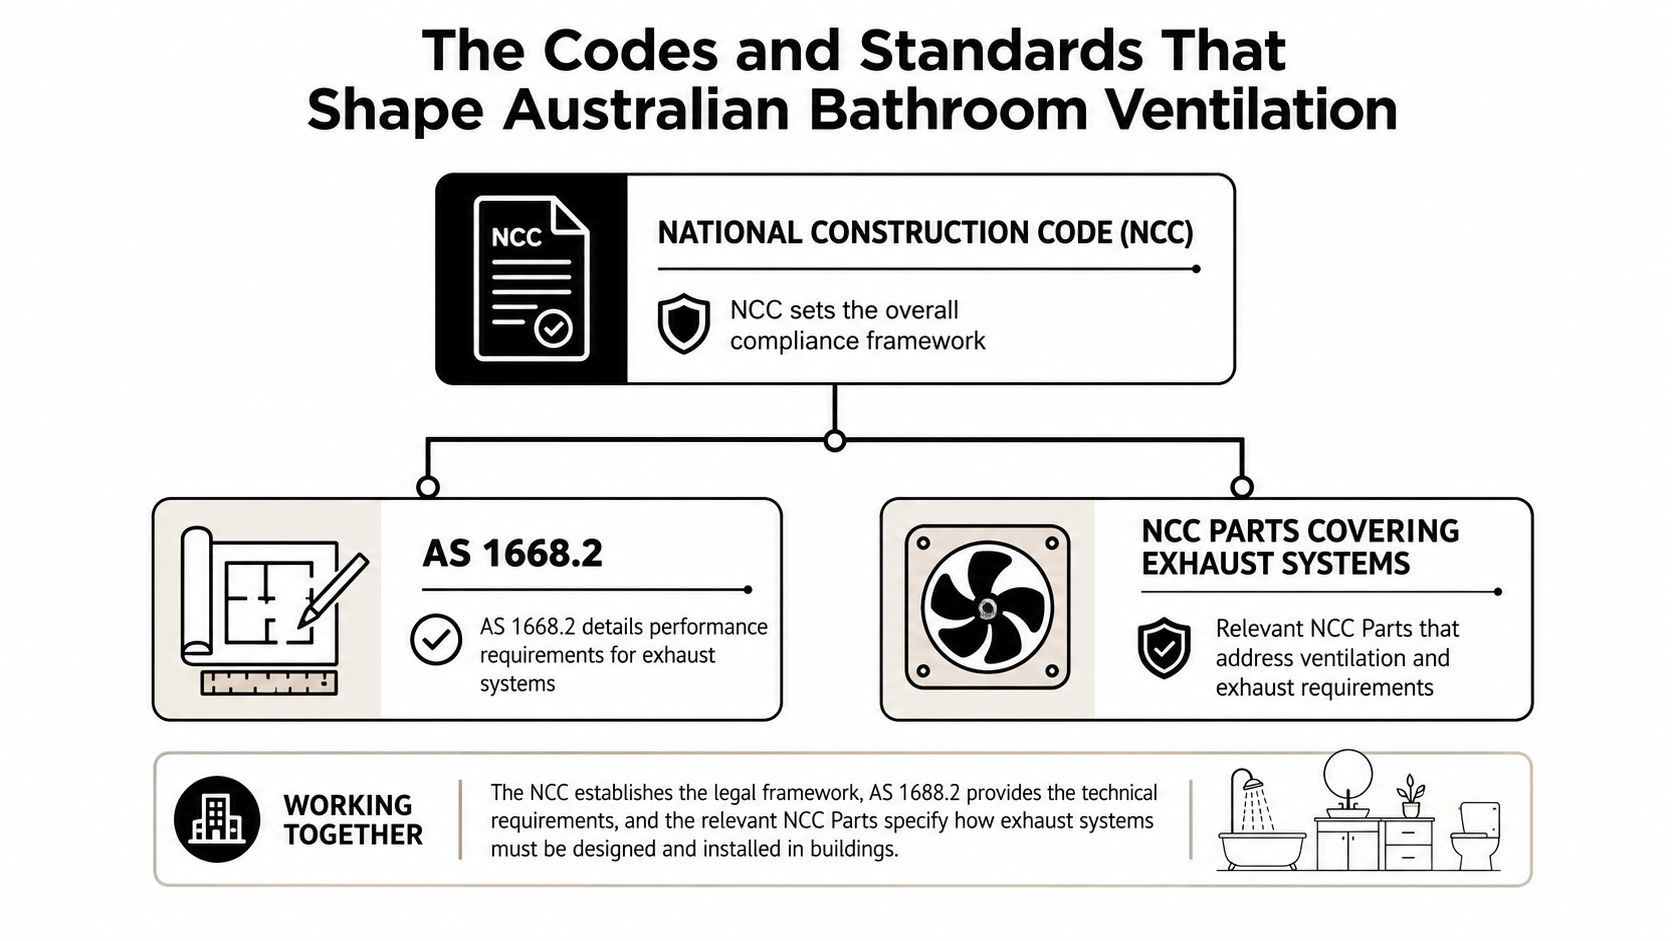
- Guarantees compliance with the National Construction Code and AS 1668.2 ventilation standards
For registered builders, the fan sits on the same checklist as the waterproofing sign-off. Getting the electrician, plumber, and tiler coordinated at the rough-in stage saves a massive headache. It drastically cuts the risk of someone drilling through a cured membrane or putting the isolator switch in the wrong spot.
Always specify a bathroom fan that fits the renovation sequence, ensuring your waterproofing, tiling, and ceiling linings stay fully protected.
Real-world scenarios to consider:
- Working with a tight ensuite? Go for a higher L/s capacity fan with a humidity sensor to stop chronic condensation before it starts.
- Got a short duct run? A quiet, high-capacity ceiling fan will always outperform a low-power unit fighting a long flex run.
For a deeper dive into airflow standards, check out our guide on Bathroom Ventilation Requirements.
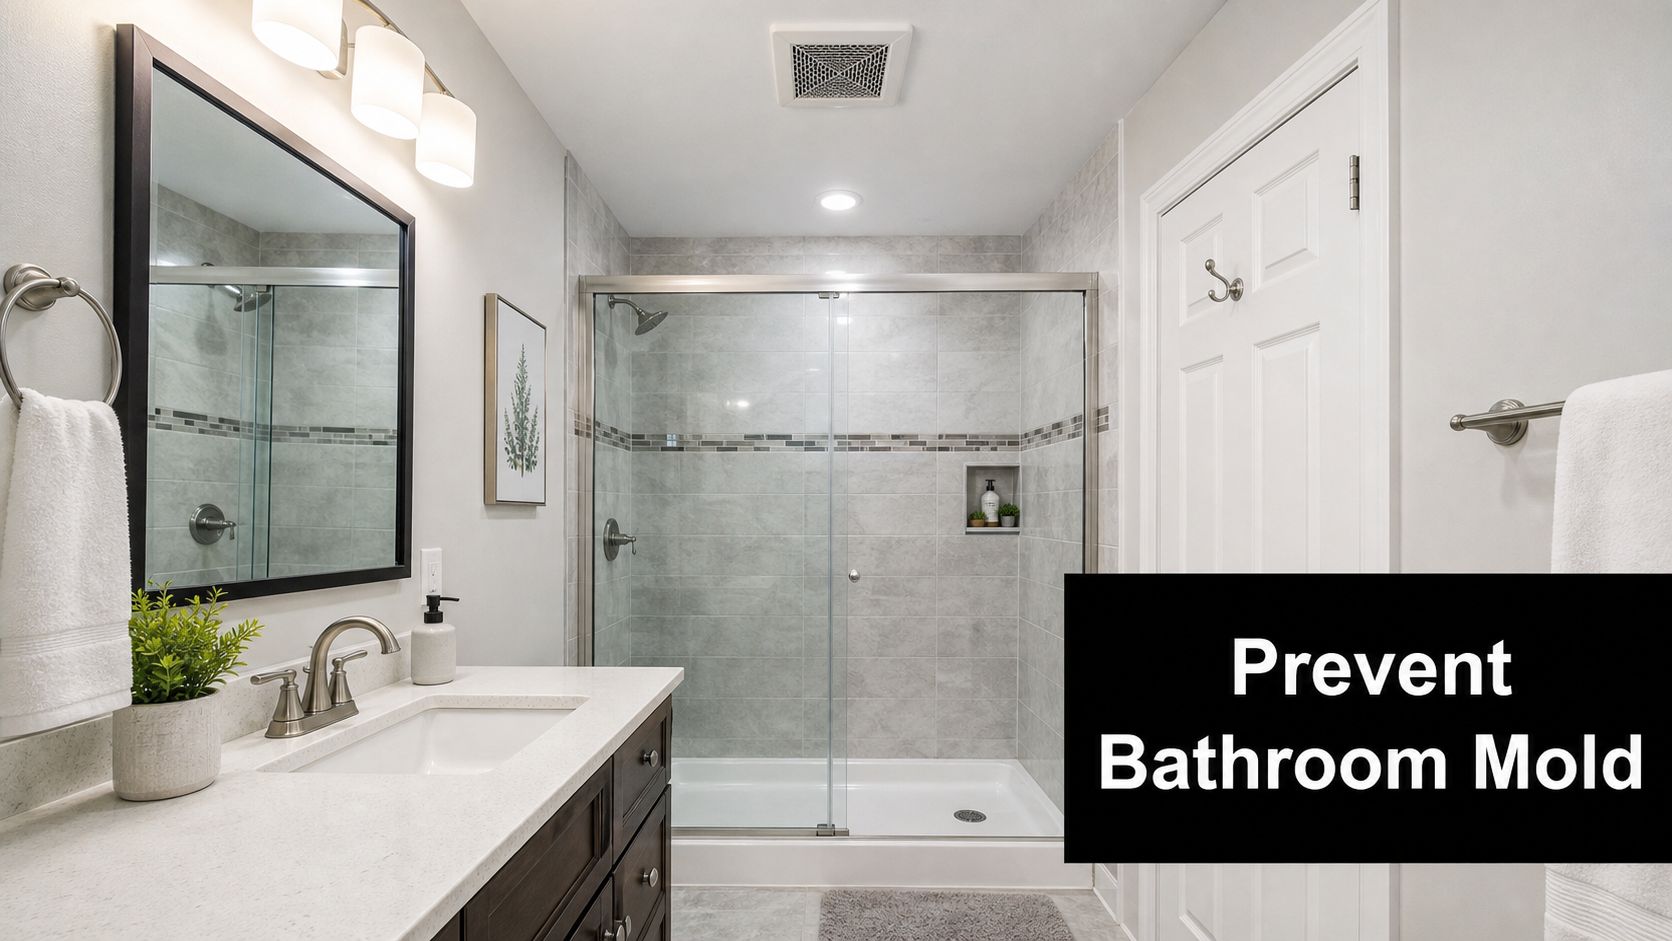
Choosing the Right Fan for Your Bathroom or Ensuite
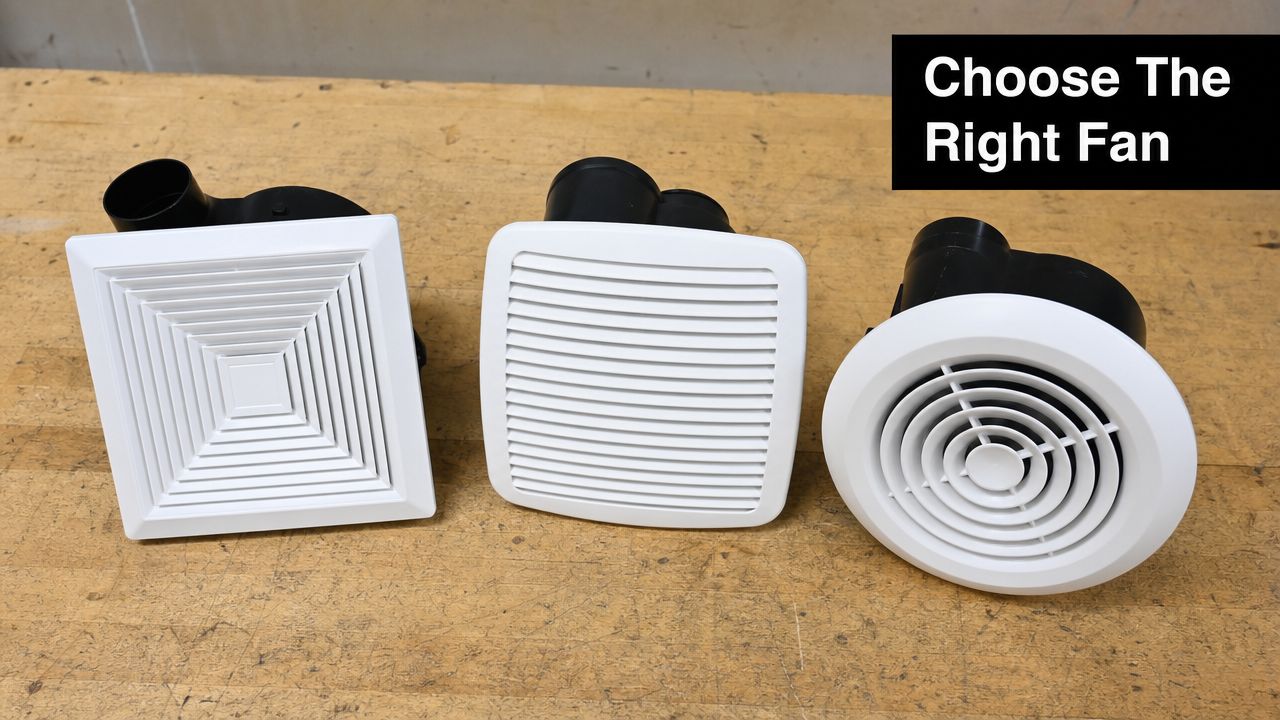
Start by sizing the fan to your room volume and target air changes rather than relying on brand marketing. For a small ensuite, a quieter unit with smart controls will serve you better than raw power, while family bathrooms typically need sustained extraction during showers. This is a critical decision during bathroom renovations, where a registered builder can help select the most appropriate unit for the space.
A practical rule I've seen work well on Melbourne renovations is to follow the AS 1668.2 guidance so moisture never overwhelms your finishes. Bathroom exhaust fans should achieve a minimum of 25 litres per second for rooms up to 12 m², rising to 40 L/s for larger bathrooms — this ensures the fan can clear humid air within the recommended air change rates. Learn more about these ventilation findings.
You'll need to decide between continuous-rated fans for whole-house or long-run ventilation and intermittent-rated units for short bursts after showers. Continuous fans can reduce condensation risk in tightly sealed homes, while intermittent fans work perfectly fine for powder rooms.
Fan Types and Noise Considerations
Noise becomes a real issue in bedrooms-adjacent bathrooms. Look for ratings in sones or decibels and aim for models under 1.5 sones for ensuites near sleeping areas. Mixed-flow inline fans tend to be quieter and more energy efficient when you're dealing with a long duct run.
- Three-speed fans give you the flexibility to balance quiet background ventilation with higher extraction for post-shower runs.
- Humidity-sensing fans automate performance and often reduce runtime, which saves energy.
Matching Fan to Room Size
| Room Size | Typical Minimum L/s | Recommended Fan Type |
|---|---|---|
| Up to 6 m² | 25 L/s | Quiet intermittent ceiling fan |
| 6–12 m² | 25–30 L/s | Three-speed or humidity-sensing unit |
| >12 m² | 40 L/s | Inline mixed-flow or high-capacity ceiling fan |
A fan with a backdraft damper and easy-clean grille pays dividends over time — fewer service visits and better long-term performance.
Checklist for Renovation Projects
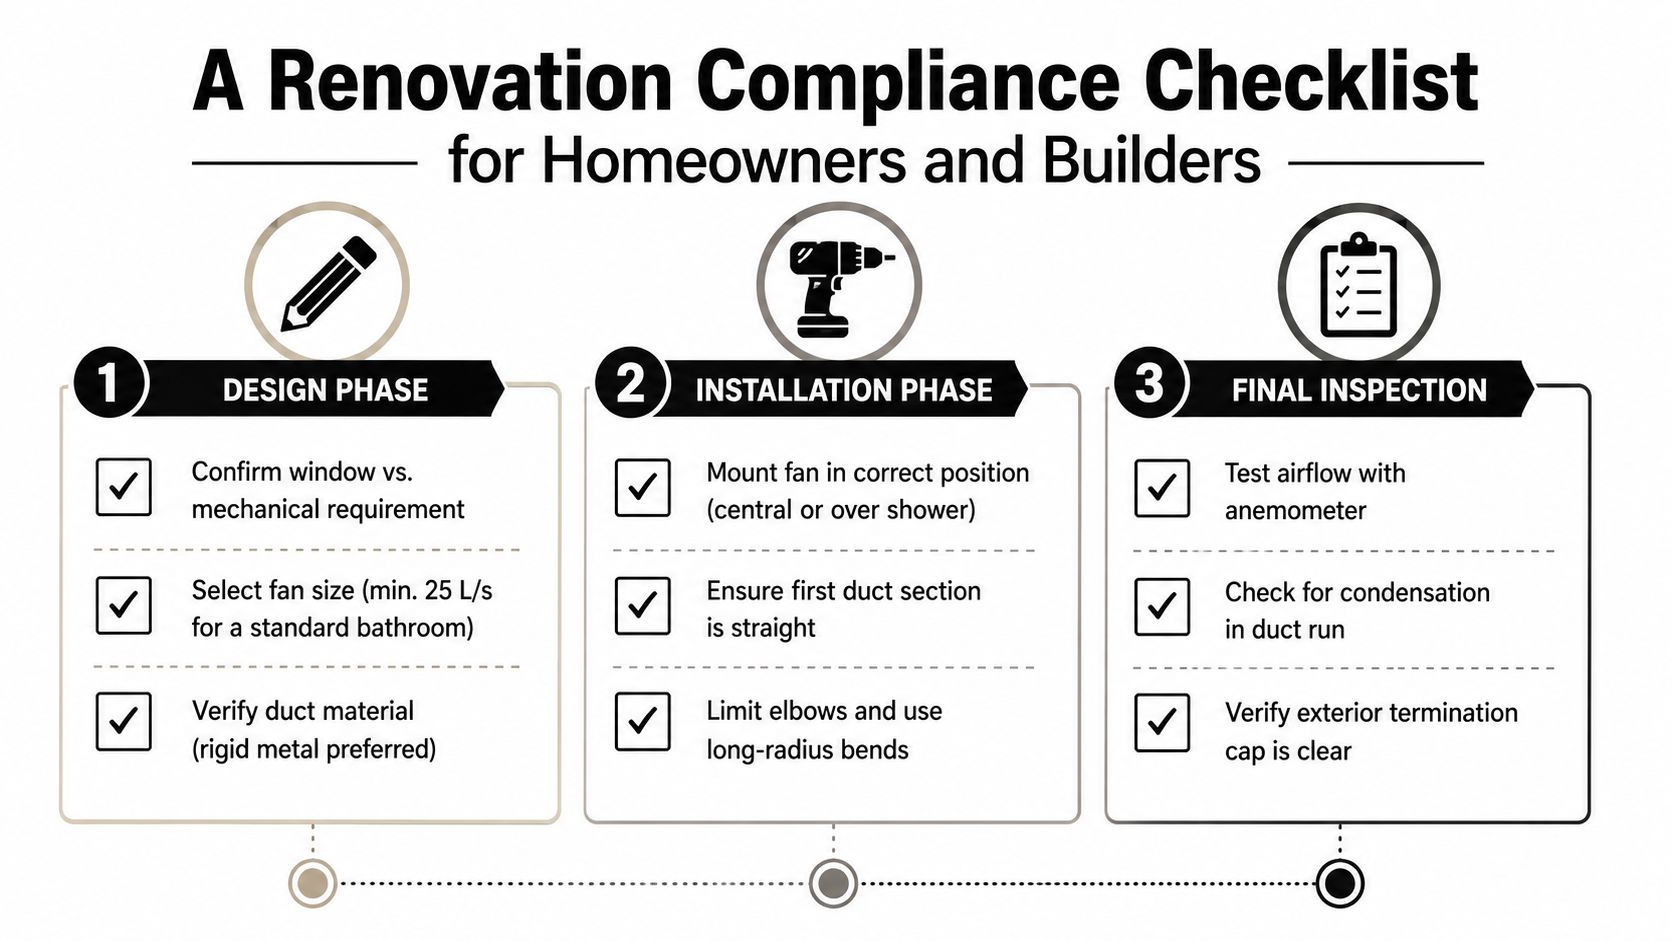
- Confirm your L/s requirement and match it to AS 1668.2 guidance.
- Prefer humidity sensors for sealed bathrooms.
- Specify an IP rating suitable for the fan location.
- Require a built-in backdraft damper and removable grille for cleaning.
These choices align with how registered builders coordinate ventilation on site and protect waterproofing and tiling through the renovation sequence.
Planning the Duct Run, Position, and Penetrations
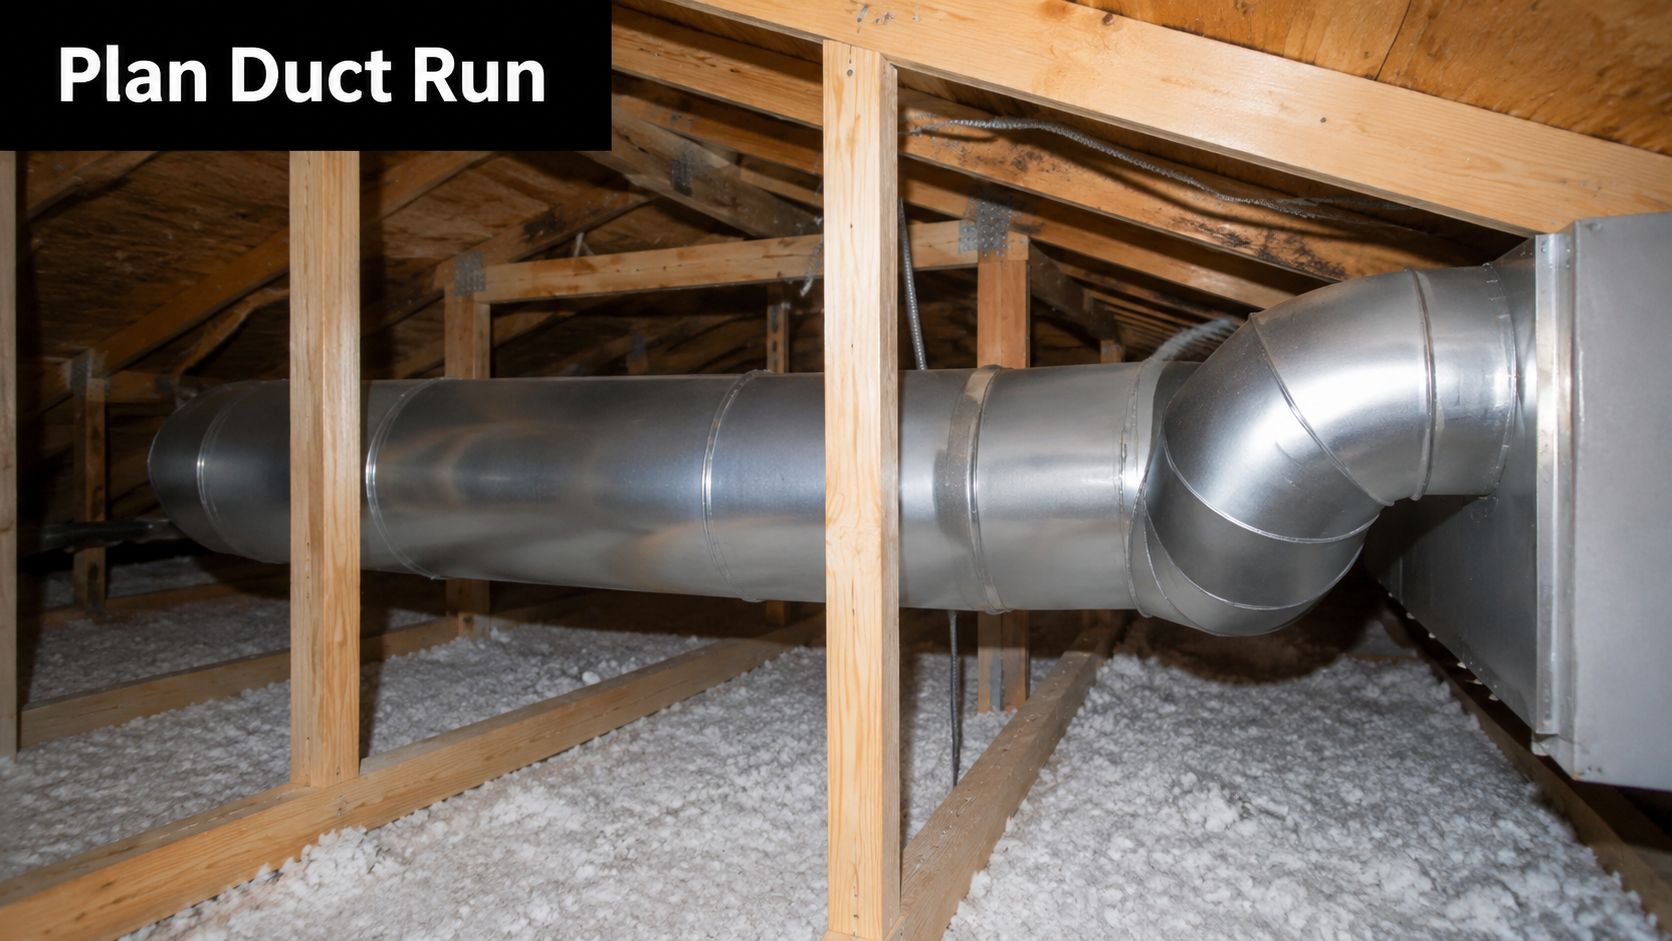
Getting the fan position right makes or breaks the whole setup. Aim to sit the grille roughly 600–900 mm from the shower head so you're pulling steam out before it drifts across the room. That proximity cuts extraction time noticeably and stops moisture from settling on the ceiling plaster. In an ensuite with a 2.4 m ceiling, for instance, centring the grille over the shower recess rather than tucking it near the wall makes a visible difference in how quickly the mirror clears.
Once you've picked your spot, keep the first 900 mm of duct run dead straight. Any bend too close to the fan inlet chokes the airflow and costs you rated litres-per-second performance. A clean, straight lead lets the fan hit its spec without needing to upsize the motor.
Practical Duct Choices
Rigid smooth-bore duct is the honest winner here. It moves more air and you can actually get a brush through it when lint builds up over the years. Flexible duct has its place, but it sags between joists and can chew through 10–30% of your airflow depending on how much it deflects. If you're working in a tight ceiling cavity, a short rigid stub into an elbow beats a long stretch of flex every time.
A sagging flex run is the single most common reason retrofit fans underperform. You can spec the best motor on the market and still lose the battle if the duct is pooling water and collapsing between rafters.
Routing Through Tight Victorian Ceilings
Low-set Victorian-era ceilings don't give you much room to play with. Downlights, beams, and cable trays crowd the cavity, so you need to plan vertical drops carefully. Try to run the duct alongside existing framing rather than crossing through service zones. If the roof space above is genuinely inaccessible, mounting an inline fan at the soffit lets you relocate the noise source outside the living area altogether.
Before cutting any penetrations, sit down with your registered builder and agree on the termination point. You want to dodge waterproofing laps and fire-rated elements, and the timing matters—penetrations need to happen during rough-in, not after the membrane has been applied and cured. Otherwise someone's drilling through waterproofing that's already signed off.
Common Duct Termination Options Compared
Each termination style carries trade-offs around airflow, weather resistance, and cost. The right pick depends on your roof type, storey count, and how exposed the external wall is.
| Termination Type | Airflow Loss | Weather Exposure | Typical Cost | Best Fit For |
|---|---|---|---|---|
| Wall cap | Low | Medium | Low | Single-storey homes |
| Roof cowl | Medium | High | Medium | Double-storey or tiled roofs |
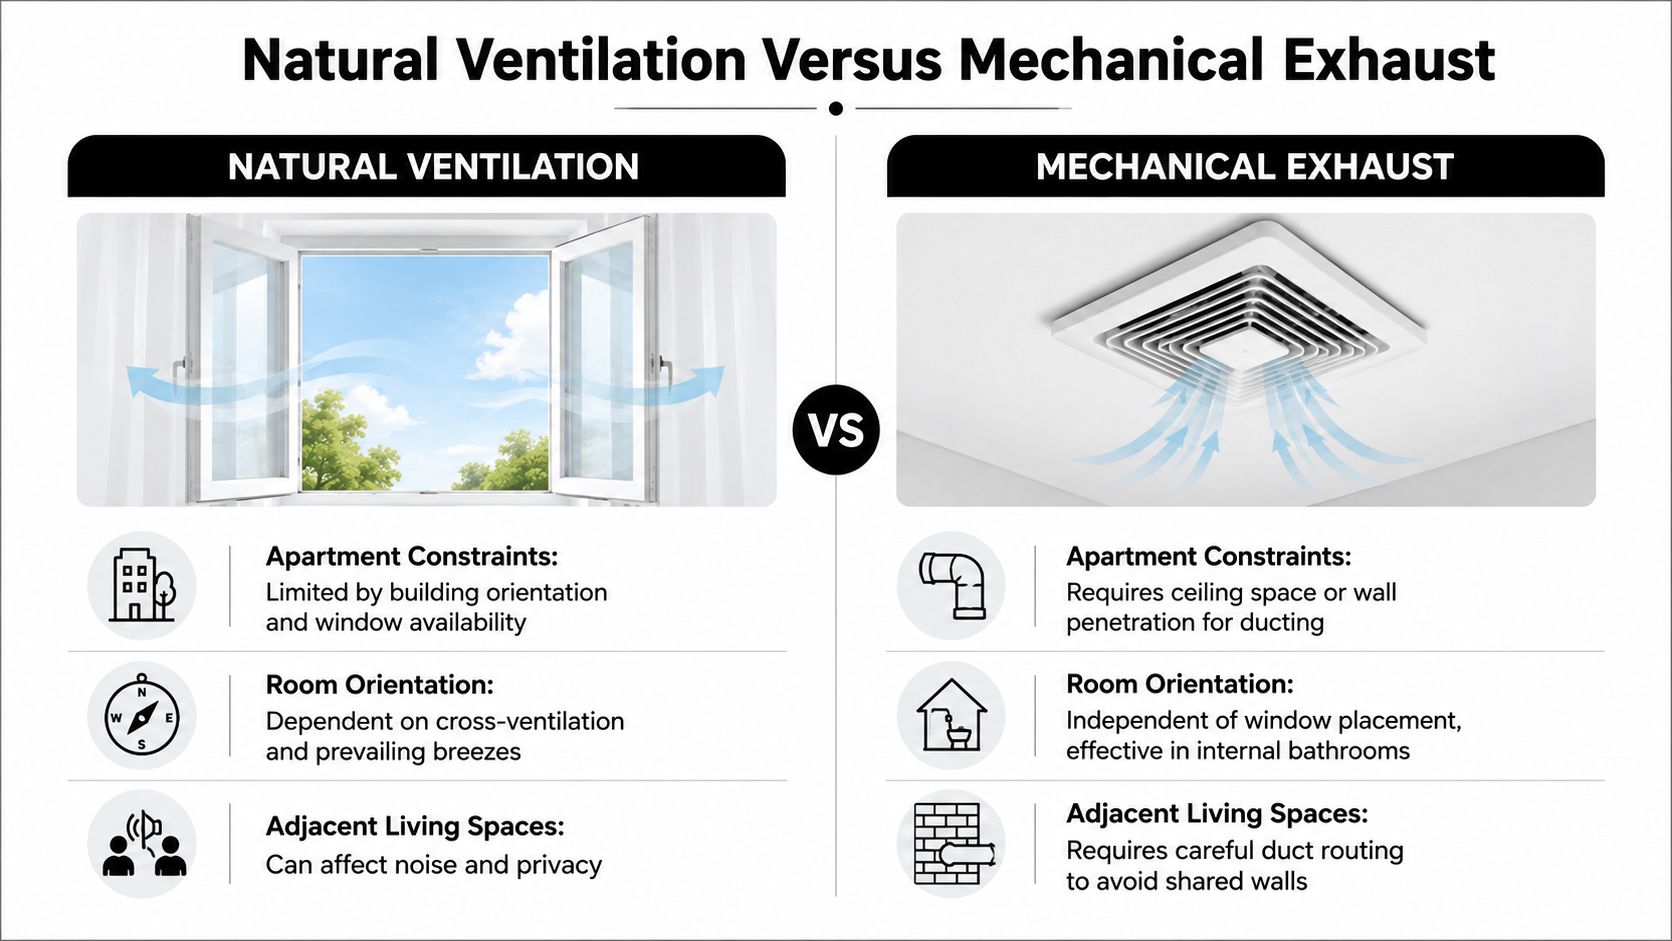
| Soffit vent with inline fan | Low | Low | Higher | Tight ceilings, apartments |
Wall caps work fine on single-storey brick veneer where the run is short and the exterior wall is sheltered. Roof cowls handle double-storey or steep tiled roofs better, though they catch more wind-driven rain. Soffit termination with an inline fan costs more upfront but suits apartments and tight ceiling cavities where you can't afford to lose airflow through a long run.
Practical Examples
- Short run under roof battens: use 100 mm rigid duct with an insulated elbow.
- Long attic run up to a roof cowl: a mixed-flow inline fan keeps motor size and noise down.
- Apartment balcony termination: soffit vent with a damper to stop cold air pushing back through the duct.
Numbered Checklist
- Map the duct route to avoid downlights and existing service runs.
- Specify rigid duct for the first 900 mm, then minimise flex.
- Lock in your termination type with the registered builder before anyone cuts a penetration.
Nail this planning stage and your exhaust fan installation will run reliably for years—without anyone having to patch up compromised waterproofing halfway through the bathroom renovation.
Tools, Materials, and Coordinating Trades on Site
Getting an exhaust fan installed properly isn't just about the fan itself — it's about making sure the carpenter, electrician, waterproofer, and tiler all show up in the right order. Nail the sequencing early and you'll avoid the kind of rework that blows out timelines and budgets. This level of coordination is a core part of comprehensive bathroom renovations handled by registered builders. Rough-in happens after framing but before plaster goes up, and final fit-off waits until tiling and paint are completely finished.
Before anyone sets foot on site, the registered builder or renovation specialist typically arrives with a fairly specific kit:
- Hole saws matched to the fan collar, plus spare blades for plasterboard and fibre cement
- Stud finder and contour gauge to steer clear of joists and hidden services
- Cordless driver, vibration-reducing screws, and adjustable mounting brackets
- Acoustic foam gaskets, anti-vibration brackets, and acoustic-rated duct hangers to keep noise transfer down
- Rigid duct sections, insulated elbows, and aluminium foil tape with flexible clamps for airtight joints
- Exterior vent with an integrated backdraft damper and weather collar suited to either roof or wall termination
- Fire-rated sealant and intumescent collars for any penetration through a fire-rated ceiling assembly
- IP-rated isolator switch and labelled circuit breakers for electrical safety
A few practical on-site habits save a lot of headaches. Agree with the waterproofer exactly where penetrations will sit — nobody wants to drill through a cured membrane. The tiler needs the ceiling finished and fully cured before wall tiles near a shower area go up. And split the electrical visits: one for the rough-in cable to the isolator, another for the final connection once the fan housing is mounted.
Common DIY Misses
Some mistakes come up again and again. Forgetting acoustic gaskets is a big one — without them, you'll get rattle through the ceiling linings that drives everyone mad. Using normal cloth tape instead of aluminium foil tape is another; cloth tape degrades and undermines airflow ratings over time. And skipping a backdraft damper on roof terminations means cold air pours straight back in on winter nights.
When getting a quote from a renovation specialist like Melbourne Tiling Services P/L, make sure it includes a clear materials list, sequencing milestones, electrical certification, waterproofing sign-off, and a warranty on the ventilation work.
Checklist for Quotes
- Itemised fan model and L/s rating
- Duct type and termination chosen
- Trades schedule and sign-off milestones
- Certificates from electrician and waterproofer
Practical Installation Walkthrough For A Ceiling-Mounted Fan
Start by marking the cut-out between the joists, then scan the area with a stud finder and an insulating camera to check for hidden cables or plumbing. On a standard 2.4 m ceiling, you'll want to centre the grille about 600–900 mm from the shower — close enough to grab steam before it spreads across the room. Always check for services first, then confirm your joist spacing before making any cuts.
Cut the ceiling opening with a hole saw matched to the fan collar size, clear away the dust, and test-fit the housing before you touch the waterproofing. This is where experienced builders take a measured approach: rough-in before the plaster goes up, then do the final fit-off once the tiling and paint have fully cured.
Mount the housing on adjustable brackets and fix it to the joists with vibration-reducing screws. For short duct runs, keep the first 900 mm rigid and straight, then connect the duct to the fan outlet with a short straight section before the first elbow. Use clamps and aluminium foil tape on every joint to keep things airtight.
- Slip acoustic foam gaskets between the housing and ceiling to kill any rattle or vibration.
- Fit an intumescent collar when you're penetrating a fire-rated ceiling, and make sure the registered builder signs off on the penetration.
Run the mains cable to an isolating switch positioned within sight of the bathroom entry. Leave the final connection to a licensed electrician — that's the requirement under Victoria regulations. Always isolate the circuit at the switchboard and test with a residual current device when you're commissioning the fan.
Waterproofing And Tiling Crossover
Waterproofing, paint, and tile adhesives need to be completely cured before you fit the grille. If the fan cover goes on too soon, you trap solvents and moisture against the roof lining and tiles, which can lead to delamination and void your warranty.
A properly sequenced install prevents rework and protects the waterproofing sign-off from the registered builder
On a recent ensuite job, we left the grille off for a full 7 days after tiling. That gave the paint time to cure without staining, and it let the tiler get back in for any edge touch-ups if needed. Once everything's ready, seat the grille, run a smoke pencil test to confirm extraction is working, and hand over the certificates of electrical safety and waterproofing to close out the job.
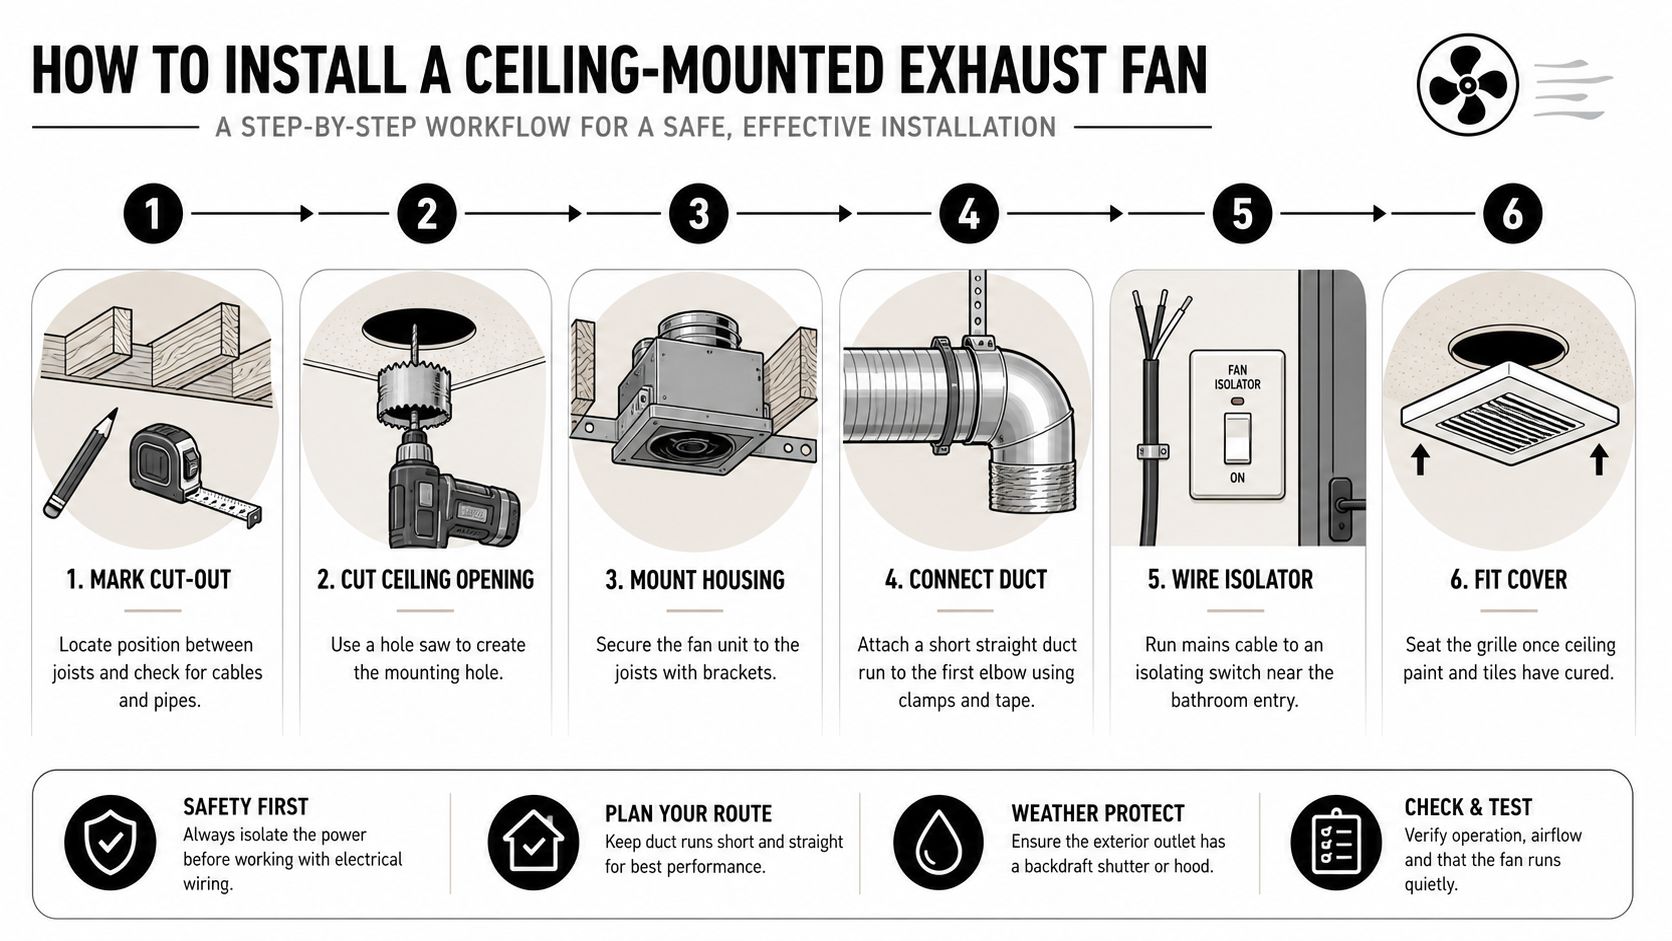
The infographic visualises the six-stage workflow from marking the cut-out to fitting the cover, clarifying sequencing and critical checks.
Key insight — keeping the first duct run straight and coordinating sign-off with the registered builder are the two actions that prevent most post-install faults.
Electrical, Permits, and Compliance in Victoria
When it comes to bathroom renovations in Victoria, the rules around electrical work are non-negotiable, especially in wet areas. While you might be keen to tackle the installation yourself, it's crucial to understand where the DIY line is drawn and when you absolutely must call in the professionals.
Any new wiring, changes to existing circuits, or switchboard modifications for a fixed appliance like an exhaust fan must be done by a licensed electrician. They are the only ones who can legally perform the final connection and provide a Certificate of Electrical Safety, which is your proof of a safe and compliant installation.
You'll also notice a specific rule about the fan's isolation switch. In Victoria, it must be located within sight of the bathroom entry. This isn't just a random requirement; it’s a critical safety measure linked to IP zoning, ensuring anyone can quickly kill the power before entering a potentially hazardous wet zone.
How IP Ratings Affect Fan Placement
Choosing the right fan isn't just about airflow; it's about safety. Every fan has an IP (Ingress Protection) rating, which tells you how well it’s sealed against solids (like dust) and liquids (like water and steam).
The fan you choose must have an IP rating suitable for its specific location, or "zone," within the bathroom. A fan directly over a shower, for instance, will need a much higher rating than one mounted on the ceiling in the middle of the room, far from any direct spray. Getting this right prevents corrosion, dangerous short circuits, and potential headaches with your insurance down the track.
Don't be surprised if your licensed electrician or registered builder insists on a specific IP-rated fan. They’re protecting you—and their own licence—by ensuring the installation won’t cause warranty or resale nightmares later on.
When Do You Need a Building Permit?
A simple fan swap-out probably won't require a permit. However, if your project involves structural changes like cutting new joists, penetrating the roof for ducting, or installing new waterproofing, a building permit is almost always necessary. Bathroom renovations often fall into this category.
The Victorian Building Authority (VBA) has strict requirements, especially around waterproofing and coordinating different trades on a single project.
- You'll likely need to engage a Registered Unlimited Builder if the job involves modifying plasterboard, altering the roof structure, or tying into existing waterproofing.
- The builder's role is to act as the head contractor, coordinating the electrician, plumber, tiler, and waterproofer to ensure everything is done in the correct sequence and to Australian Standards.
Your Handover Paperwork Checklist
Once the dust settles and the job is done, make sure you have all the essential compliance documents in hand.
- The Certificate of Electrical Safety from your electrician.
- A Waterproofing Compliance Report signed off by the licensed waterproofer.
- All final paperwork from your registered builder, detailing the trades involved and any inspections passed.
For a deeper look at waterproofing expectations and how they tie into exhaust fan installation, check out our guide on Waterproofing in Melbourne.
Testing, Common Faults, and Long-Term Maintenance
Once the fan is wired and the grille is fitted, the job isn't quite done. A few post-install checks make the difference between a fan that performs reliably for years and one that becomes a nagging headache. Grab a smoke pencil and hold it near the grille — you want to see that smoke get pulled straight in without hanging or drifting sideways. If it doesn't, the problem is almost certainly in the duct or the damper, not the electrics. That simple test tells you exactly where to focus your attention.
While the fan is running, pay attention to what you hear. A steady, low hum is what you're after. Rattles, clunks, or a metallic ringing usually point to loose clamps, a housing that hasn't seated properly, or a section of flex duct that's sagging and vibrating. Tighten the brackets, slip in some acoustic foam gaskets, and re-route any pooled flex to see if the noise clears up.
- Fan runs but extraction is weak
- Look for crushed or kinked ducting and pull out any sagging sections.
- Check taped joints for gaps and reseal with aluminium foil tape.
- Make sure the first 900 mm of duct is rigid and straight — this alone can restore the rated L/s.
A common service-call pattern is a fan that runs fine but extracts poorly — in almost every case the duct lost the battle, not the motor.
If you notice condensation dripping from the cover, the duct is likely missing insulation in the roof space. Slip on an insulated duct sleeve and check that the roof cavity has proper vapour control. On colder nights, backflow often traces back to a failed damper — either replace it or fit a correctly sized backdraft assembly.
Simple Annual Maintenance Every Homeowner Can Do
- Pop off the grille and give it a wash in warm soapy water.
- Vacuum the impeller from the room side using a small crevice tool.
- Run the smoke pencil test again and listen for any new noises.
If extraction has dropped off spec, note it down and get a technician to do a flow measurement. For registered builders and renovators in Victoria, keep your certificates of electrical safety and waterproofing accessible — they're invaluable when you need to figure out whether a fault came down to installation sequencing or a material failure.
Case example: A recent Melbourne ensuite call turned up a failing damper and uninsulated duct run. Replacing the damper and insulating the duct brought performance back to 40 L/s, stopped the nightly backflow, and protected the tiled finish for years to come.
DIY Versus Hiring a Registered Builder in Melbourne
Deciding whether to tackle an exhaust fan installation yourself or bring in a professional usually comes down to scope and risk rather than just the bottom line. Swapping out an old ceiling fan for a new one on an existing duct run is a realistic weekend project for a handy homeowner with basic tools and a multimeter. You'll skip the permit paperwork and can often keep parts costs under $200, which is a decent saving.
But once you start cutting new holes through the roof or wall, disturbing waterproofing membranes, or adding circuits to the switchboard, the equation changes fast. These jobs affect your home's warranties and compliance under Victorian regulations. This is where bathroom renovations cross into territory best handled by registered builders. In Melbourne, labour rates also climb when ceiling access is awkward or the duct run stretches across a long distance.
When to Hire a Professional
- New duct penetrations through the roof or wall
- Work that alters waterproofing membranes
- Full switchboard or circuit additions requiring a Certificate of Electrical Safety
- Bundled bathroom renovations where sequencing matters
Hiring a registered builder often saves money overall by protecting the waterproofing warranty and coordinating trades.
Making the Call
Start by listing every task involved and flag anything that touches the membrane or structure. Then get a fixed quote that breaks down the fan model, ducting, electrical certification, and how the work will be sequenced. If the savings from going DIY come in under $500, it's usually worth handing it to a builder to protect your warranty and resale value.
You might be interested in learning more about bathroom renovation specialists at Melbourne Tiling Services P/L bathroom renovation specialists.
For reliable, registered builder coordination and full compliance, contact Melbourne Tiling Services P/L at https://melbournetilingservices.com.au

Recent Comments