
You notice it in small ways first. A faint musty smell after a shower. Grout that never seems to dry properly. A paint bubble on the ceiling below. By the time water shows itself, it has usually been travelling for a while.
That's what catches people out in bathroom renovations. The tiles still look good. The tapware still shines. The room feels finished. But the part that decides whether the bathroom lasts is buried underneath all of that. It's the shower waterproofing membrane.
In Melbourne, that hidden layer matters even more than is commonly understood. Bathrooms deal with daily water exposure, cleaning chemicals, movement in the building, and stop-start drying conditions. Add variable humidity and cold spells, and rushed work gets exposed fast. A shower can look perfect on handover day and still be heading towards failure if the membrane was applied badly, cured poorly, or installed without proper falls to the drain.
If you're planning a bathroom renovation, fixing a leak, or comparing registered builders, this is the part worth understanding before a single tile goes on the wall.
Table of Contents
- The Hidden Threat in Your Bathroom
- The Unseen Shield What Is a Waterproofing Membrane
- Choosing Your Armour Sheet vs Liquid-Applied Membranes
- The Rulebook Meeting AS 3740 and Builder Compliance
- Why Waterproofing Fails and How to Prevent It
- The Full Picture Cost Compatibility and Maintenance
- Your Renovation Checklist Hiring the Right Professional
The Hidden Threat in Your Bathroom
A leaking shower rarely starts with a dramatic flood. More often, it starts with a pinhole weakness somewhere no one can see. Water gets past a junction, sits under tile, works into a wall cavity, and keeps going. Months later, the owner is staring at swollen skirting, lifting paint, or a dark patch in the room next door.
That's why I tell clients the shower membrane is the essential bathroom, and the tiles are just the finish. The membrane is the layer doing the hard work every day. If it fails, the rest of the bathroom becomes decoration over a defect.
Where the trouble usually starts
Most failures come from one of a few places:
- Wall to floor junctions: Movement and water pressure converge.
- Around the drain: If the system doesn't direct water properly, moisture hangs around where it shouldn't.
- Penetrations: Shower roses, mixers, spouts, and pipes interrupt the surface and need proper sealing.
- Hobs, niches, and corners: These details look simple on a plan, yet poor workmanship often becomes evident.
A bathroom can survive a chipped tile. It won't survive a failed waterproofing system.
A shower leak is rarely about one bad tile. It's usually about one broken chain in a waterproofing system.
Why cosmetic finishes fool people
Tiles, grout, silicone, and water-resistant linings all have a job, but none of them replaces membrane work. Grout absorbs moisture. Silicone ages. Tile assemblies move. If the waterproofing behind them isn't continuous, water finds the break.
That's what makes this part of bathroom renovations so often botched. Owners can compare tile colours and tapware brands easily. They can't see dry film thickness, curing discipline, or whether the membrane was detailed correctly around a puddle flange.
The result is simple. The most important layer in the room is also the easiest one for a rushed contractor to hide.
The Unseen Shield What Is a Waterproofing Membrane
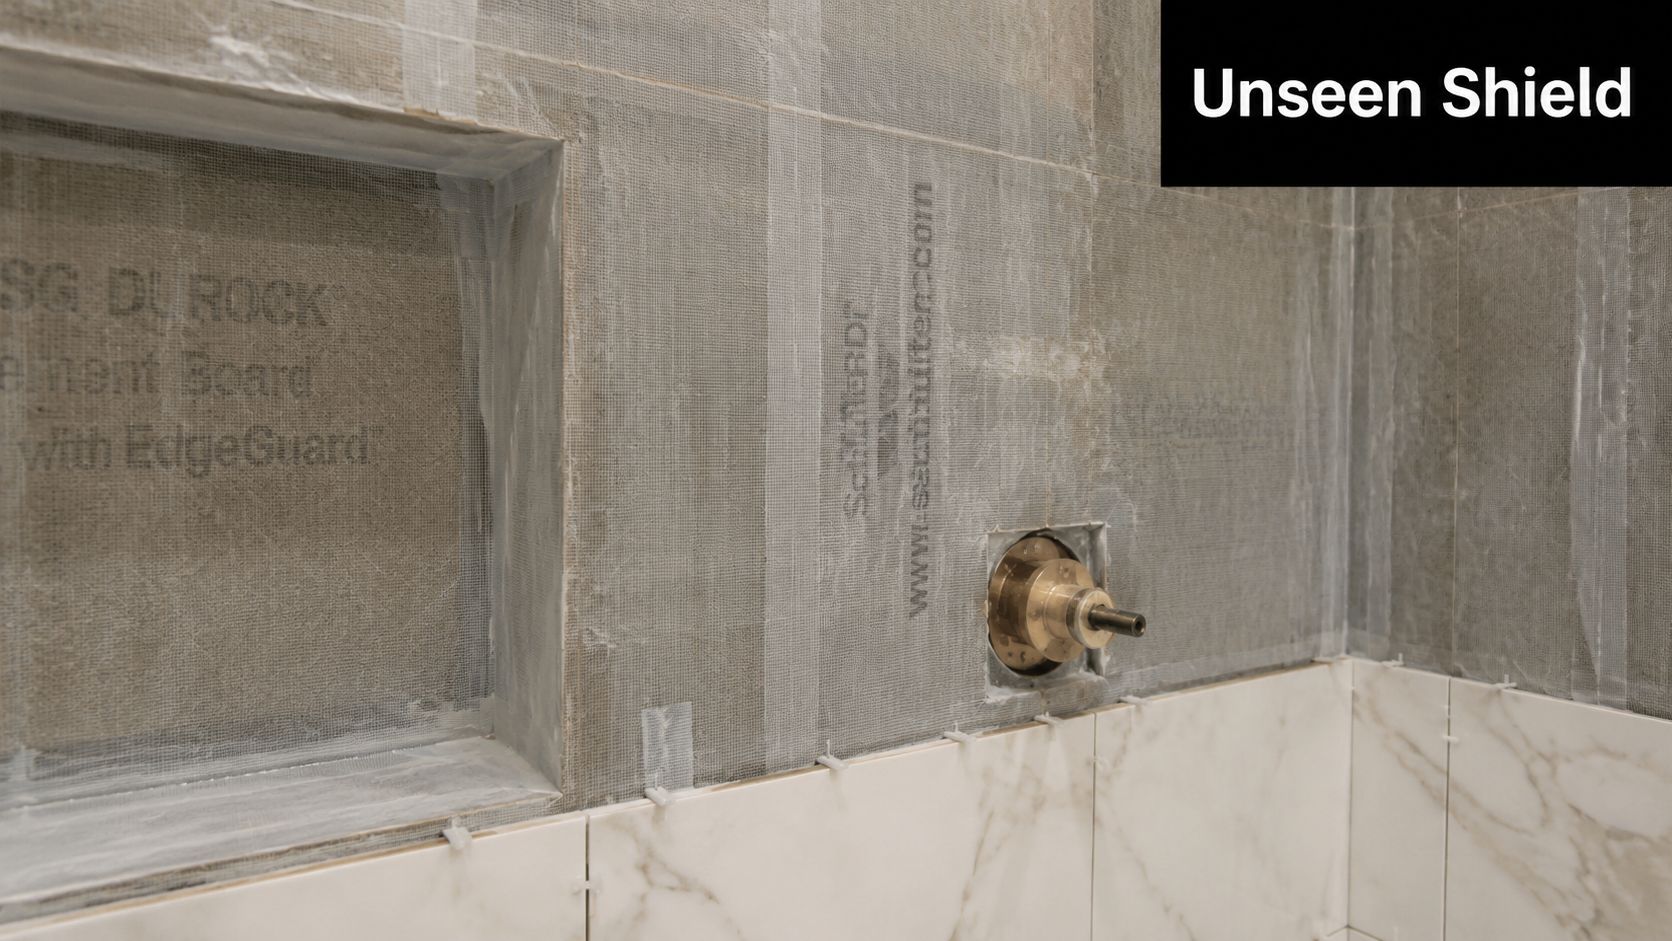
A shower waterproofing membrane is the sealed barrier between everyday shower water and the structure of the building. The easiest way to think about it is a raincoat under the tiles. The tiles are the outer clothing. They look finished and tidy, but they are not the thing keeping the frame dry.
What the membrane actually does
Its job is blunt and uncompromising. It must stop water from passing through the tiled surface and reaching substrate, framing, and adjoining materials. That means it has to work across flat areas, corners, pipe penetrations, drains, and transitions.
If that barrier is broken anywhere, the shower stops being a controlled wet area and starts feeding moisture into places never meant to stay wet.
In Australia, faulty waterproofing is one of the top three building defects, with up to 90% of all bathroom complaints relating to waterproofing and leakages in shower areas, as noted in Siniat's summary of bathroom waterproofing requirements. That figure tells you something important. This isn't a minor trade detail. It's one of the biggest defect points in the whole renovation process.
Why tiles and grout aren't enough
A lot of people still assume tiled equals waterproof. It doesn't.
- Tiles resist wear: They give you a cleanable finish.
- Grout fills joints: It helps lock the surface together, but it is not a guaranteed water barrier.
- Water-resistant boards help manage exposure: They are not a substitute for a compliant membrane.
- Silicone handles movement at changes of plane: It can't carry the waterproofing system on its own.
That's the mistake. People trust the visible layer because it looks solid. In practice, the visible layer sheds some water and slows the rest. The membrane is what stops it.
Why continuity matters more than product marketing
The membrane only works when it forms one uninterrupted system. It can't stop at the easy parts and leave the critical details weak. Corners, drains, hobs, and penetrations are where good installs separate from bad ones.
If you want a practical walkthrough of the sequence, this guide on how to waterproof a shower properly shows the process in the order it needs to happen.
Practical rule: If someone tells you the tiles, grout, and silicone will “keep most of the water out”, they've already missed the point.
Choosing Your Armour Sheet vs Liquid-Applied Membranes
Not all membranes are installed the same way, and not all showers suit the same system. In practice, most bathroom renovations come down to sheet membranes or liquid-applied membranes. Both can work. Both can fail. The difference is usually in the detailing, substrate, and the person installing them.
The core difference
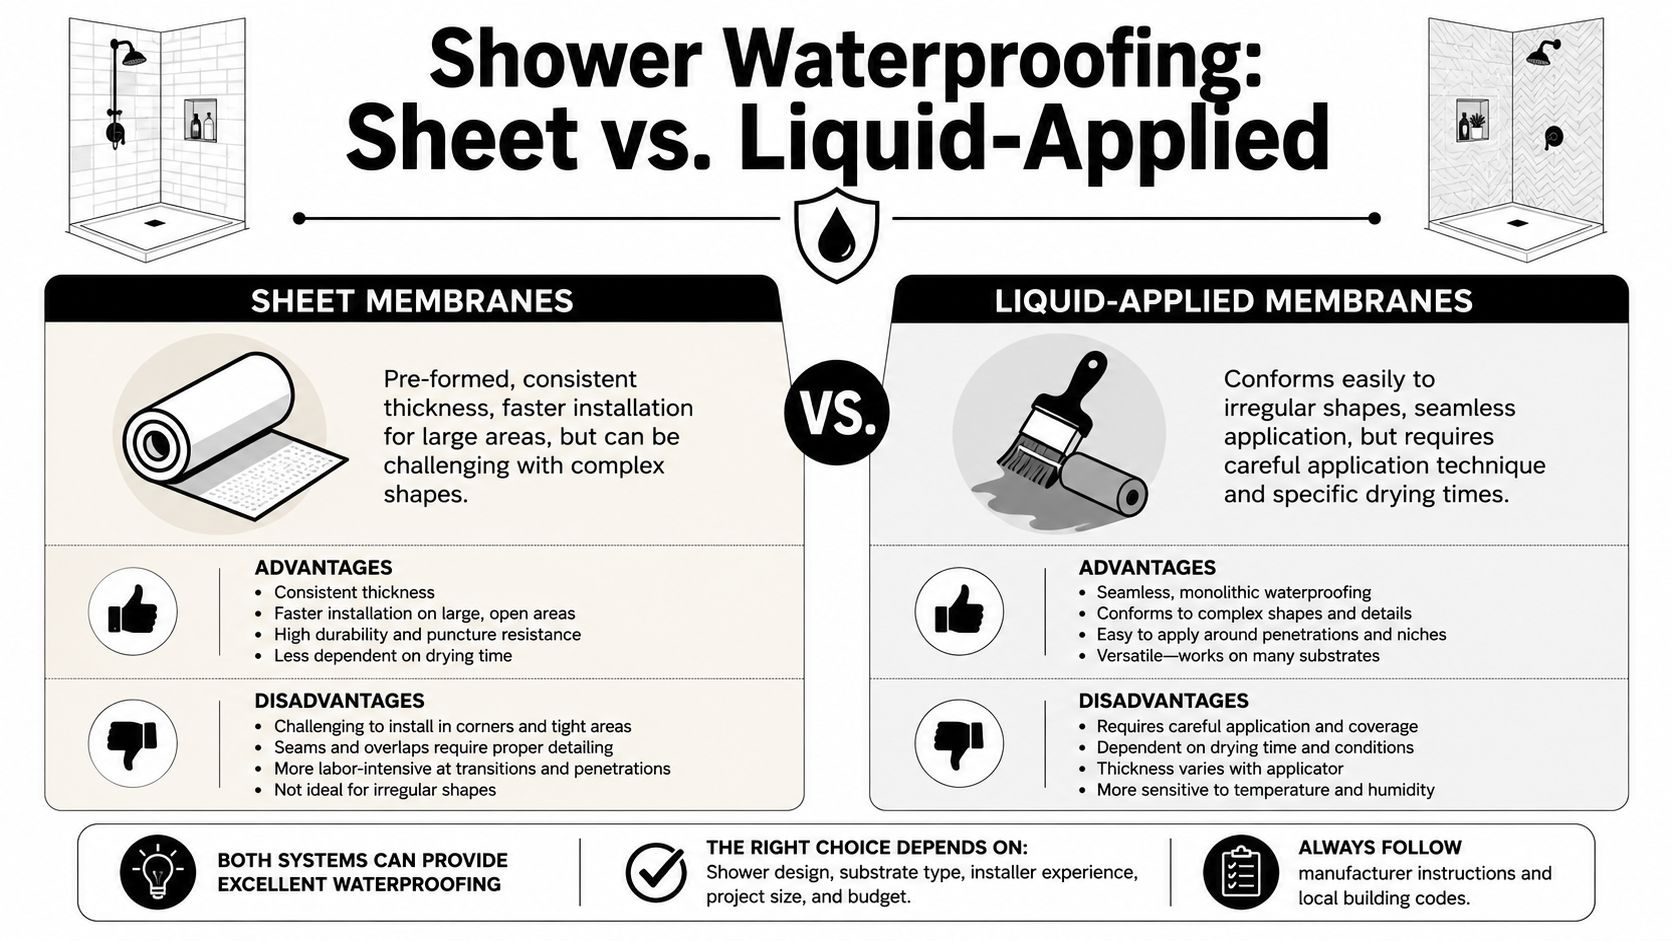
A sheet membrane is a manufactured layer that gets cut, bonded, lapped, and sealed into place. A liquid membrane starts wet and is rolled, brushed, or trowelled on, then dries into a continuous barrier.
That sounds straightforward, but the trade-offs are real.
- Sheet systems give you factory-made consistency in the membrane body itself.
- Liquid systems adapt better to odd shapes, fiddly details, and irregular geometry.
The catch is that each system has its own failure points. Sheet systems rely heavily on seam treatment. Liquid systems rely heavily on application control.
Sheet vs Liquid-Applied Waterproofing Membranes
| Feature | Sheet Membrane (e.g., Fabric-Reinforced) | Liquid-Applied Membrane (e.g., Polyurethane) |
|---|---|---|
| Thickness control | Factory-made membrane thickness is consistent | Installer must achieve correct thickness across the whole area |
| Corners and junctions | Needs careful folding, bandaging, or preformed corner details | Conforms easily to corners and complex shapes |
| Seams | Seams are the critical weak point if badly lapped or bonded | Fewer sheet joins, but continuity still depends on careful detailing |
| Speed on open areas | Often efficient on simple, larger surfaces | Can be slower because multiple coats and drying stages are needed |
| Complex penetrations | Can be more fiddly around pipes and niches | Usually easier to dress around penetrations |
| Substrate variation | Good on flat, well-prepared surfaces | More forgiving on shapes, less forgiving on poor prep |
| Quality risk | Usually in overlaps, corners, and drain integration | Usually in thin spots, pinholes, or rushed recoating |
| Best fit | New builds or straight-forward layouts with clean geometry | Renovations with awkward details, mixed surfaces, or custom shapes |
What works well with sheet membranes
On clean, square substrates, sheet membranes can be an excellent choice. If the shower base, walls, and corners are well built, the installer can create a very controlled system. The membrane thickness isn't being guessed at on site because the material arrives as a manufactured sheet.
That's the upside. The downside is precision. One sloppy overlap, trapped air pocket, badly dressed corner, or poor drain connection can compromise the system. Sheet work rewards methodical installers.
What works well with liquid-applied membranes
Liquid membranes suit renovation work because bathrooms are rarely perfect once stripped out. Walls can be out slightly. Penetrations can be awkward. Niches, hobs, and transitions can be easier to detail with a brush and roller than with cut sheets.
The trade-off is consistency. The installer has to build the membrane to the required thickness everywhere, not just where it's easy. The verified Australian guidance around shower membrane application is very clear on the importance of thickness and cure. The ARDEX guide to liquid-applied waterproofing membranes states a minimum total dry film thickness of 1.0 mm for floor applications, notes full curing after 3 days at 23°C or 5 days at 10°C for an example system, and requires the membrane over the hob to extend at least 150 mm beyond the outside edge.
That's why liquid systems don't forgive rushed work. If someone lays it on too thin, skips reinforcement where required, or tiles before cure, the barrier looks finished before it is finished.
How I'd decide between them on a real job
I'd look at the job in this order:
- Substrate condition: Flat and simple can suit sheet. Irregular renovation work often suits liquid.
- Detail complexity: More penetrations, nib walls, niches, and custom geometry usually push the decision towards liquid.
- Installer skillset: A membrane is only as good as the team applying it. Product choice doesn't rescue poor workmanship.
- Programme pressure: If the timeline is compressed, that's a warning sign. The right answer isn't the “fastest” membrane. It's the system the team can install properly without forcing the next trade in too early.
Good waterproofing isn't about choosing the fanciest product. It's about choosing the system the site conditions and installer can support without shortcuts.
The Rulebook Meeting AS 3740 and Builder Compliance
Most owners hear “AS 3740” and switch off because it sounds like paperwork. That's a mistake. The standard matters because it tells you how a wet area must be built so water goes where it should, and nowhere else.
In plain terms, AS 3740 is not there to make bathroom renovations harder. It's there because bathrooms fail in predictable ways, and the standard is written around preventing those failures.
The wall height requirement is about splash and saturation
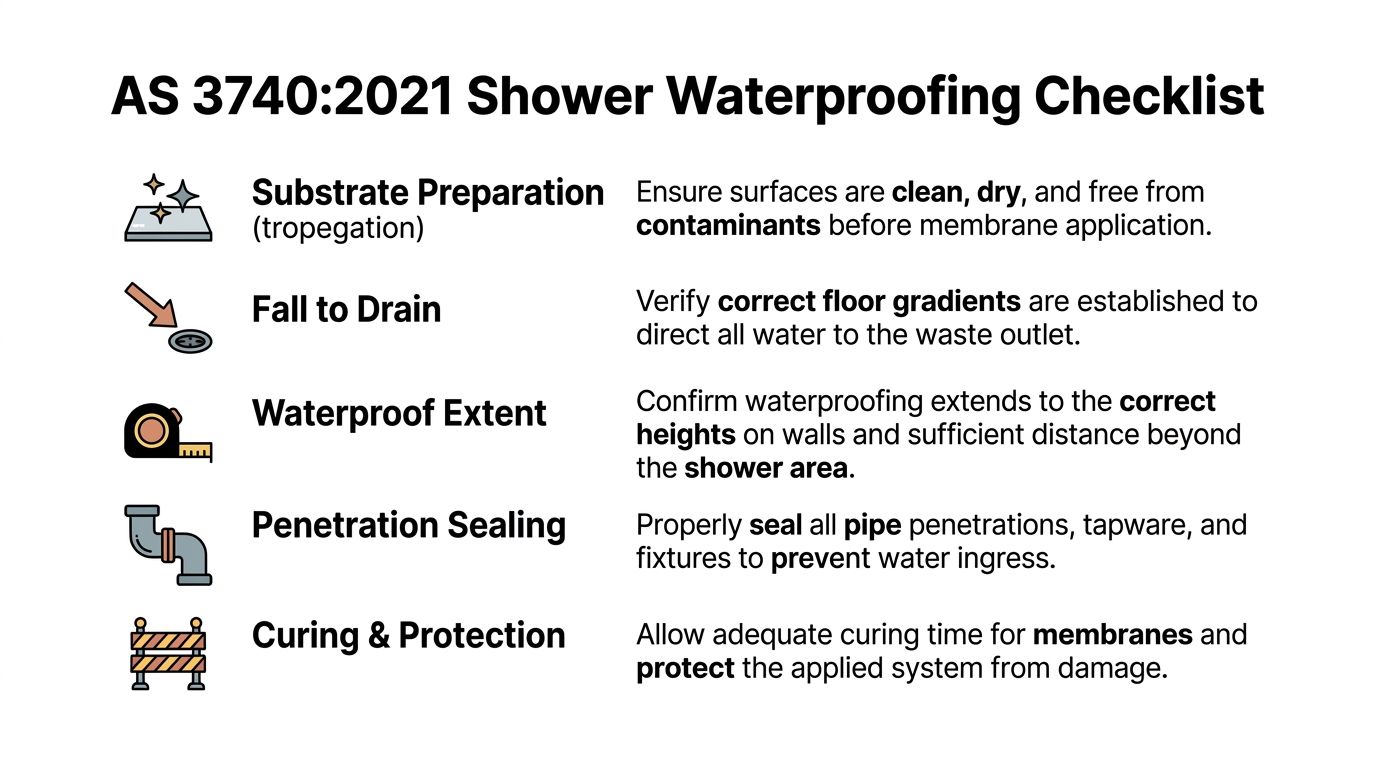
One of the most important changes people need to understand is shower wall coverage. In Victoria, all bathroom renovations, including complete stripping back to substrate, must comply with AS 3740:2021, which mandates shower walls be waterproofed to a minimum height of 1800mm above the finished floor level, or 50mm above the shower rose if the rose is higher, according to this explanation of AS 3740 requirements for Victorian wet areas.
That requirement isn't arbitrary. Showers don't just wet the bottom of walls. They create repeated splash, misting, and runoff well above the old minimal treatment zones. Waterproofing only at the junction is like wearing gumboots in a storm and expecting your shirt to stay dry.
Falls and drainage are part of waterproofing
People often separate waterproofing from drainage. On site, they're tied together. A membrane can be intact and the shower can still fail if water sits where it should be moving.
The updated AS 3740:2021 guidance in Australia requires shower walls to be waterproofed to 1800 mm above the finished floor level or 50 mm above the shower rose, whichever is higher, and in commercial wet areas the membrane must be graded to the drain waste puddle flange, with no opting out, as outlined by ABCG's overview of the new waterproofing standard.
That grading requirement matters because standing water increases stress on every junction, every penetration, and every weakness in workmanship. If the shower floor doesn't fall properly, the membrane and the tile assembly stay wetter for longer.
Why registered builders matter
Compliance isn't just a membrane brand and a ticked box. It's coordination.
A registered builder looks at the whole chain:
- Substrate preparation: Framing, sheeting, and set-out have to support the waterproofing system.
- Drain location and puddle flange detailing: These are not accessories. They are part of the system.
- Trade timing: Waterproofing can't be rushed because the tiler is due tomorrow.
- Inspection and documentation: The work has to stand up later, not just look neat on the day.
If you're engaging a builder or waterproofer, ask how they handle compliance records and whether they issue the right documentation. This guide to a waterproofing compliance certificate in Victoria is useful because it shows what proper accountability looks like.
Rules only work when someone enforces them on site
Standards don't build bathrooms. People do.
The reason registered builders matter is simple. Someone has to control sequencing, reject bad substrate, hold back tiling until waterproofing is ready, and make sure each trade leaves the next one a compliant surface to work from. Without that oversight, the standard becomes a set of good intentions buried under tile adhesive.
Why Waterproofing Fails and How to Prevent It
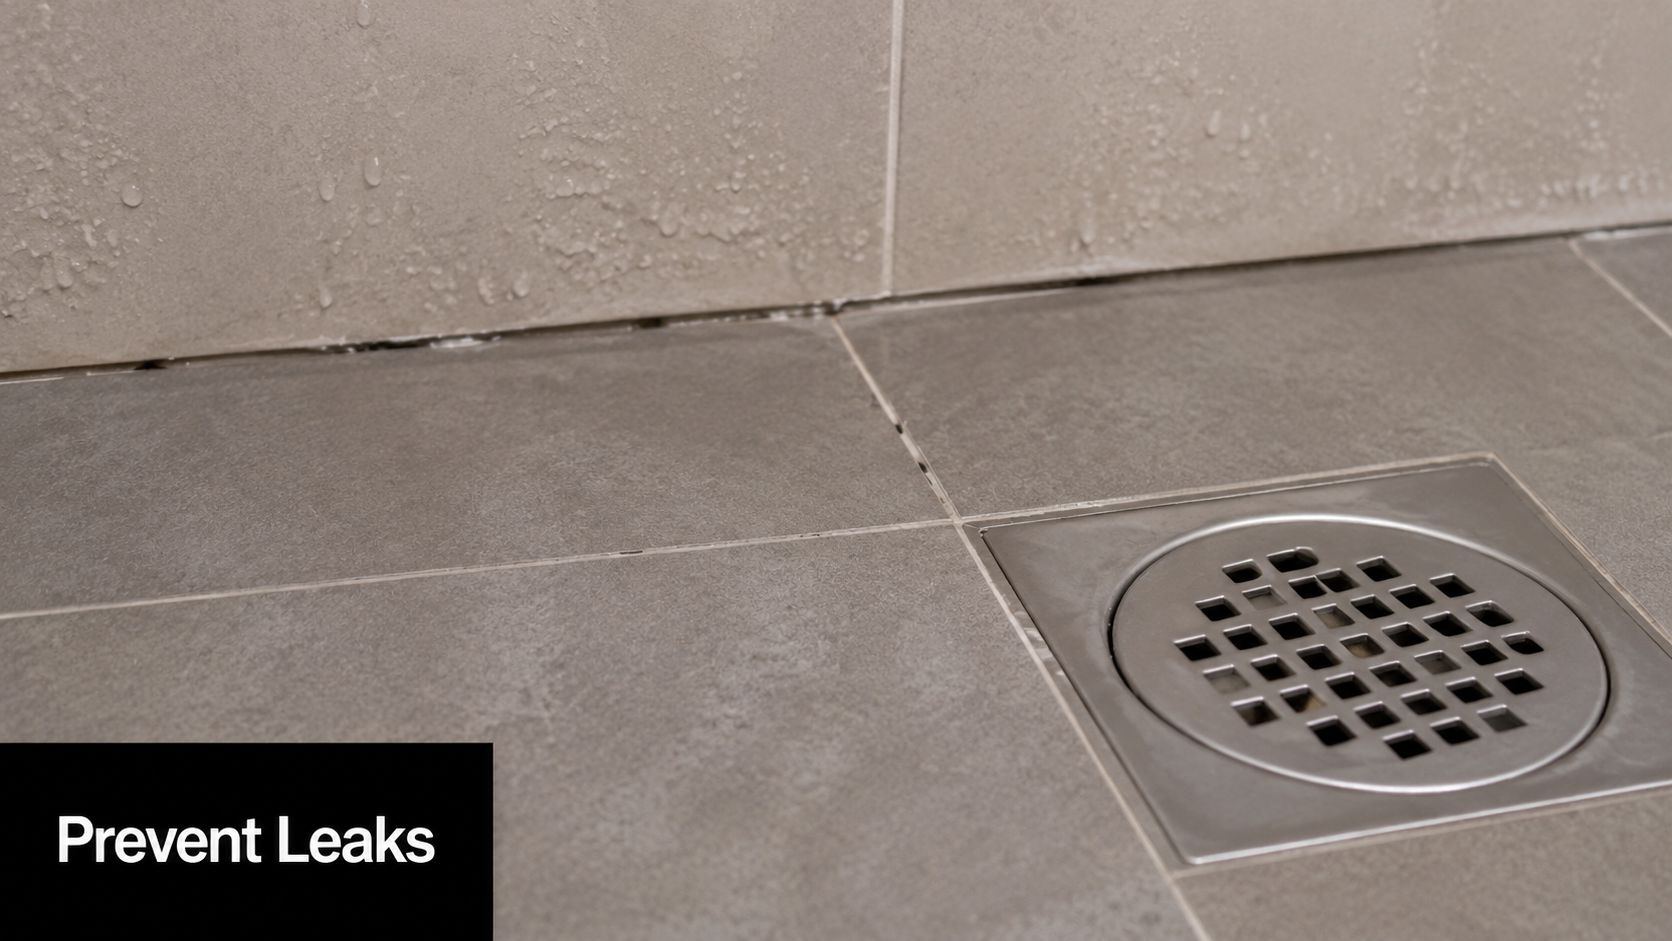
Waterproofing failures usually aren't mysterious. They come from predictable mistakes, repeated on jobs where someone is rushing, guessing, or relying on cosmetic finishes to cover technical defects.
The pattern is familiar. The bathroom looks complete. The leak shows up later.
Failure starts before the membrane goes on
A membrane can't fix a dirty, damp, unstable, or badly formed surface. If the substrate is dusty, contaminated, or moving, adhesion suffers. If falls are wrong before waterproofing, the membrane follows bad geometry.
These are the common red flags:
- Poor prep: Dust, residue, loose sheeting, or moisture left in the substrate.
- Bad geometry: No proper fall to waste, uneven transitions, or awkward build-ups around the drain.
- Untreated penetrations: Pipes and fittings interrupt the membrane plane and need proper detailing.
- Damage between trades: A membrane can be compromised after application if later work isn't controlled.
Thin application means weak protection
This is one of the biggest issues with liquid systems. People see coverage and assume performance. They're not the same thing.
If the membrane goes on too thin, the cured layer may look continuous but still allow moisture transmission. Weak spots often show up at corners, around floor wastes, over hobs, and at changes of plane where the brush or roller work gets inconsistent.
If the waterproofing is only heavy where the installer can see it easily, it probably isn't right where it matters most.
Melbourne's climate punishes rushed curing
Local conditions really matter. Recent 2025–2026 data from Australian Waterproofing Company shows 25% of shower membrane failures in Melbourne are due to tiling before the membrane fully cured, and that Melbourne's variable climate can extend drying times beyond manufacturer claims, according to Dunlop Trade's discussion of shower waterproofing membrane selection and curing.
That aligns with what experienced site teams already know. A membrane doesn't cure by the calendar on the box if the room is cold, closed up, or carrying high humidity. In Melbourne, one day can be dry and mild, the next cool and damp. If a contractor treats every bathroom like a laboratory-controlled environment, they're taking a gamble with your walls and floor.
The mistake owners rarely see
Tiling too early is dangerous because it hides the problem immediately. Once adhesive and tile go over a membrane that hasn't fully cured, the system gets sealed in before it has reached proper performance. You can't inspect that later without demolition.
A useful visual explanation sits below. It helps homeowners understand where leaks often begin and why drain zones and transitions deserve extra attention.
How to prevent failure on a live renovation
Prevention isn't glamorous. It's disciplined.
- Start with the substrate: Clean, dry, stable, and formed correctly to falls.
- Use the membrane system as specified: Don't mix random components because they're “close enough”.
- Control thickness and detailing: Corners, penetrations, hobs, and drains need deliberate work, not quick touch-ups.
- Respect cure times: Programme pressure is not a technical justification.
- Protect the membrane before tiling: Damage from later trades is still membrane failure.
Most shower leaks are expensive because they stay hidden while the damage spreads. The fix isn't heroic workmanship later. It's patient workmanship at the exact moment people are tempted to rush.
The Full Picture Cost Compatibility and Maintenance
Owners often ask the wrong cost question. They ask what waterproofing adds to the renovation instead of what failure removes from it. Waterproofing is one of the least visible parts of the job and one of the most important to get right.
A proper membrane system has to work with the substrate, the adhesive, the tile format, the falls, and the sequencing of the trades. If one part is mismatched, the room might still finish neatly, but long-term performance starts to slip.
Cost is tied to complexity, not just area
A simple shower on straight walls is one thing. A shower with a niche, a hob, awkward penetrations, mixed substrates, and detailed stone work is another. The membrane itself is only part of the cost. The primary value is in proper preparation, detailing, cure management, and accountability if something goes wrong.
That's why cheap quotes can be misleading. The number on paper may exclude the patience required to do the work properly.
Compatibility matters more than people think
Large-format porcelain, mosaics, natural stone, sheet systems, liquid systems, adhesives, and substrates all interact differently. A good installer doesn't just ask what tile you like. They ask what the tile requires underneath.
- Large-format tiles: These demand flatter surfaces and place a premium on accurate substrate preparation.
- Mosaics on shower floors: They follow falls well but increase the number of grout joints and need careful drainage detailing.
- Natural stone: This may need specific adhesive and sealing considerations depending on the stone and substrate.
- Membrane-to-adhesive compatibility: The waterproofing product and tile adhesive have to be used as a system, not guessed at from separate brands and assumptions.
If that compatibility conversation never happens, that's a warning sign.
Maintenance protects the system you already paid for
Even the best shower waterproofing membrane doesn't mean the bathroom can be neglected. Surface maintenance won't replace the membrane, but it does reduce avoidable stress on the assembly.
A simple maintenance routine helps:
- Check silicone joints: If movement joints are splitting or shrinking, deal with them early.
- Watch drainage: If water lingers after a shower, don't ignore it.
- Keep ventilation working: Bathrooms need moisture removed, not trapped.
- Treat cracked grout as a signal: It may be minor movement, or it may be showing a bigger issue underneath.
- Don't assume new means permanent: Wet areas age through use, cleaning, and movement.
According to Precision Business Insights' overview of the Australian waterproofing membranes market, high-quality waterproofing membranes typically last between 7 to 10 years under normal conditions, with industry guidelines recommending a refresh every 10 to 15 years to prevent water penetration.
That doesn't mean every bathroom suddenly fails at a set age. It means membranes are part of a working wet-area system, not a forever product you install once and stop thinking about.
Your Renovation Checklist Hiring the Right Professional
If you want a leak-free bathroom, don't start by asking what membrane brand someone uses. Start by asking how they run the whole job. Waterproofing succeeds when the builder, waterproofer, and tiler work in sequence and someone takes responsibility for the final outcome.
That's why bathroom renovations go better under registered builders who control the process instead of leaving each trade to protect itself.
Questions worth asking before work starts
Use this as a practical shortlist when you're interviewing contractors.
- Are you a registered builder, or who is taking overall responsibility for the renovation? If no one owns the whole chain, defects get bounced between trades later.
- How do you make sure the shower meets AS 3740 requirements on site? The answer should mention substrate, falls, wall extent, penetrations, and drainage details, not just “we waterproof everything”.
- What membrane system are you using, and why does it suit this bathroom? A real answer connects the product to the substrate and layout.
- How do you deal with niches, hobs, corners, and pipe penetrations? These are the places that reveal whether someone has a process or just confidence.
- What is your curing process before tiling starts? If the answer sounds vague or too fast, keep digging.
- How do you protect the membrane between application and tiling? Damage after waterproofing still counts as failed waterproofing.
- What documentation do I receive at the end? This matters for compliance, future sale, and dispute protection.
What a good answer sounds like
A capable professional usually speaks in sequence. They talk about demolition, substrate condition, rectification if needed, falls, membrane application, cure management, inspection, then tiling. They don't jump straight to tile finish, grout colour, or how quickly they can start.
They also won't promise that waterproofing is easy. Good operators know wet areas are detail-heavy and don't like pretending otherwise.
The best contractor isn't the one who sounds the fastest. It's the one who can explain where showers fail and what they do to stop that happening.
One team is often safer than multiple disconnected trades
There's a reason many difficult bathrooms go wrong when owners split the job across separate people. One person strips the room, another sheets it, another waterproofs it, another tiles it. If a leak appears later, everyone says the defect started before they arrived.
A single accountable team reduces that problem. It doesn't eliminate the need for skill, but it does reduce the handover gaps where defects get buried.
If you're comparing local options, this list of tiling contractors near you in Melbourne is a useful place to begin your shortlist.
The final filter
Before you sign anything, ask yourself one plain question. Does this contractor talk about waterproofing like a hidden technical system, or like a quick prep step before the main work starts?
That answer tells you almost everything.
If you want a bathroom renovation team that understands shower waterproofing membrane systems from demolition through to final tiling, Melbourne Tiling Services P/L offers registered builder oversight, coordinated licensed trades, and practical wet-area experience across Melbourne and greater Victoria. For homeowners who want the job done once and done properly, they're worth speaking to early.
Write a Comment