
Between July 2021 and December 2022, 17 per cent of inspected Victorian properties had at least one waterproofing compliance risk, with missing water stops or flashing accounting for 41 per cent of identified issues. Hiring properly licensed contractors who document every inspection hold-point is the practical way to reduce the chance that a small concealed omission becomes major building damage.
You may be choosing tiles, comparing tapware and looking at bathroom layouts right now. The waterproofing sits underneath all of that work, out of sight, and it's usually only noticed after swelling skirtings, loose tiles, staining or mould reveal that water has travelled somewhere it shouldn't.
A licence matters, but it isn't a complete quality guarantee. The safer choice is a waterproofing contractor who can prove the right credentials, coordinate with registered builders and other trades, follow the relevant NCC and AS 3740 pathway, and provide photographs and records before the membrane disappears beneath screed, adhesive and tiles.
Table of Contents
- Why Licensed Waterproofing Contractors Matter in Melbourne
- How to Verify Licences, Insurance and Builder Registration
- Understanding AS 3740 and NCC Waterproofing Standards
- Waterproofing Membrane Systems Compared for Melbourne Renovations
- The Contractor Inspection and Handover Checklist
- What a Waterproofing Certificate Does Not Protect You From
- Cost Pointers, Warranties and Red Flags to Watch For
Why Licensed Waterproofing Contractors Matter in Melbourne
A bathroom can look complete while a small waterproofing omission is already sending moisture into the wall. By the time swollen skirtings, loose tiles, staining or mould appear, the membrane is buried beneath finishes and the repair may involve the substrate, cabinetry and adjoining rooms.
The Victorian Building Authority inspected 2,592 properties under construction between July 2021 and December 2022. At least one compliance risk connected with preventing water damage appeared in 467 inspections, or 17 per cent of properties assessed. Missing water stops or flashing made up 41 per cent of identified issues, while incomplete membranes over water stops and perimeter flashing made up a further 19 per cent. These defects occurred around bath hobs, beneath bath flanges, in shower enclosures and at door-to-floor junctions. (Victorian Building Authority defect research)
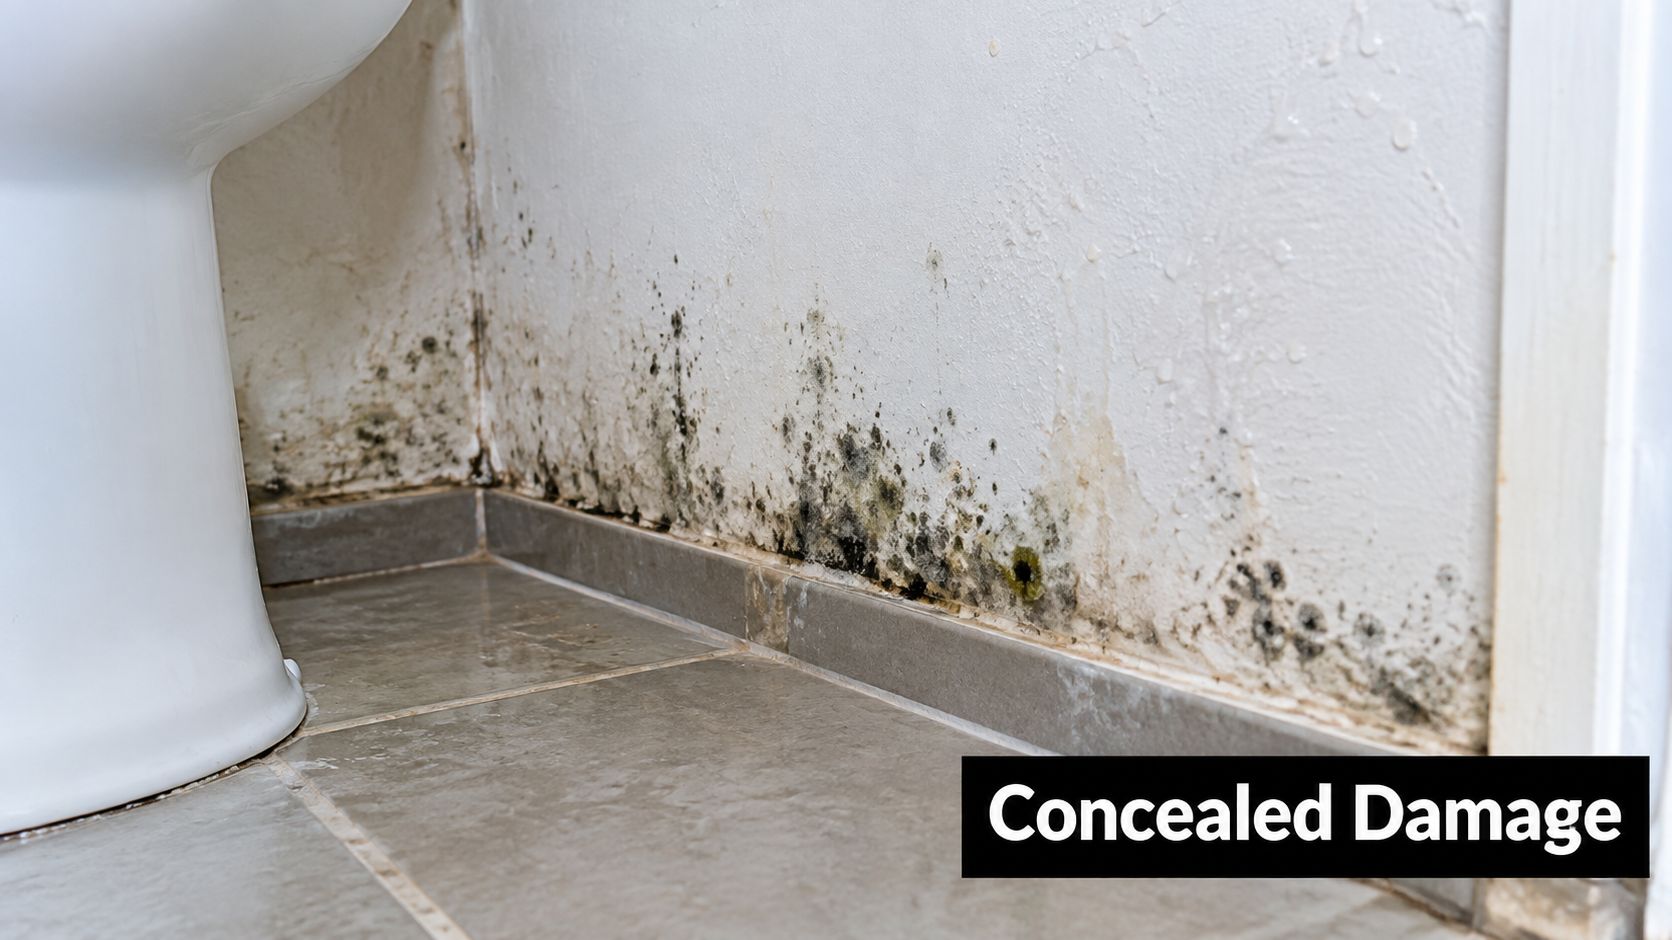
A missing flashing detail may look minor during the installation. Once the wall is lined and tiled, water can travel behind the finish, wet the substrate and stay concealed. Grout replacement will not solve a failure that began at a junction or penetration.
What a licensed contractor actually delivers
A licence confirms a legal qualification, not the quality of every detail. A competent contractor treats waterproofing as a connected system: substrate preparation, falls, wastes, bond breakers, puddle flanges, penetrations, movement joints, membrane thickness, curing and the handover between trades all need to work together.
Bathroom renovations add practical constraints. An existing slab, timber floor, old plumbing layout or uneven wall can affect the preparation and detailing. Those conditions should be identified before product is applied, with unsuitable surfaces corrected rather than hidden beneath the membrane.
Practical rule: Ask where water will drain, how every penetration will be sealed and what photographs you will receive before tiling. If the contractor cannot answer clearly, the licence number alone is not enough.
The hiring decision should test three areas: legal credentials, technical method and documented proof. Request photographs at inspection hold-points before screed, adhesive or tiles cover the membrane. That evidence gives the homeowner, property manager and registered builder something concrete to check, instead of treating a certificate or attractive tiled finish as proof that the wet area is compliant.
How to Verify Licences, Insurance and Builder Registration
A licence number can be genuine while the person signing your quote remains unclear. Before work starts, identify the trading name, legal business entity, individual licence or registration number, and the registered builder responsible for the broader renovation. Put those details beside the contract, quote and permit paperwork so responsibility does not disappear between the waterproofing subcontractor and the builder.
For waterproofing work in Victoria, check the contractor's current status through the relevant Victorian plumbing and trade registration records. Confirm that the registration category covers the proposed work, then search the official Victorian Building Authority records for the builder. This matters particularly where the renovation involves structural changes, substantial substrate work or a building permit. A logo, business card or old certificate is not verification.
Separate the trade role from the builder role
The waterproofing specialist may install the membrane, while the undertaking builder coordinates the renovation and carries wider project responsibilities. Ask whether that builder is registered as an Unlimited Builder or Restricted Builder, what the registration covers, and whose name will appear on the contract and permit documentation.
Ask for current certificates of public liability and indemnity insurance. Check the insured legal entity, policy dates, exclusions, project type and applicable coverage limits. Contact the insurer or intermediary using details printed on the certificate, not a phone number supplied informally. An expired policy, a different business name or an exclusion for the proposed work can leave a defect dispute without the protection you expected.
Use these checks before signing:
- Record the licence number and screenshot the register result: Include the date, licence holder, business name and status, then cross-check those details against the ABN on the quote and insurance certificate.
- Confirm the builder appointment: Obtain the registered builder's name in writing and identify who controls the waterproofing scope, inspections and rectification if a defect appears.
- Test the insurance evidence: Ask the broker or insurer to confirm that the named entity, renovation type and waterproofing work fall within the policy.
- Match every contract party: The quote, contract, licence record, insurance certificate and payment details should point to the same legal business, or clearly identify each separate role.
- Ask about permits and hold-points: Establish who appoints the relevant building surveyor and require written approval before screed, adhesive or tiles cover the membrane.
- Require dated photographs: Request images of substrate preparation, junctions, penetrations, wastes, membrane coverage and cured details. Keep them with the contract and inspection records.
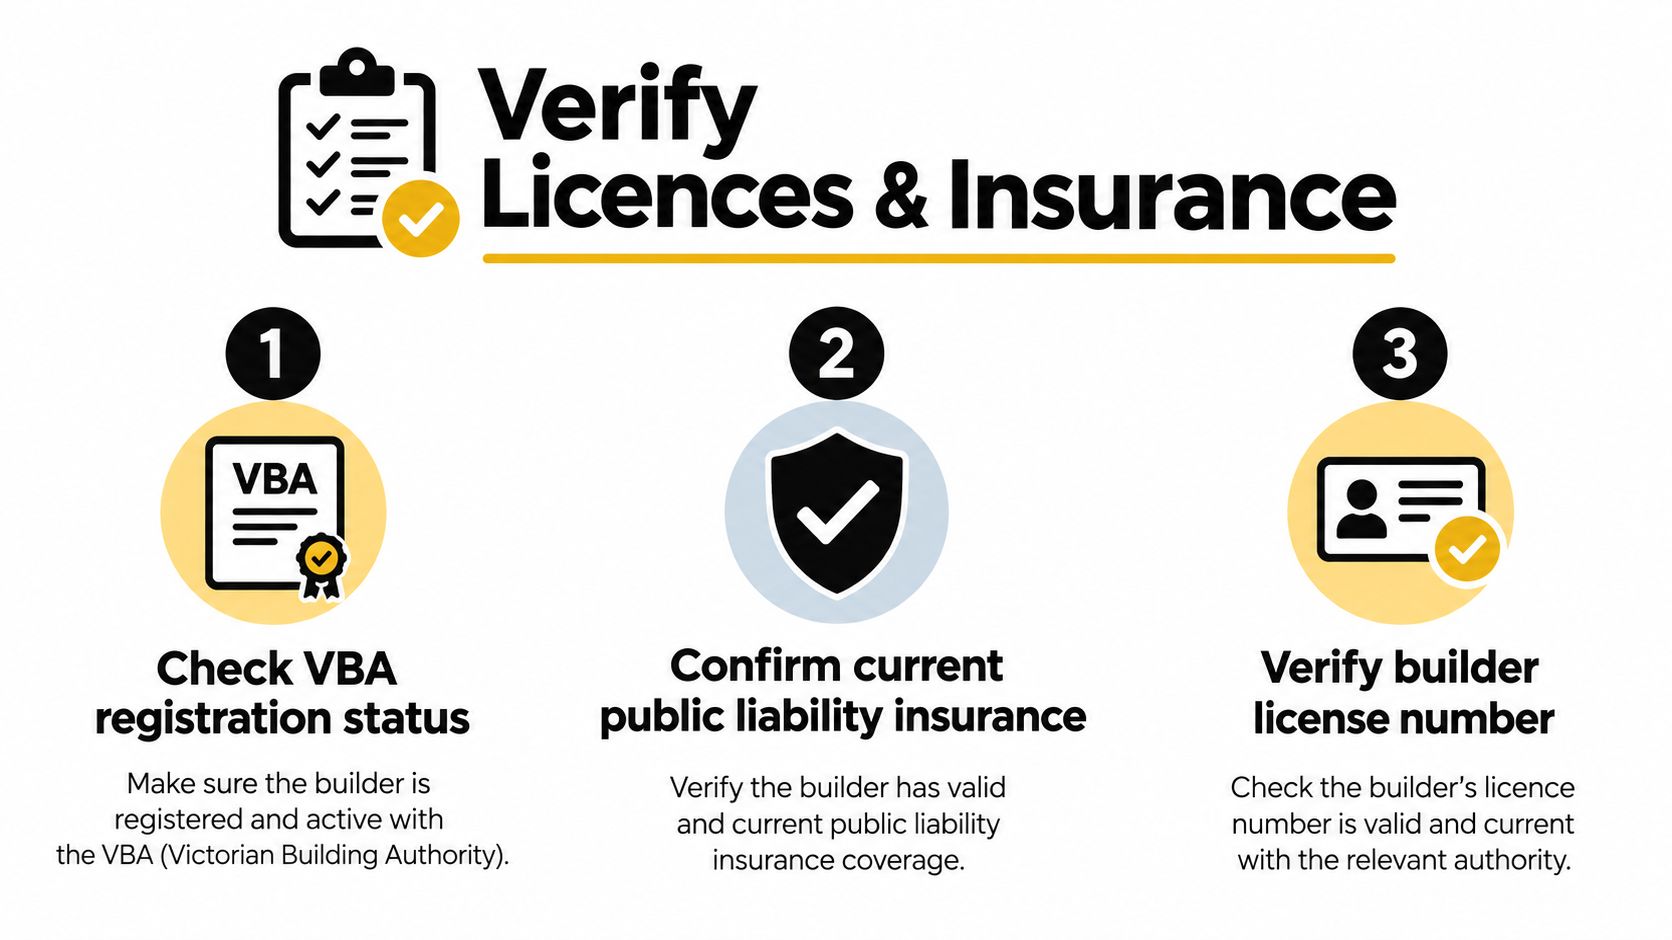
A builder's statutory warranty generally covers waterproofing defects for up to 10 years after completion, according to the Victorian Building Authority. That period does not close the responsibility gap if the contractor, builder and insurer cannot be matched to the work. The VBA's guidance also explains that a trade licence or certificate does not establish compliance across the whole bathroom, balcony or drainage system. (VBA guidance on water ingress and responsibility)
For background on the qualification behind this work, see the Certificate III in Construction Waterproofing. Verify the people, businesses, insurance and photographic record before materials arrive.
Understanding AS 3740 and NCC Waterproofing Standards
The National Construction Code treats a bathroom as a wet area requiring protection against water damage. Under the NCC Housing Provisions, the shower floor must be waterproof, including a hob or step-down, while shower walls must be waterproof to at least 1,800 millimetres above the floor substrate. Wall junctions and joints inside the shower area must also be waterproof, extending at least 40 millimetres on either side of the junction. (NCC Housing Provisions for wet-area waterproofing)
Tiles don't replace the waterproofing system. They form the finished surface, while the membrane and associated detailing are what prevent water from reaching vulnerable construction beneath. The treatment outside a shower also depends on the substrate. Concrete, compressed fibre-cement and fibre-cement sheet flooring generally require water-resistant treatment outside the shower area, whereas timber floors, including particleboard and plywood, must be waterproof.
Read the detail, not just the product label
AS 3740 gives contractors a recognised pathway for wet-area detailing, but a product name doesn't tell you whether the installation will work. Ask how the contractor will prepare the substrate, manage movement, seal penetrations and connect the floor membrane to wastes, thresholds and wall junctions.
A practical comparison looks like this:
| Area | Requirement | Common failure |
|---|---|---|
| Shower floor | Waterproof the floor, including any hob or step-down | Membrane stops short of the waste or is damaged during later work |
| Shower walls | Waterproof to at least 1,800 millimetres above the floor substrate | Wall coverage is reduced because the contractor measures from the finished tile level |
| Shower junctions | Waterproof joints and junctions at least 40 millimetres on either side | Corners, wall-to-floor junctions or movement joints lack compatible reinforcement |
| Timber floor outside the shower | Waterproof treatment is required | A system suited only to water-resistant concrete floors is used on a timber substrate |
| Concrete or fibre-cement floor outside the shower | Water-resistant treatment generally applies | The contractor ignores falls, perimeter detailing or penetrations because the area is outside the shower |
Why small omissions matter
The VBA has recorded missing water stops, incomplete membrane coverage and unsuitable wall lining among wet-area compliance risks. Australian inspection evidence has also identified floor waterproofing that failed to extend at least 25 millimetres up the wall in more than 40 per cent of wet areas inspected in a Western Australian government inspection. That example demonstrates why a visual tile inspection cannot confirm concealed compliance.
Use this bathroom waterproofing standards guide as a prompt for questions, then ask your contractor to relate the proposed system to your actual substrate, layout and drainage design. A capable installer won't object to that conversation.
Waterproofing Membrane Systems Compared for Melbourne Renovations
The membrane choice should follow the building conditions, not a contractor's habit. A ground-floor ensuite on a concrete slab presents a different problem from a first-floor bathroom over timber, and a balcony remediation project adds exposed weather, drainage and movement to the decision.
The Australian Building Codes Board evidence review estimates that design-related causes account for 52 per cent of waterproofing defects in Class 2 buildings and 49 per cent in Class 3 to 9 buildings. That finding is a useful warning for Melbourne projects. A technically sound product can still fail when falls, thresholds, wastes, door tracks and substrate movement weren't coordinated before installation. (ABCB waterproofing evidence review)
| Membrane type | Best for | Lifespan expectation | Key consideration |
|---|---|---|---|
| Liquid-applied membrane | Complex bathroom shapes, detailed junctions and areas where continuous coating is practical | Depends on correct preparation, specified thickness, curing and protection from later trades | Coating thickness can vary if the installer rushes or applies too little product |
| Sheet membrane | Projects requiring a controlled factory-made sheet and clear overlaps | Depends on sound bonding, sealed laps and protection during subsequent work | Corners, penetrations and sheet joins need careful detailing |
| Cementitious coating | Suitable mineral substrates and systems designed for compatible wet-area applications | Depends on the specified system, substrate stability and correct application | It must be compatible with movement, tile adhesive, screed and the manufacturer's installation method |
Where each option can go wrong
Liquid membranes suit awkward corners and penetrations, but the installer must apply the specified number of coats at the required thickness and allow proper curing. A sheet system can provide consistent coverage, yet poorly bonded laps or an unsealed pipe penetration can defeat that advantage. Cementitious systems can work well on compatible substrates, but they aren't a universal answer for timber movement or every balcony condition.
Ask for the manufacturer's technical data sheet, the proposed primer, application thickness, number of coats, curing requirements and compatibility information for the planned screed and tile adhesive. Also ask who will protect the membrane after installation. A perfect membrane can be punctured by a later trade dragging materials across it.
For contractors, estimators and project managers coordinating complex scopes, a resource such as Exayard roofing estimating software can help organise material and labour allowances. It doesn't replace a site inspection or technical specification, but clear estimating makes it easier to compare like-for-like proposals.
The Contractor Inspection and Handover Checklist
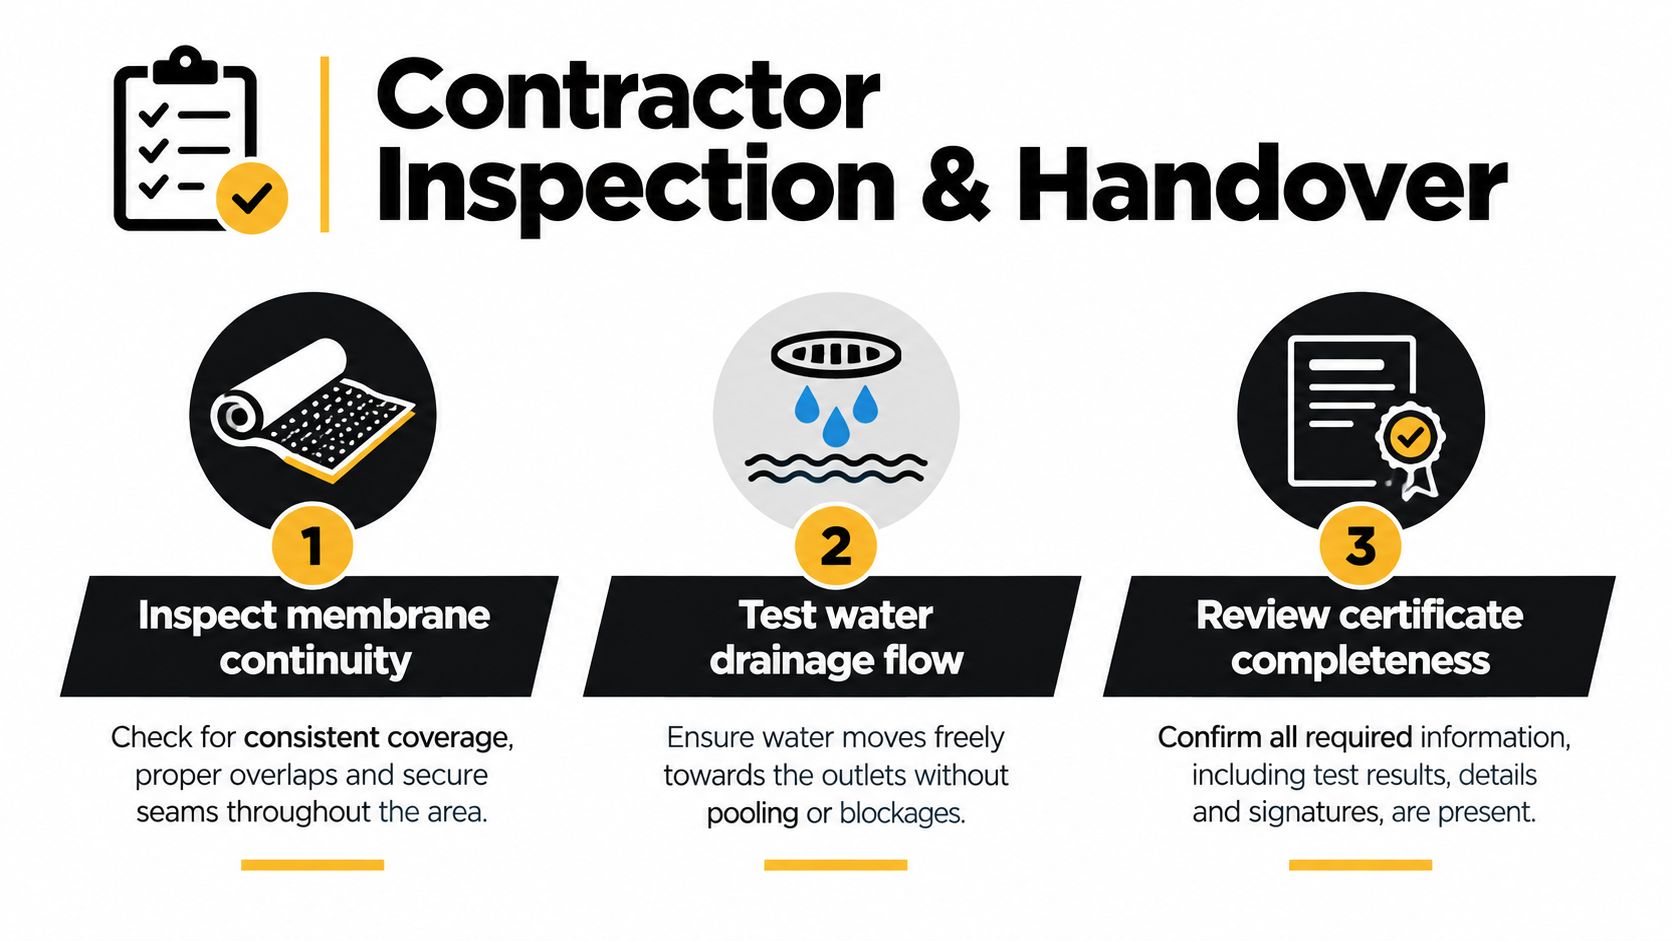
Treat each concealed stage as a hold-point. The contractor shouldn't just arrive, roll on a membrane and return after tiling. The work needs to be checked while it can still be corrected.
The Victorian Building Authority's guidance supports a documented sequence covering substrate verification, junction detailing, membrane application to manufacturer specifications, curing, photographs and building surveyor sign-off where a permit applies. Australian literature generally places waterproofing-defect prevalence in Class 2 buildings at approximately 20 to 40 per cent, which reinforces the value of inspecting the work before it disappears. (VBA waterproofing of wet areas guidance)
Before the membrane
The first hold-point is the substrate. Record the condition of the floor and walls, confirm that surfaces are clean and suitable, and measure the falls towards floor wastes before application. The contractor should identify movement joints, thresholds, puddle flanges and every pipe or fixture penetration.
Request marked-up plans or a simple site sketch showing waste locations, shower boundaries, door junctions and areas receiving membrane. Photograph the substrate and the fall measurements, not just the finished room.
During application
At the detailing stage, check that compatible primers, bond breakers and reinforcing are used at junctions, penetrations, floor wastes and movement joints. The membrane should be applied to the manufacturer's specified thickness and number of coats, with enough time allowed between coats and before covering.
Ask for photographs that show corners, wall-to-floor junctions, penetrations, wastes, hob details and the full shower area. Product technical data, batch information, application conditions and installer details should sit with those photographs. If a later trade damages the membrane, the record helps identify what was installed and where repair is required.
Before tiles conceal the work
Do not allow screed, adhesive, plasterboard or tiles to cover the system until the curing period has passed and the inspection has been completed. Check that drainage works as intended, that water doesn't pond at thresholds and that the membrane remains continuous around fixtures and junctions.
Where a building permit applies, the relevant building surveyor must be satisfied that the work complies with the Building Act 1993 and Building Regulations 2018. That sign-off is part of the project control process, but it doesn't remove the need for your own records.
Handover file: Keep the approved details, marked-up plans, falls measurements, photographs, product data, batch details, installer information, inspection notes, certificates and written defect-resolution process together.
The registered builder remains responsible for coordinating the broader renovation, so send the file to the builder and keep a copy yourself. A complete record is far more useful than a single undated photograph of a grey floor.
What a Waterproofing Certificate Does Not Protect You From
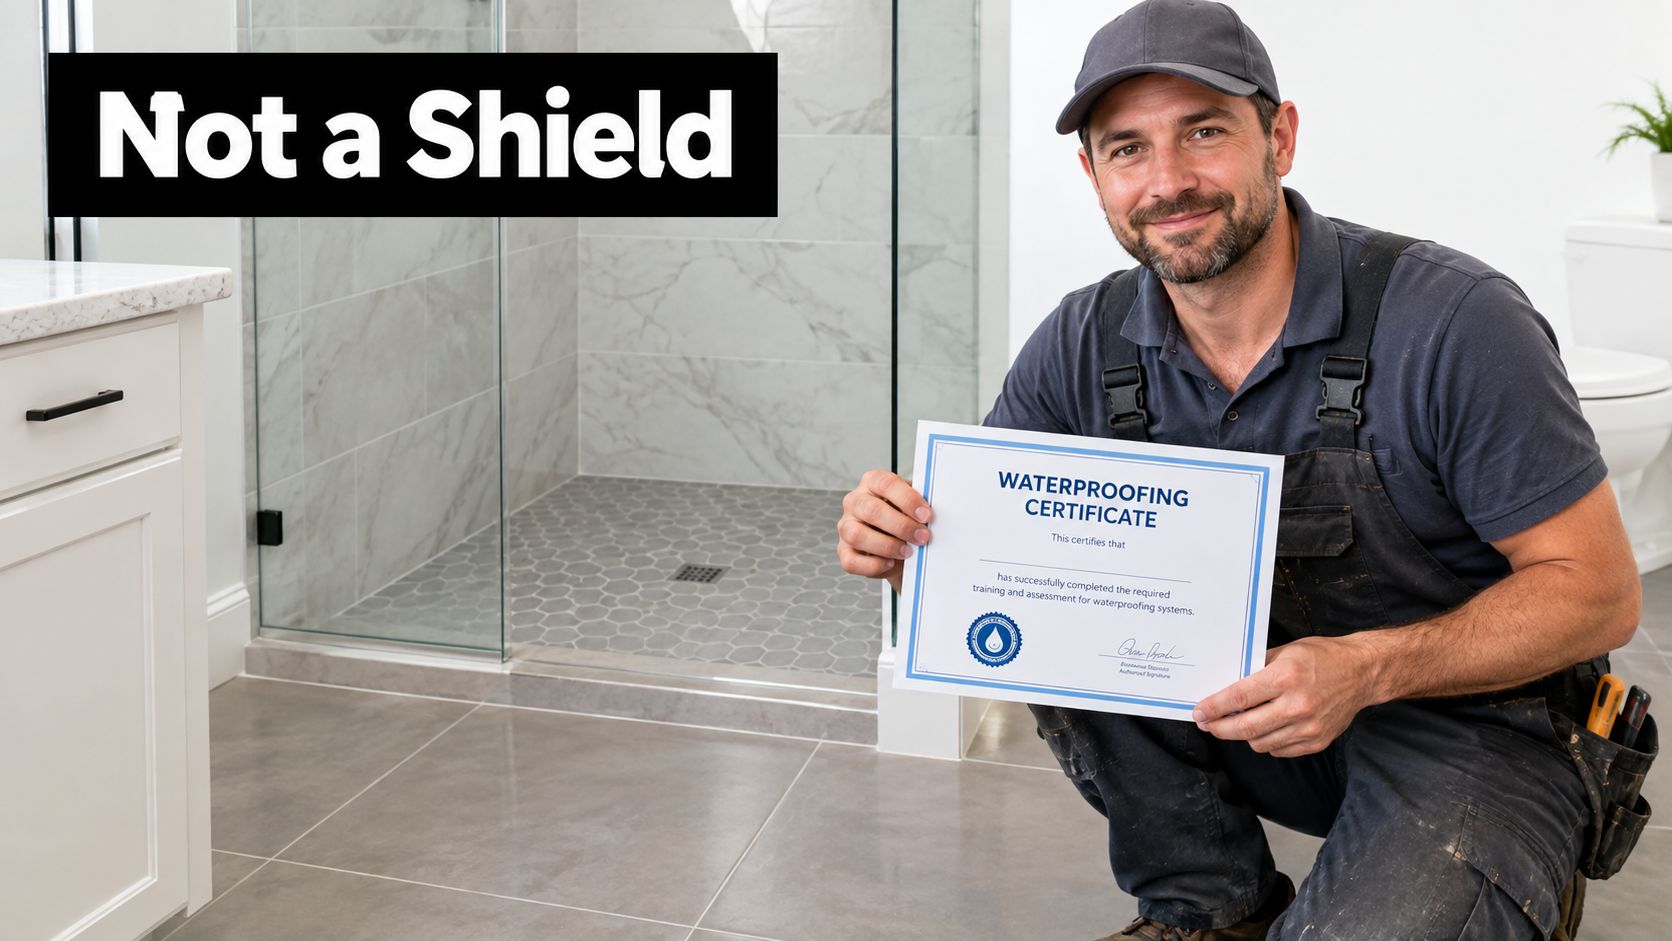
A certificate documents that a membrane was installed to a stated detail on a stated date. It does not certify falls, substrate preparation, drainage performance or that the whole wet area complies. It records one part of the job, not the concealed conditions that can later create a leak.
A certificate never proves that the substrate was clean, stable and suitable before application. It does not show whether corners, penetrations, wastes, hob junctions and wall-to-floor transitions were prepared correctly. It does not confirm the membrane was applied at the required thickness, cured for the required period or protected from damage by following trades.
What the handover file must still prove
The file should connect the certificate to evidence from the actual bathroom. Ask for dated photographs before concealment, including corners, wall-to-floor junctions, penetrations, wastes, hob details and the complete shower area. Photographs should show enough surrounding detail to identify the room and the location of each junction, rather than a single close-up of an unmarked membrane.
Retain the approved details, marked-up plans, falls measurements, drainage checks and inspection notes. Product technical data, batch information, application conditions and installer details should accompany the photographs. The record should also show when the membrane was ready for covering and who inspected it before screed, adhesive, plasterboard or tiles concealed the work.
The Victorian Building Authority has identified water-ingress risks associated with small detailing and drainage omissions. Its research insights on water ingress reinforce why a signed certificate cannot replace project-specific evidence.
The registered builder's broader obligations under the Building Act, Building Regulations and National Construction Code still apply, but this section of the file should answer a narrower question: what was installed, where, with which product and what was checked before it disappeared?
A Victorian waterproofing compliance certificate guide can help you check whether the certificate is supported by usable records. If a contractor cannot provide that evidence before tiling, the responsibility gap remains open.
Cost Pointers, Warranties and Red Flags to Watch For
Waterproofing cost should be assessed from the scope, not from a bare square-metre allowance. A straightforward room with an accessible substrate may require less preparation than a renovation involving uneven floors, structural movement, a balcony threshold, multiple penetrations or leak rectification. Ask the contractor to separate preparation, detailing, membrane installation, curing, inspection, protection and any remedial work in the quote.
Avoid accepting a cheap figure that leaves out substrate preparation or the time needed for curing. The lowest price can become expensive when another trade has to remove tiles, screed and wall linings to locate a concealed failure.
What a sound proposal should show
A useful quote identifies the membrane system, manufacturer, primer, reinforcing, number of coats, application thickness, curing requirements and areas to be treated. It also names the installer, describes who coordinates the registered builder and states when inspections and photographs will occur.
The contract should explain how defects are reported, who responds, what evidence is retained and how rectification is handled. A warranty is only useful when the responsible business can be identified and the scope is clear.
Red flags that deserve a pause
- Vague product language: “Premium waterproofing” without a product, system or technical data sheet gives you nothing to compare.
- No concealed-work photographs: A contractor who refuses to photograph junctions, wastes and penetrations is removing your ability to check the installation.
- Pressure to skip preparation: Uneven or contaminated substrates don't become suitable because the project is behind schedule.
- No curing allowance: Screed and tiles shouldn't cover a system before the manufacturer's required curing period.
- Unclear responsibility: If nobody can identify the registered builder, permit pathway or defect process, stop before signing.
- Unverifiable insurance: A certificate with the wrong entity, missing policy dates or unclear work coverage needs explanation before work begins.
Class 2 apartments represent less than one-quarter of dwellings constructed but account for more than two-thirds of residential defect costs, with estimated defect costs of approximately $453 million annually statewide. That financial context is one reason property managers and builders should treat waterproofing records as part of asset protection, not administrative clutter. (Victorian Building Amendment regulatory impact statement)
Before work starts, verify the contractor and registered builder. During installation, attend the hold-points or receive dated photographs and measurements. After handover, keep the complete file, including the certificate and written defect process. That approach works better than relying on tile appearance, a verbal promise or a licence number printed on a quote.
Melbourne Tiling Services P/L provides bathroom and ensuite renovations, waterproofing, screeding, leak rectification and tiling, with licensed trades coordinated through its registered building operation. If you're planning work in Melbourne or greater Victoria, visit Melbourne Tiling Services P/L to request a free quote and discuss the evidence and inspection process before your membrane is covered.
Write a Comment