Frameless Shower Screen Installation Cost in Melbourne

A standard frameless shower screen for a straightforward Melbourne ensuite is commonly AUD 1,200–2,500 supplied and installed. That band is a planning benchmark for a typical rectangular opening, while some national estimates reach AUD 2,800 and curved or highly customised screens can sit well above it.

The figure that should reset the budget conversation is not the hinge finish. A frameless panel is one line in a wet-area job. Glass compliance, the condition of the waterproofing, and Victorian contract thresholds move the total further than a swap from chrome to matte black. A screen-only price and a full bathroom renovation are different contracts, and only the larger job reliably pulls in registered builders, coordinated trades and the paperwork that goes with them.

Table of Contents

Frameless Shower Screen Prices at a Glance

A standard frameless shower screen for a straightforward rectangular ensuite is commonly priced at AUD 1,200–2,500 supplied and installed, and some national estimates reach AUD 2,800, according to Australian shower screen cost guidance. Framed or semi-frameless screens are commonly estimated at about AUD 500–900 installed, so the frameless step-up is large before anyone debates hardware colour.
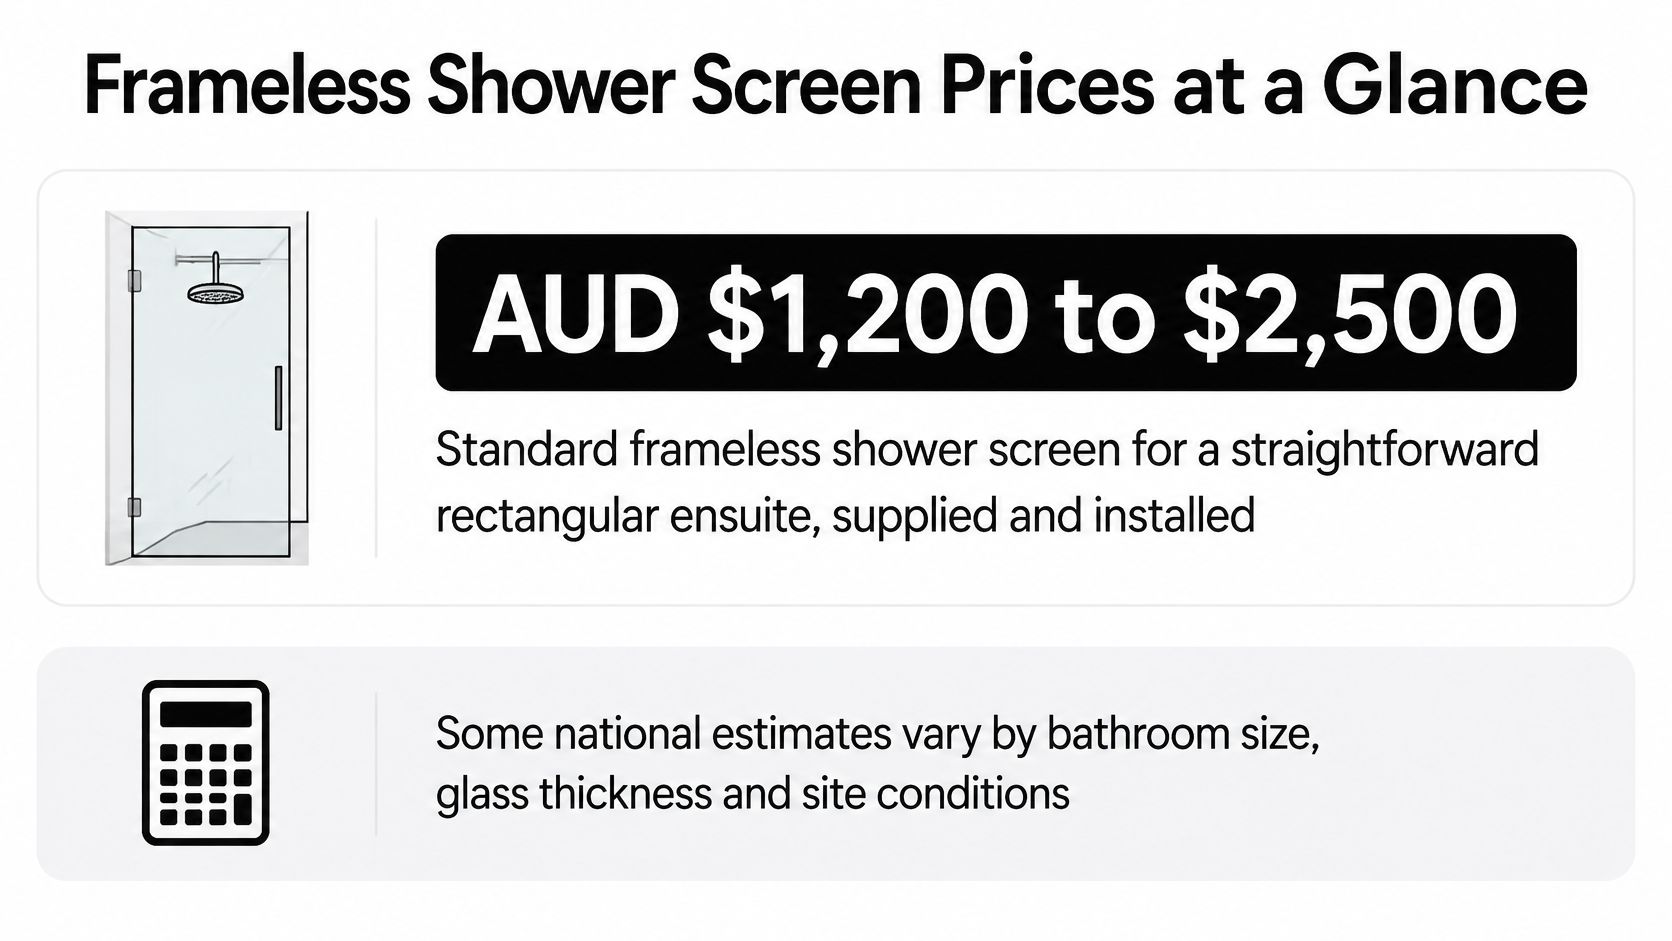
A graphic showing the estimated cost range for frameless shower screen installation, between $1,200 and $2,500 AUD.

Screen type Typical installed price What the figure reflects
Standard frameless, rectangular ensuite AUD 1,200–2,500 Benchmark for a straightforward Melbourne ensuite
Frameless, upper national estimate Up to AUD 2,800 Some national estimates extend to this figure
Framed or semi-frameless AUD 500–900 Commonly estimated installed price

These are supplied-and-installed benchmarks, not a rate per square metre. A single-panel opening with easy access sits nearer the lower end. Multi-panel layouts and difficult access sit higher. On the same guidance, curved, oversized or highly customised screens can exceed AUD 3,500.

Custom or non-rectangular openings need a site measure and an individual quote. Out-of-square walls change templating even when two bathrooms look the same on a sketch.

The screen is usually one line inside a wider bathroom renovation. A full bathroom renovation scope we list is offered for a median price of $10,000, which already shows the glass can be a fraction of the wet-area total once waterproofing, tiling and fittings are in the job.

Practical rule: If a frameless quote falls far below AUD 1,200, check what is excluded before you accept it. Older published component prices run lower and often leave out substrate, waterproofing and compliance items.

Removal of an existing screen, disposal, silicone finishing, waterproofing repairs and GST can each change the installed cost. While you compare finishes, it helps to explore architectural shower fixtures so the screen, tapware and waste read as one wet-area design rather than three separate purchases.

What Pushes the Installed Price Up or Down

A quote is a bundle of glass, hardware, templating, delivery and labour. Read it as a stack of lines, not as a single product price.

Drivers in order of impact

Heavier 10 mm toughened glass comes first. It costs more to make, carry and set, and every hinge and clamp has to be rated for that weight. Our shower screens are custom or frameless, high quality, Australian made and certified, so the hardware has to match the panel, not the other way around. How frameless shower screen hinges are fixed matters more than the colour of the cover plate.

Custom measurement for out-of-square openings is next. Many Melbourne ensuites, especially in older houses, are not square. The extra cost is templating and adjustment, not a prettier bracket.

Premium hinges and brackets follow glass and measure. Finish changes the look. Capacity and anchor type change whether the panel stays true after a year of use.

Corner or multi-panel layouts add another sheet, another joint and another alignment. Difficult access in a tight ensuite or an upper-floor bathroom adds handling time for the same glass. Stairs, small landings and a shower tucked beside a vanity all slow the set.

What older component prices still show

Earlier Australian pricing published by hipages split supply from installation. Treat the table as a way to see that split, not as a current Melbourne quote.

Screen type Supplied price Installation Combined
Two-panel frameless screen AUD 410 AUD 195 AUD 605
Rectangular frameless screen AUD 550 About AUD 195 About AUD 745
Three-panel sliding frameless system AUD 690 AUD 400 AUD 1,090

Installation rises with panel count because each panel needs its own fixing and alignment. The two-panel and rectangular jobs were listed near AUD 195 to install. The three-panel sliding system was listed at AUD 400.

A three-panel sliding system at about AUD 1,090 combined is the glass and the hang, before anyone removes an old screen or repairs waterproofing. Add those and the old component total is no longer the job.

Our shower screen, fittings and appliance work includes installing the shower screen, plumbing and electrical fittings, cabinets, baths and mirrors. That is why a screen-only number and a fittings package should not be compared as if they were the same line.

Glass Thickness and Safety Rules That Set the Spec

Safety compliance sets the spec, and the spec sets a large part of the frameless shower screen installation cost. Australian shower-screen glazing must use Grade A safety glass compliant with AS/NZS 2208, while AS 1288 governs selection and installation in buildings. As Quote Yard's shower screen guidance notes, that applies to frameless, semi-frameless, fixed-panel and framed enclosures, with no general exemption for small or fixed panels.
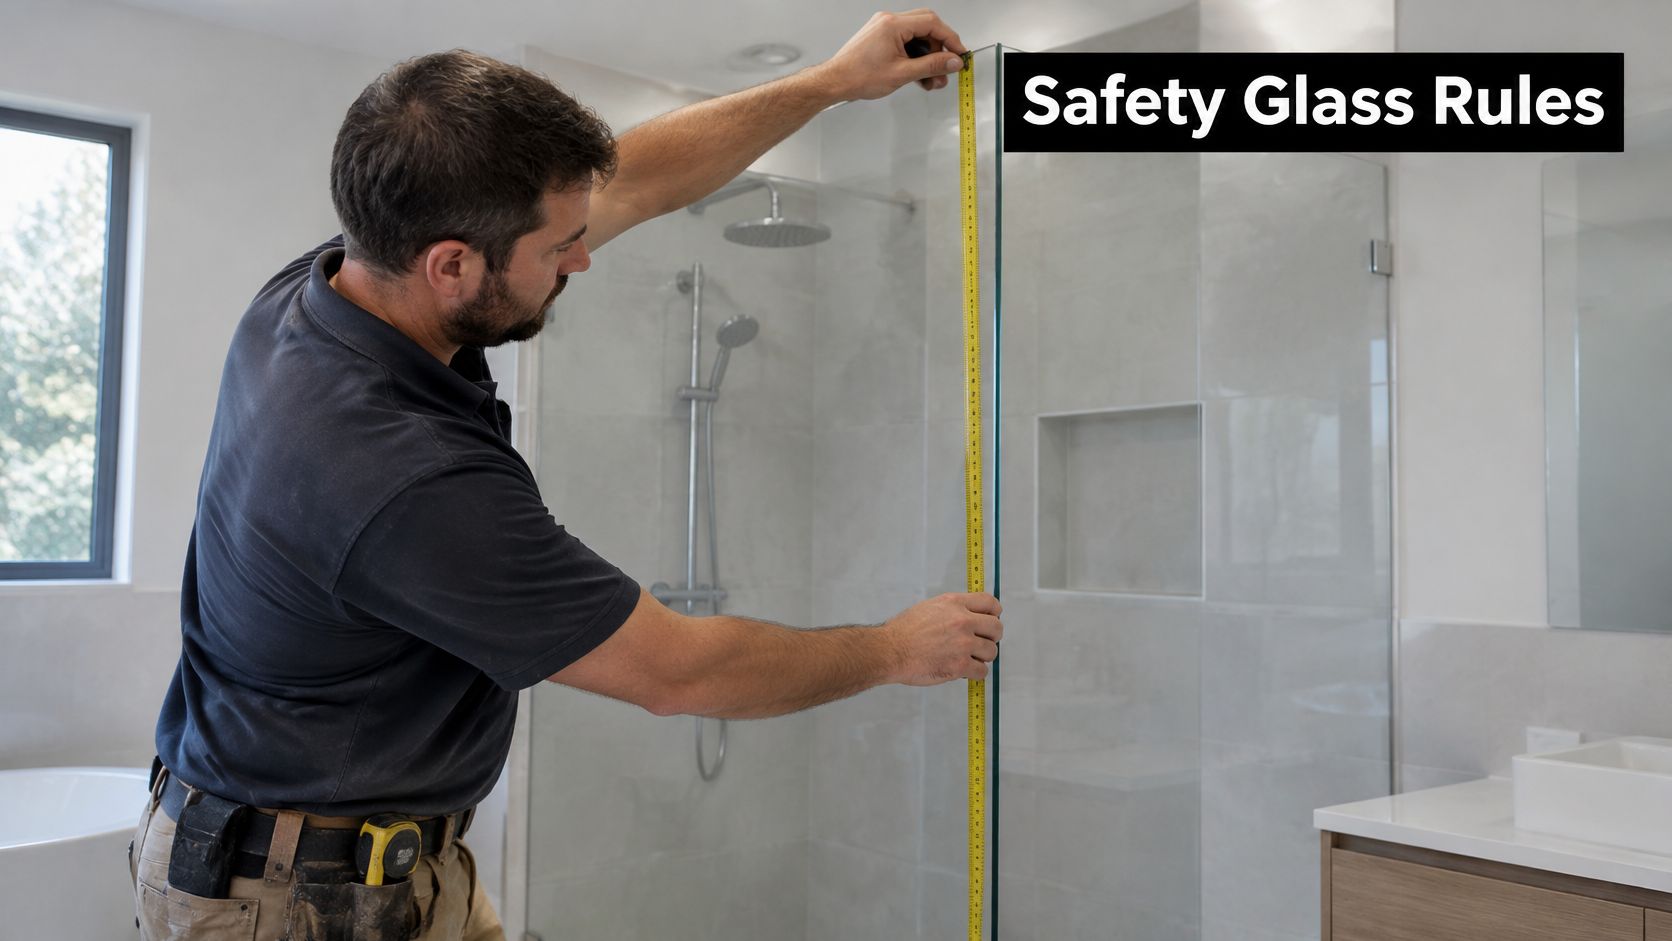
A professional tradesman in a dark polo shirt measures a glass shower panel with a yellow tape measure.

People often assume a frameless screen is a framed screen with the aluminium taken off, so a thinner sheet should do. The standards don't work that way. Frameless systems commonly use 10 mm toughened glass, and Australian building guidance identifies 10 mm as the minimum thickness for frameless screens, compared with 5–6 mm for fully or partly framed systems.

Case Glass thickness cited Standards that apply
Frameless toughened screen 10 mm, the common minimum in Australian building guidance AS/NZS 2208 and AS 1288
Frameless application under one NSW guidance At least 6 mm toughened glass AS/NZS 2208 and AS 1288
Exposed-edge panel Minimum 6 mm nominal toughened safety glass AS 1288-related guidance
Fully or partly framed system 5–6 mm AS/NZS 2208 and AS 1288

Where the thickness advice splits

One line of guidance treats 10 mm as the frameless minimum. Another, including cited NSW guidance, puts frameless applications and exposed-edge panels at a minimum of 6 mm toughened safety glass. Both still sit under AS/NZS 2208 and AS 1288. The practical step is to ask the installer which thickness this opening needs, and why that thickness is on the quote. Frameless shower screen regulations are the right checklist for that conversation, not a showroom photo.

Thicker glass adds weight. Weight demands compatible hinges, clamps, anchors and wall support. Inadequate substrate strength, poor alignment or too much movement transfers stress into the glass or the hardware.

Cheaper-looking hardware doesn't save money if it is under-rated for the panel. Unsafe loading shows up later as a replacement, not as a discount on day one.

A practical Melbourne quote should verify glass certification, thickness, hardware capacity, fixing locations, and whether waterproofing remains intact. The screen is not a substitute for a compliant waterproofed base or wall. On the certificate, check the Grade A mark, the stated thickness, and that the hardware schedule matches the weight of that sheet.

The measuring step in the clip below is the part quotes often compress into a single labour line. Templating errors can't be trimmed out after the glass is toughened.

Quote Checklist and Hidden Wet-Area Costs

Two quotes can carry the same headline figure and still be different jobs. The difference sits in what is left out: substrate repairs, damaged tiles, silicone removal, or existing glazing that cannot stay. Match those lines before you compare the totals. The screen is only one line in a wet-area budget. Documented glass compliance, the condition of the waterproofing, and whether the job stays a screen swap or turns into a coordinated bathroom package move the total further than the hinge finish.
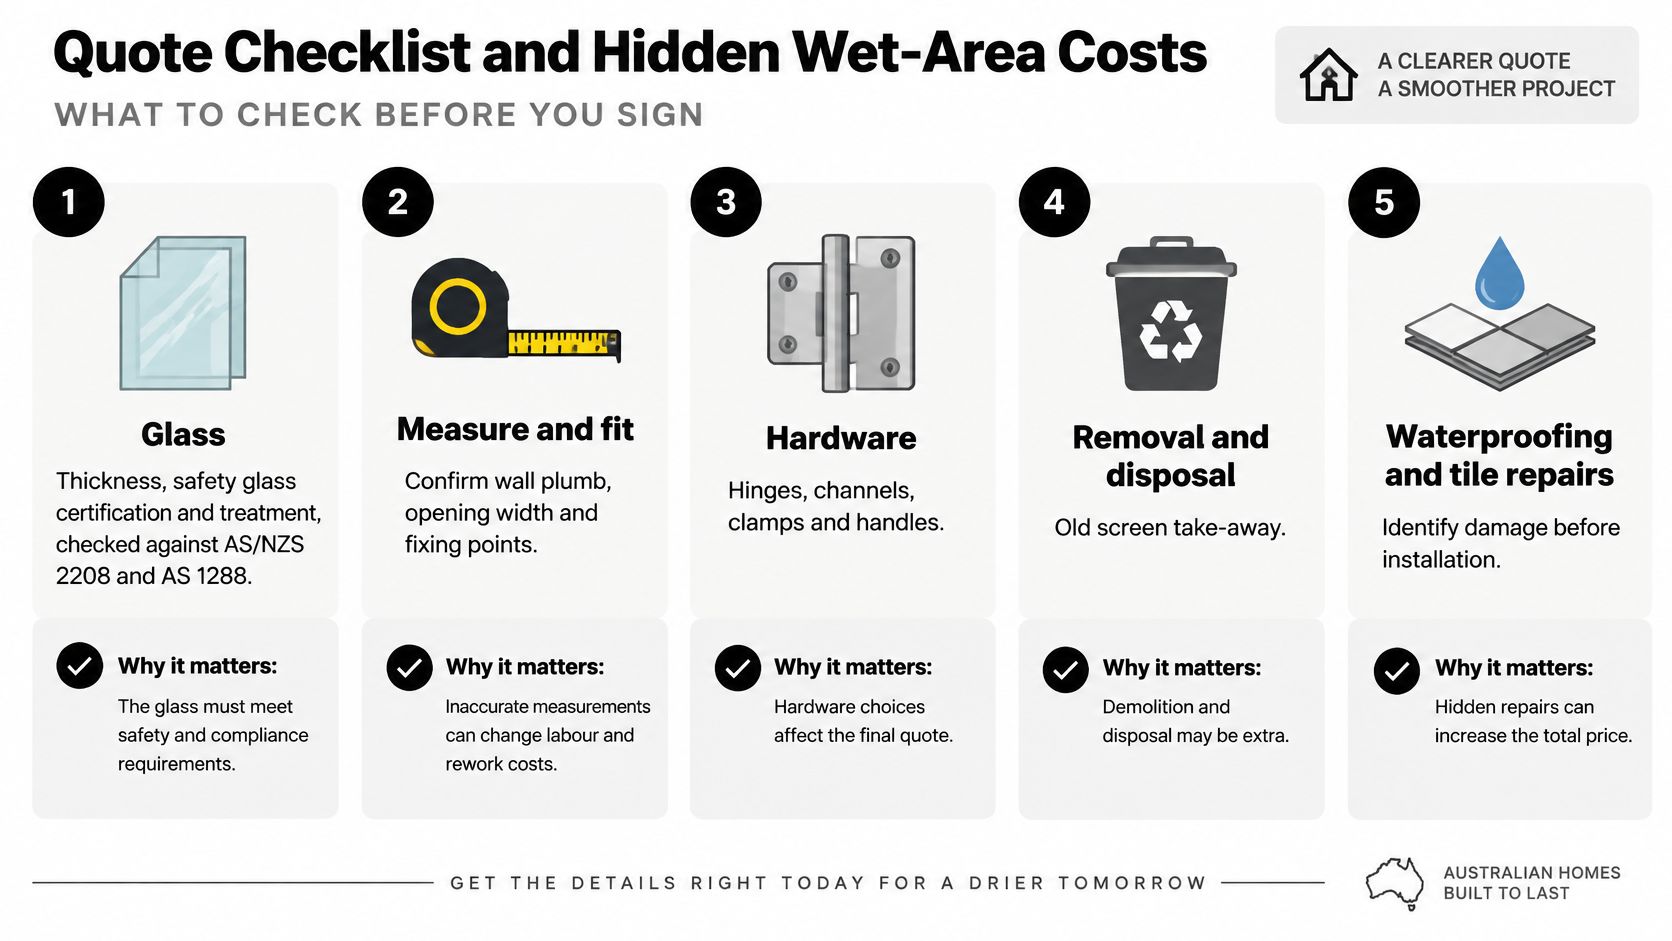
An infographic checklist for estimating costs and hidden expenses when installing a home shower screen.

Ask these questions, in this order. A missing answer is a missing cost.

  1. Glass. Does this quote include compliant glass, the thickness, any treatment, and certification you can keep? AS 1288 covers human-impact safety, not the look of the bathroom. Imported glass still has to meet the Australian glazing requirements.
  2. Hardware. What finish, hinge and bracket type, and fixing method are included, and are they rated for this glass weight? Engineering-grade fixings and drilling into the substrate belong on the page. Finish is the smaller variable. An under-rated hinge is the one that comes back as a replacement.
  3. Site. Is there a measure on site, not a phone estimate, and are out-of-square walls included? In Melbourne renovations the screen often goes in after waterproofing and tiling, so access, tile condition and wall construction are cost drivers. Door configuration, delivery and compliance documentation belong in the same itemised scope.
  4. Old screen. Who removes it, who disposes of it, and who makes good tile or wall damage? Bathroom demolition that includes the old screen, fittings and wall tiles is a separate scope from supplying new glass.
  5. Sealing. Is old silicone removed, and is new silicone finishing included?
  6. Waterproofing. Is the existing membrane inspected, and who pays if it needs rectification?
  7. Tax. Is GST included in the figure you are comparing?
  8. Warranty. What do the glass, hardware and installation warranties each cover, and where do they stop?
  9. Design. Are sketches or plans part of the price, and will changes be agreed in writing before work starts? Melbourne Tiling Services includes sketches, plans and discussions in bathroom design, and modifications are agreed before work commences.

A low quote usually omits one of items 4 to 6. Until those lines match, the headline figures are not comparable. Plumbing labour beside the screen is easier to compare when each exclusion is its own line, which is how take-off tools such as Exayard plumbing estimating software are used on the trade side.

Faults that appear when the glass arrives

A screen can be priced cleanly and still need extra work where tiles are hollow, walls are out of plumb, fixings cannot reach framing, or old penetrations need repair. Those faults show up when the glass is on site, after toughening, when the panel can no longer be trimmed to suit the opening.

The base is a built assembly, not a tray the glass stands on. Melbourne Tiling Services installs shower bases with a hob, screed to form the fall, a puddle flange and a shower grate such as smart tile, grill or square waste. The screen then fixes into the surrounding walls. If the fall, the flange or the wall fixings are wrong, the fault shows up at installation, and the glass price does not correct it.

Waterproofing from the same contractor covers walls and floors, interior or exterior, shower walls and floors, balconies and retaining walls. Replacing an existing enclosure carries more risk than setting glass during a full renovation, because the old membrane is exposed when the old screen comes off. Hold the screen price separate from a contingency for substrate and waterproofing investigation. Dropping the base substrate or building a stud wall should appear as its own item in the written scope, not inside the glass line.

For landlords and property managers, the cheap install can become the larger liability if a leak, a glass failure or a non-compliant product causes damage. Put one question in writing. Who pays if the investigation finds a fault, and does the installer coordinate waterproofing rectification or stop at the glass?

Victorian Thresholds That Change Your Budget

A frameless screen quote looks self contained. The budget rarely is. Glass compliance sets the specification, while the condition of the waterproofing and the total value of the domestic building work decide the paperwork, the contract form and the insurance position.

Victorian consumer guidance places two money figures on that paperwork. Work worth more than $10,000, including renovations, extensions and repairs, generally requires a written major domestic building contract and a builder registered with the Building and Plumbing Commission, as set out in Consumer Affairs Victoria's guidance on builders and tradespeople. Victoria's renovation checklist for work costing more than $10,000 requires domestic building insurance before a deposit is taken or work begins when the work costs more than $16,000.

Work value or type What to allow for in the budget
Up to AUD 10,000 Terms still need confirmation in writing with the builder, even where a major domestic building contract is not used
Above AUD 10,000 Written major domestic building contract and builder registration, per Consumer Affairs Victoria's guidance on builders and tradespeople
Above AUD 16,000 Domestic building insurance provided before a deposit is taken or work begins, per Victoria's renovation checklist for work costing more than $10,000
Structural work, any price Builder registration required, and a building permit may apply

Screen-only versus a full renovation

A screen-only replacement can sit under both money thresholds. A complete renovation that combines demolition, plumbing, waterproofing, tiling and structural change often crosses them. Apply the test to the project value, not the glass line alone.

The distinction matters because bathroom work counts as domestic building work when it involves building, renovating or repairing a bathroom without extending beyond the existing external walls, floor or ceiling, and the Building and Plumbing Commission treats selecting and applying suitable waterproofing as part of that scope. A building surveyor must not issue a building permit for domestic building work under a major domestic building contract unless a builder registered in the appropriate class is carrying out the work. The same guidance lists exceptions for some single-skill jobs, including tiling and glazing. A coordinated bathroom renovation does not necessarily fall inside a single-skill exception.

The registration application for a builder limited to bathroom, kitchen and laundry renovations lists shower screens in the technical scope, alongside wet-area substrates, waterproofing to manufacturers specifications, and wall and floor tiling, in the Victorian registration application. We deliver bathroom renovations with in-house carpenters, plumbers, waterproofers and tilers, which reflects that coordinated sequence. Keep the guide to waterproofing compliance certificates in Victoria in the same file as the contract and the insurance. Confirm registration, the written contract and the insurance documents before a deposit or a start date, and make sure the quote states how hollow tiles, out-of-plumb walls and aged membranes are investigated before the glass is ordered.

Confirm Your Scope and Budget Before You Sign

Lock the scope before you compare prices. A headline figure without these five steps is a guess.

  1. Define the screen. Panel count, configuration and glass thickness come first. Those three choices set the glass order.
  2. Name the project type. Say whether the screen sits inside a full bathroom renovation or replaces an existing enclosure. Replacement jobs need a waterproofing contingency. New wet areas fold the screen into the build sequence.
  3. Ask for an itemised written quote. Use the glass, hardware, site, removal, silicone, waterproofing, GST, warranty and design questions so two quotes can be lined up row by row.
  4. Book a site measure. Confirm whether a waterproofing inspection is inside the price or held as a separate contingency. Phone estimates miss out-of-square walls.
  5. Match the paperwork to the value. Check the builder's registration, the contract form and domestic building insurance against the Victorian thresholds for the price of your project, not the price of the glass alone.

Free quotes and 3D drawings are offered for a bathroom renovation, and the website has a bathroom renovation calculator if you want a first pass on scope before anyone visits. Melbourne Tiling Services P/L can provide an itemised written scope covering the wet-area sequence, so you can request one quote with a site measure and compare it against that checklist. You can phone 1300 661 658.

Compare every quote line by line. The frameless shower screen installation cost that looks cheapest on the first page is often the one that left out the membrane, the make-good and the contract you need.


Melbourne Tiling Services P/L supplies and installs Australian-made frameless shower screens as part of bathroom renovations, with waterproofing, tiling and the related wet-area trades coordinated in-house. If you are pricing a Melbourne ensuite, an itemised scope with a site measure will show whether the screen, the membrane and the Victorian contract rules belong in one figure. Visit Melbourne Tiling Services P/L to request a quote and line it up against your checklist.
Frameless Shower Screen Hinges: Types, Specs and Costs

Choosing the smallest hinge that looks good with your tapware is the wrong starting point. Frameless shower screen hinges have to suit the glass, the supporting wall and the waterproofing layout before you consider their appearance.

A neat fitting won't rescue an oversized door, weak backing or a floor detail that lets water escape. For Melbourne bathroom renovations, I would settle the panel dimensions and water-control detail first, then choose hardware with a documented rating for that exact arrangement.

Table of Contents

Patch, Barrel, Pivot and Continuous Hinge Types Compared

Patch fittings, barrel hinges, pivot hinges and continuous hinges carry a door differently. The deciding question isn't which looks most minimal. It's where the door's weight goes and what resists it.

A wall-mounted hinge transfers load into the backing behind the tiles. A pivot arrangement can transfer much of the weight into the floor, while its upper connection controls alignment. A continuous system distributes the connection along the glass edge, but still needs a suitable supporting structure.

Frameless shower hinge types compared

These descriptions are a starting point, not interchangeable product specifications. Suppliers sometimes use overlapping names, particularly for patch fittings and hinges with a barrel-shaped knuckle.

Hinge type How it holds the glass Best fit Load and alignment note Main trade-off
Patch fitting Clamps to the glass face through a drilled hole, fixed to the wall Small to medium light panels Typically a lower-capacity option; concentrated fixing locations carry the stress Visible plate; drilled hole position must be exact
Barrel hinge Cylindrical knuckle on a wall plate and glass plate Standard single swing doors with moderate glass Suitable for mid-weight doors when rated accordingly and the wall is plumb Visible knuckle; needs solid wall fixing
Pivot hinge Pivot pins at top and bottom; door turns on a set axis Tall or heavy panels, pivot-style doors Strong when floor and header are suitable; check the rated mass Needs compatible floor and upper fixing; affects floor clearance and channel detail
Continuous hinge Full-height strip secured along the glass edge with the system's gaskets or clamping arrangement Tall, heavy or large-format panels in a purpose-designed system Spreads load along the edge, reducing concentrated connection stress More expensive hardware; unforgiving of misalignment

Don't assume a patch fitting has the lowest capacity because its plate is small. Nor does a tall continuous hinge automatically make a large door safe. The manufacturer's permitted door width, glass thickness, mass and fixing arrangement make the final call.

Choose the load path before the finish

Glass-to-glass hardware also loads the return panel. That panel needs its own suitable supports; it isn't equivalent to a masonry wall because it feels rigid by hand.

Ask the supplier to identify the exact hinge model and confirm the proposed panel height, width, mass and mounting substrate in writing. Adding another hinge without approval isn't a reliable way to increase capacity because the hinges may not share the load evenly.

Buying rule: Match the hardware to the panel and supporting structure, then choose the finish.

Marine-grade stainless steel is a sensible wet-area option. Brushed stainless can disguise handling marks, but “brushed” describes appearance, not corrosion resistance. Cheaper coated fittings can pit or stain when their coating deteriorates, so ask what material sits underneath the finish.

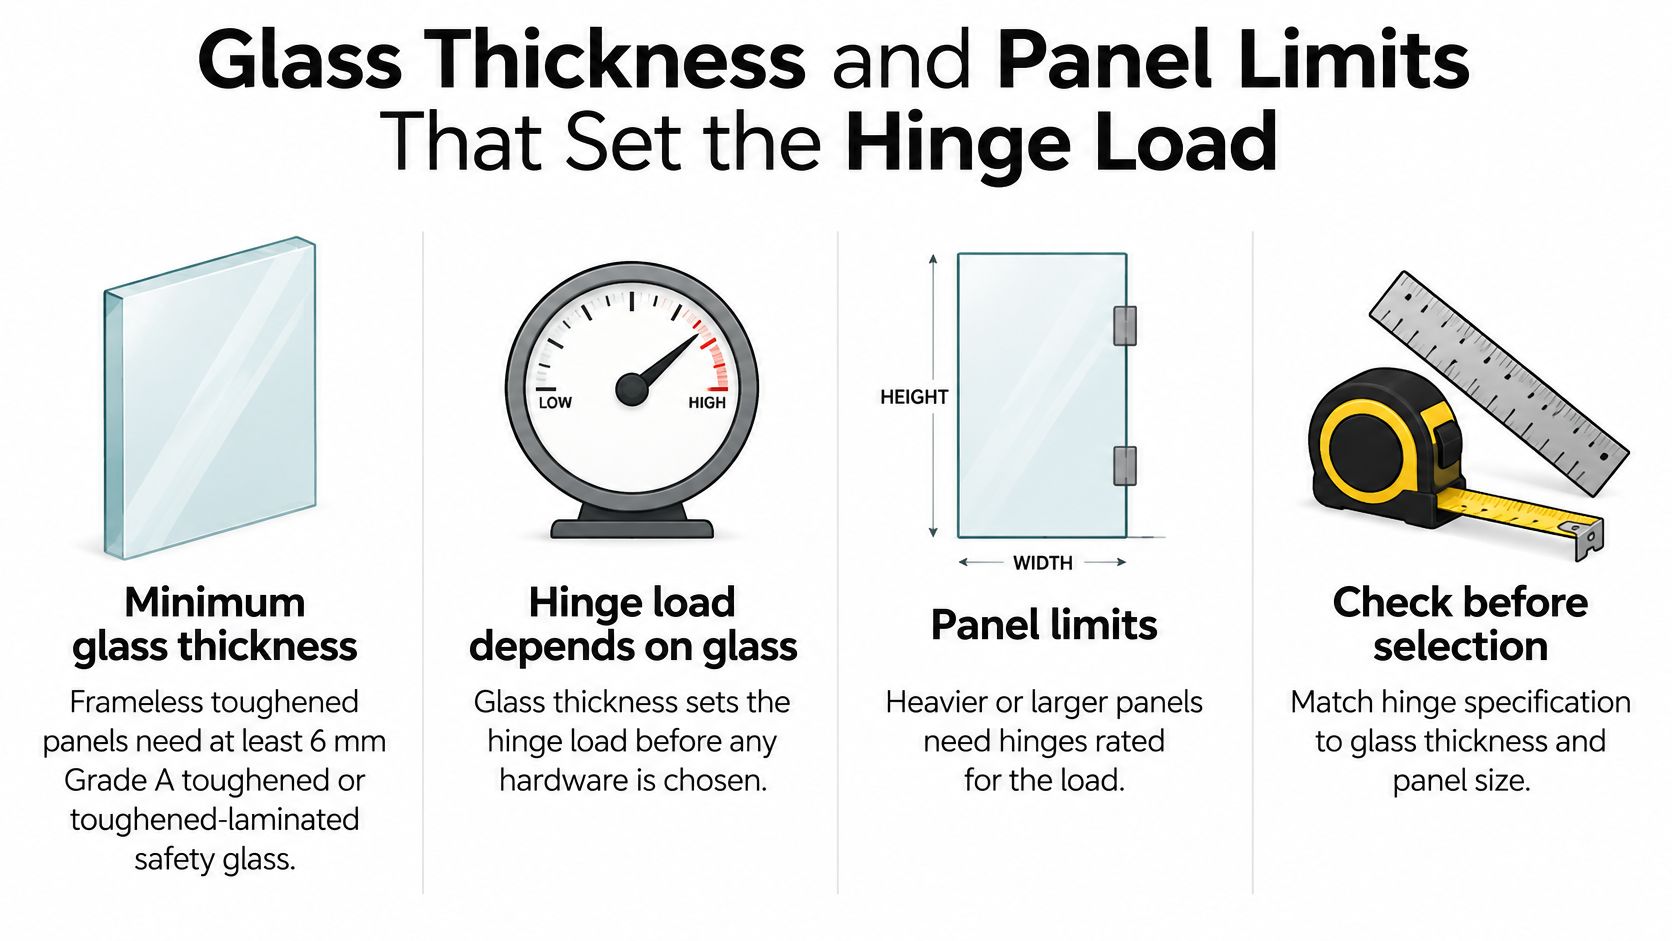
Glass Thickness and Panel Limits That Set the Hinge Load

Frameless panels need at least 6 mm Grade A toughened or toughened-laminated safety glass, according to the Australian glazing technical extract published by Your Shower Screen. Its historical AS/NZS 1288:2006 table lists the unframed panel-area limits below; these aren't hinge load ratings or automatic permission to build a door of that size.

The NSW Government's toughened-glass guidance states that shower screens and doors must comply with AS 1288 and AS/NZS 2208, and distinguishes the 6 mm minimum for frameless toughened glass from the 4 mm minimum available for framed toughened glass. Don't apply a framed-door specification to an unsupported glass edge.

Maximum unframed area and indicative panel weight by glass thickness

The area column reproduces the historical extract identified above. The weights are a hypothetical estimating example, using a panel measuring 2.0 m by 0.9 m and an assumed glass mass of about 2.5 kg per square metre per millimetre of thickness, not a supplier-certified door weight.

Glass thickness Max unframed area (m²) Example panel weight (kg)
6 mm 3.0 27
8 mm 4.5 36
10 mm 6.0 45
12 mm 7.5 54

In that hypothetical example, changing from 6 mm to 10 mm raises the estimated panel mass from 27 kg to 45 kg, about two-thirds more. Obtain the actual manufactured panel mass before ordering hardware.

An infographic illustrating factors affecting hinge load for frameless glass panels, including thickness and panel limits.

Width matters as well as weight

Think of a hinge like a shelf bracket. A longer shelf increases the load's force, even before you put anything heavier on it. A wider shower door similarly increases the turning effect that the hinges and wall must resist.

The NCC glazing human-impact provisions address bathroom and shower glazing with a lowest sightline below 2.0 m. The installer must establish the applicable code edition and check the complete glass-and-support arrangement, rather than treating a hardware rating as proof of compliance.

Confirm thickness, panel area and support conditions before selecting hinge count. Use the frameless shower screen regulations guide to prepare questions for the glazier, and obtain the hinge drawing before the glass is manufactured. The factory-made holes and cut-outs must match the selected fitting.

Mounting, Seals and Clearances to Check Before You Hang the Door

Start behind the tiles. Hinge plates need solid, plumb backing, not just a clean tiled face. Tile adhesive, grout and waterproofing layers aren't structural support.

The mounting arrangement determines what else needs checking. A wall-to-glass fitting needs suitable wall backing; glass-to-glass hardware needs a properly supported return panel; a channel detail at a hobless entry needs coordination with the waterstop and finished floor.

Keep support and sealing separate

A bottom sweep or drip rail redirects water towards the shower. A vertical seal reduces escape between the door and its adjoining surface, while hinge gaskets isolate metal from glass. None of these components replaces the wet-area waterproofing system.

For a useful visual comparison of enclosure layouts, the shower screen advice from Modern Bathrooms can help homeowners discuss panel and door arrangements. Australian compliance and site-specific details still need confirmation locally.

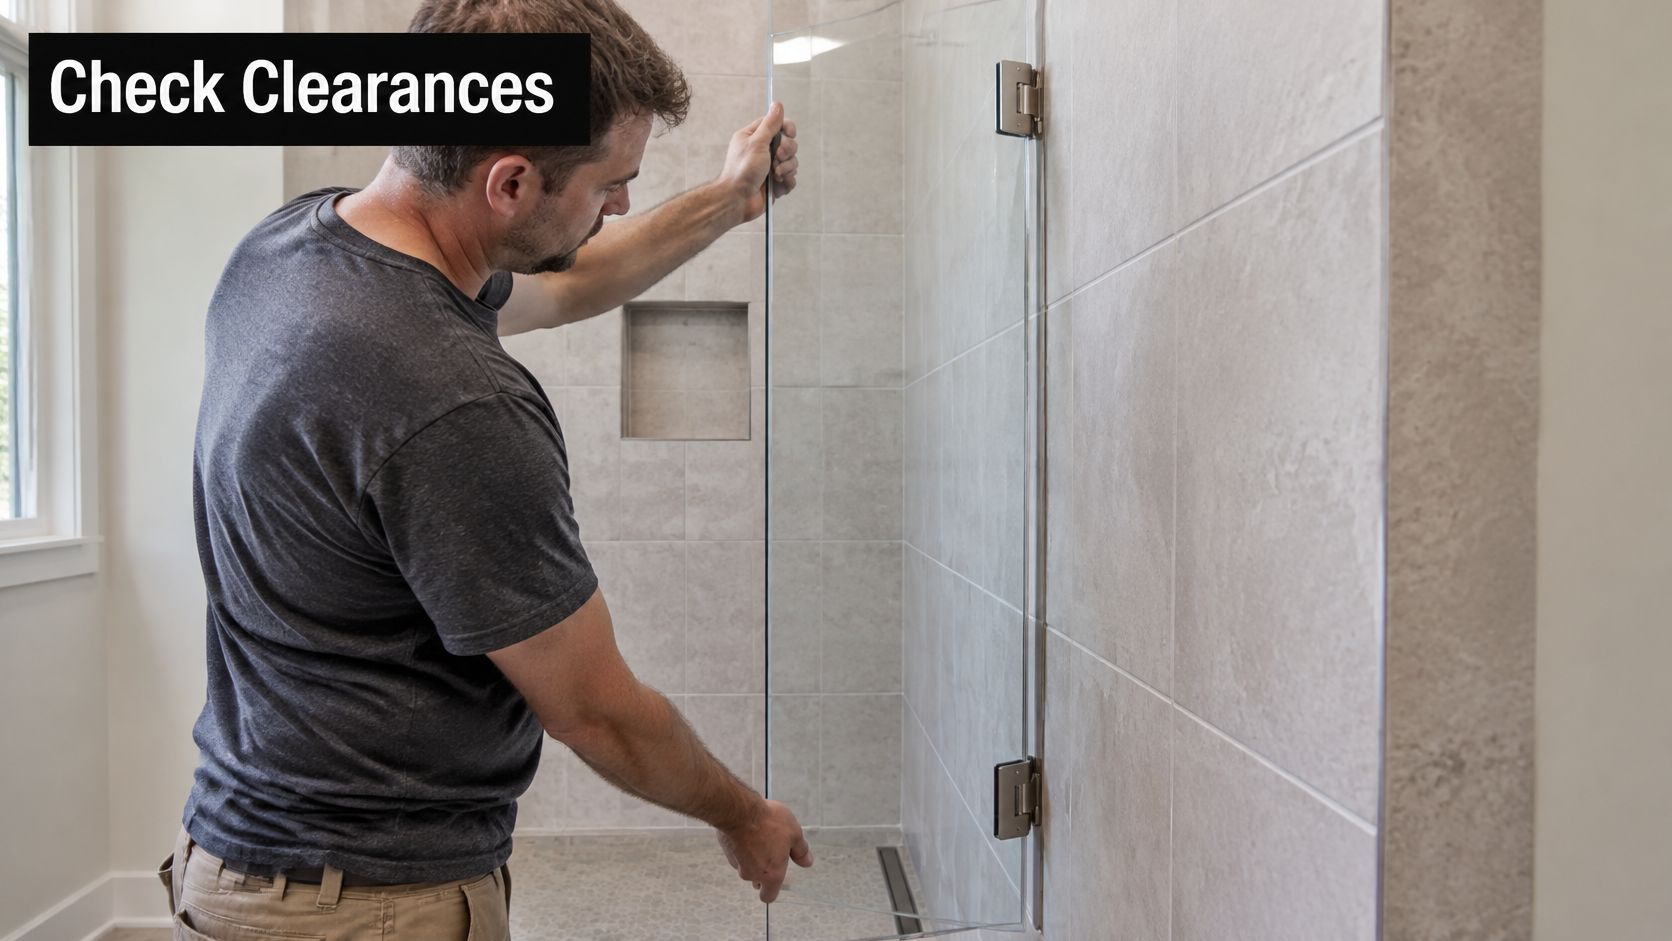
Check clearances with the actual handle, seals and bathroom fittings allowed for, not just the bare glass outline.

A professional technician carefully checking the clearance of a glass frameless shower door during installation.

Let the waterstop determine the floor detail

The screen is like a gate in a fence: the opening underneath matters as much as the gate itself. A low sweep can't correct a floor that directs water out of the enclosure.

The NCC wet-area waterproofing provisions require shower-area walls to be waterproof to at least 1,800 mm above the floor substrate and, for enclosed showers without a hob or step-down, the waterstop at the screen location to finish at least 5 mm above finished floor level. Junctions and penetrations also need waterproof treatment.

For unenclosed showers, the ABCB waterproofing FAQ identifies a waterstop at least 1,500 mm horizontally from the shower rose itself, not the adjacent wall, and explains the inverted-channel requirement over the waterstop where there's no hob or step-down.

  • Check the swing: Allow clearance from shelves, the shower rose, taps and the adjoining wall.
  • Confirm the base: Coordinate the bottom gap, seal and channel before setting the floor detail.
  • Resolve penetrations early: Moving a hinge after tiling can create new holes through finished waterproofed surfaces.

Selection Checklist and Indicative Melbourne Costs

A hinge can look minimal and still be wrong for the door. Match the hardware to the glass specification, panel area and approved support arrangement, then check the quote covers the work needed to fit it.

Checks to put on the order

  1. Glass specification: Confirm the toughened safety glass type and thickness for the panel arrangement.
  2. Check the panel area against the applicable glazing limits and support conditions.
  3. Hinge capacity: Get written confirmation that the hinge is rated for the door's mass and width.
  4. Confirm the wall, return panel or pivot support can take the proposed fixings.
  5. Finish: Specify the base material and coating, not just the colour.
  6. Check that seals, isolation gaskets and any required drip rail are included.
  7. Operating space: Confirm the handle and door clear the shower rose, shelves and wall.
  8. Agree on the waterproofing layout and penetration treatment before tiling.
  9. Written approval: Ask the supplier to document the permitted hinge arrangement for the panel.

Keep the approved hardware drawing with the glass order. A similar-looking replacement hinge can have different hole spacing, gasket dimensions or permitted clamping thickness, so check compatibility before ordering.

Indicative Melbourne hinge and screen costs in AUD

Use these as typical indicative ranges, not fixed installed rates. The final price depends on the measured opening, hardware specification and work required at the site.

Job Indicative range (AUD)
Replacing a single hinge $200–$500
Supplying and installing a standard frameless screen $1,000–$2,500
Large or custom panels, continuous or pivot systems $2,500–$6,000+

Glass thickness, hinge count, finish and site access affect the price. List removal and disposal, backing repairs, and any tiling or waterproofing rectification separately so those costs are clear before work starts.

A lower hinge replacement price can become more expensive if the existing glass cut-out does not suit the replacement hardware. Compare quotes by scope as well as total, including sealing, final adjustment and responsibility for penetrations. The Melbourne shower screen installation cost guide can help organise that comparison.

For a broader renovation, full-service bathroom design and construction can coordinate the screen with the surrounding bathroom work. Confirm who is responsible for the finished opening, waterproofing details and screen fit before ordering.

How to Install and Align Frameless Shower Hinges

This is a professional installation sequence, not a reason to handle a heavy glass panel without appropriate equipment. Have suitable glass suction lifters, padded supports, a spirit level, non-damaging setting blocks and the manufacturer's specified fastener tools ready before lifting.

Standards Australia's AS 1288:2021 overview describes glass selection and installation with regard to wind loading, human impact and special applications. In practice, the hinge connection belongs to the complete glazing system, including its supports and clearances.

Set out, support and secure

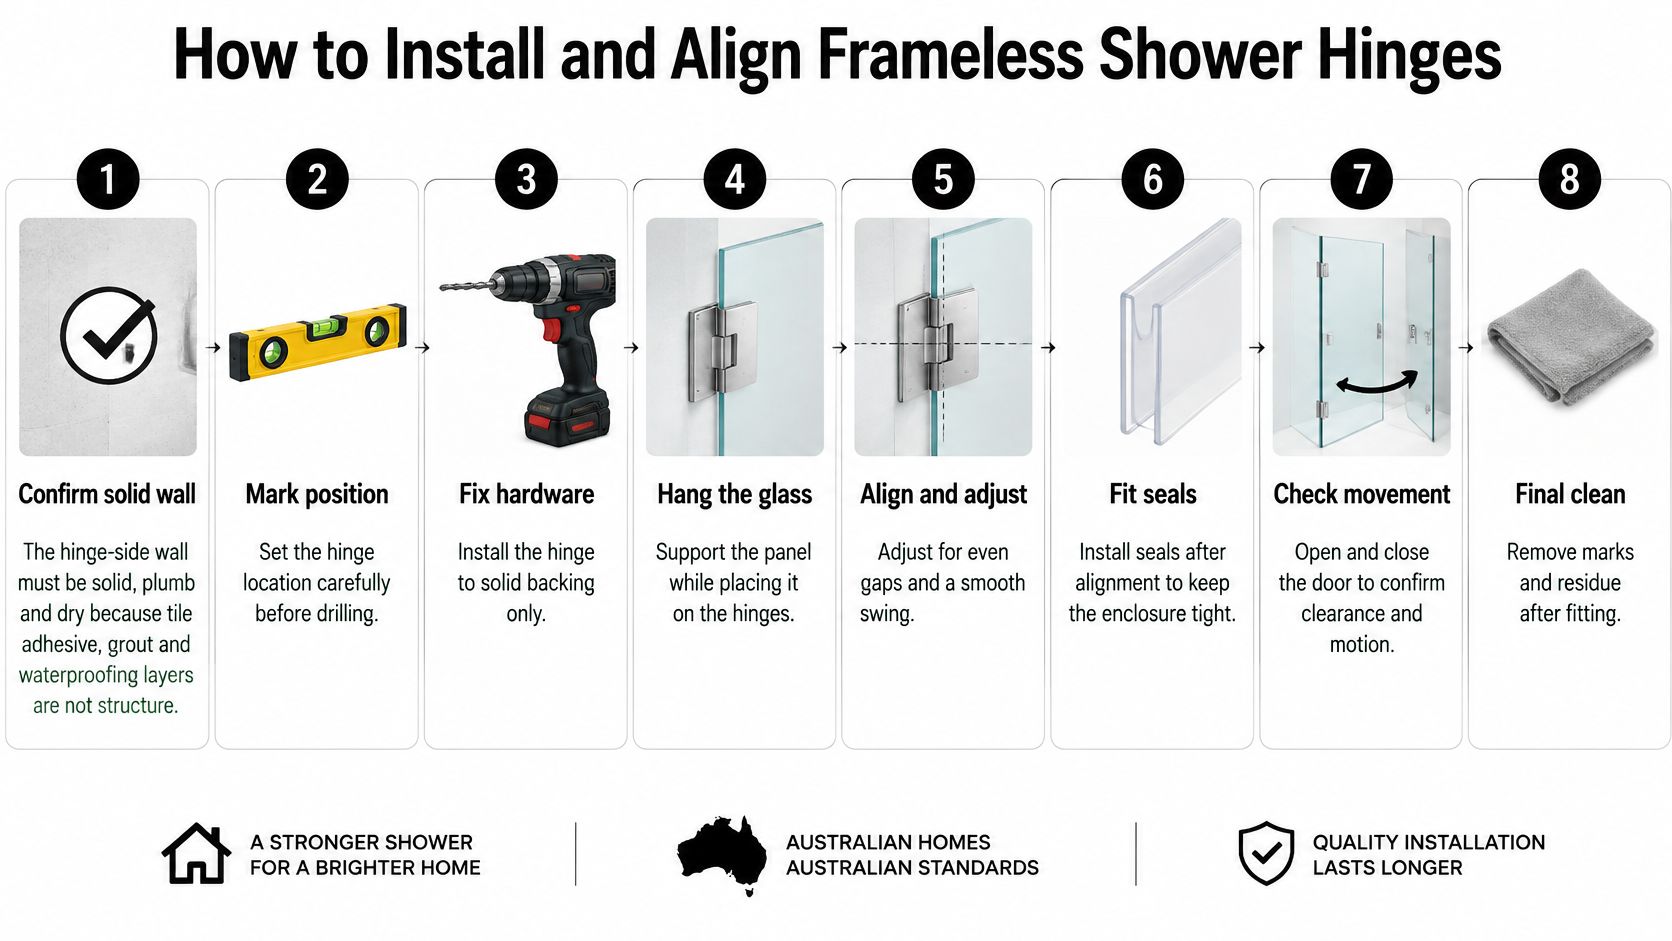
  1. Confirm the wall is solid, plumb and dry. Establish where the backing is and how the fixing reaches it. An out-of-plumb tiled face needs an approved mounting solution, not screws pulled harder against the plate.

  2. Compare the glass order with the hinge drawing. Check hole locations, cut-outs, thickness and edge condition before lifting. Toughened glass can't be drilled, cut or modified on site to make an incompatible hinge fit.

  3. Mark the positions with a level. Support the door at its planned operating height on padded blocks. Mark from the actual hinge geometry rather than measuring from an uneven grout line.

  4. Fix the wall plates into solid backing using suitable anchors and corrosion-resistant screws. Treat penetrations with the specified waterproofing-compatible detail, and don't assume a generic wall plug is adequate behind every tile.

  5. Fit the supplied gaskets. Keep the contact faces clean and use the correct gasket arrangement for the glass thickness. Metal must never bear directly against the glass.

  6. With a helper and suitable lifting equipment, position the door and join the hinge components. Keep the panel supported until the connections are correctly assembled; don't let it hang from a partially secured fitting.

  7. Set the top, bottom and closing-side gaps. Use the system's permitted setting blocks or packers, not improvised hard wedges against an exposed edge.

  8. Check plumb with a spirit level, then tighten evenly in the manufacturer's sequence and to its specified torque. Moving between screws avoids pulling the clamp unevenly across the glass.

  9. Test the full operating arc. Check swing, seal contact, latch alignment and any self-closing function. Adjust only features the hinge is designed to adjust.

  10. Stop if an edge rubs. Support the panel and correct the alignment before further use, because contact can transfer damaging loads into the glass and fittings.

The sequence below provides a visual reminder of the main installation stages.

An eight-step infographic illustrating the professional installation and alignment process for frameless glass shower door hinges.

Check behaviour, not just appearance

Even gaps don't prove that the door is correctly supported. Watch the wall plate while the door moves and listen for clicking, gasket movement or a hard spot in the swing.

A free-swinging door shouldn't drift because it's out of plumb. A self-closing hinge, however, should move through its intended closing zone, so expecting every door to hold at any angle is the wrong acceptance test.

Home Pro's Remodeling & Repairs offers guidance on measuring for a new sliding door. Although it's a different door system, the transferable habit is checking the opening at multiple positions rather than trusting a single measurement.

Use the frameless shower screen installation guide to discuss the proposed sequence with the installer. Finish by fitting seals, cleaning residues and recording the installed hardware model for future servicing.

Maintenance and Troubleshooting for Hinges That Drift

As a practical routine, inspect the hinges every three to six months, with more frequent checks if the door gets heavy use. Wipe the knuckles with mild detergent and a soft cloth, rinse and dry them, then inspect the seals and accessible screws.

Where the manufacturer permits lubrication, use a compatible silicone-based product sparingly on the moving parts rather than an oil that collects grime. Keep lubricant off clamping gaskets and wipe overspray from the floor.

Hinge symptoms, likely causes and fixes

Drift often starts with a loosening connection or movement in the supporting wall, not a completely failed hinge. Like a sagging wardrobe door, a changing gap gives you an early warning, but glass needs more cautious handling.

Symptom Likely cause Fix
Door sags or drops at the latch Loose hinge screws or soft wall fixing Have the supported panel checked; tighten evenly and replace unsuitable anchors where necessary
Glass rubs on wall or frame Out-of-plumb door or incorrectly set hinge gap Stop operation; have the gap reset with approved packers and plumb rechecked
Squeaks or stiff swing Dry or dirty hinge knuckle Clean, then apply manufacturer-approved silicone-based lubricant
Door will not close by itself Excess friction or misaligned hinge plate Check whether it's a self-closing model; correct alignment and adjust tension only if permitted
Water at the base Worn bottom seal or drip rail gap Replace the correct seal; check water containment before adjusting hinges
Corrosion or staining on hinge Unsuitable finish, damaged coating or cleaning contamination Identify the cause and replace deteriorated hardware with a suitable corrosion-resistant product
Crack at a hinge hole Overstress or misalignment Stop using the door; have a professional replace the panel and investigate the connection

Know when adjustment isn't the answer

Don't repeatedly tighten a screw that won't hold. A stripped anchor, soft backing or moving plate needs a fixing repair, not more force. Supporting and releasing the glass is professional work.

Stop using the door if there's a cracked hole, hard glass contact or visible movement at the wall connection. Water escaping beyond the seal also warrants investigation rather than repeated hinge adjustment.

A hinge can change where the door sits. It can't change the floor fall or repair a failed waterproofing detail.

The Victorian Building Authority wet-area waterproofing guidance distinguishes screen water containment from the waterproofing system and identifies the relevant building surveyor's role in assessing whether a fully frameless arrangement will function adequately. Diagnose whether water passes through a damaged seal, under the screen or through the building fabric before choosing the repair.

When to Hire a Registered Builder in Melbourne

Victorian bathroom renovations valued above $10,000 generally require a registered builder, while individual trades such as tiling, glazing, plumbing and electrical work have exemptions when performed alone, according to Consumer Affairs Victoria's guide to builders and tradespeople. The guide also identifies registration requirements for work combining skills or requiring a building permit.

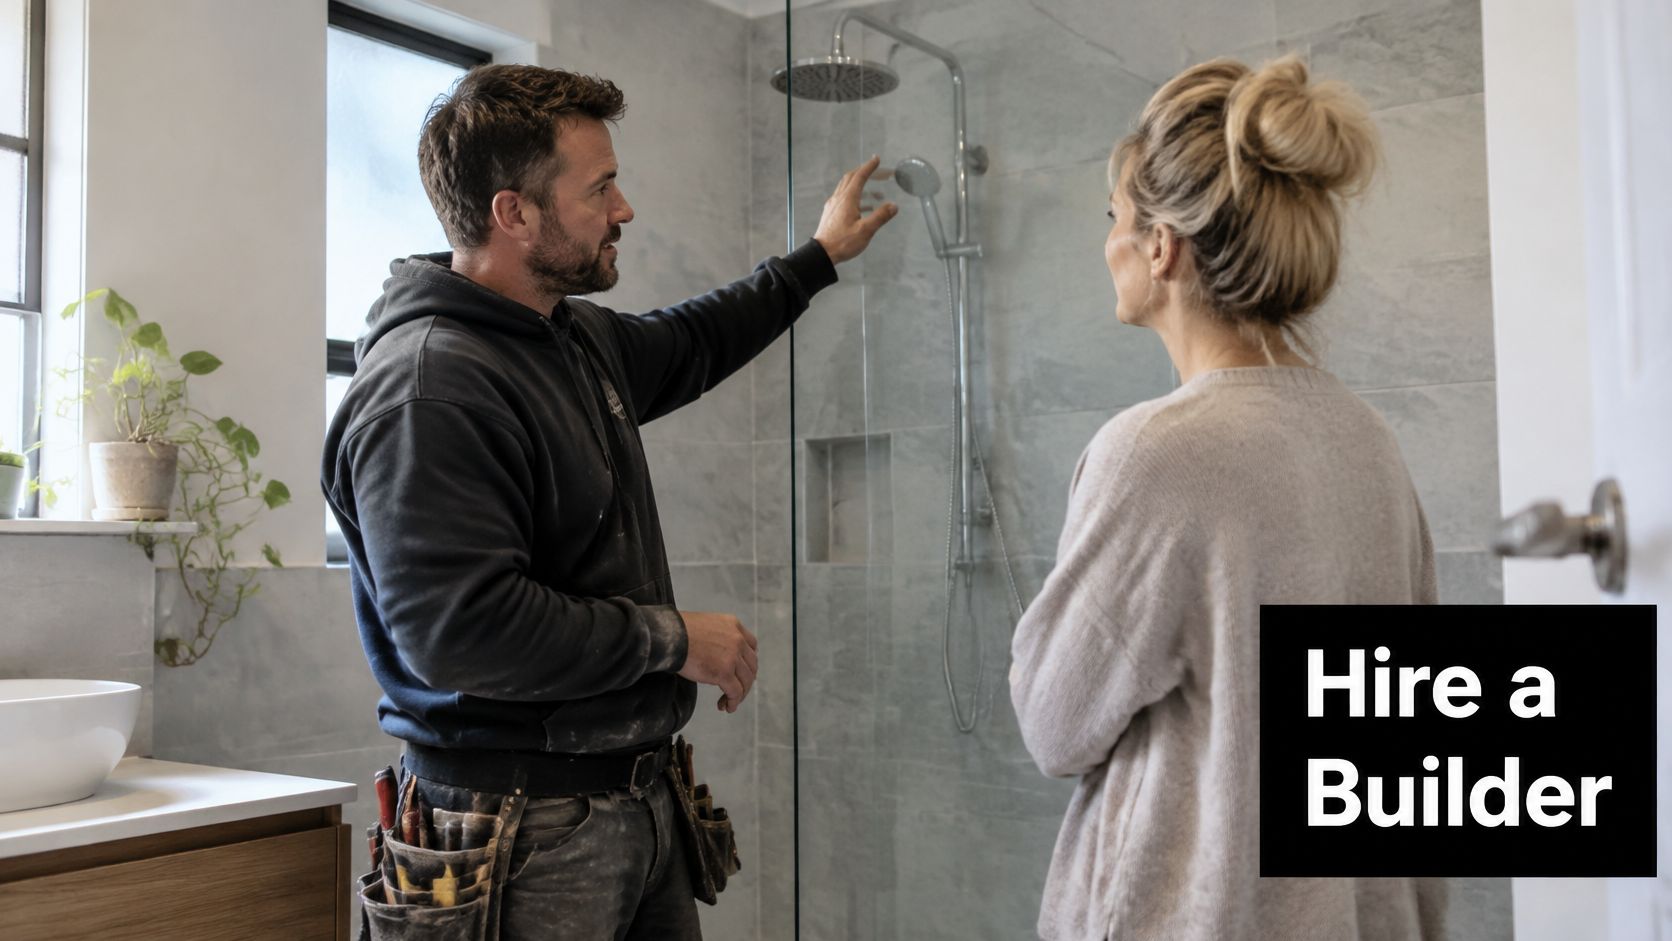
A hinge swap and a bathroom renovation aren't the same contracting job. Once demolition, waterproofing, carpentry and services are involved, someone needs responsibility for the complete scope and the interfaces between trades.

Discuss that scope before committing to the screen order.

A professional builder discussing a new bathroom renovation and frameless shower screen installation with a female homeowner.

Bring in professional help for the interfaces

A like-for-like replacement may be straightforward for a suitably equipped installer when the glass is undamaged and the backing is sound. It isn't a casual DIY task if releasing the clamp leaves a heavy panel unsupported.

  • Changed glass or hole positions: Have a glazier specify a replacement panel rather than attempting to alter toughened glass.
  • Unsound wall backing: Arrange investigation and reinforcement before choosing the fixing.
  • Waterproofing changes: Coordinate the screen installer with the builder and waterproofer before making new penetrations.
  • Multiple trades or permits: Establish who manages approvals, sequencing and completion.
  • Repeated movement: Investigate the structure and connection rather than ordering another hinge by appearance.

Older Melbourne bathrooms can conceal timber studs, fibre-cement linings and previous repairs behind apparently sound tiles. Ask how the installer will confirm the backing before ordering, particularly where the proposed hinge falls between studs.

The video can support a layout discussion, but it doesn't replace a site-specific glass and fixing specification.

Agree responsibility in writing

Check registered builders on the Building and Plumbing Commission register and confirm that their authorisation matches the contracted work. Ask who supplies the glass, approves the hardware, treats penetrations and returns for final adjustment.

One option is to request a written quote from Melbourne Tiling Services P/L for coordinated bathroom, waterproofing and screen work. Verify its registration independently and agree the scope, hinge rating, exclusions and responsibility for existing defects before work starts.


Melbourne Tiling Services P/L offers bathroom renovations, tiling, waterproofing and frameless shower screen installation, allowing the glass layout and finished surfaces to be coordinated together. Visit Melbourne Tiling Services P/L to request a quote and discuss the panel dimensions, wall backing and hinge arrangement for your bathroom.