
The most popular waterproofing advice is also the most misleading: choose a good membrane and your bathroom will be safe. A membrane matters, but it can't rescue a weak substrate, a badly positioned waste, an incorrect fall, or an unsealed pipe penetration. Wet area waterproofing is a water-management system, and every part of that system has to work before the first tile is fixed.
For Melbourne homeowners, that distinction matters during bathroom renovations because the work hidden beneath the tiles determines whether the finished room remains dry or becomes a source of mould, damaged materials and disruptive rectification. The current compliance framework also means a builder must account for the room layout, building class, shower arrangement and substrate, rather than applying one generic method to every renovation.
Table of Contents
- Why Your Bathroom Leak Probably Isn't the Tile
- What Wet Area Waterproofing Is
- Australian Standards and Victorian Requirements
- Liquid, Sheet, and Cementitious Membranes Compared
- Critical Waterproofing Details That Prevent Leaks
- Common Defects and How to Avoid Them
- Hiring the Right Builder for Wet Area Waterproofing
Why Your Bathroom Leak Probably Isn't the Tile
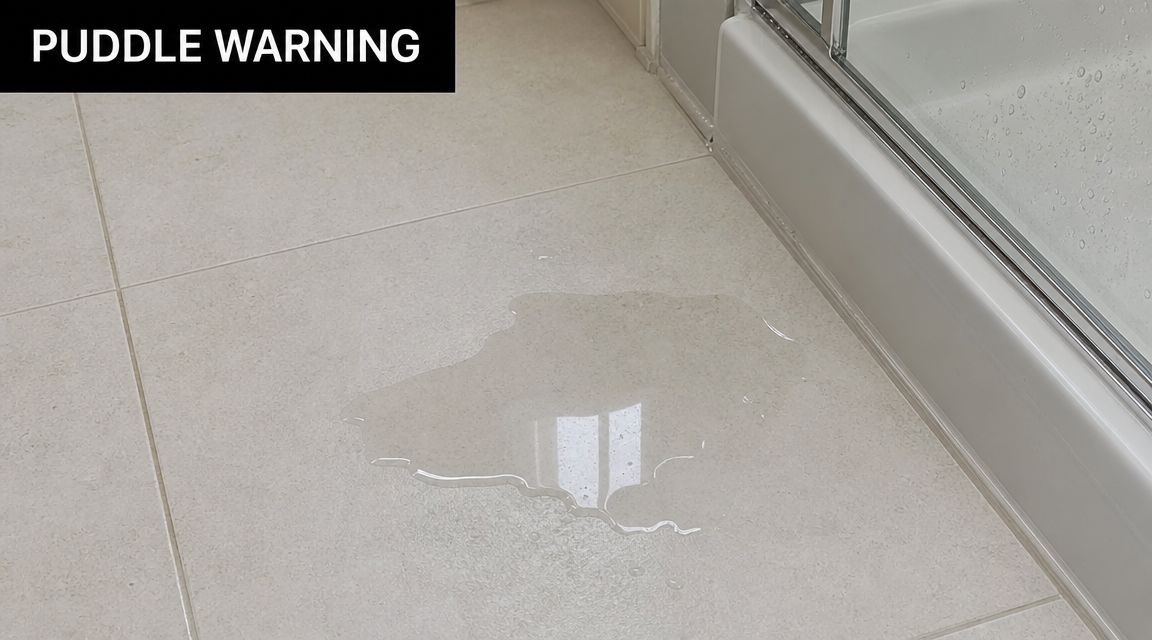
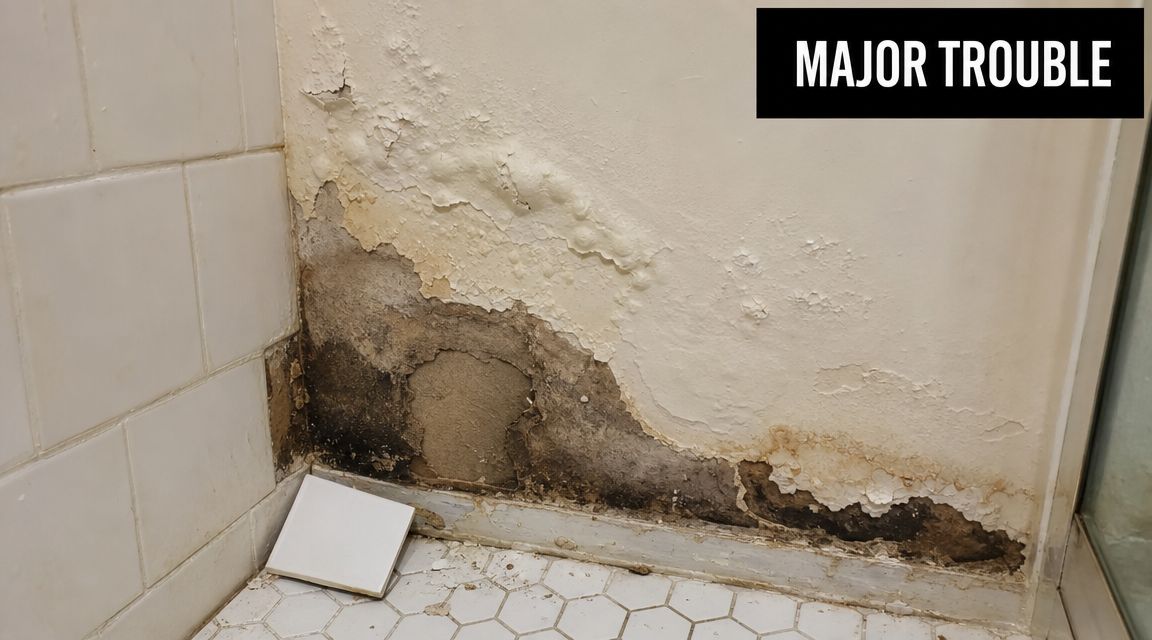
A bathroom can appear finished and fault-free while water is already moving beneath it. Straight grout lines, clean tile faces and a well-fitted shower screen do not prevent moisture escaping through a waste, corner or wall junction. Staining outside the bathroom often appears only after the hidden path has been active for some time.
Tile defects are visible, but they do not explain every wet-area leak. A cracked tile can admit water, yet the consequences depend on the conditions below it. Movement in the substrate, poor drainage falls or waterproofing that ends short of a penetration can direct water into materials never intended to stay wet.
Practical rule: Assess the waterproofing before judging the tile finish. Once tiles cover the membrane, inspection becomes much harder.
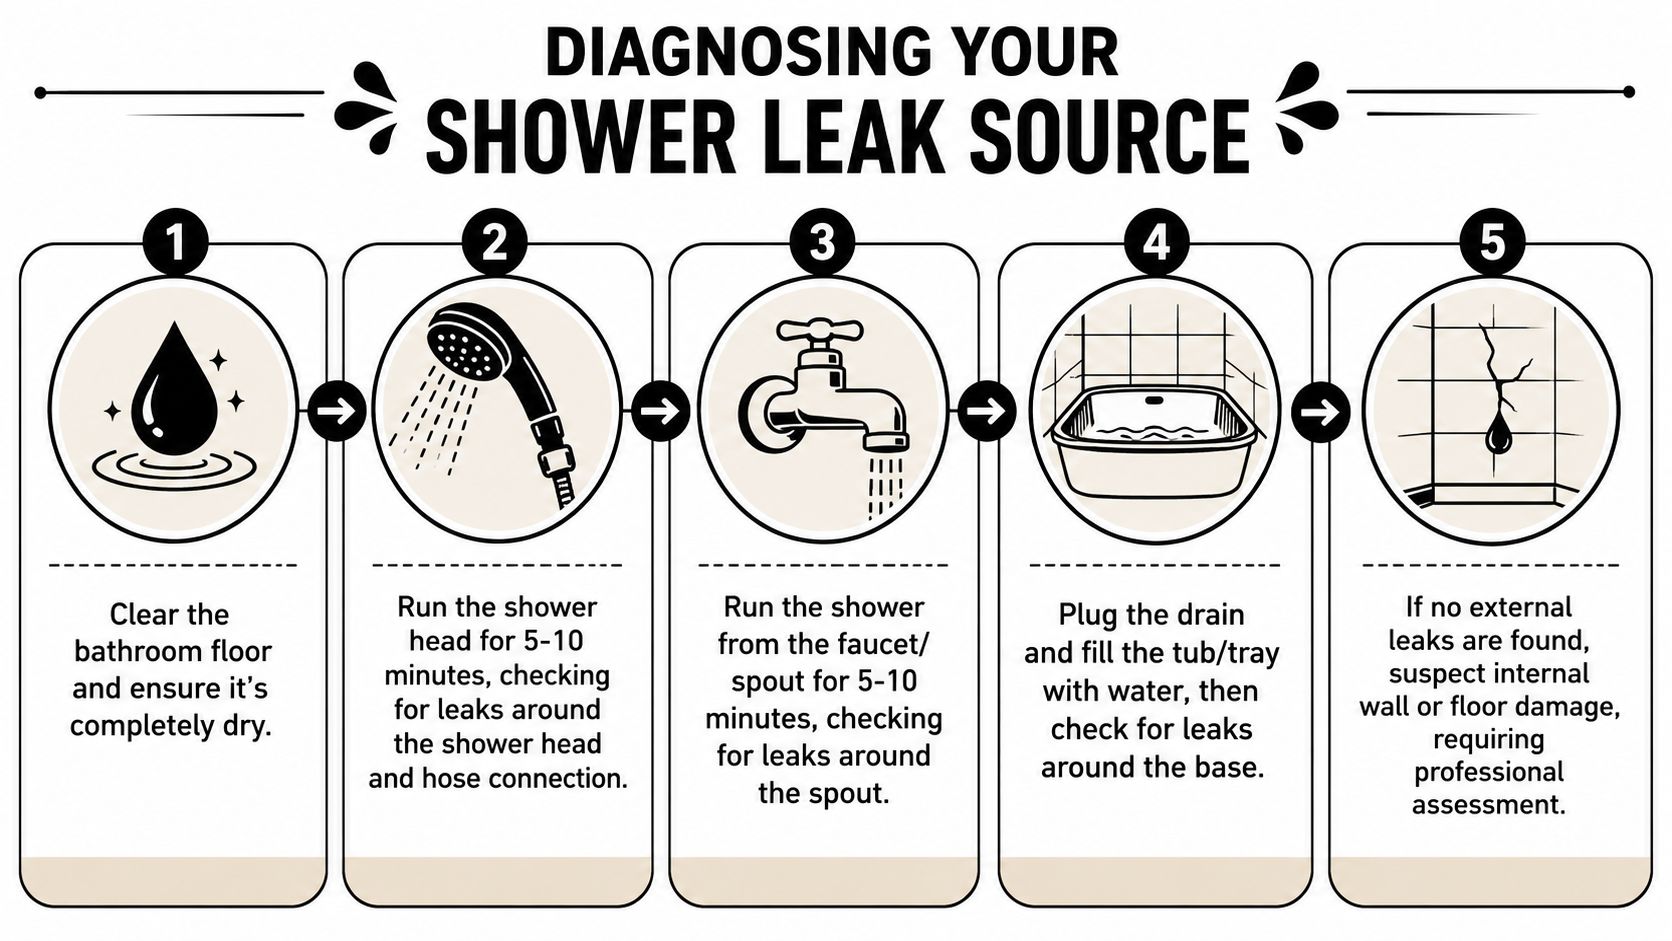
I've seen renovation disputes centre on a loose tile while the actual defect sat at the floor waste or wall-to-floor junction. A sound investigation follows the complete water path, including adjoining construction and drainage, rather than treating the first visible symptom as the cause. Victorian regulator guidance recognises that water ingress can also involve balconies, roofs, drainage and other building areas beyond the bathroom. The diagnosis must therefore match the route water is taking. Victorian waterproofing and water-ingress guidance provides useful context for that broader assessment.
The four parts of a reliable system
A leak-resistant bathroom renovation depends on four connected decisions:
- Substrate preparation: The surface must be stable, clean and suitable for the specified membrane.
- Geometry: The floor must direct water to the waste instead of allowing ongoing pooling.
- Membrane continuity: The barrier must remain unbroken at corners, wastes, penetrations and transitions.
- Fixture detailing: Drains, shower screens, niches, thresholds and pipework must connect correctly to the waterproofed zone.
Homeowners mainly see the fixtures and tile finish. The builder and waterproofer must control the full system. If one responsibility is passed between trades, a visually impressive renovation can still hide a leak risk. For an existing problem, professional leak detection services in Melbourne can help identify the water path before tiles are removed or a repair method is chosen.
What Wet Area Waterproofing Is
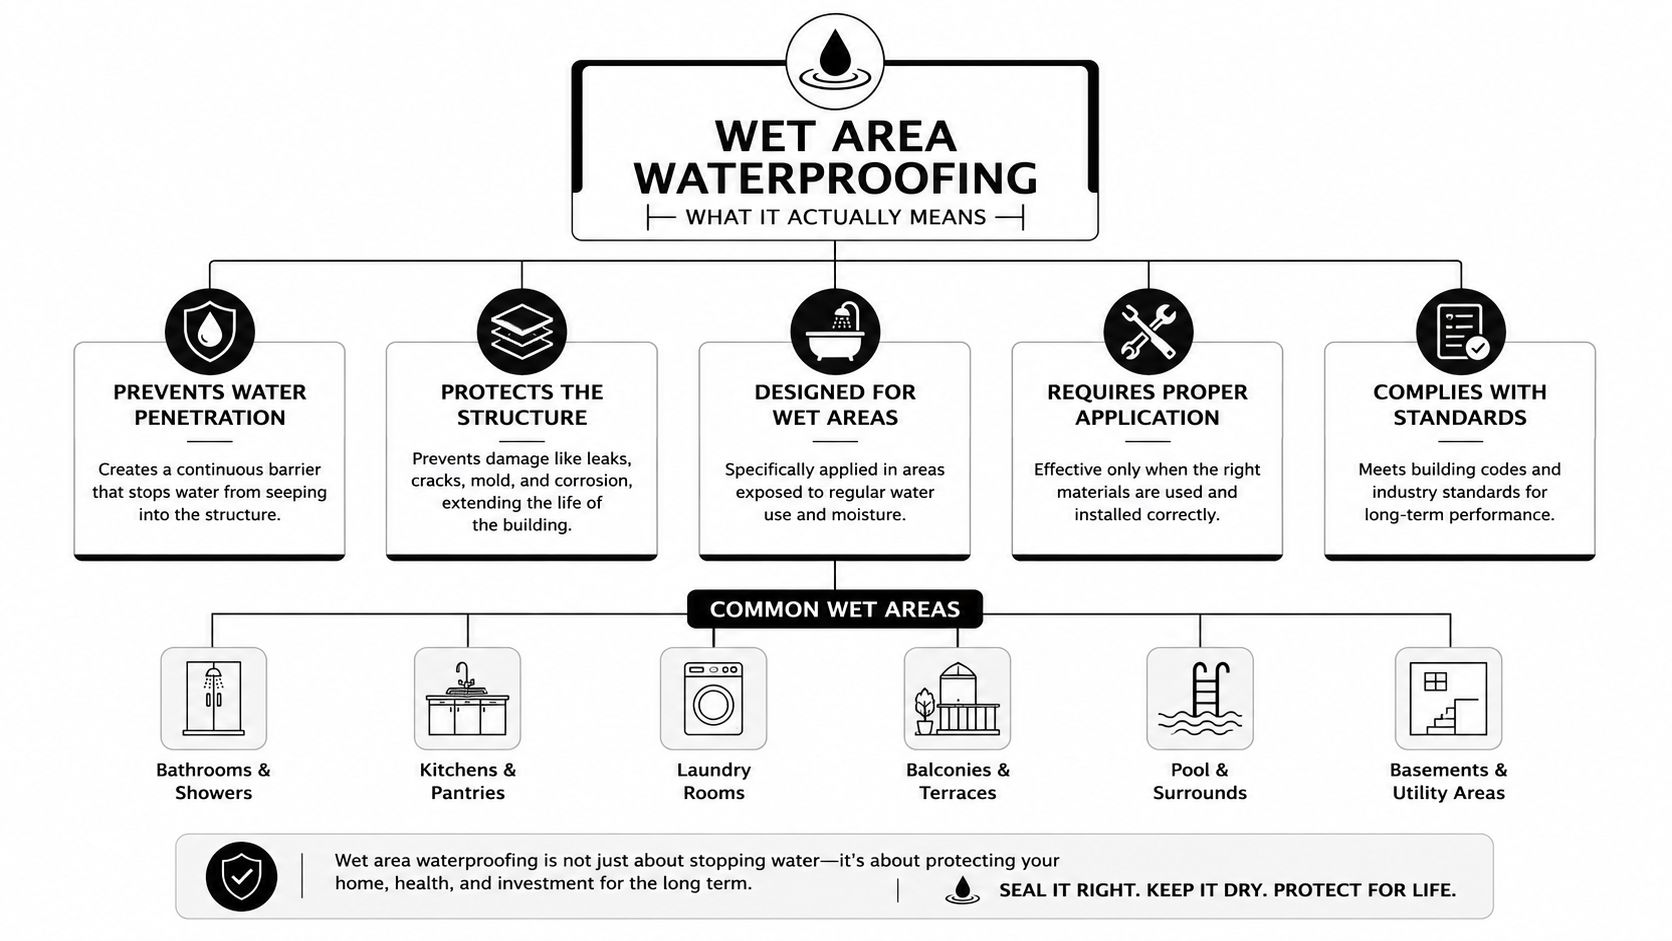
Wet area waterproofing is a water-management system beneath the finished surface. It limits moisture movement into substrates, wall cavities and structural elements. Tiles and grout provide the finish, not the primary waterproofing barrier. The substrate, floor geometry, membrane and fixture details must work together before water reaches vulnerable building materials.
A membrane choice alone does not make a bathroom waterproof. The installer must control three connected areas, each with a separate role.
Start with the substrate
The substrate receives the waterproofing system. Concrete, fibre-cement sheet and other approved surfaces behave differently, so the installer must confirm that the surface is stable, clean, suitably prepared and compatible with the selected membrane.
Dust, movement, contamination and unsuitable sheet products can compromise the work before the membrane is applied. The Victorian Building Authority states that particleboard is no longer allowed to form part of the waterproofing system, making substrate selection a compliance and durability decision, not just a material preference. The VBA fact sheet on wet-area waterproofing explains why the treatment must suit the particular wet-area design.
Geometry controls where water goes
A membrane can resist water, but it cannot correct a flat or poorly formed floor. The screed, slab or sheet floor needs a controlled path to the waste, with fixture positions and finished levels resolved before tiling begins.
Hobless showers expose poor set-out quickly. Their larger uninterrupted floor area must drain without a raised step containing overspray. Accurate falls reduce standing water and the load placed on joints, corners and other details.
The membrane must stay continuous
Liquid, sheet and cementitious systems use different installation methods, yet every system must remain connected across changes in plane and interruptions. Floor wastes, pipe penetrations, wall corners, thresholds and niches require deliberate detailing.
A suitable product with poor joins is still a failed waterproofing system. Ask the builder how each penetration and transition will be treated, where the membrane will terminate, and how continuity will be checked before the finish conceals the work.
Australian Standards and Victorian Requirements
The national reference point for domestic wet-area waterproofing is AS 3740:2021. Standards Australia approved the standard on 7 July 2021, published it on 23 July 2021, and the NCC 2022 adopted it for housing provisions on 1 May 2023. The Housing Industry Association's explanation of wet-area waterproofing describes its role in setting minimum requirements for waterproofing materials, design and installation.
The standard applies across Class 1, Class 2 and Class 4 buildings. It also applies to wet areas in Class 3 to 9 buildings as though those wet areas were parts of a Class 2 or Class 4 building. For Melbourne renovations, that distinction matters because a detached house, townhouse, apartment and mixed-use project don't automatically carry the same practical compliance pathway.
The fall requirements are not cosmetic
For shower floor wastes, Victorian guidance identifies a minimum fall of 1:80, equivalent to 12.5 mm over 1 metre, and a maximum continuous fall of 1:50, equivalent to 20 mm over 1 metre. These requirements are set out in the NCC 2022 housing provisions for wet-area waterproofing.
The change is significant for renovations because earlier guidance under AS 3740-2010 had allowed 1:100 in some shower configurations with vertical separation. A builder who measures only the finished tile surface, rather than coordinating the substrate, screed, waste and tile thickness, can create a floor that looks acceptable but doesn't meet the required drainage geometry.
Shower walls must be waterproofed to 1800 mm above the floor substrate. Bathrooms are also classified into Category 1 high risk, Category 2 moderate risk and Category 3 low risk, with the room design determining the appropriate treatment.
Building class changes the conversation
Apartment and higher-risk projects need more than a generic residential bathroom specification. The ABCB notes that NCC 2025 waterproofing provisions were revised in connection with the DBP Act, which adds compliance complexity relevant to apartments, townhouses and mixed-use work in Victoria. The ABCB waterproofing compliance document is particularly relevant when the project extends beyond a straightforward Class 1 renovation.
For homeowners, the practical question is simple: ask the builder which compliance pathway applies to the building and why. Keep the waterproofing specification, product details, inspection records and certification together. If you need evidence for a project, discuss a Victorian waterproofing compliance certificate before tiling begins, not after the membrane has disappeared behind the finished surface.
Liquid, Sheet, and Cementitious Membranes Compared
Membrane selection should follow the conditions of the job, not the installer's habit or the lowest product price. Liquid-applied, sheet and cementitious membranes can all be appropriate, but they behave differently under movement, around penetrations and across complex layouts.
Liquid-applied systems
Liquid membranes are rolled, brushed or sprayed onto the prepared surface and cure into a continuous barrier. They suit irregular shapes, curved transitions and detailed areas because the installer isn't joining a series of factory sheets around every obstruction.
That flexibility brings a responsibility. Coverage and cured thickness need close control, and a thin area or missed section may be difficult to identify once tiling starts. The installer also needs to follow the specified preparation and curing conditions rather than rushing the next trade onto the surface.
Sheet systems
Sheet membranes provide controlled manufactured thickness and can offer a clean, consistent installation across suitable areas. They're useful where the layout is relatively straightforward and the team has a reliable method for bonding or fixing the sheet to the substrate.
Joints, corners and terminations are the trade-off. Each overlap and edge must be sealed correctly, and substrate movement can place stress on the sheet or its bonded interfaces. A sheet system isn't automatically safer than a liquid system. It moves the critical workmanship from coating thickness to joint and termination quality.
Cementitious systems
Cementitious membranes are brushed or trowelled over prepared substrates. They're familiar in many traditional bathroom applications and can work effectively where the substrate and design suit a more rigid coating.
Their limitation is flexibility. If the substrate shifts, a rigid coating can crack or lose continuity. That makes substrate stability and movement control central to the decision, particularly in complex renovations or areas exposed to changing conditions.
| Membrane Type | Best Suited For | Key Advantage | Primary Risk |
|---|---|---|---|
| Liquid-applied | Irregular layouts, penetrations and complex shower details | Continuous coating with fewer sheet joints | Inconsistent thickness, missed areas or poor curing |
| Sheet | Suitable, stable substrates and defined layouts | Manufactured thickness and consistent material | Failed laps, joints or terminations |
| Cementitious | Simpler applications with compatible traditional substrates | Familiar installation and substrate compatibility | Cracking when the substrate moves |
For a Melbourne bathroom renovation, the correct choice depends on the substrate, geometry, fixture arrangement and risk category. A hobless shower may favour a system that handles detailed transitions well, while a simpler layout may suit another product. The specification should name the system and detail its preparation, not merely state “waterproofing included”.
The following video can help visualise the practical principles behind membrane installation.
Critical Waterproofing Details That Prevent Leaks
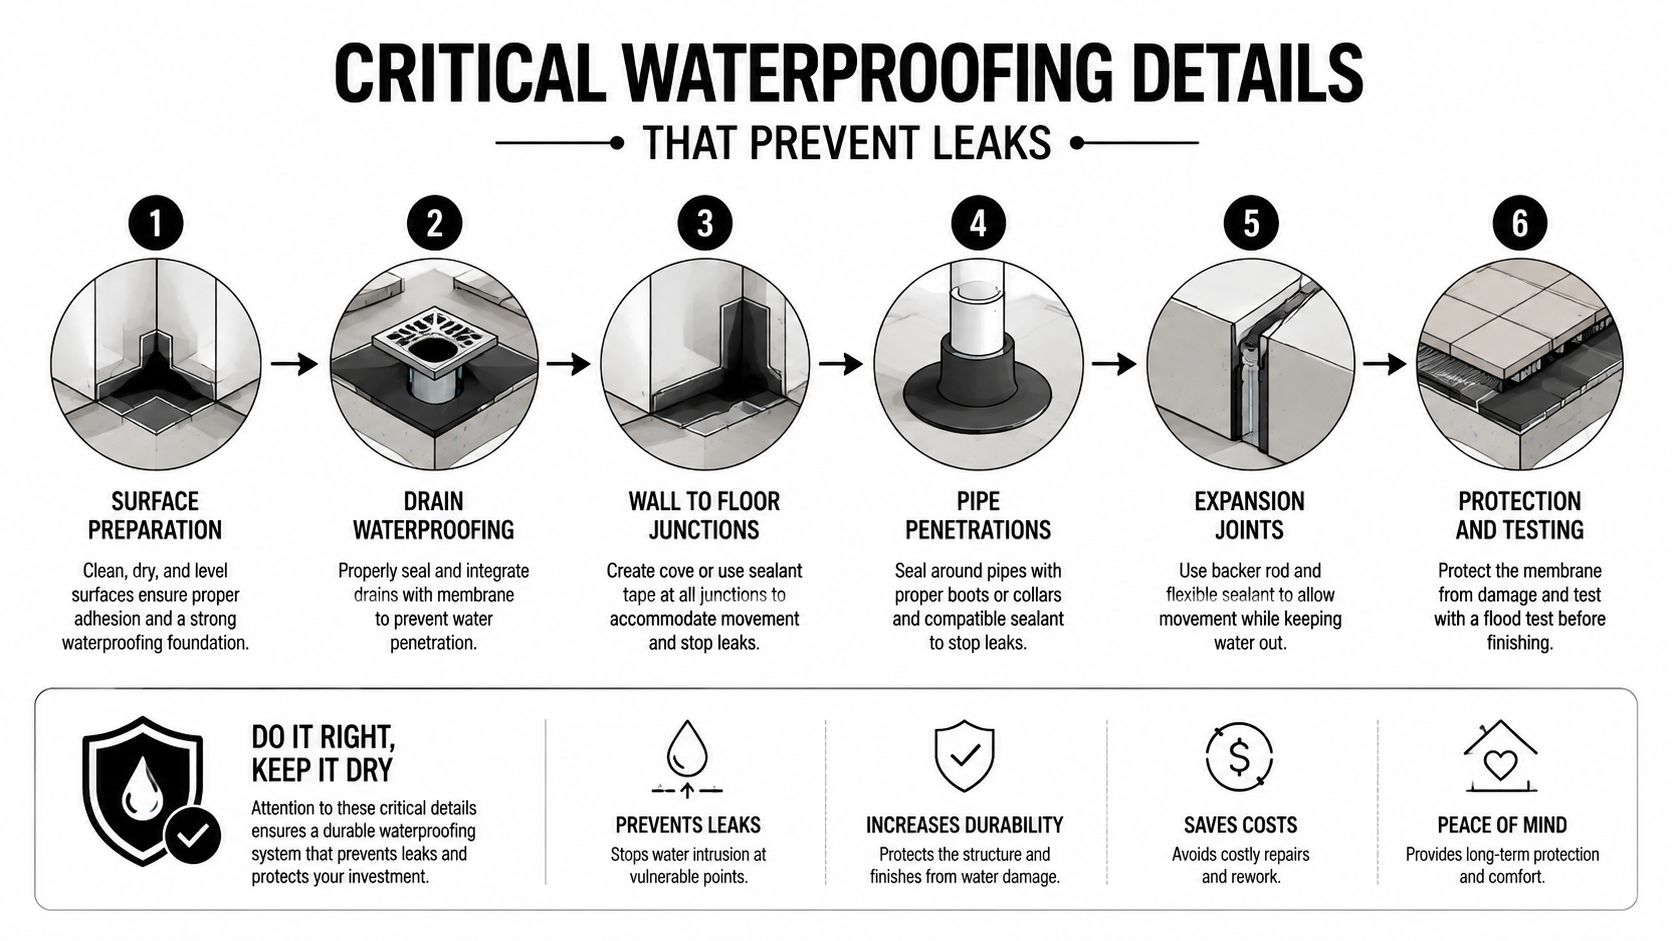
A leak-free bathroom depends on how the whole water-management system is built. The substrate, floor geometry, membrane, waste connection and fixture penetrations must work together. Product selection matters, but poor detailing at a change of plane or opening through the membrane can defeat a suitable system.
Control the shower waste and floor shape
The shower waste must sit within a properly formed drainage plane. Water should run continuously towards it without persistent pooling, and the membrane must connect securely to the waste flange so moisture cannot pass around the drain.
Before waterproofing begins, coordinate the waste position, floor levels, screed thickness and tile build-up. Hobless showers require particular care because the finished floor must contain water while still directing it to the waste. A layout that appears simple can become difficult once tolerances and drainage are accounted for.
Treat transitions and penetrations as system details
At the bathroom threshold, the containment detail must direct water back towards the wet zone. The membrane needs a secure termination at that transition, rather than stopping near the doorway where the edge remains exposed.
Pipes, drains, fixings and shower fittings interrupt the waterproofed surface. Proprietary boots, collars or compatible sealants may form part of the detail, provided they are correctly bonded and installed without gaps. A neat escutcheon only conceals a pipe opening. It does not make the penetration waterproof.
Site observation: Membranes usually fail at details treated as an afterthought, not across the broad, uninterrupted field.
The wall-to-floor junction requires the same discipline. Horizontal and vertical waterproofing must form one continuous connection through corners and shower niches. If you are planning a recessed shelf, discuss shower niche waterproofing before finalising the wall lining and membrane specification.
Respect the required protection zones
Victorian guidance requires shower wall waterproofing to reach 1800 mm above the floor substrate. Walls surrounding baths and laundry tubs in wet areas must be waterproofed to at least 150 mm above the fixture, as explained in this practical guide to waterproofing and tiling.
Mark and inspect these heights before tiling. Check floor edges, skirtings and thresholds as well. If the barrier stops short of a vulnerable junction, moisture can enter behind the finished surface even when the main shower field has been installed correctly. A builder should show these transitions clearly before they are covered.
Common Defects and How to Avoid Them
Waterproofing failures are often blamed on tiles because tiles are the first visible element to crack, sound hollow or stain. That diagnosis can send a homeowner towards regrouting when the actual defect sits in the substrate, drainage geometry or concealed membrane.
The VBA identifies several issues that deserve direct attention. The newer standard no longer permits particleboard to form part of the waterproofing system, and the regulator highlights falls to waste, shower wall coverage and correct treatment of hobless or unenclosed showers. The VBA's practitioner education material also supports looking beyond the membrane alone when investigating water ingress.
Defects that deserve a pre-tiling check
- Membrane discontinuity: Gaps, tears and thin areas commonly occur at corners, edges and penetrations.
- Poor drainage geometry: Inadequate fall leaves water sitting where the design expects it to move towards the waste.
- Unsuitable substrate: Particleboard and unstable or incompatible surfaces can undermine the waterproofing system.
- Incomplete wall coverage: Treating only a narrow splash zone won't satisfy the current shower wall requirement.
- Unprotected transitions: Door thresholds, skirtings and wall-to-floor junctions can expose edges to moisture.
- Incorrect hobless detailing: An unenclosed shower demands careful coordination because the floor has to manage a broader water path.
A good inspection isn't limited to asking whether the membrane has been applied. Check the substrate before application, confirm the waste and falls, inspect the corners and penetrations, and photograph the completed waterproofing before the tiler starts. If the tiler arrives while the membrane is still uncured or the details haven't been checked, the programme is moving too quickly.
What doesn't work: Choosing a cheap membrane, applying it over an unsuitable sheet and asking the tiles to hide the problem. The tile finish can disguise a defect, but it can't repair one.
Balconies need the same systems thinking at a larger exposure level. Drainage paths, junctions and membrane continuity remain central, while water may also enter through adjoining roof, façade or drainage details. A bathroom renovation and balcony rectification aren't identical jobs, but neither should be reduced to selecting a coating from a product shelf.
Hiring the Right Builder for Wet Area Waterproofing
A sound specification still depends on the people coordinating it. Bathroom renovations involve demolition, carpentry, plumbing, electrical work, screeding, waterproofing and tiling, and each trade can affect the next trade's work. If the builder doesn't control that sequence, one installer can damage a detail that another installer completed correctly.
Verify the builder first
For Victorian domestic building work, builder registration is required for larger renovation jobs. Homeowners should verify the builder's status with the Victorian Building Authority before signing a contract, rather than relying on a business card or verbal assurance. This Victorian waterproofing guidance for homeowners explains why registration checks matter when waterproofing and coordinated renovation work are involved.
Ask who is responsible for the waterproofing specification and who will inspect it. A registered builder should be able to identify the membrane system, substrate requirements, floor-fall method, penetration details and inspection point before the tiler covers the work.
Put the deliverables in writing
Use a written checklist that names the evidence you expect:
- Registration verification: Confirm the builder's current Victorian registration before work starts.
- System specification: Record the membrane type, compatible primer, substrate and detail products.
- Geometry confirmation: Ask how the required fall, waste position and finished levels will be checked.
- Trade coordination: Confirm that plumbers, carpenters, waterproofers and tilers work from the same set-out.
- Pre-tiling inspection: Require photographs and inspection records while the membrane remains visible.
- Certification records: Obtain the relevant waterproofing certification before tiles conceal the system.
Melbourne Tiling Services P/L operates as a Registered Unlimited Builder from Highett and coordinates licensed carpenters, plumbers, electricians, tilers and waterproofers across residential and commercial projects in Melbourne and greater Victoria. Its services include bathroom renovation management, waterproofing, screeding, self-levelling, tiling and leak rectification, with design support that can help coordinate the finished layout before construction begins.
Don't accept “waterproofing included” as a complete scope. Demand the system details, ask who checks the work and make sure certification and inspection records are available before tiling starts.
For Melbourne bathroom renovations, Melbourne Tiling Services P/L can coordinate substrate preparation, wet area waterproofing, screeding, tiling and related licensed trades as one managed project. Visit Melbourne Tiling Services P/L to discuss your renovation, leak rectification or waterproofing requirements and request a detailed quote.

Recent Comments