
Most homeowners are told that porcelain is automatically the better bathroom tile, while ceramic is merely the cheaper compromise. That advice is convenient, but it's incomplete and often expensive. A bathroom doesn't stay watertight because a box says “porcelain”. It stays watertight because the tile's water absorption class, slip rating, substrate, adhesive, grout, falls, waterproofing and installer all suit the job.
After years of Melbourne bathroom renovations, the practical question is different: what exposure will this tile face, and has the complete wet-area system been specified correctly? Porcelain often earns its premium on floors, shower bases and exposed applications. Ceramic can be the smarter choice on walls and decorative areas. Neither rescues poor preparation or non-compliant work.
| Decision factor | Porcelain | Ceramic |
|---|---|---|
| Water absorption | Group BIa is 0.5% or less | Classification varies, with more absorbent groups available |
| Wet-area use | Commonly selected for floors and exposed applications | Often practical for vertical interior surfaces |
| Slip safety | Must be checked by the product's P-rating | Can also comply when the specific rating is verified |
| Installation | Dense body may demand more careful cutting and bonding | Generally easier to cut and handle |
| Best value | Wet floors, showers, balconies and high-use areas | Walls, splashbacks, feature surfaces and lighter-duty zones |
Table of Contents
- Why the Porcelain vs Ceramic Tiles Debate Misses the Point
- How Porcelain and Ceramic Tiles Are Made and Classified
- Durability, Water Absorption and Slip Resistance Compared
- Which Tile Works Best for Bathroom Walls, Floors and Showers
- Waterproofing, Installation and Registered Builders in Victoria
- Cost Differences Between Porcelain and Ceramic Tiles
- Recommendations for Different Bathroom Renovation Scenarios
Why the Porcelain vs Ceramic Tiles Debate Misses the Point
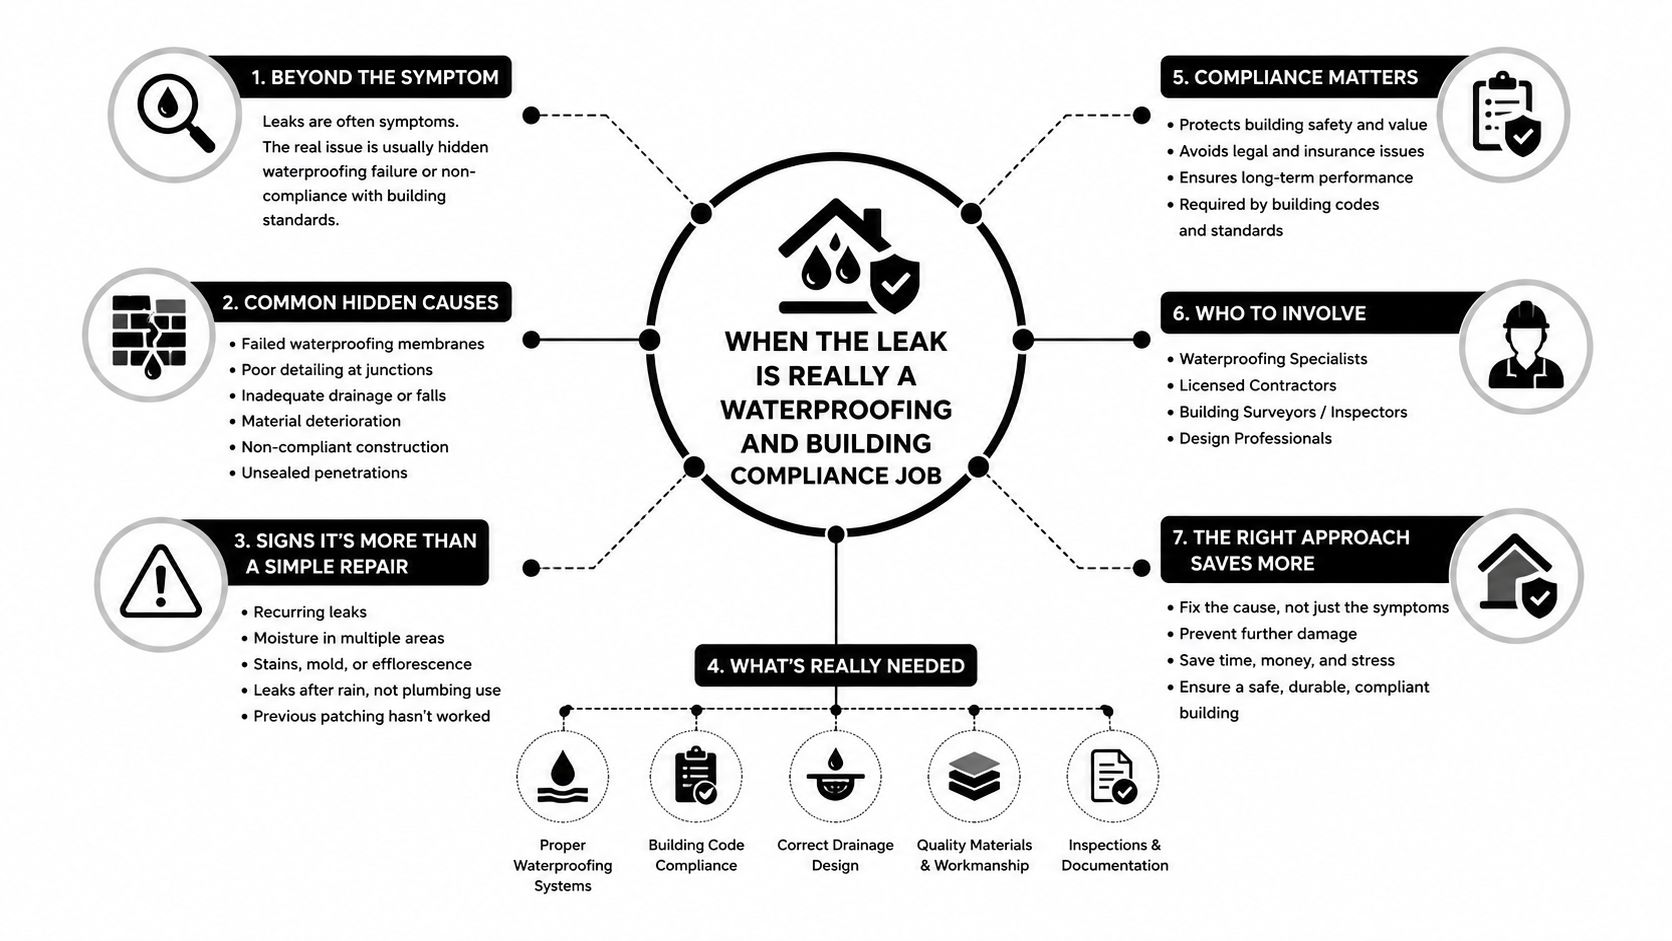
“Porcelain is better” is a showroom shortcut, not a specification. Porcelain is not a waterproofing membrane, and ceramic isn't automatically unsuitable for a bathroom. A dense tile with the wrong slip finish can be unsafe underfoot, while a ceramic wall tile can perform well when its location, substrate and wet-area detailing are correct.
The useful comparison starts with the finished system. Tile selection should account for water absorption class, slip rating, waterproofing compliance, substrate preparation, adhesive, grout, falls and the installer's qualifications. Porcelain can justify its premium on shower floors, bathroom floors and other areas exposed to regular moisture. Ceramic is often the more sensible choice for walls, splashbacks and decorative surfaces.
Under AS/NZS 13006, porcelain is an impervious ceramic tile with water absorption of 0.5% or less. That low absorption suits many wet-area applications, but it does not make every porcelain product suitable for every floor. A polished porcelain tile may offer limited wet grip, despite its dense body and high price.
Site rule: Choose the tile for its location first, then check the product data sheet, waterproofing detail and installation method.
What determines bathroom performance
The label on the carton is one checkpoint among several. Before ordering, confirm:
- Absorption class: This shows how much moisture the tile body can take up.
- Slip rating: AS 4586 uses P-ratings from P0 to P5. The product's tested rating must suit the wet area.
- Waterproofing: Membranes, junctions, penetrations and waste connections must be detailed and installed correctly.
- Substrate preparation: Dust, unevenness and missing primer can compromise bonding, regardless of tile price.
- Installer registration: The renovation scope must comply with Victorian building law and involve appropriately registered practitioners where required.
A correctly selected ceramic wall tile can produce a better bathroom than premium porcelain fixed over a poorly prepared surface. The material matters, but the complete system determines whether the result remains safe, bonded and watertight.
For practical comparisons of layouts, finishes and installation details, modern bathroom tiling guidance is more useful than a simple premium-versus-budget sales pitch.
How Porcelain and Ceramic Tiles Are Made and Classified
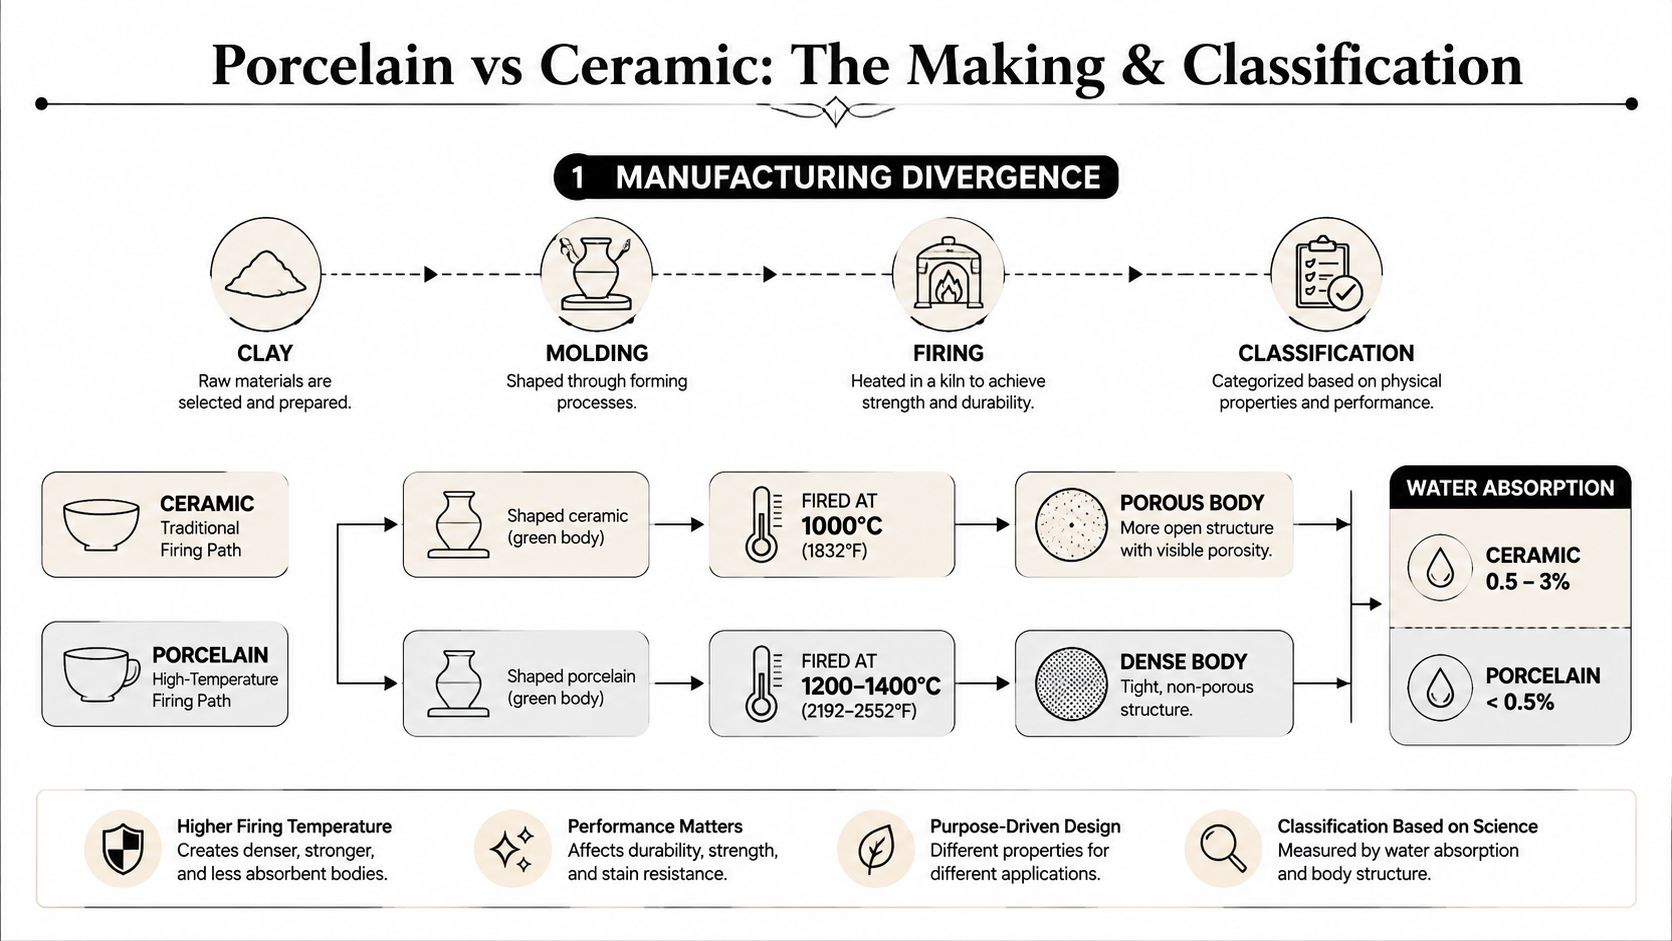
Both products begin with clay-based materials, but their processing changes the body's density and absorption. Ceramic tiles may use conventional red or white clays and a glaze, while porcelain uses a more refined body that's compacted and fired to achieve a much lower pore structure.
The important Australian classification isn't the marketing description on the front of the carton. It's the Group classification and tested water absorption. Under Australian tile standards, Group BIa porcelain is 0.5% or less, Group BIb is more than 0.5% up to 3%, Group AIIa is more than 3% up to 6%, and Group AIIb is more than 6% up to 10%, as set out in NATSPEC's ceramic tile and adhesive selection note.
From raw material to finished body
Manufacturers prepare the clay, shape it under pressure and fire it in a controlled kiln. Greater compaction and vitrification close more of the internal pore network. The result is a denser tile body that takes on less water.
Ceramic products can still have a highly durable glazed face, particularly on a bathroom wall. But the glaze doesn't change the absorption class of the underlying body. If a tile is cut, drilled or damaged, the exposed edge still has the characteristics of that body.
| Classification | Water absorption | Practical reading |
|---|---|---|
| Group BIa | 0.5% or less | Impervious porcelain-grade body |
| Group BIb | More than 0.5% up to 3% | Vitreous body, generally for suitable internal applications |
| Group AIIa | More than 3% up to 6% | More absorbent ceramic classification |
| Group AIIb | More than 6% up to 10% | Highly absorbent body, requiring careful application control |
Reading the box before cutting
A Melbourne tiler shouldn't rely only on a supplier's verbal description. Ask for the technical data sheet and check the absorption group, intended application, finish, dimensions and slip result. The formal test method in ISO 10545-3:2018 determines water absorption, apparent porosity, apparent relative density and bulk density for ceramic tiles.
Porcelain's dense body also changes installation behaviour. It's harder to cut and drill, and it generally needs a bonding system suited to low porosity. Ceramic's more absorbent body is often easier to shape around niches, pipe penetrations and fittings, which can make it efficient for wall layouts.
For a practical look at where density becomes valuable, see porcelain tile durability.
A short visual explanation of the manufacturing process can also help homeowners understand why two tiles with similar printed surfaces may behave differently once installed.
Durability, Water Absorption and Slip Resistance Compared
The porcelain or ceramic label is only the starting point. Water absorption class, tested slip rating and installation conditions determine whether a tile performs on a Melbourne bathroom floor. Porcelain's low absorption usually gives it an advantage in demanding locations, while ceramic covers a broader range and must be judged by its actual classification and intended use.
Tile absorption is not the same as bathroom waterproofing. Tile and grout create the finished surface, but the compliant membrane behind them manages water reaching joints, corners and penetrations. A dense porcelain body can limit moisture uptake into the tile, yet it cannot correct a failed membrane, poor falls or missing movement accommodation.
Slip resistance requires its own check. AS 4586 assesses wet grip with the pendulum method and reports results from P0 to P5, with higher numbers indicating stronger wet-grip performance. Finish matters more than the word porcelain. A polished porcelain tile may be unsuitable for a wet floor, while a textured ceramic tile may achieve the required rating for its intended application.
| Property | Porcelain Tile, Group BIa | Ceramic Tile, Group BIII |
|---|---|---|
| Water absorption | 0.5% or less | More than 10% |
| Body structure | Dense and impervious | Highly absorbent |
| Typical strength profile | Suited to demanding floor applications | More commonly suited to walls and lighter-duty locations |
| Cutting | Requires careful cutting and suitable diamond tooling | Generally easier to cut and drill |
| Wet-floor selection | Confirm product-specific P-rating | Confirm product-specific P-rating and exposure suitability |
| Main risk | Choosing a polished or unsuitable finish | Using a highly absorbent body in a continuously wet or exposed location |
Slip rating comes before colour
Bathroom floors commonly require at least P3, while shower floors may require P4, depending on exposure and the relevant assessment. P-ratings run from P0 to P5, so the exact tested result must be confirmed for the tile finish being purchased. Do not assume that a matt surface meets the requirement, or that every tile in a product range has the same rating.
A large-format matt porcelain may suit a contemporary design, but its surface still needs checking around falls and waste positions. Smaller formats can follow changes in plane more easily, although they introduce more grout joints and cleaning work.
A safe shower floor is a specification decision, not a colour decision.
Use this non-slip bathroom flooring advice when comparing finishes for hobless showers, older occupants or bathrooms receiving heavy daily use. On site, confirm the absorption group, slip result, finish and installation instructions before ordering. That information is more useful than choosing by material name alone.
Which Tile Works Best for Bathroom Walls, Floors and Showers
A bathroom has several micro-environments, and each one places different demands on the tile. Treating the whole room as a single surface leads to unnecessary spending in some areas and poor specification in others.
Shower walls
Ceramic is often a practical choice for shower walls when the product is intended for that use and the waterproofing behind it is correctly installed. The vertical surface doesn't hold standing water in the same way as a floor, and a lighter tile can simplify handling on wall substrates.
Porcelain makes sense when the design calls for a continuous large-format surface, a low-absorption body or a finish that needs to carry through demanding conditions. Either way, the membrane, adhesive coverage and movement details matter more than the showroom label.
Shower floors
The shower floor is where porcelain most often earns its premium. A Group BIa body limits water absorption, while a textured or structured finish may help the product achieve the required wet-grip rating. The exact product still needs verification, particularly in a hobless shower where falls, drainage and regular standing water are central to performance.
P4 or P5 may be appropriate depending on the exposure and risk assessment. Don't assume a tile's matt appearance guarantees compliance.
General bathroom floors
Porcelain is usually the safer all-round flooring choice because it handles repeated foot traffic, cleaning and impact more comfortably. A ceramic floor tile can work in a low-traffic ensuite, but it must be rated for floor use and matched to the room's moisture conditions.
| Bathroom zone | Recommended tile type | Key requirement | Slip rating if floor |
|---|---|---|---|
| Shower walls | Ceramic or porcelain | Suitable body, glaze, adhesive and compliant waterproofing | Not usually the controlling floor criterion |
| Shower floor | Porcelain often preferred | Low absorption, correct falls, grout and wet-area membrane | Commonly at least P4, depending on application |
| Main bathroom floor | Porcelain commonly preferred | Floor rating, wear suitability and stable substrate | Often at least P3 |
| Feature wall or splashback | Ceramic often offers strong value | Suitable wall product and sound adhesive bond | Not applicable |
| Balcony threshold or exposed transition | Porcelain generally safer | Low absorption, exterior suitability and drainage | Verify the product-specific rating |
Feature walls and splashbacks
Ceramic is where decorative glazing, handmade effects and smaller formats can provide genuine design value. On a feature wall outside the direct wet zone, paying for a highly dense floor-grade body may add little practical benefit. The saving can instead go towards better tapware, lighting, storage or waterproofing detail.
At thresholds and balcony transitions, absorption and exposure become more important. Australian guidance describes tiles below 0.5% absorption as impervious or fully vitrified porcelain, making that class the safer starting point where exterior exposure or continuous moisture cycling is expected, as explained in how to read a tile data sheet.
Waterproofing, Installation and Registered Builders in Victoria
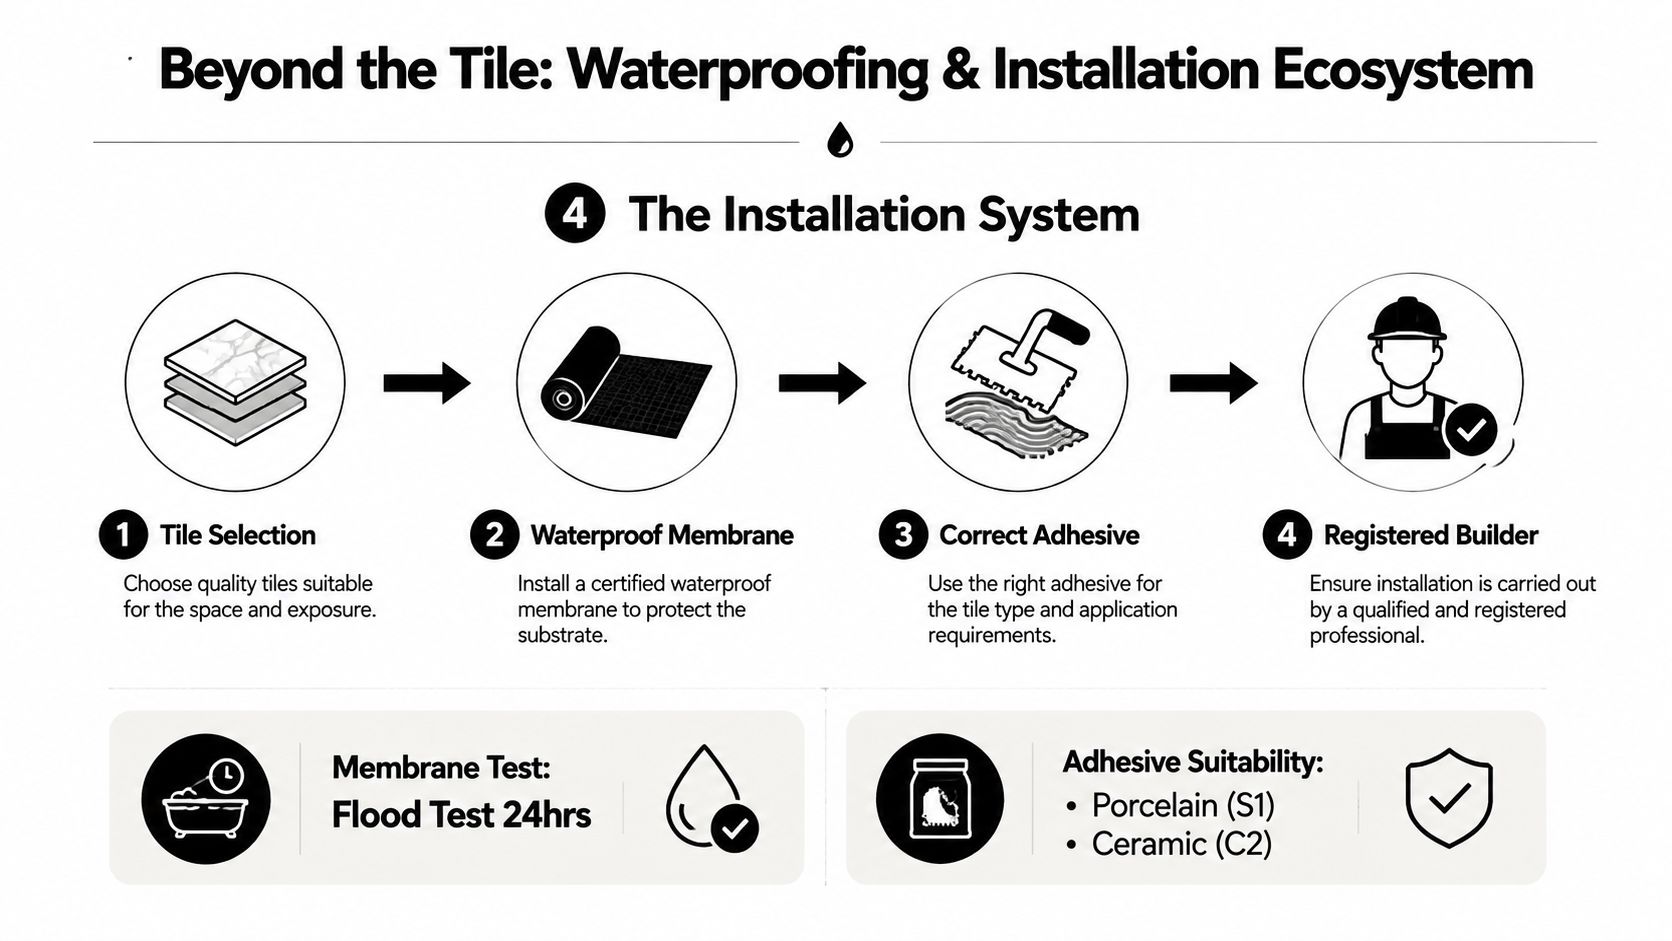
A bathroom tile is the final layer of a system. If the substrate moves, the membrane is incomplete or the waste falls are wrong, a premium porcelain finish can fail just as decisively as an inexpensive ceramic one.
Domestic wet-area waterproofing must be designed and installed in accordance with the applicable Australian requirements, including AS 3740 for domestic wet areas and the relevant wet-area construction provisions. On site, that means the contractor must pay attention to corners, wall-to-floor junctions, penetrations, niches, shower bases and the connection between the membrane and waste.
The tile installation also needs its own controls:
- Substrate preparation: Remove dust, repair defects and create a surface that matches the adhesive manufacturer's requirements.
- Falls and drainage: The screed and tile layout must direct water to the waste without creating birdbaths or abrupt lipping.
- Adhesive selection: Low-porosity porcelain needs a suitable high-performance adhesive and full contact where the application demands it.
- Movement accommodation: Perimeters, junctions and changes in plane need the correct sealant and movement details.
- Grout and maintenance: Grout is not a substitute for waterproofing, and joints must be selected and finished for the exposure.
Registration and renovation scope
Victoria treats builder registration as a legal issue, not a marketing description. Domestic building work costing more than $10,000 including labour and materials requires registration with the Victorian Building Authority, according to Victorian builder licensing information.
The unlimited domestic builder class can manage or arrange all parts of construction, renovation, improvement or maintenance of a home. Victoria also recognises a limited builder category for bathroom, kitchen and laundry renovations, but the scope has a precise boundary. The work must not extend beyond the existing external walls, floor or ceiling of the home, as set out in Schedule 12 of the Victorian building regulations.
Ask who is responsible for the complete renovation, not only who is supplying the tiles.
A registered builder should coordinate the relevant trades and clarify who handles waterproofing, plumbing, electrical work, carpentry, screeding and tiling. That coordination is particularly important when a bathroom renovation changes the shower layout, moves a waste or opens walls in a timber-framed home.
Cost Differences Between Porcelain and Ceramic Tiles
The cheapest tile isn't always the cheapest completed bathroom. Material price, cutting time, adhesive suitability, substrate correction and wastage all influence the final result, but the verified Australian market data available here describes the size and commercial importance of the tile category rather than a reliable retail price list for Melbourne projects.
Australia consumed and imported 43 million square metres of ceramic tile in the 2024 market overview, with a total market value of around USD 399 million. China supplied 78% of import volume, equal to 34 million square metres, while the overview reported an average import price of USD 9.6 per square metre. It also described porcelain as the largest revenue-generating product segment in 2025 and projected the market to reach 47 million square metres by 2035, as reported in the Australian ceramic-tile market overview.
Those figures show that porcelain is a major commercial segment, but they shouldn't be mistaken for a quote for your bathroom. Retail prices vary by format, finish, supplier, stock position and installation complexity.
| Cost component | Ceramic tiles | Porcelain tiles |
|---|---|---|
| Material purchase | Often offers lower upfront cost, particularly for wall formats | Often costs more because of dense manufacture and technical finishes |
| Handling | Lighter and generally simpler to move | Heavier, with more demanding handling for large formats |
| Cutting | Conventional cutting may be suitable for some products | Diamond cutting and careful drilling are commonly required |
| Adhesive | Must still match the substrate and product | Low porosity makes adhesive selection especially important |
| Labour | Decorative layouts can still be time-consuming | Large formats, hard cutting and substrate tolerances can increase labour |
| Value | Strong for walls and low-stress areas | Strong where low absorption, durability and floor performance matter |
Where the premium earns its keep
For a shower floor, high-use bathroom floor or exposed threshold, porcelain's low absorption and available slip-rated finishes can justify the higher material and installation effort. Paying more for a technically suitable product is sensible when it reduces exposure to moisture and wear.
For a feature wall, splashback or low-moisture powder room, ceramic can deliver the appearance without paying for performance the surface doesn't need. The saving only represents value when the product is correctly rated for its position and the installer still completes the waterproofing and bonding work properly.
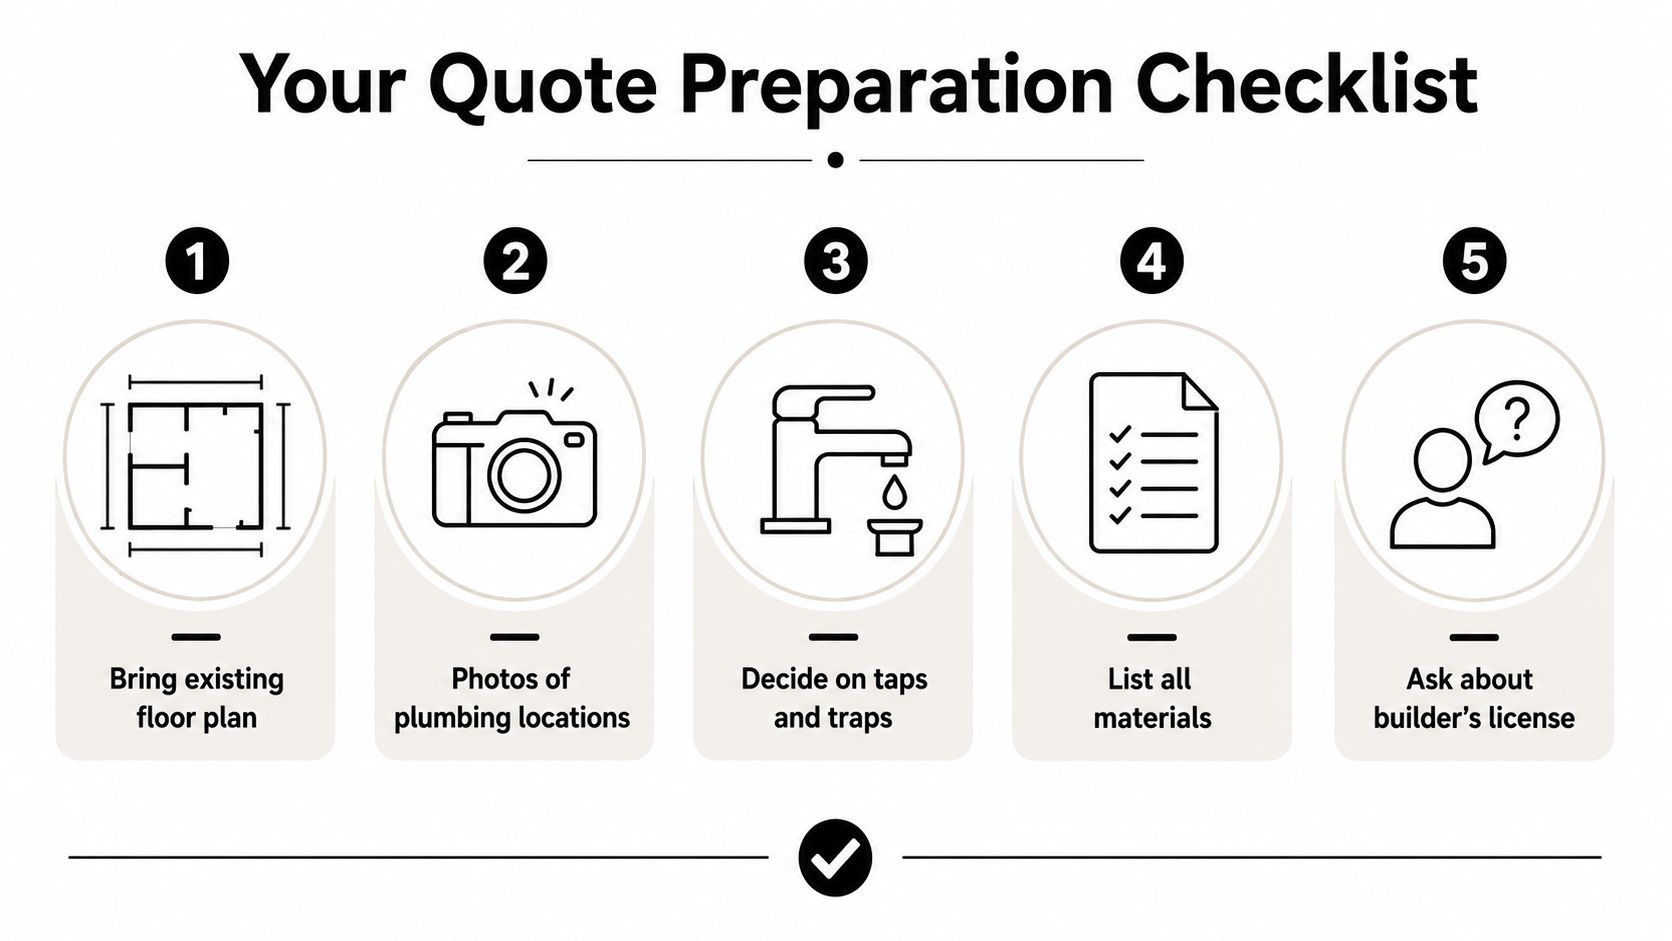
A good quote should separate tile supply, trims, adhesive, grout, preparation, waterproofing, demolition, waste removal and labour. That makes it easier to see whether an apparent tile bargain is being offset by difficult cutting or extensive substrate repairs.
Recommendations for Different Bathroom Renovation Scenarios
The safest selection method starts with the bathroom zone and risk profile. A family bathroom with a hobless shower, heavy daily use and a busy floor has different needs from a powder room with a decorative basin and no shower.
For wet-area floors, porcelain is usually the stronger recommendation, provided the exact product achieves the required slip performance. For walls and feature surfaces, ceramic often provides the better balance of weight, design choice and cost. The distinction isn't absolute, but it gives a reliable starting point.
| Bathroom zone | Recommended material | Key requirement under Australian standards |
|---|---|---|
| Shower floor | Porcelain, commonly Group BIa | Verify absorption class and the required AS 4586 P-rating |
| Main bathroom floor | Porcelain commonly preferred | Floor suitability, wet-grip performance and compliant waterproofing |
| Shower wall | Ceramic or porcelain | Product suitability, adhesive compatibility and AS 3740 wet-area system |
| Feature wall | Ceramic often practical | Wall-rated product and sound substrate |
| Powder room floor | Ceramic or porcelain, based on product rating | Floor use, slip performance and traffic exposure |
| Balcony or exterior threshold | Low-absorption porcelain generally preferred | Verify exterior suitability, drainage and slip rating |
A sensible selection sequence
- Map the exposure. Separate shower floor, shower wall, general floor, splashback and decorative areas.
- Read the technical sheet. Check the absorption group, floor or wall suitability and finish.
- Confirm slip performance. Match the P-rating to the wet-area risk rather than relying on matt or textured appearance.
- Review the substrate. Large porcelain formats need particularly careful flatness and handling.
- Confirm the legal scope. Use appropriately registered builders and qualified trades for the renovation work.
The Australian market data cited by Grand View Research places porcelain at 56.27% of ceramic-tile revenue in Australia in 2025, which confirms its commercial importance but doesn't make it the right product for every surface. The more useful conclusion is that porcelain is widely selected because it solves demanding floor and moisture problems, while ceramic remains a rational choice where those demands are lower, as shown in the Australian ceramic tiles market outlook.
For Melbourne homeowners, the best result comes from specifying the tile, membrane, falls, adhesive and installer together. Melbourne Tiling Services P/L provides bathroom and ensuite renovations, waterproofing, screeding, self-levelling, porcelain and ceramic tiling, and trade coordination as a registered unlimited builder.
Visit Melbourne Tiling Services P/L to discuss your Melbourne bathroom or ensuite renovation, including porcelain and ceramic tile selection, waterproofing and compliant installation. Request a project assessment and quote so the tile choice is matched to the room's exposure, slip requirements and renovation scope.


Recent Comments