

A lot of Melbourne homeowners arrive at the same point the same way. There's a faint musty smell near the bathroom door. A skirting board starts to swell. Paint bubbles for no obvious reason. Or the shower looks fine on the surface, but the room on the other side of the wall doesn't.
That's usually when the worry starts. Is it a pipe leak, a shower leak, failed grout, a cracked tray, bad waterproofing, or something coming from upstairs?
The important thing to know is this. Leak detection in Melbourne isn't the finish line. It's the first diagnostic step. Finding where water is escaping matters, but a lasting result depends on understanding why it's happening and who should fix it properly. In bathrooms, balconies, laundries, and apartment wet areas, the underlying issue is often bigger than a simple patch.
Table of Contents
- That Unsettling Feeling of a Hidden Leak
- Telltale Signs Your Melbourne Home Has a Water Leak
- Safe DIY Leak Checks You Can Perform This Weekend
- An Inside Look at Professional Leak Detection Methods
- Beyond Detection From Diagnosis to a Lasting Repair
- How to Choose Your Melbourne Leak Detection Specialist
- Frequently Asked Questions About Melbourne Leaks
That Unsettling Feeling of a Hidden Leak
It often starts with something small that doesn't quite make sense. The laundry smells damp even after you've aired it out. A ceiling stain appears below an upstairs bathroom, then seems to dry, then comes back. The shower still drains, the taps still work, and nothing looks dramatic, so it's tempting to leave it for another week.
That delay is where leaks become expensive. Water rarely stays where the original problem began. It tracks along framing, under tiles, through slab edges, behind cabinetry, and into rooms that seem unrelated to the source.
In Victoria, the broader scale of hidden water loss is serious. A University of Technology Sydney paper citing National Performance Report data noted a Victorian real-loss figure of 778 litres per service connection per day, which shows how much water can disappear before anyone sees obvious evidence on the surface (UTS leak detection research).
Practical rule: If the signs are intermittent, that doesn't mean the problem is minor. It often means water is moving through the building in a way that's harder to trace.
Homeowners usually call for leak detection because they want a location. Fair enough. But in real building work, location is only part of the answer. A leak from a failed mixer connection is one kind of job. A shower leaking through failed membrane junctions, cracked movement joints, or poor bathroom renovation detailing is another.
That difference matters because the right trade can change. Sometimes you need a plumber. Sometimes you need a registered builder to coordinate demolition, substrate repair, waterproofing, tiling, and compliant reinstatement. Often you need both, in the right order.
Telltale Signs Your Melbourne Home Has a Water Leak
The clearest clues usually come from your senses before any tool confirms them. If you're trying to work out whether you need leak detection in Melbourne, start by slowing down and looking at the pattern, not just the damage itself.
What you can see
A hidden leak often shows up as a surface symptom first:
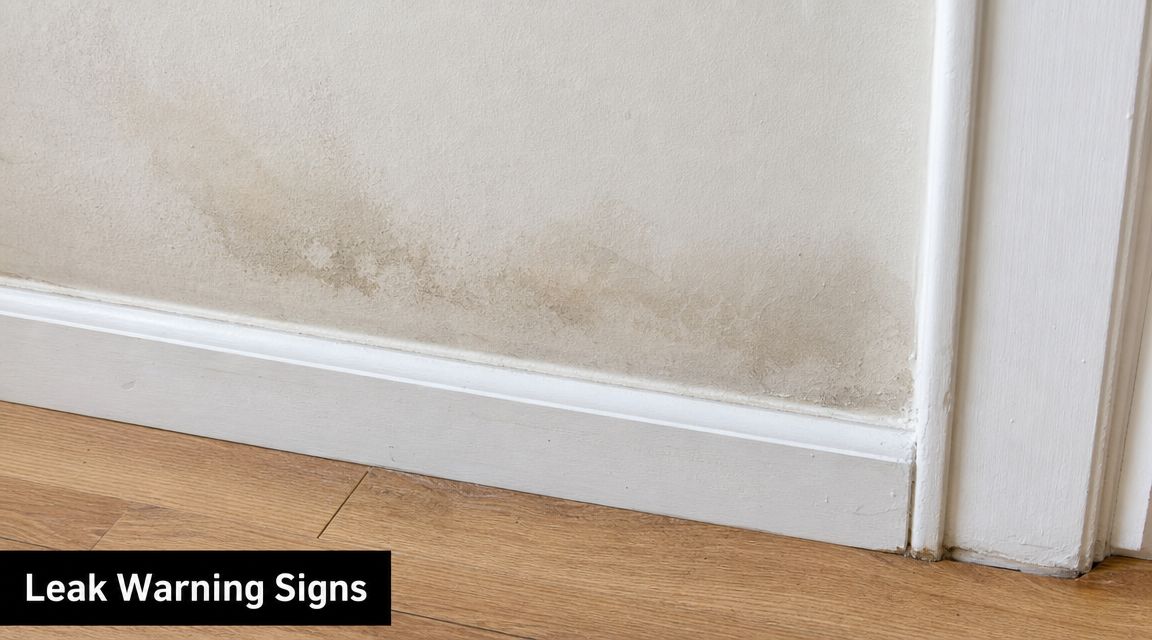
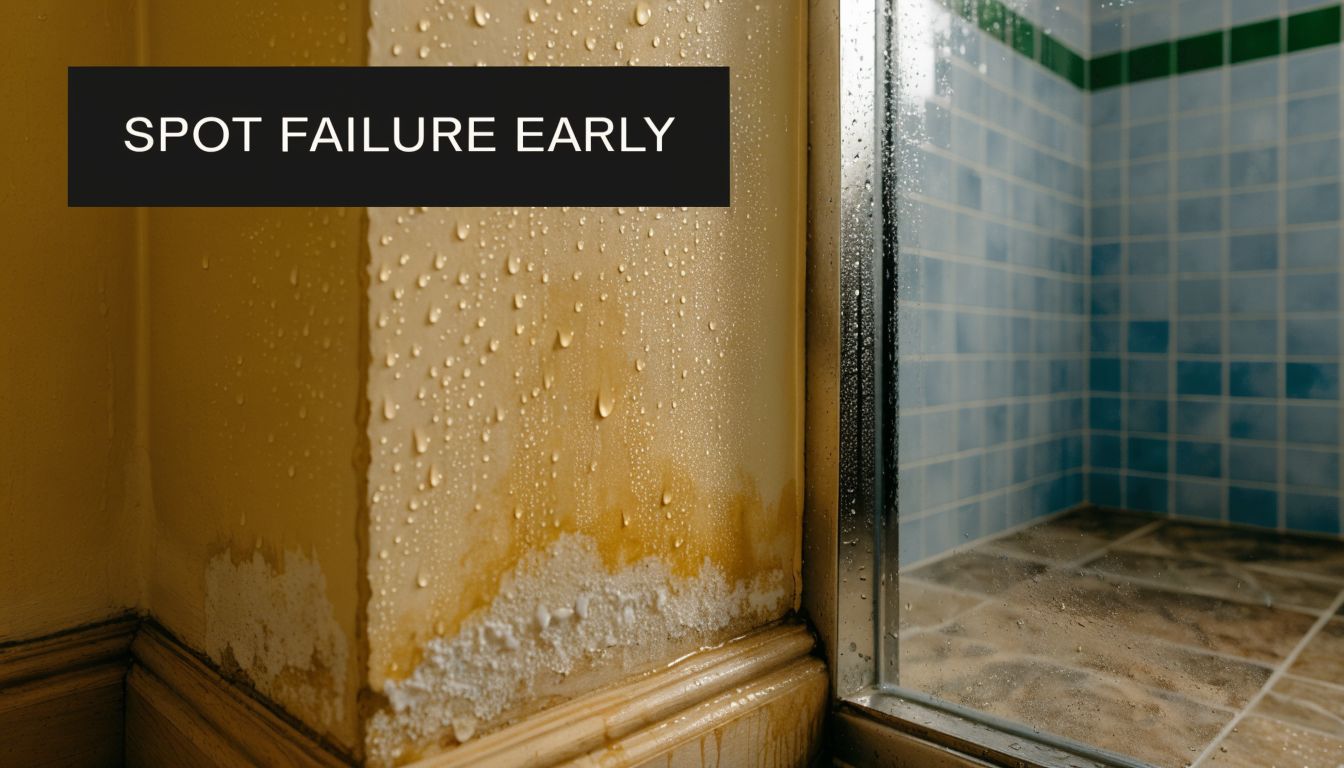
- Ceiling stains: Brownish or yellowish marks under bathrooms, balconies, or roof-adjacent wet areas often mean water has travelled before becoming visible.
- Bubbling paint: Paint that lifts or blisters usually points to moisture trapped behind the finish.
- Swollen skirting or architraves: Timber products absorb moisture early and often reveal a problem before tiles do.
- Loose or drummy tiles: If tiles sound hollow or start shifting, moisture may have affected the adhesive bed or substrate.
- Efflorescence on brick or grout: That white, powdery residue is a sign that water has been moving through masonry or cement-based materials.
One detail many people miss is location. A stain directly beside a shower hob suggests one type of failure. Dampness appearing in the hallway outside the bathroom can suggest water is escaping beyond the immediate wet area.
What you can hear and smell
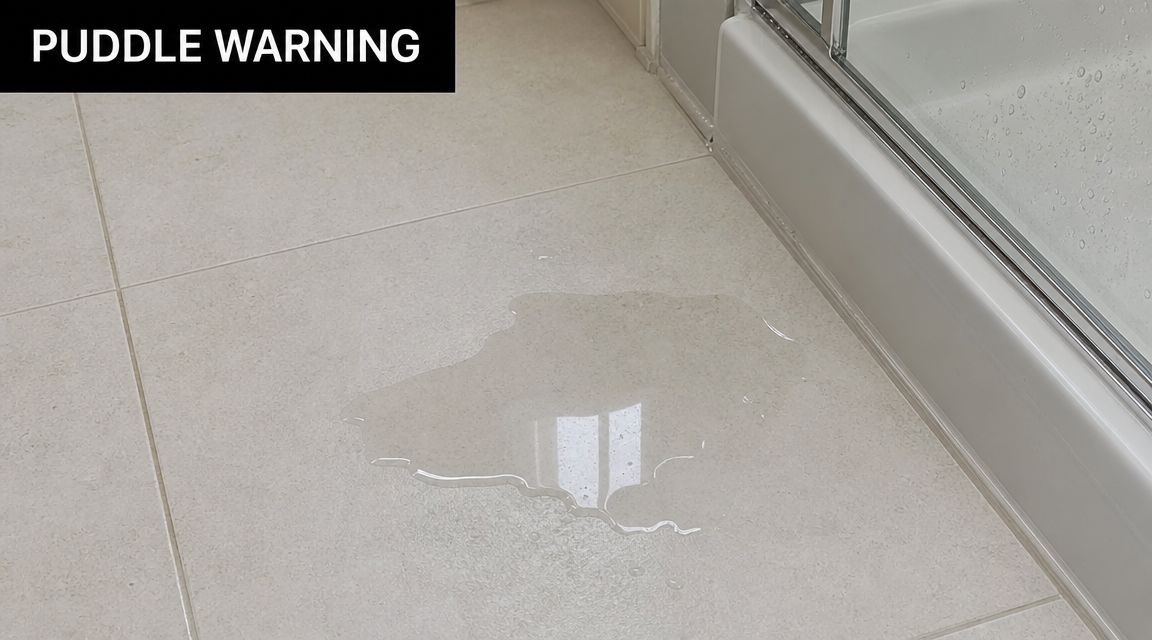
Not every leak leaves a puddle.
A quiet hiss in the wall after taps are turned off can indicate pressure-side pipe issues. Dripping sounds at night, when the house is quiet, are worth paying attention to. So is a musty smell that gets stronger after showers or after using a particular vanity, toilet, or washing machine.
Here's a practical demonstration of signs homeowners often notice before they know the cause:
A bathroom can smell “old” when it's actually staying damp behind the tiles, under the tray, or inside the wall cavity.
When the location gives the game away
Different rooms suggest different causes. That doesn't replace testing, but it helps narrow the field.
| Area where you notice it | Common underlying issue |
|---|---|
| Around a shower screen | Failed seals, movement joints, grout cracking, poor falls |
| Wall behind a vanity | Flexible hose connection, trap leak, basin waste issue |
| Ceiling below bathroom | Shower leak, toilet seal issue, pipe connection, failed waterproofing |
| Balcony door threshold | Membrane failure, poor drainage, flashing detail problem |
| Laundry cabinet base | Tap connection, appliance hose, waste leak |
If you've got more than one sign at once, such as smell plus swollen skirting plus loose tiles, the issue usually isn't cosmetic. Water has been there long enough to affect surrounding materials.
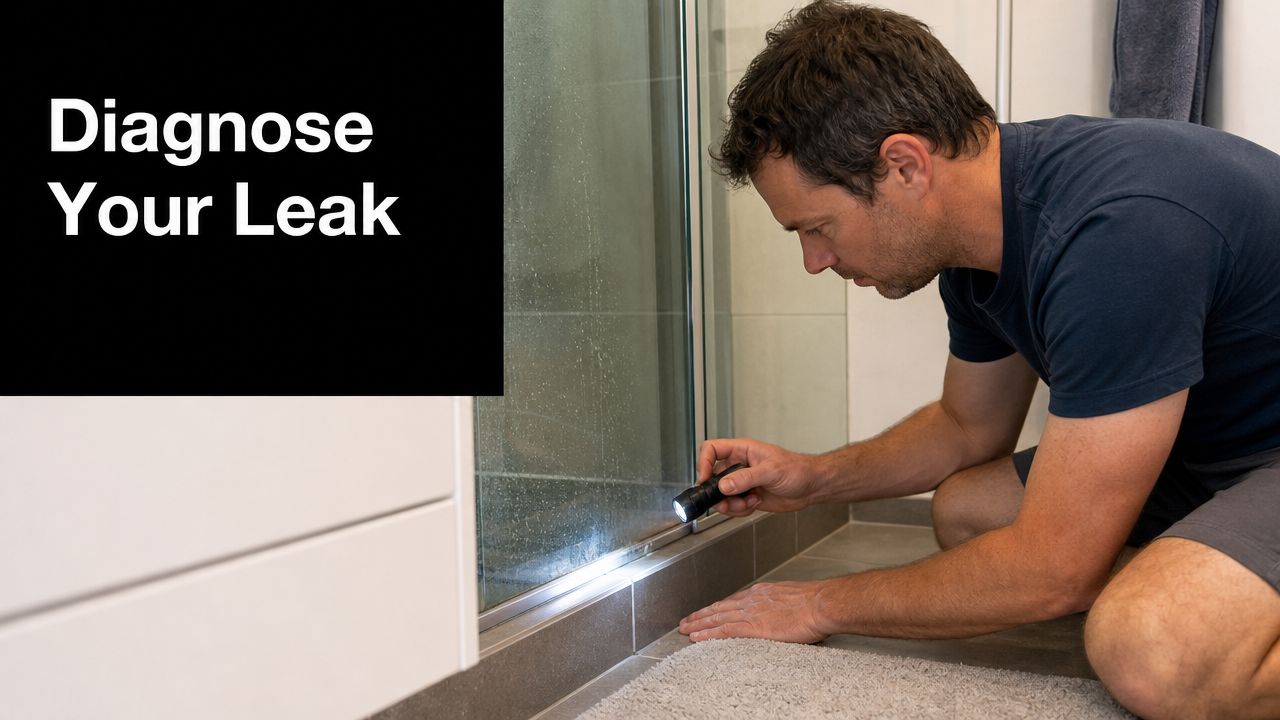
Safe DIY Leak Checks You Can Perform This Weekend
You can do a few useful checks yourself without damaging the building. The key word is safe. A good DIY check helps you decide how urgent the problem is. It doesn't replace proper leak detection when the source is hidden.
Start with the water meter
The most useful homeowner test is a basic meter isolation check.
- Turn off all water fixtures and appliances inside and outside the home. That includes dishwashers, washing machines, irrigation, and any tap that may be dripping.
- Check that toilets have finished refilling before you start.
- Read the water meter and note the position carefully.
- Don't use any water for a set period. Overnight is practical because the house is usually quiet and still.
- Recheck the meter in the morning.
If the reading has changed despite no water use, there's a strong indication that water is moving somewhere it shouldn't. That doesn't tell you whether the problem is under the slab, in a wall, in a toilet cistern, or in an external line. It does tell you the issue deserves proper testing.
Check the fixtures that commonly leak quietly
A lot of small leaks hide in plain sight.
- Toilet cisterns: Add a few drops of food colouring to the cistern and wait before flushing. If colour appears in the bowl, water is passing where it shouldn't.
- Under-sink pipework: Run your hand around trap connections and isolation valves. Look for moisture on the cabinet floor, not just obvious drips.
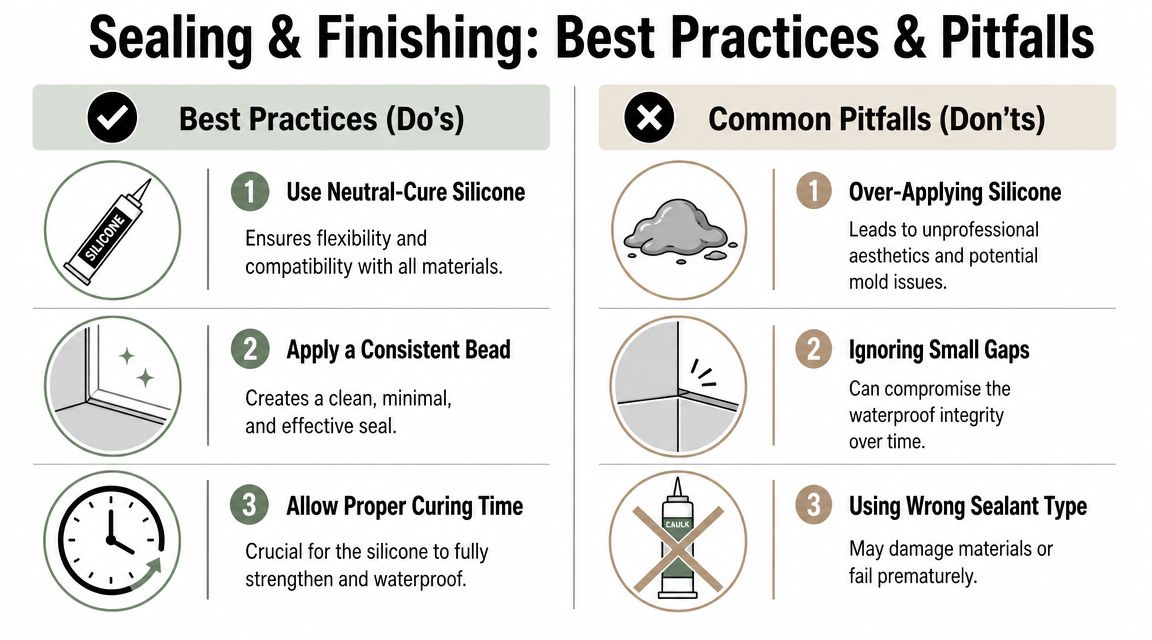
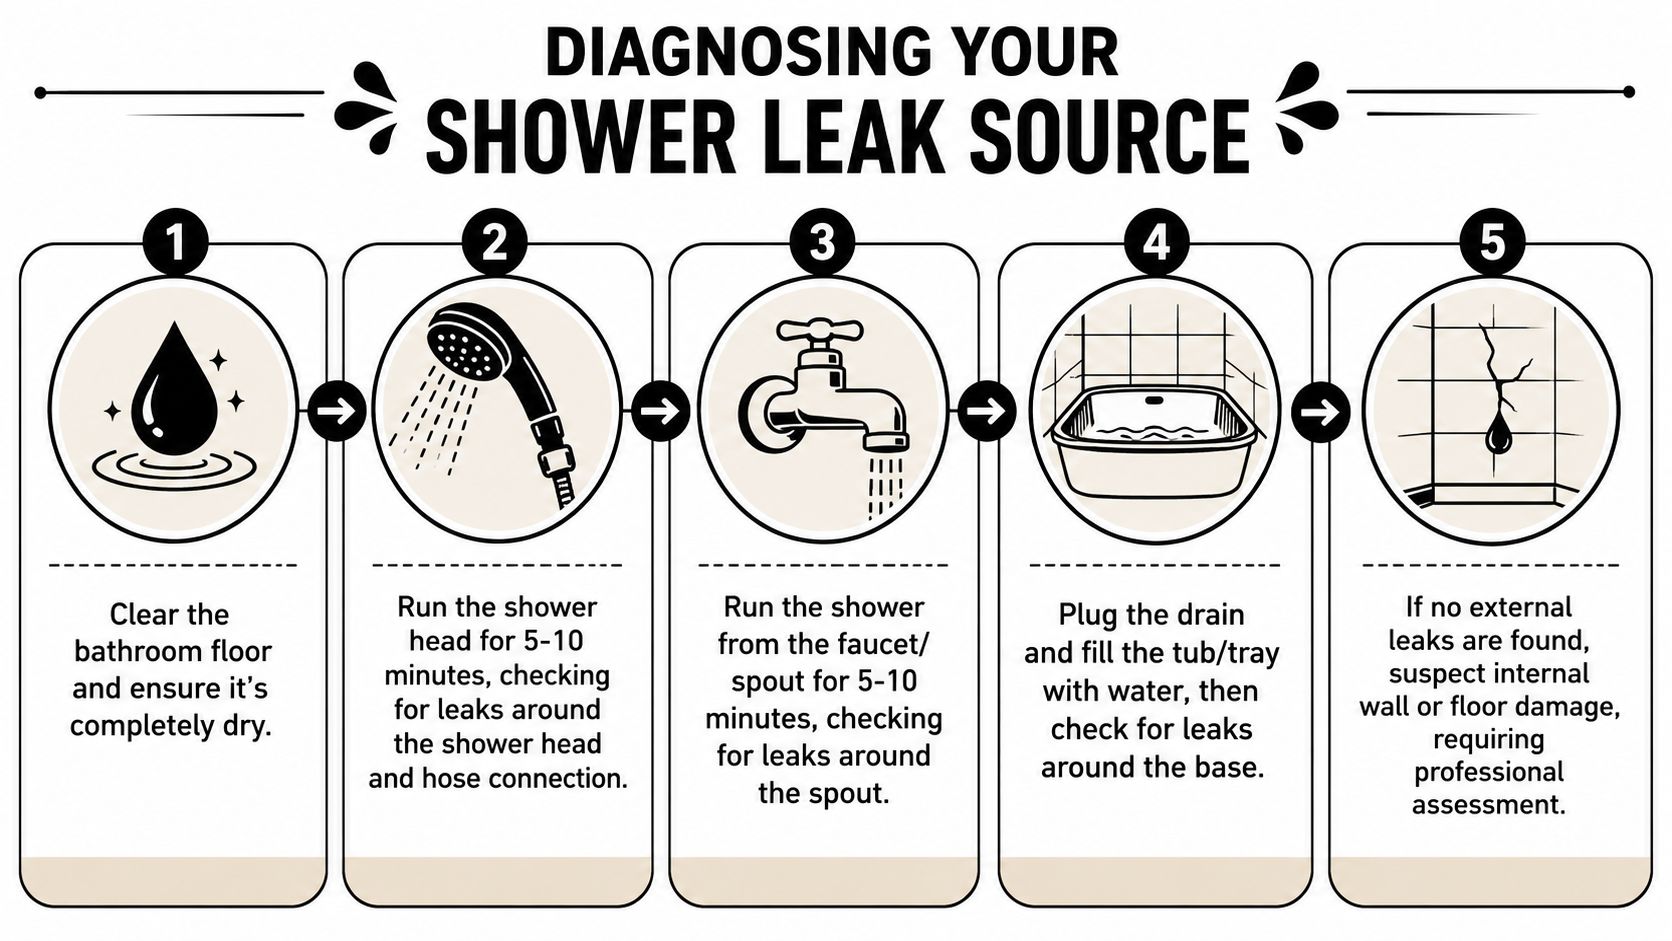
- Shower edges and corners: Check silicone joints, base junctions, and adjacent skirtings. If the shower leaks after use but no plumbing is exposed, failed waterproofing becomes more likely.
- Appliance hoses: Pull the washing machine or dishwasher forward if it's safe to do so and inspect for slow weeping around hose connections.
If you're dealing with a shower specifically, it also helps to understand the difference between a surface seal issue and a deeper waterproofing failure. This guide on how to fix leaking showers is useful for understanding where basic resealing ends and proper rectification begins.
What not to do
Don't start removing tiles, cutting plaster, drilling exploratory holes, or tightening fittings you can't properly assess. Those moves often create a second problem.
Avoid these mistakes:
- Don't chase stains blindly: The visible mark is often not the source.
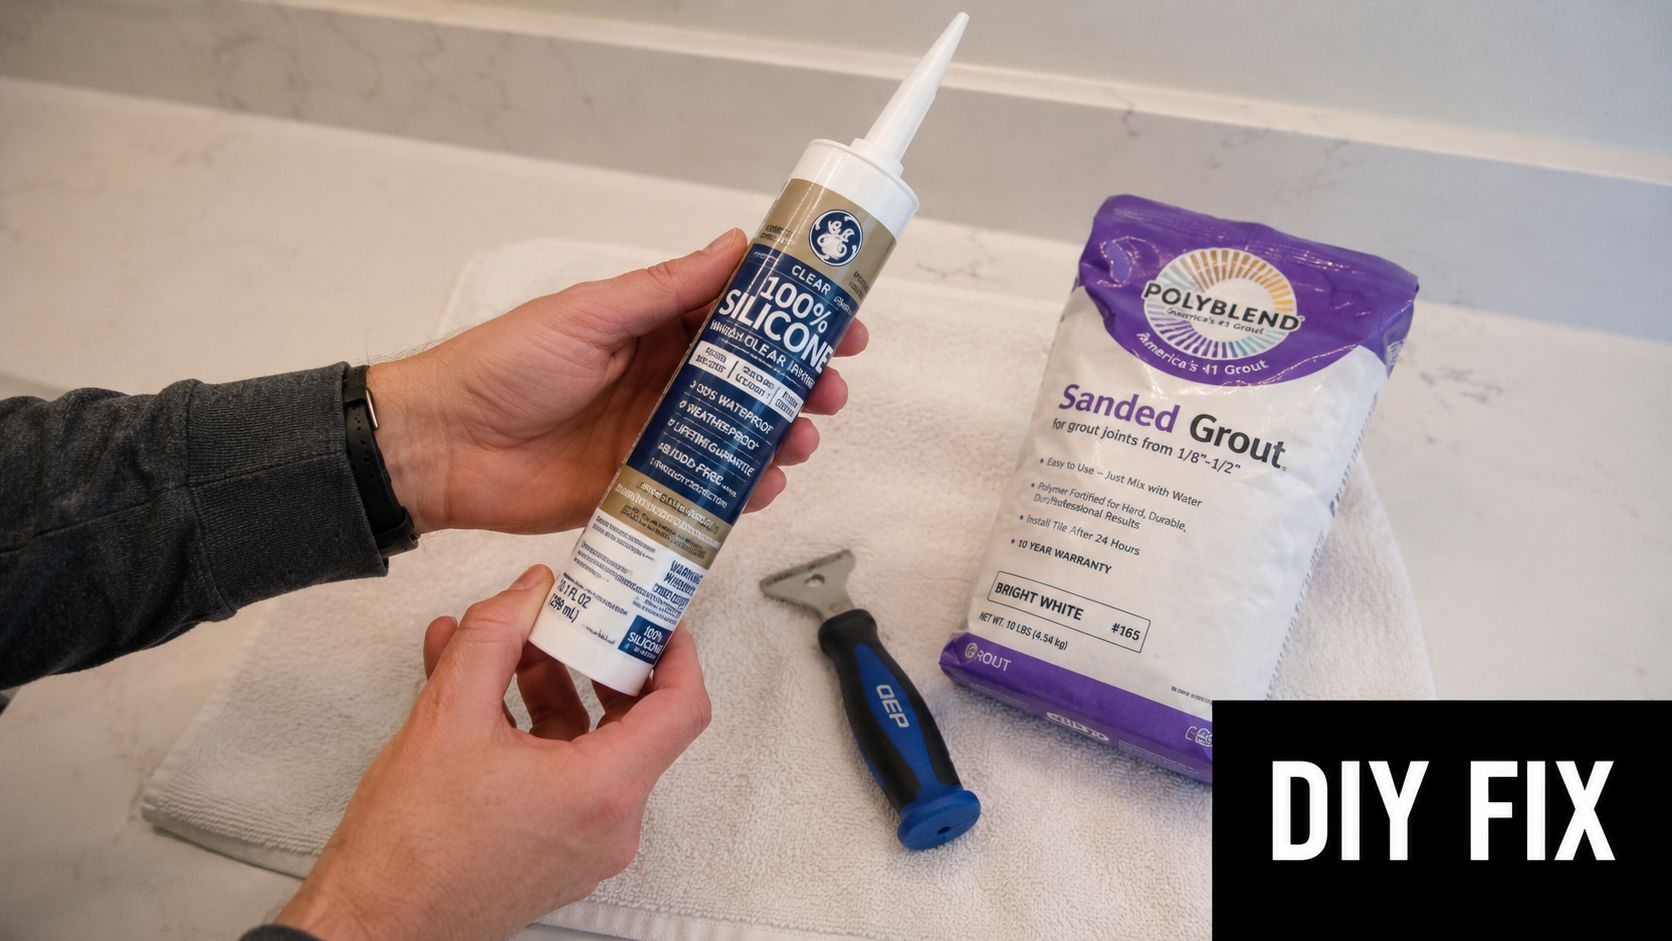
- Don't rely on grout as waterproofing: Grout can crack and absorb moisture. It isn't the system that protects the structure.
- Don't keep resealing without diagnosis: Fresh silicone can hide evidence and delay the actual fix.
- Don't ignore intermittent leaks: Shower-related leaks often appear only after use, then dry out enough to mislead you.
An Inside Look at Professional Leak Detection Methods
Professional leak detection works best when the method matches the failure type. Good operators don't wave one gadget at every problem. They test a theory, isolate possibilities, and use the least destructive method that can produce reliable evidence.
Thermal imaging and moisture tracing
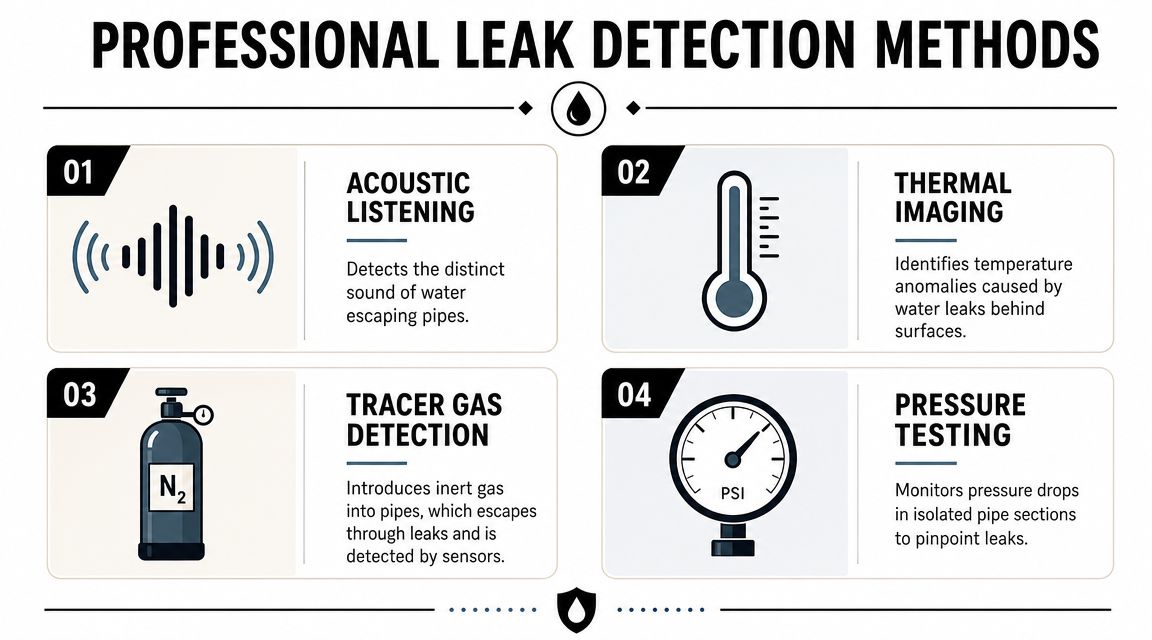
Thermal imaging cameras pick up temperature differences on surfaces. They're useful when hidden moisture changes the temperature profile of a wall, ceiling, or floor. Hot water line leaks can show clearly. Shower leaks can also create patterns, though interpretation matters because not every cool patch is a leak.
Moisture meters are often used alongside thermal imaging. The camera shows where to look. The meter helps confirm whether the material is retaining moisture.
What works well:
- Locating broad zones of concern behind finished surfaces
- Tracing moisture migration paths
- Narrowing down areas before opening up
What doesn't:
- Treating a thermal image as final proof on its own
- Assuming every anomaly is the exact leak point
Acoustic testing and pressure testing
Acoustic listening devices help detect the sound of water escaping under pressure. In the right conditions, they can be very effective on concealed pressure pipes and underground services. Background noise, pipe material, and building layout all affect accuracy.
Pressure testing is more controlled. A technician isolates a section of pipework, applies test pressure, and watches for pressure loss. This doesn't always show the precise physical hole, but it does confirm whether a section is compromised.
A practical benchmark from Australia comes from a NSW Smart Sensing Network trial in urban pipes. Its failure-prediction model was cross-checked against real failures every three months and achieved approximately 80% detection in validation tests, which shows how predictive leak workflows improve when sensor data is checked against real-world outcomes rather than treated as guesswork (NSW Smart Sensing Network trial results).
On site, the best result usually comes from combining methods. One tool narrows the field. Another confirms it.
Drain cameras and targeted investigation
CCTV drain cameras are used for waste lines and stormwater, not pressure pipes. They're useful when the concern is a cracked drain, displaced joint, blockage, or a defect causing water escape around waste systems.
Homeowners sometimes misunderstand that a drain camera won't diagnose every shower leak. If the issue is failed waterproofing around a bathroom floor waste, the camera may show the drain condition but not the membrane problem around it.
At the utility level, Melbourne is also testing more advanced monitoring. An Australian Water Association report described an Intelligent Water Networks trial using existing telecommunications fibre in Melbourne's west as a massive array of vibration sensors to detect leaks, with partners including Greater Western Water, Veolia, and FiberSense. The aim is early warning for leaking pipes, including both large and small leaks, without waiting for obvious bursts (Melbourne fibre-based leak detection trial).
That same thinking applies on private property. The less guesswork, the less unnecessary demolition.
Beyond Detection From Diagnosis to a Lasting Repair
A leak report can tell you where water is showing up. It doesn't automatically solve the defect that allowed water in. That's the turning point many homeowners miss.
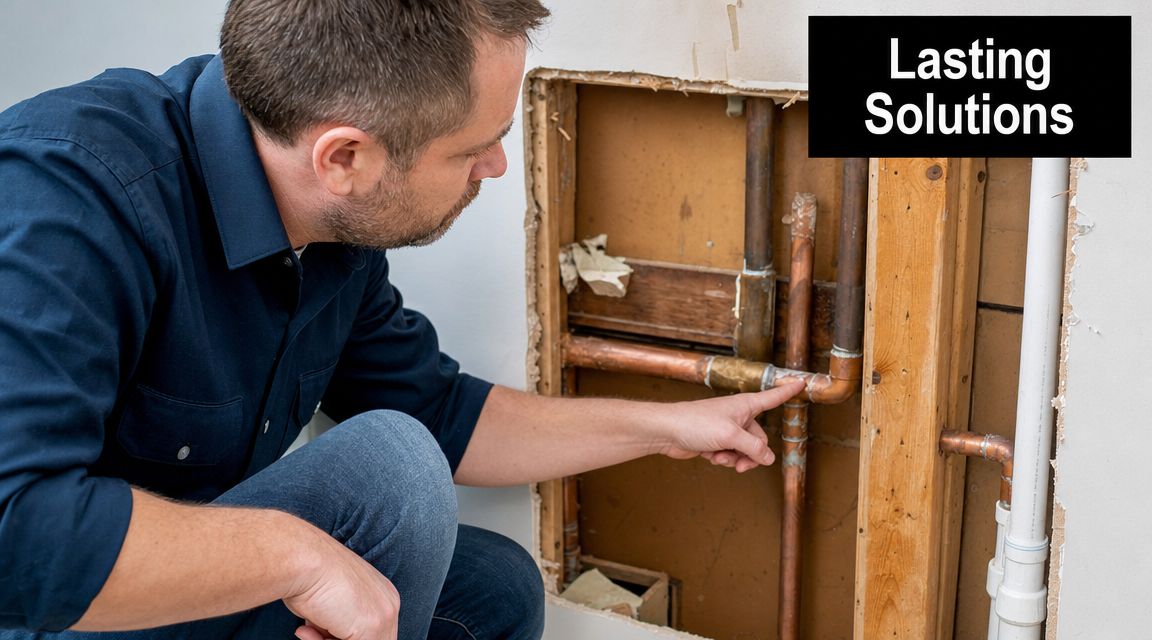
Why bathroom leaks often need more than a plumber
If a copper line pinholes in a wall, a plumber may be the main trade. But many bathroom leaks in Melbourne aren't really pipe failures. They're wet-area construction failures.
That can include:
- damaged or poorly installed waterproofing membranes
- failed shower base junctions
- incorrect falls that hold water where it shouldn't sit
- cracked grout and movement joints that allow ongoing water entry
- deteriorated substrate behind tiles
- previous patch repairs that sealed the symptom, not the system
This is why a leak can “come back” after a seemingly successful repair. The original path for water was never properly addressed.
According to the Insurance Council of Australia, water damage is one of the most common home insurance claims, and Victorian building data consistently shows waterproofing failures in wet areas are a recurring source of those problems (water damage and wet-area failure context). In practical terms, that means a wet bathroom wall isn't just a nuisance. It can point to a failed assembly.
What a builder-led rectification process looks like
A registered builder looks at the whole build-up, not just the first wet spot.
That usually means asking:
| Question | Why it matters |
|---|---|
| Is this a plumbing leak or a waterproofing failure? | The repair path changes completely depending on the answer |
| Has moisture damaged the substrate? | Tiles can be replaced, but swollen or degraded backing materials need rectification |
| Does the wet area still comply once opened? | Partial patching can leave non-compliant details in place |
| Would a renovation be more sensible than piecemeal repair? | In older bathrooms, repeated rectification can be poor value |
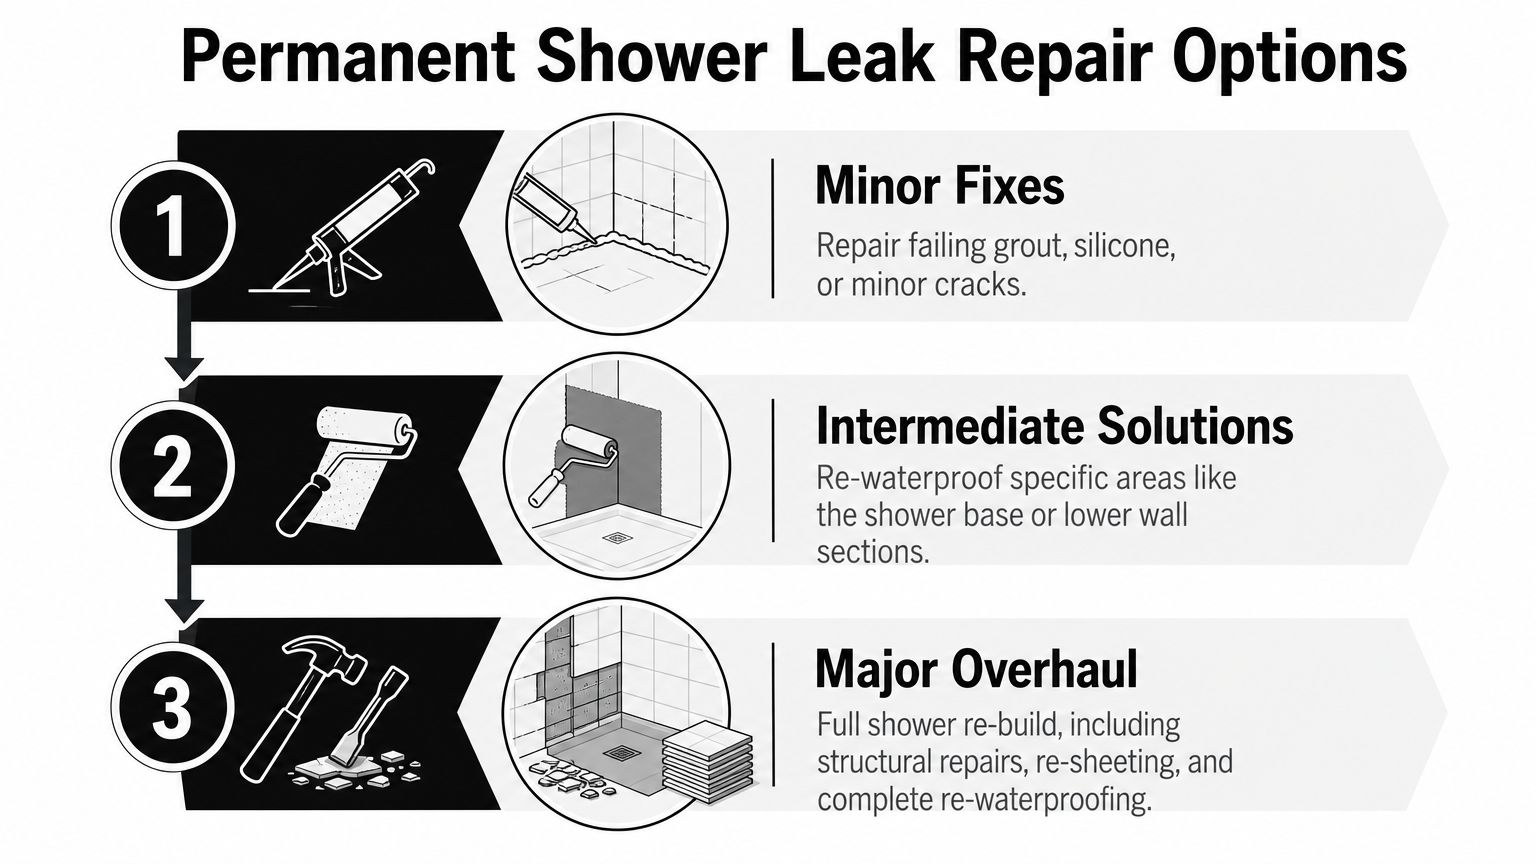
In many jobs, the lasting fix isn't a dab of silicone. It's a controlled strip-out, repair of affected structure or linings, proper waterproofing, and reinstatement by the right licensed trades under one scope.
That's where bathroom renovations come into the conversation. If the shower is leaking because the wet area assembly has failed, a renovation isn't cosmetic. It can be the correct rectification method. The same applies to ensuites and apartment bathrooms where access is tight and damage has spread beyond one wall.
For homeowners trying to understand that threshold, a focused shower leak repair service in Melbourne is a better starting point than repeated patching. Melbourne Tiling Services P/L is one example of a registered builder-led business that handles wet-area rectification and bathroom renovation work under a coordinated scope.
Fix the leak path, not just the wet mark. If the membrane, substrate, or shower build-up has failed, surface repairs won't last.
How to Choose Your Melbourne Leak Detection Specialist
Not every leak detector is the right fit for every job. Some are strong on pipe tracing but stop at the report. Others understand wet-area construction, waterproofing failure, and what rectification will involve afterward.
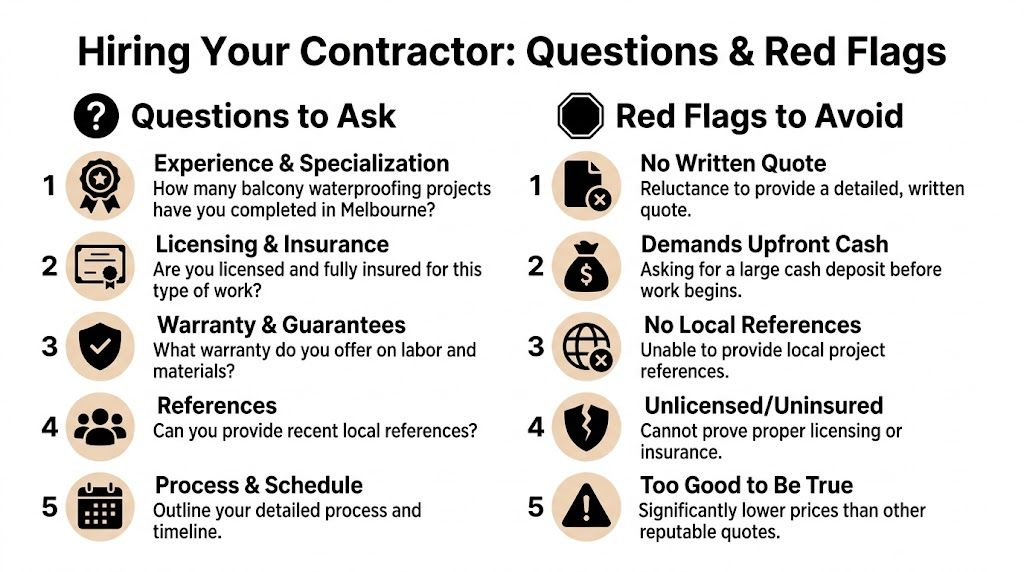
Questions worth asking before anyone starts
Ask direct questions. A good operator won't be offended.
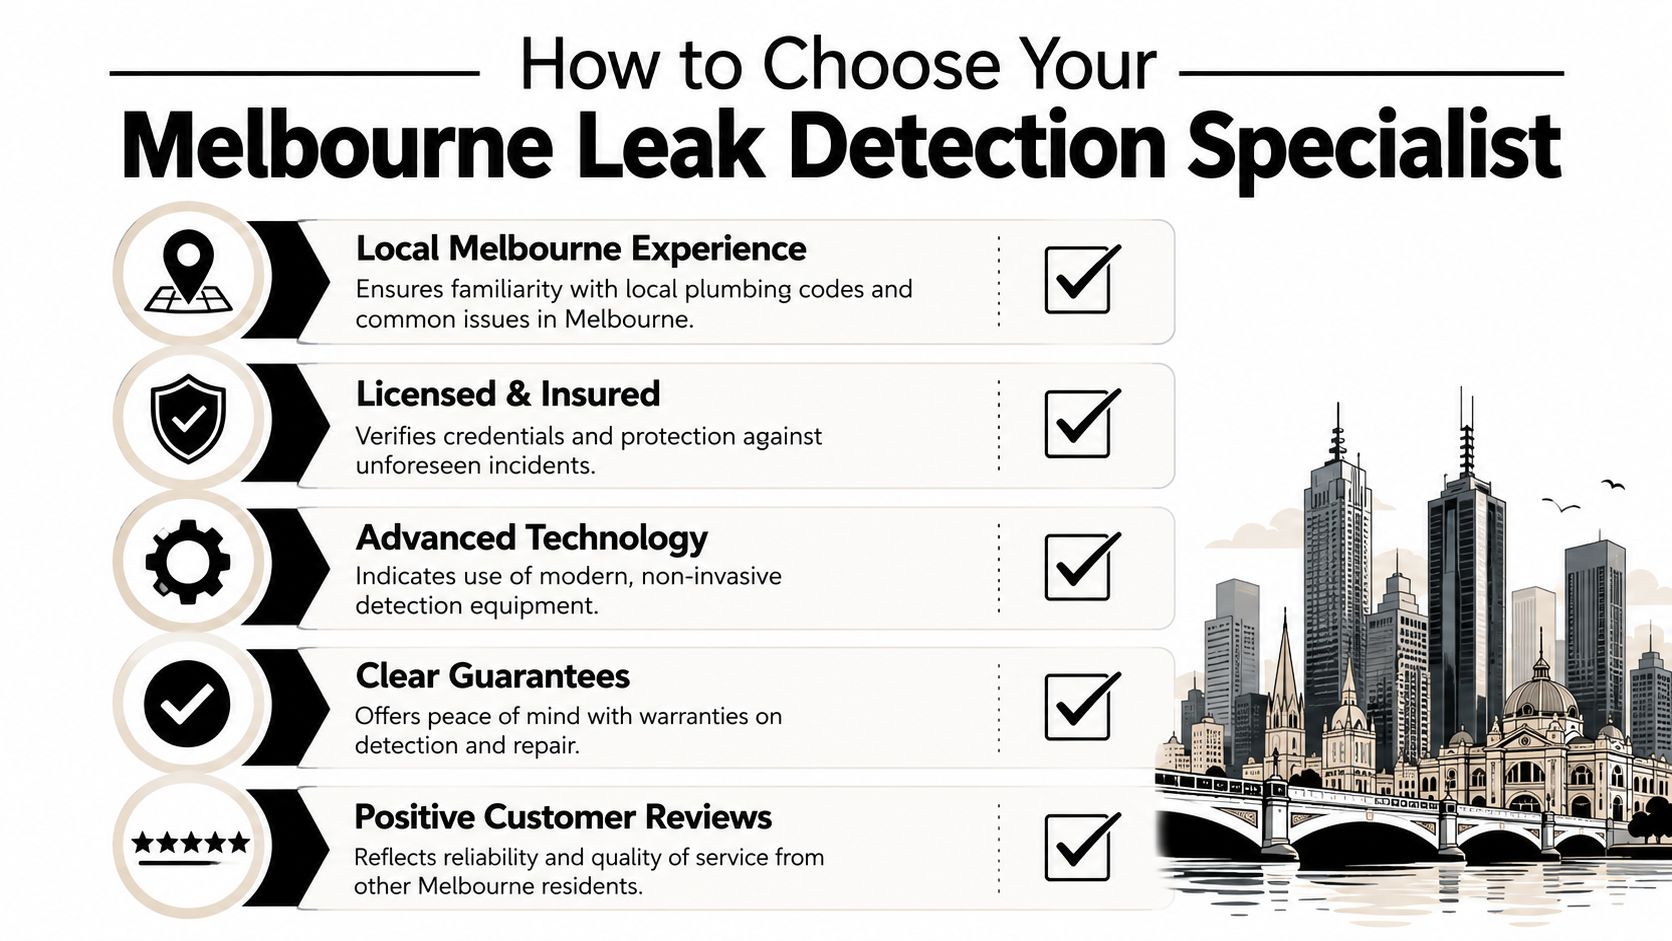
- Are you licensed for the work you're doing? If there's plumbing investigation, that matters. If the issue may lead into bathroom rectification or rebuilding, ask whether a registered builder is involved.
- Do you handle waterproofing-related diagnosis, or only pipe leaks? That answer tells you whether they understand bathroom failures properly.
- What testing methods do you use on this type of leak? The right method should match the scenario, not the other way around.
- Will your findings help with insurer, strata, or builder discussions? A vague verbal opinion isn't much use once responsibility gets disputed.
One of the most useful indicators is whether they speak in terms of cause, not just location.
What a useful report should tell you
A report should be clear enough that another party can act on it. That matters in apartments, landlord matters, and renovation planning.
Look for:
- Source findings: where the leak is likely originating
- Affected areas: where moisture or damage has spread
- Method used: thermal, acoustic, pressure, camera, or visual inspection
- Recommended next step: plumber, registered builder, waterproofer, or combined scope
- Limits of the inspection: what was and wasn't accessible
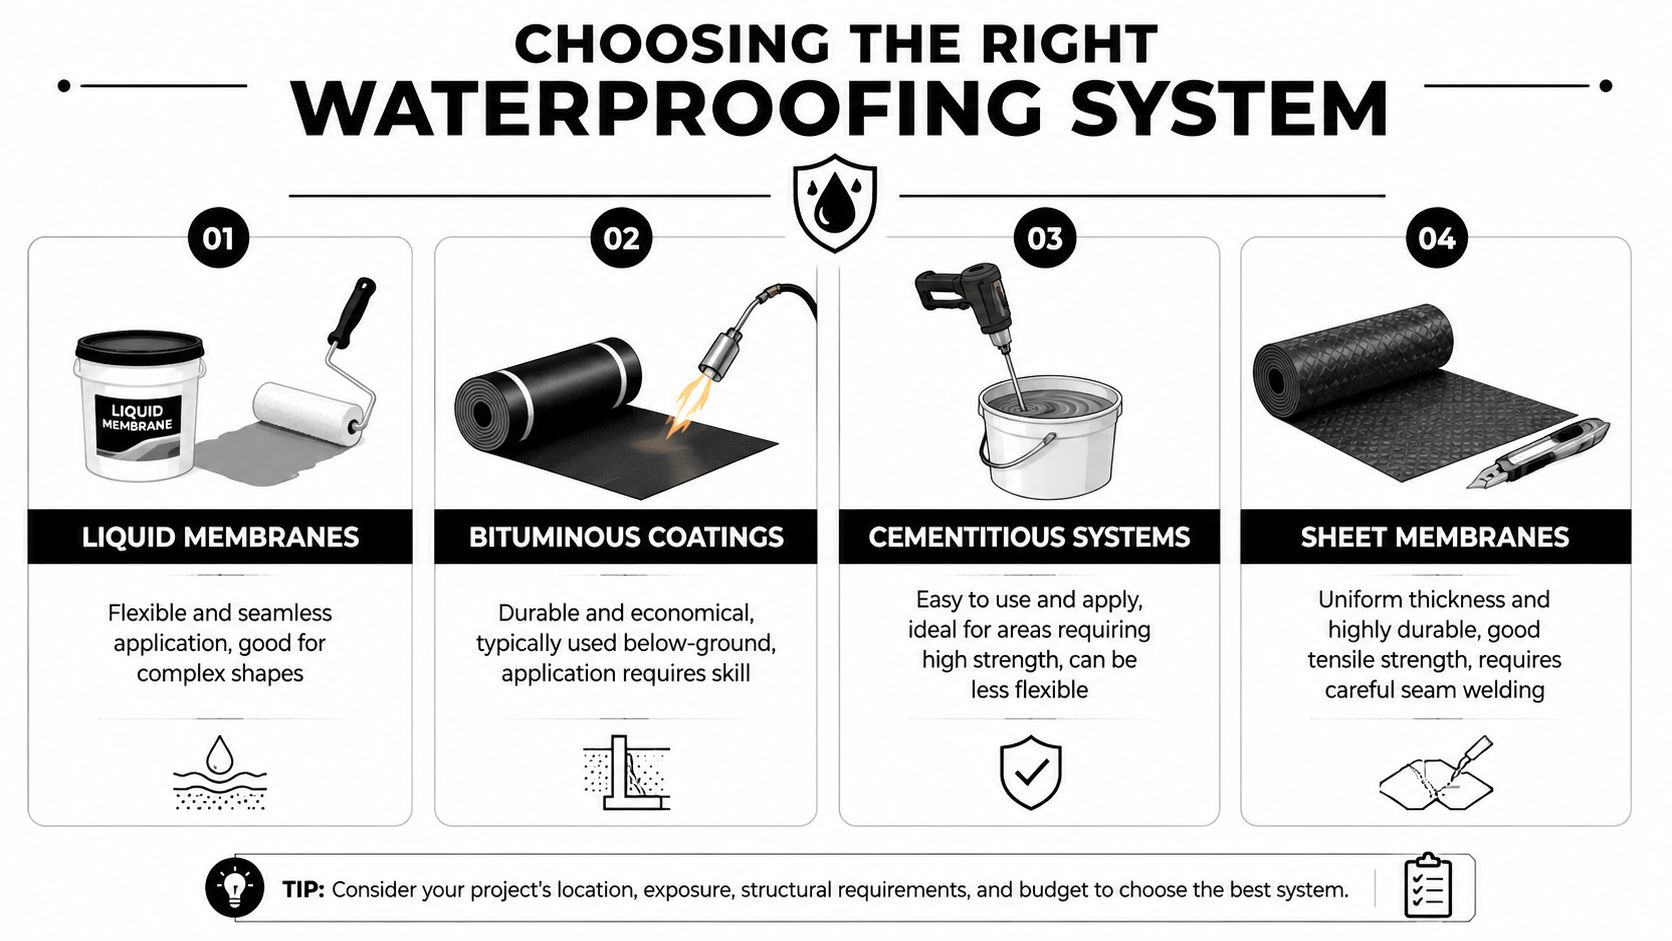
If your concern is shower failure, balcony leakage, or a bathroom that may need rectification, it also helps to choose someone who understands the broader waterproofing context. This overview of waterproofing in Melbourne is relevant because many recurring leaks are building-envelope or wet-area issues rather than simple fixture faults.
A specialist who can find the problem but can't explain the repair pathway leaves you with half a solution.
Frequently Asked Questions About Melbourne Leaks
How much does leak detection in Melbourne cost?
It depends on the suspected leak type, access, and the testing required. A simple fixture-related investigation is different from a shower leak through a slab edge, balcony, or apartment boundary. The useful question isn't only price. It's whether the inspection will tell you what failed and what trade needs to rectify it.
How long does leak detection take?
Some leaks are identified quickly. Others need staged testing because the water appears far from the source or only leaks when a fixture is used. Bathrooms are a common example. A shower may only leak under use conditions, which means proper testing matters more than speed.
Can a leak be fixed without removing tiles?
Sometimes, yes. If the issue is a tap connection, toilet seal, hose, or accessible plumbing fitting, there may be no need for demolition. If the waterproofing system behind the tiles has failed, tile removal and builder-led rectification are often the correct path.
Who pays for a leak between apartments?
When a leak crosses apartment boundaries, responsibility usually depends on where the leak originates, whether that source is in private property or common property. A professional leak detection report is often the key piece of evidence the owners corporation needs to act under strata rules in Victoria (apartment leak responsibility in Victoria).
Should I call a plumber or a builder first?
If you've got an obvious pipe or fitting problem, start with a plumber. If the leak involves a shower, wet-area floor, balcony, repeated dampness, or signs of failed waterproofing, a builder-led assessment is often the smarter first move because the repair may go beyond plumbing.
If you're dealing with a shower leak, bathroom moisture problem, or a wet-area failure that needs more than a quick patch, Melbourne Tiling Services P/L can help assess the cause and advise on the right rectification path, including bathroom renovations, waterproofing repair, and registered builder-led rebuilds where needed.


Recent Comments